February 12, 2017
Today with the help of my good Floridian friend Ed, I made the decision to make some kind of a small video studio in the basement. Now, my basement is already my entertainment room, holds a toilet/shower on one side, my music and recording studio, my home gym and home entertainment (TV stereo surround sound, etc…) room. So to stick a home video studio in there means I am covering up something or getting in the way of something else.
In the case of the video studio since it is an afterthought, it has to be:
1 – Portable, meaning I should be able to set it up and put it away as needed so that I can access other parts of my basement normally.
2 – Big enough for my needs. Let’s assume for the moment that I shall be shooting in the HD standard of 16:9, currently my max available width is 95″ and that means that I can shoot no taller than a height of 53.5″. Now that may sound like a lot, but that’s just under 4.5 feet, and that means that at best, I will be able to get myself framed in to the photo from my head (with a little breathing room) to my mid- knees, however, that’s with me sitting down so this is just barely enough for my needs. Ideally, I would love to have a height of 65″, but to do that I would need a width of 116″ and that is 8″ shorter than the maximum width of my entire backdrop.
On top of that, I don’t even have room for this scenario, even if I moved everything around. So… while I do have the room for a home video studio, it’s all very tight in terms of my video framing and I must do this all while sitting because there is not enough room for me to stand and get a framing from just slightly above my head to let’s say, mid-knee… forget about getting a full body shoot.
Just for the sake of the math, if I used the entire 108″ in width, I could conceivably go as much as 60″ tall, and I would be clipping the edges. Sadly, as mentioned, my basement space doesn’t permit me to go that wide, so I am maxed out at that 53″ height by 95″ width. So, depending on my zoom, I can go from a head shot to as far back as framing me from head to mid-knee… but just barely, and if I did that, a single person would take up about 1/3rd of the width in that kind of a layout. It would be great to have a 12.5 foot wide by 8 foot tall by 25 foot long room just made to do this, however, this will never happen, because my basement simply doesn’t have the free space. Wow, I wish the standard was still the old 4:3 standard… I’d have a lot more height to work with (just over 71″!).
Anyways, enough with the math.
So what have I ordered and what do I have to work with?
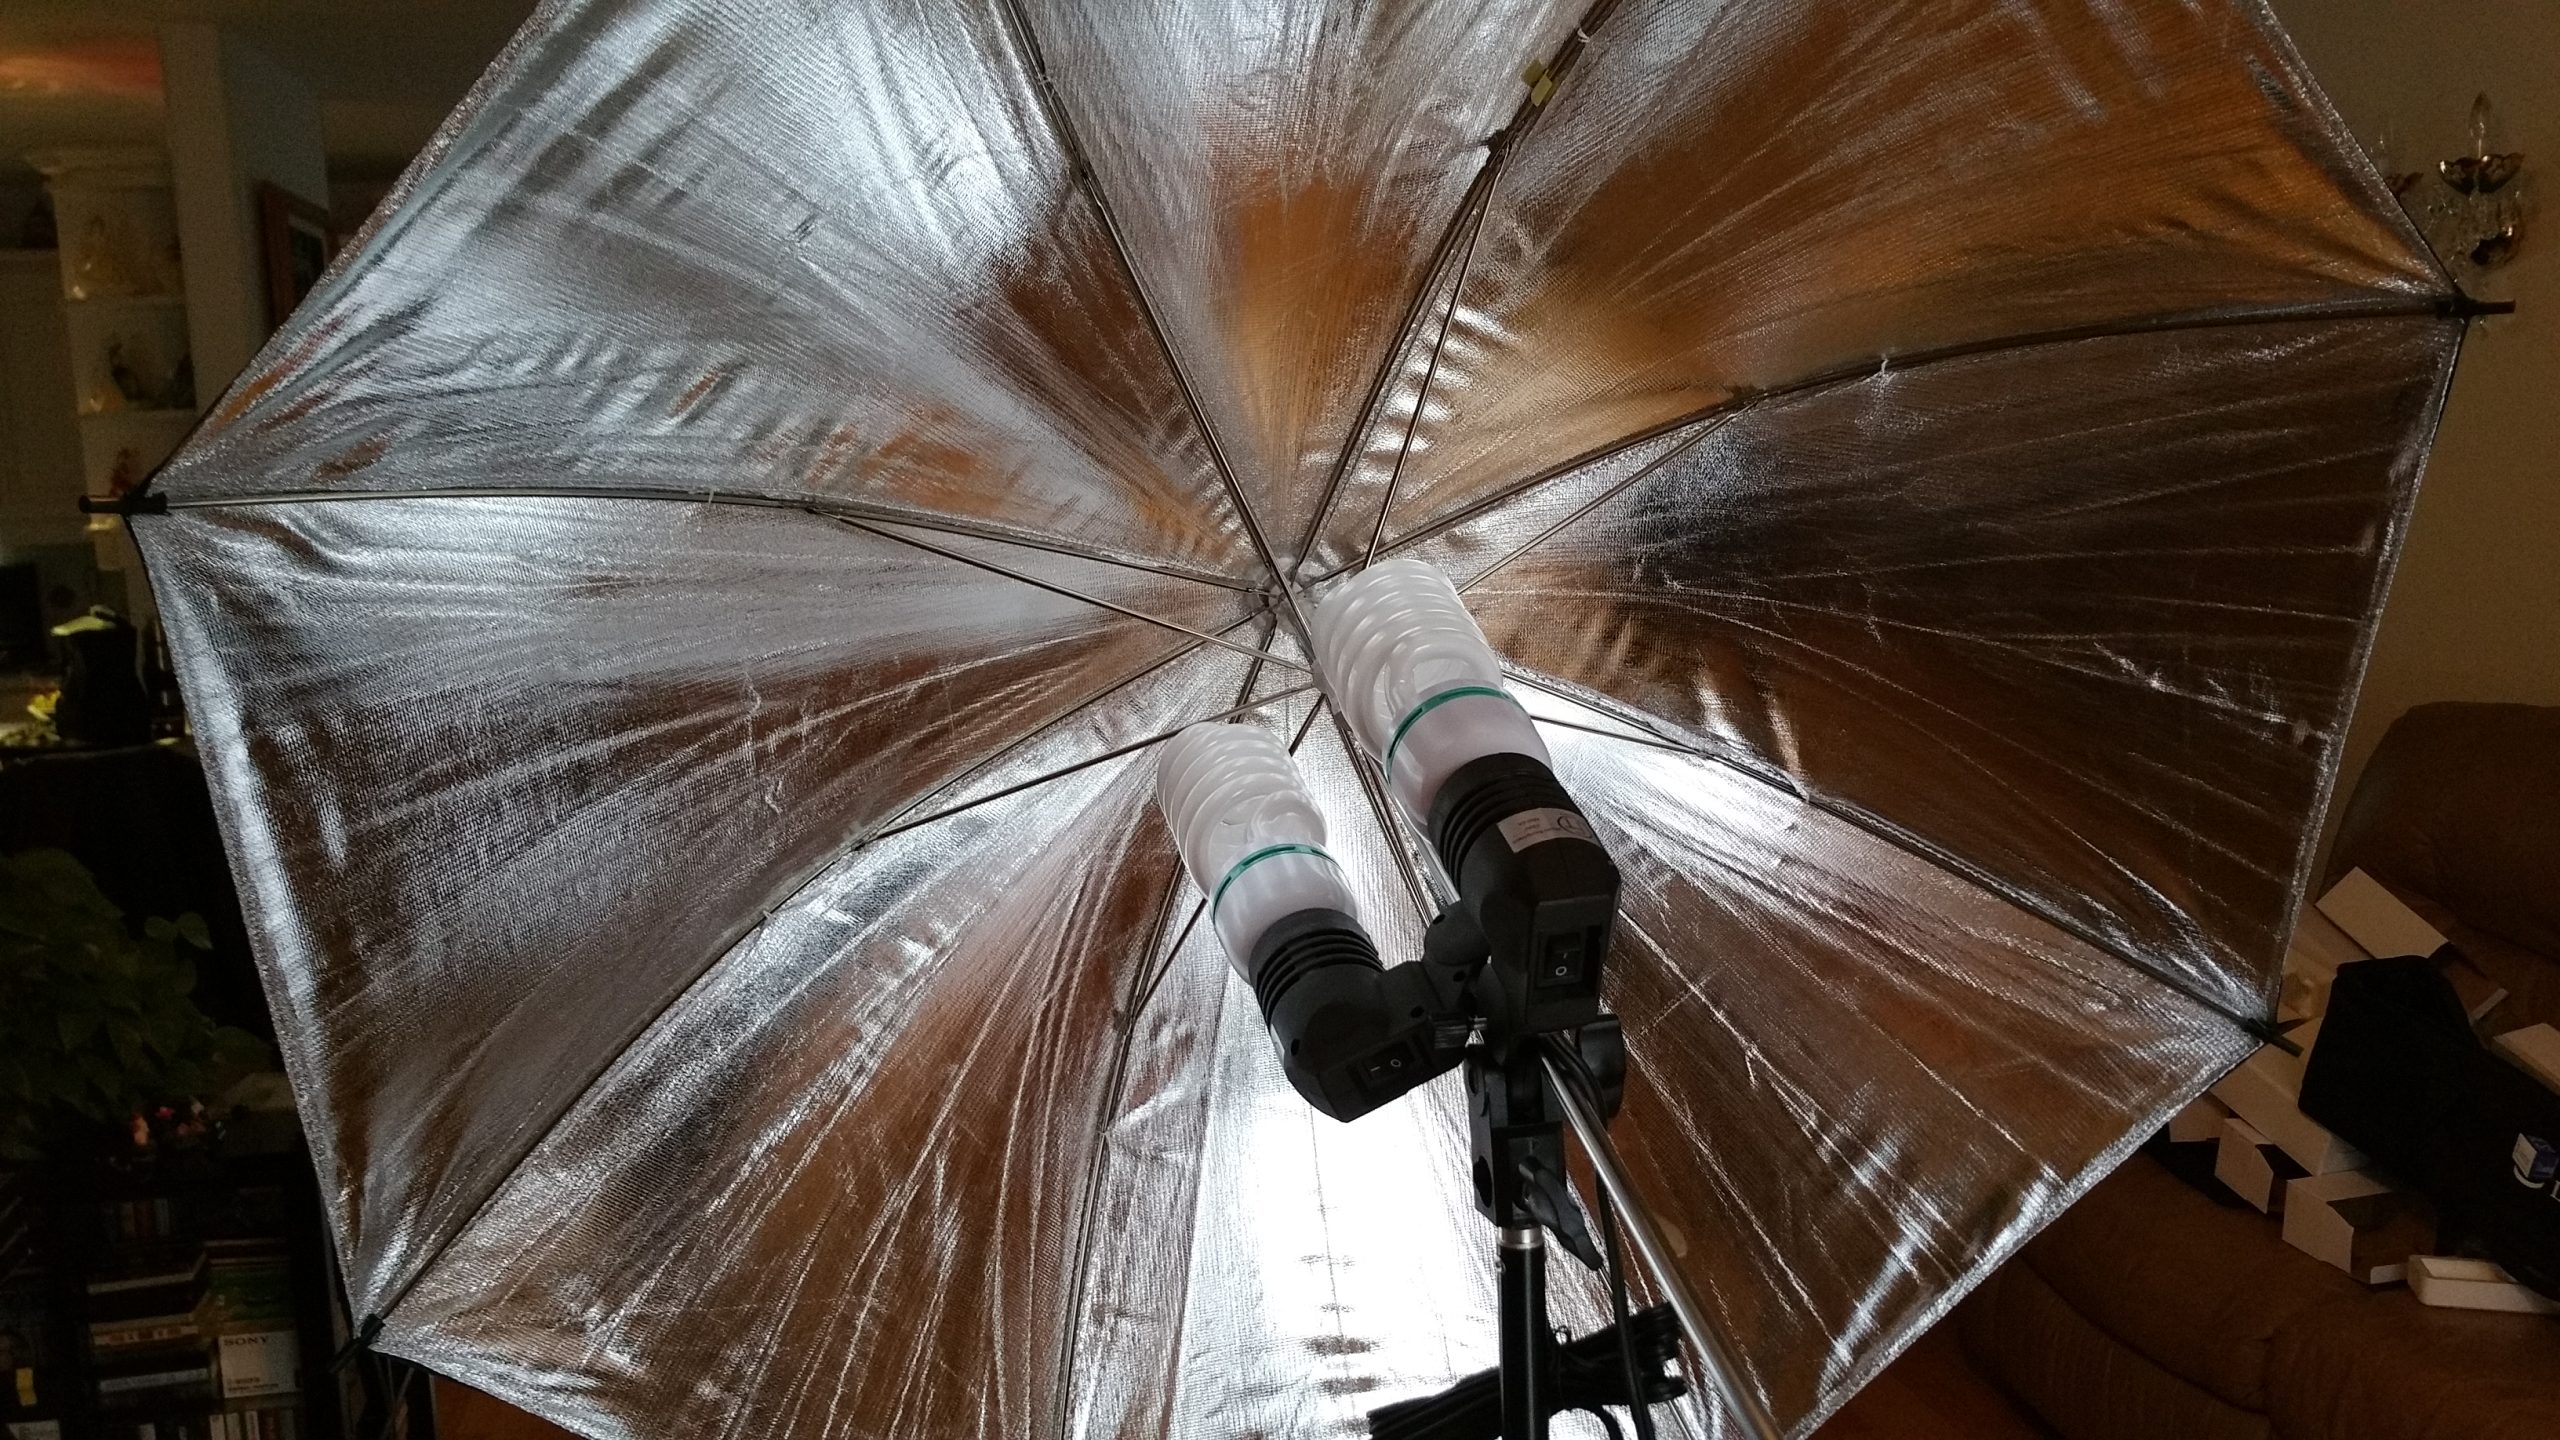
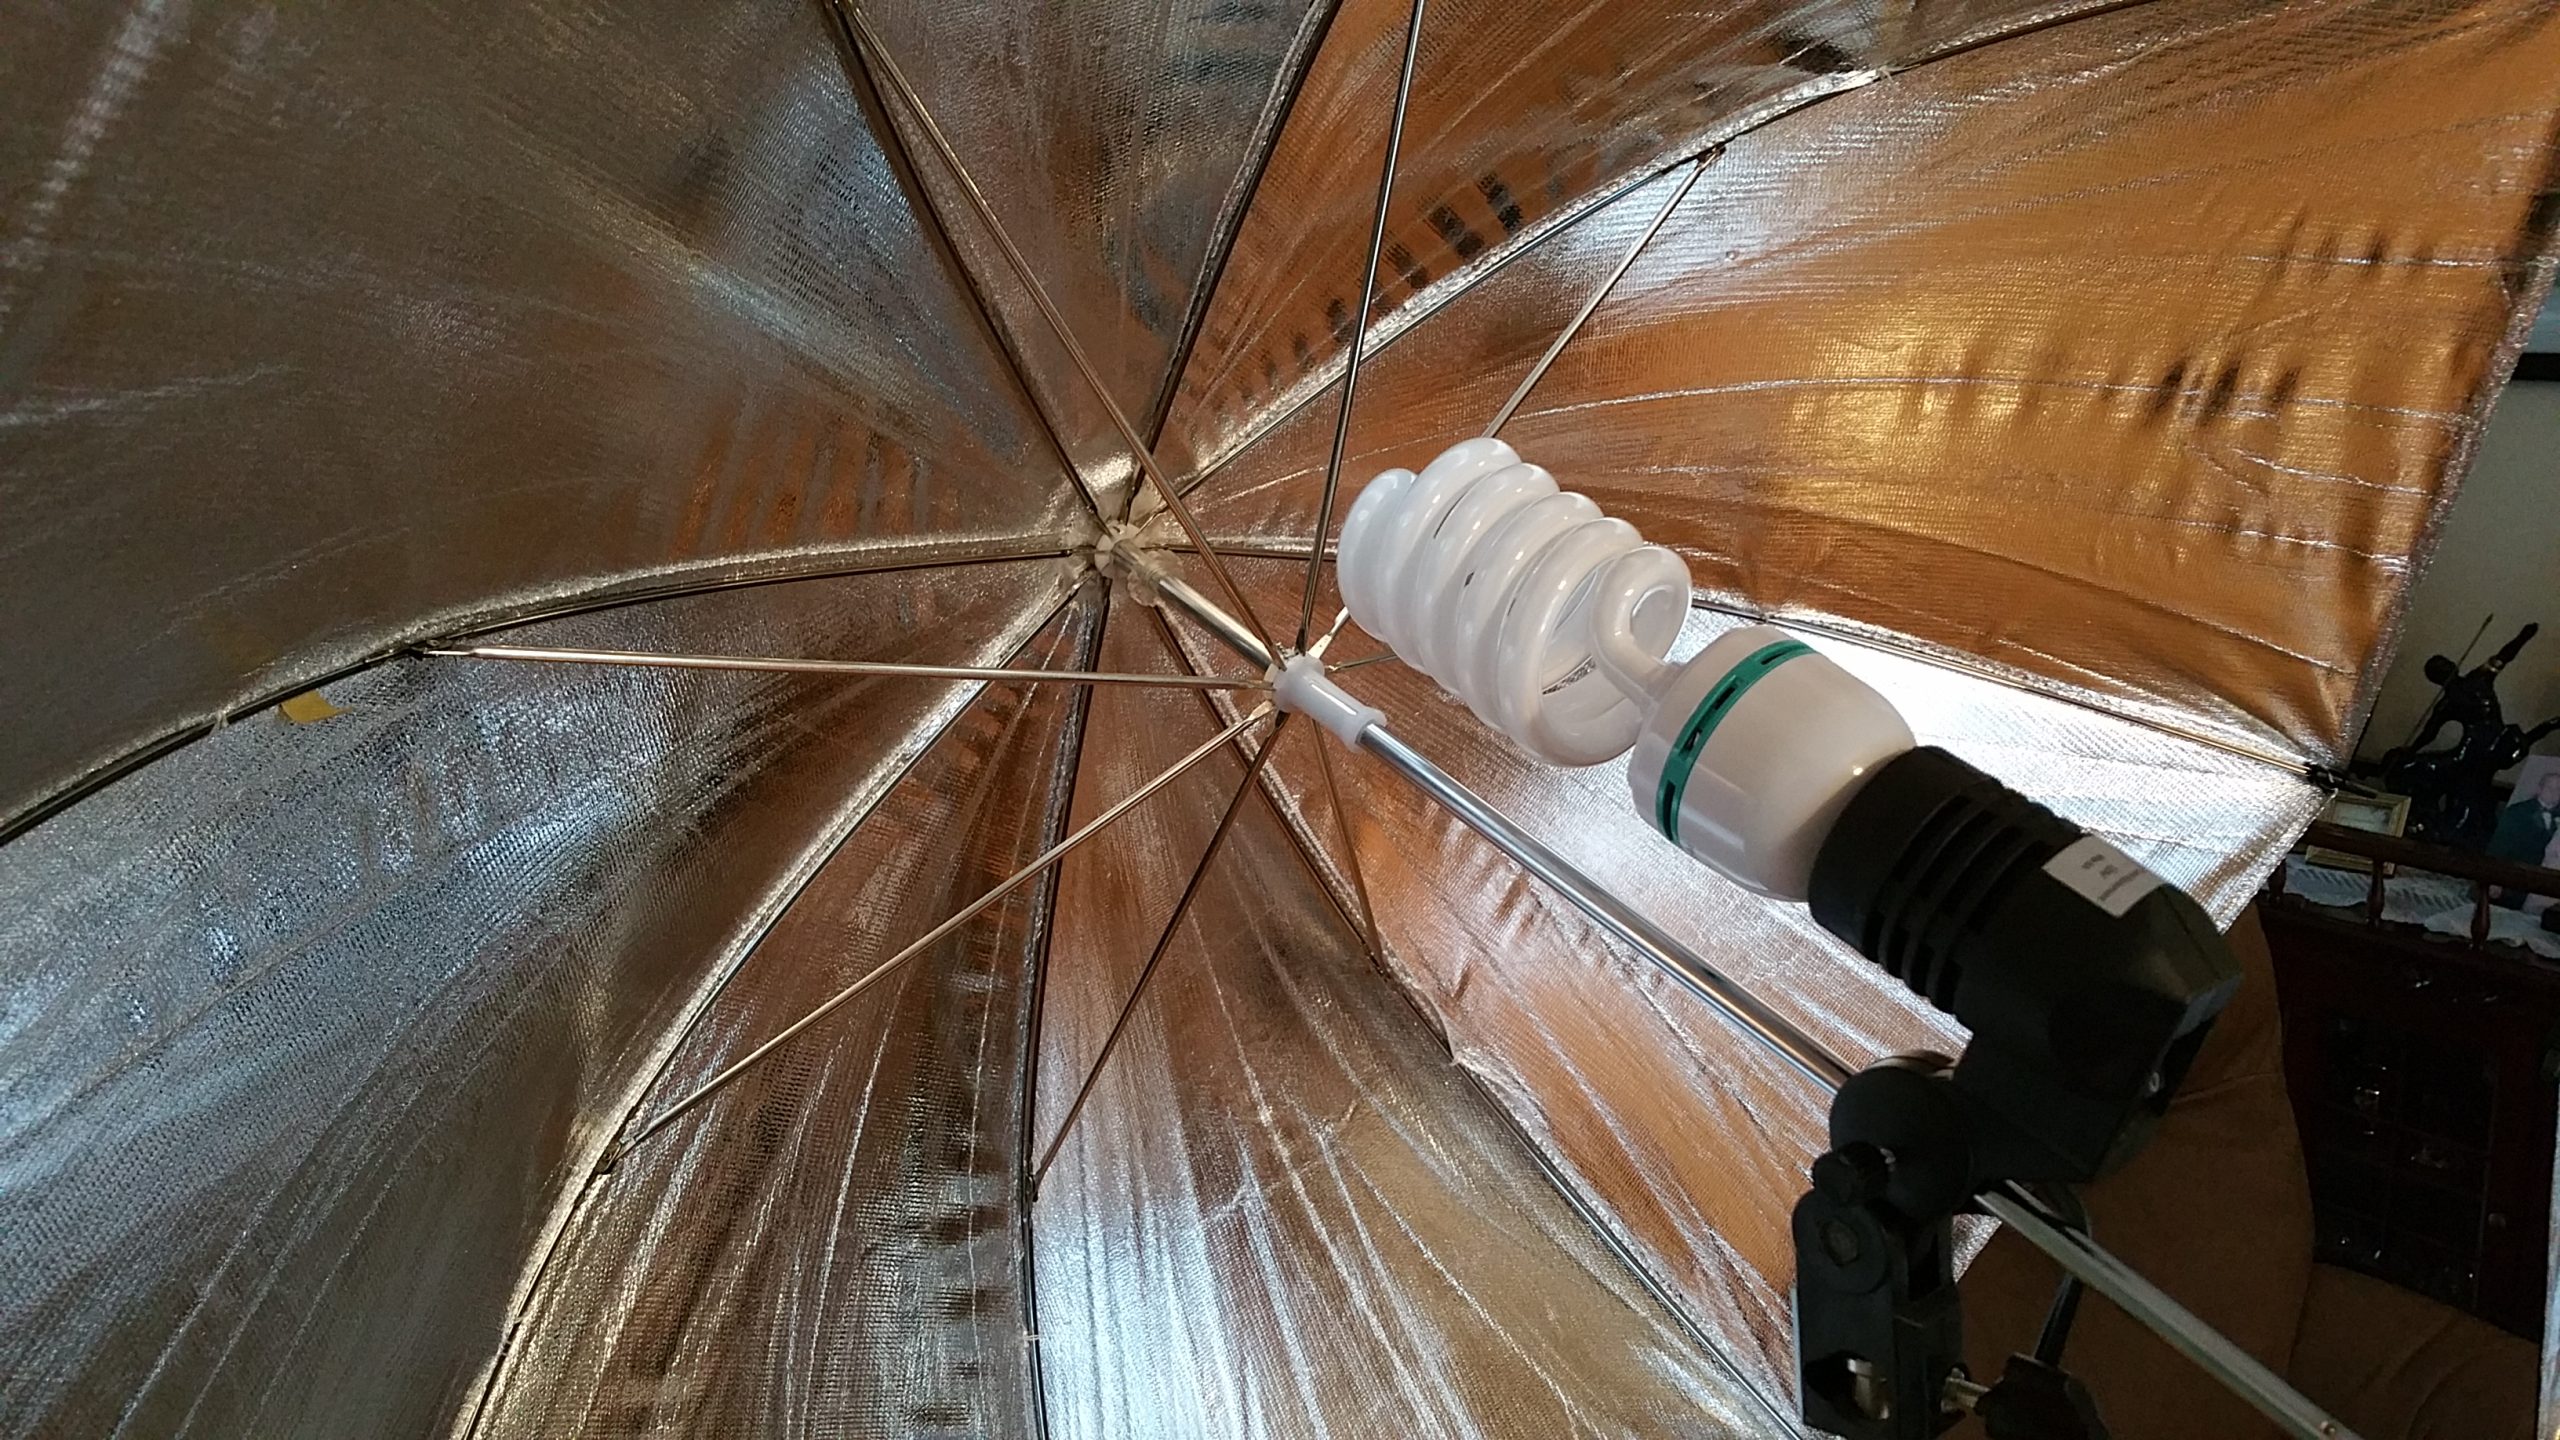
Well, for a start, I already own this nice backdrop and the stands and cross bar. I’ve used this setup to take the pictures of my accordions in the pictures area of this blog. It looks nice and all. Let me show it to you:
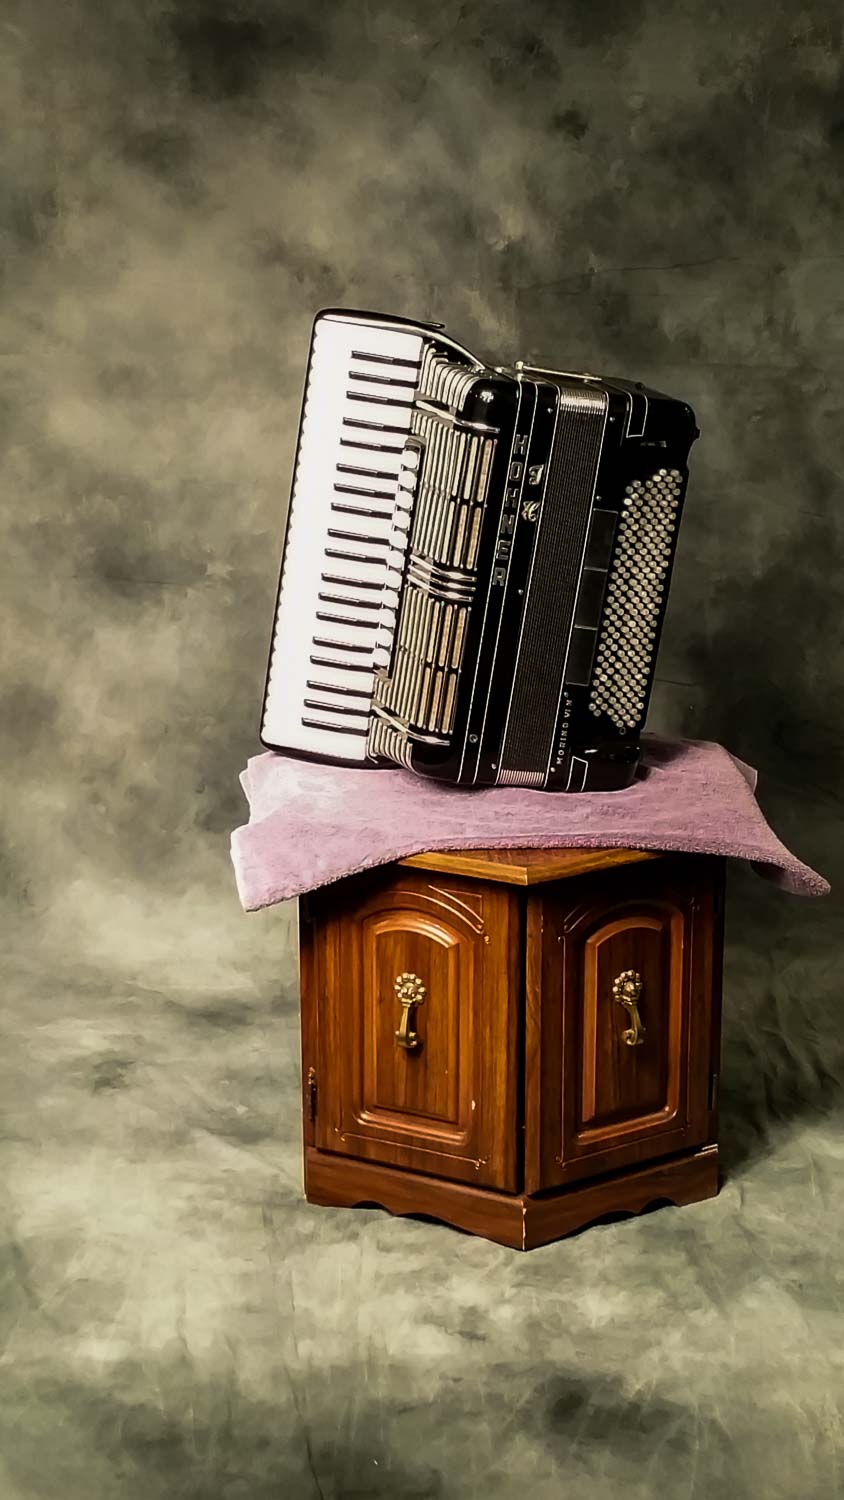
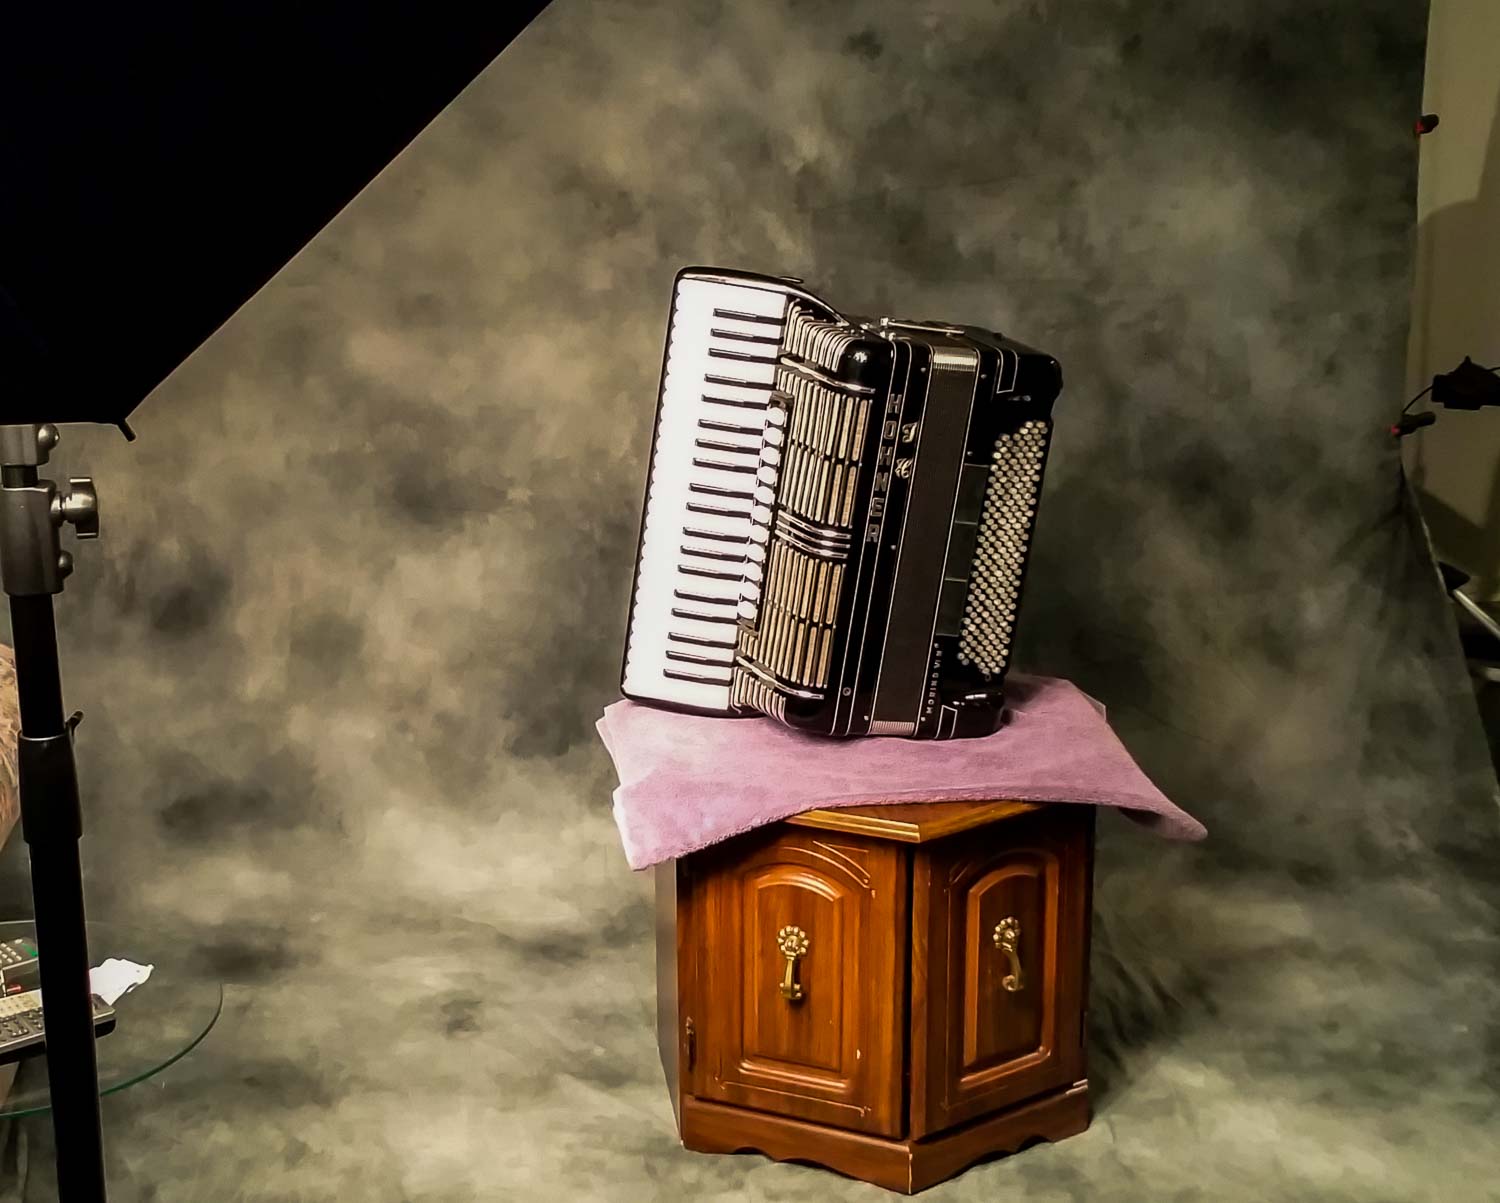
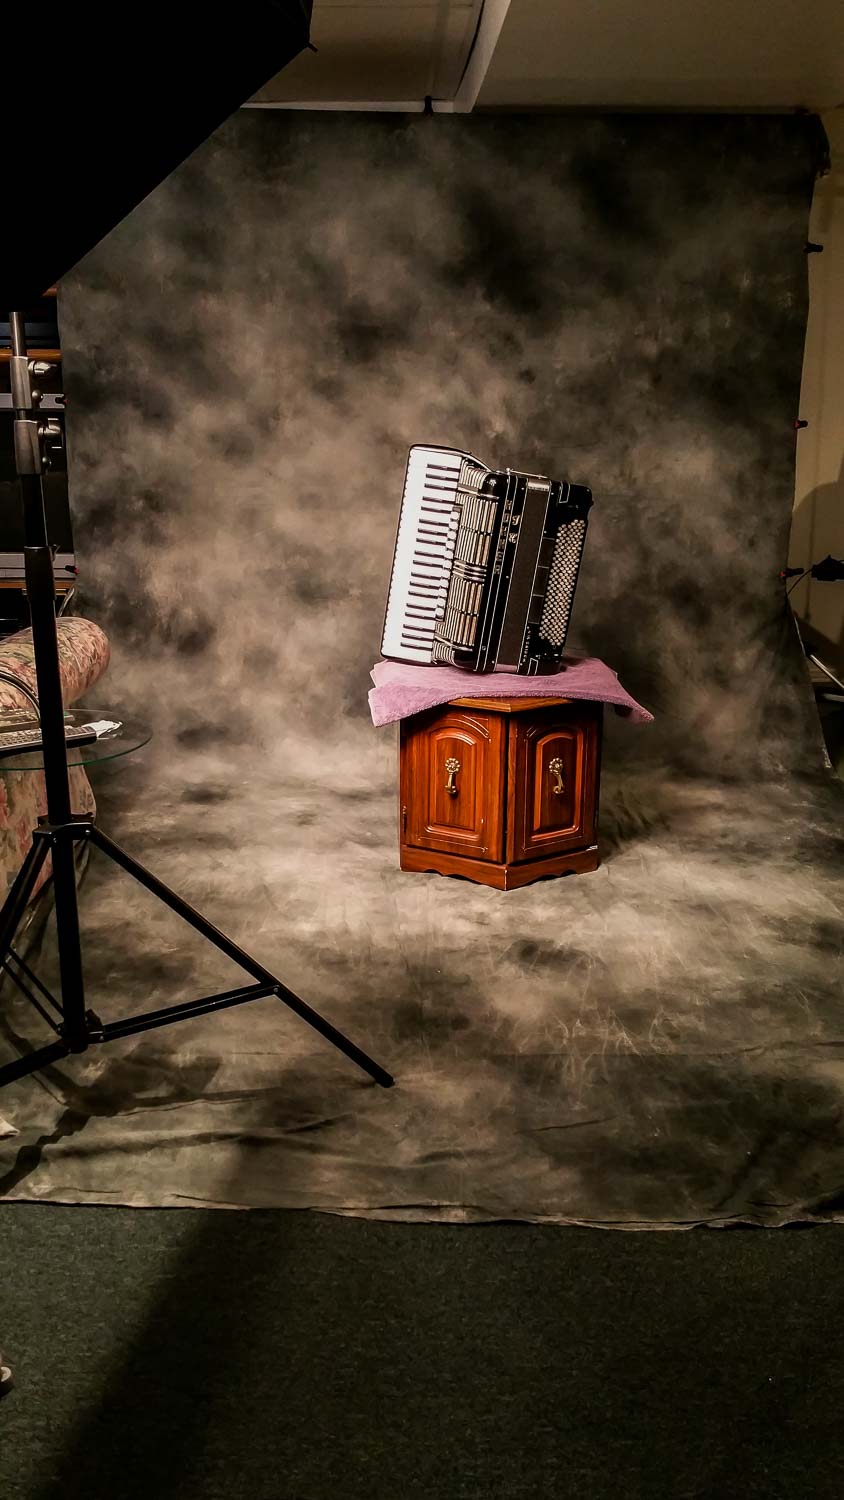
In the final two pictures, you can see a bit of the light stand and the umbrella. I took the pictures with the cell phone camera, so they are far from being of any standard, but good enough to show the setup and make the point.
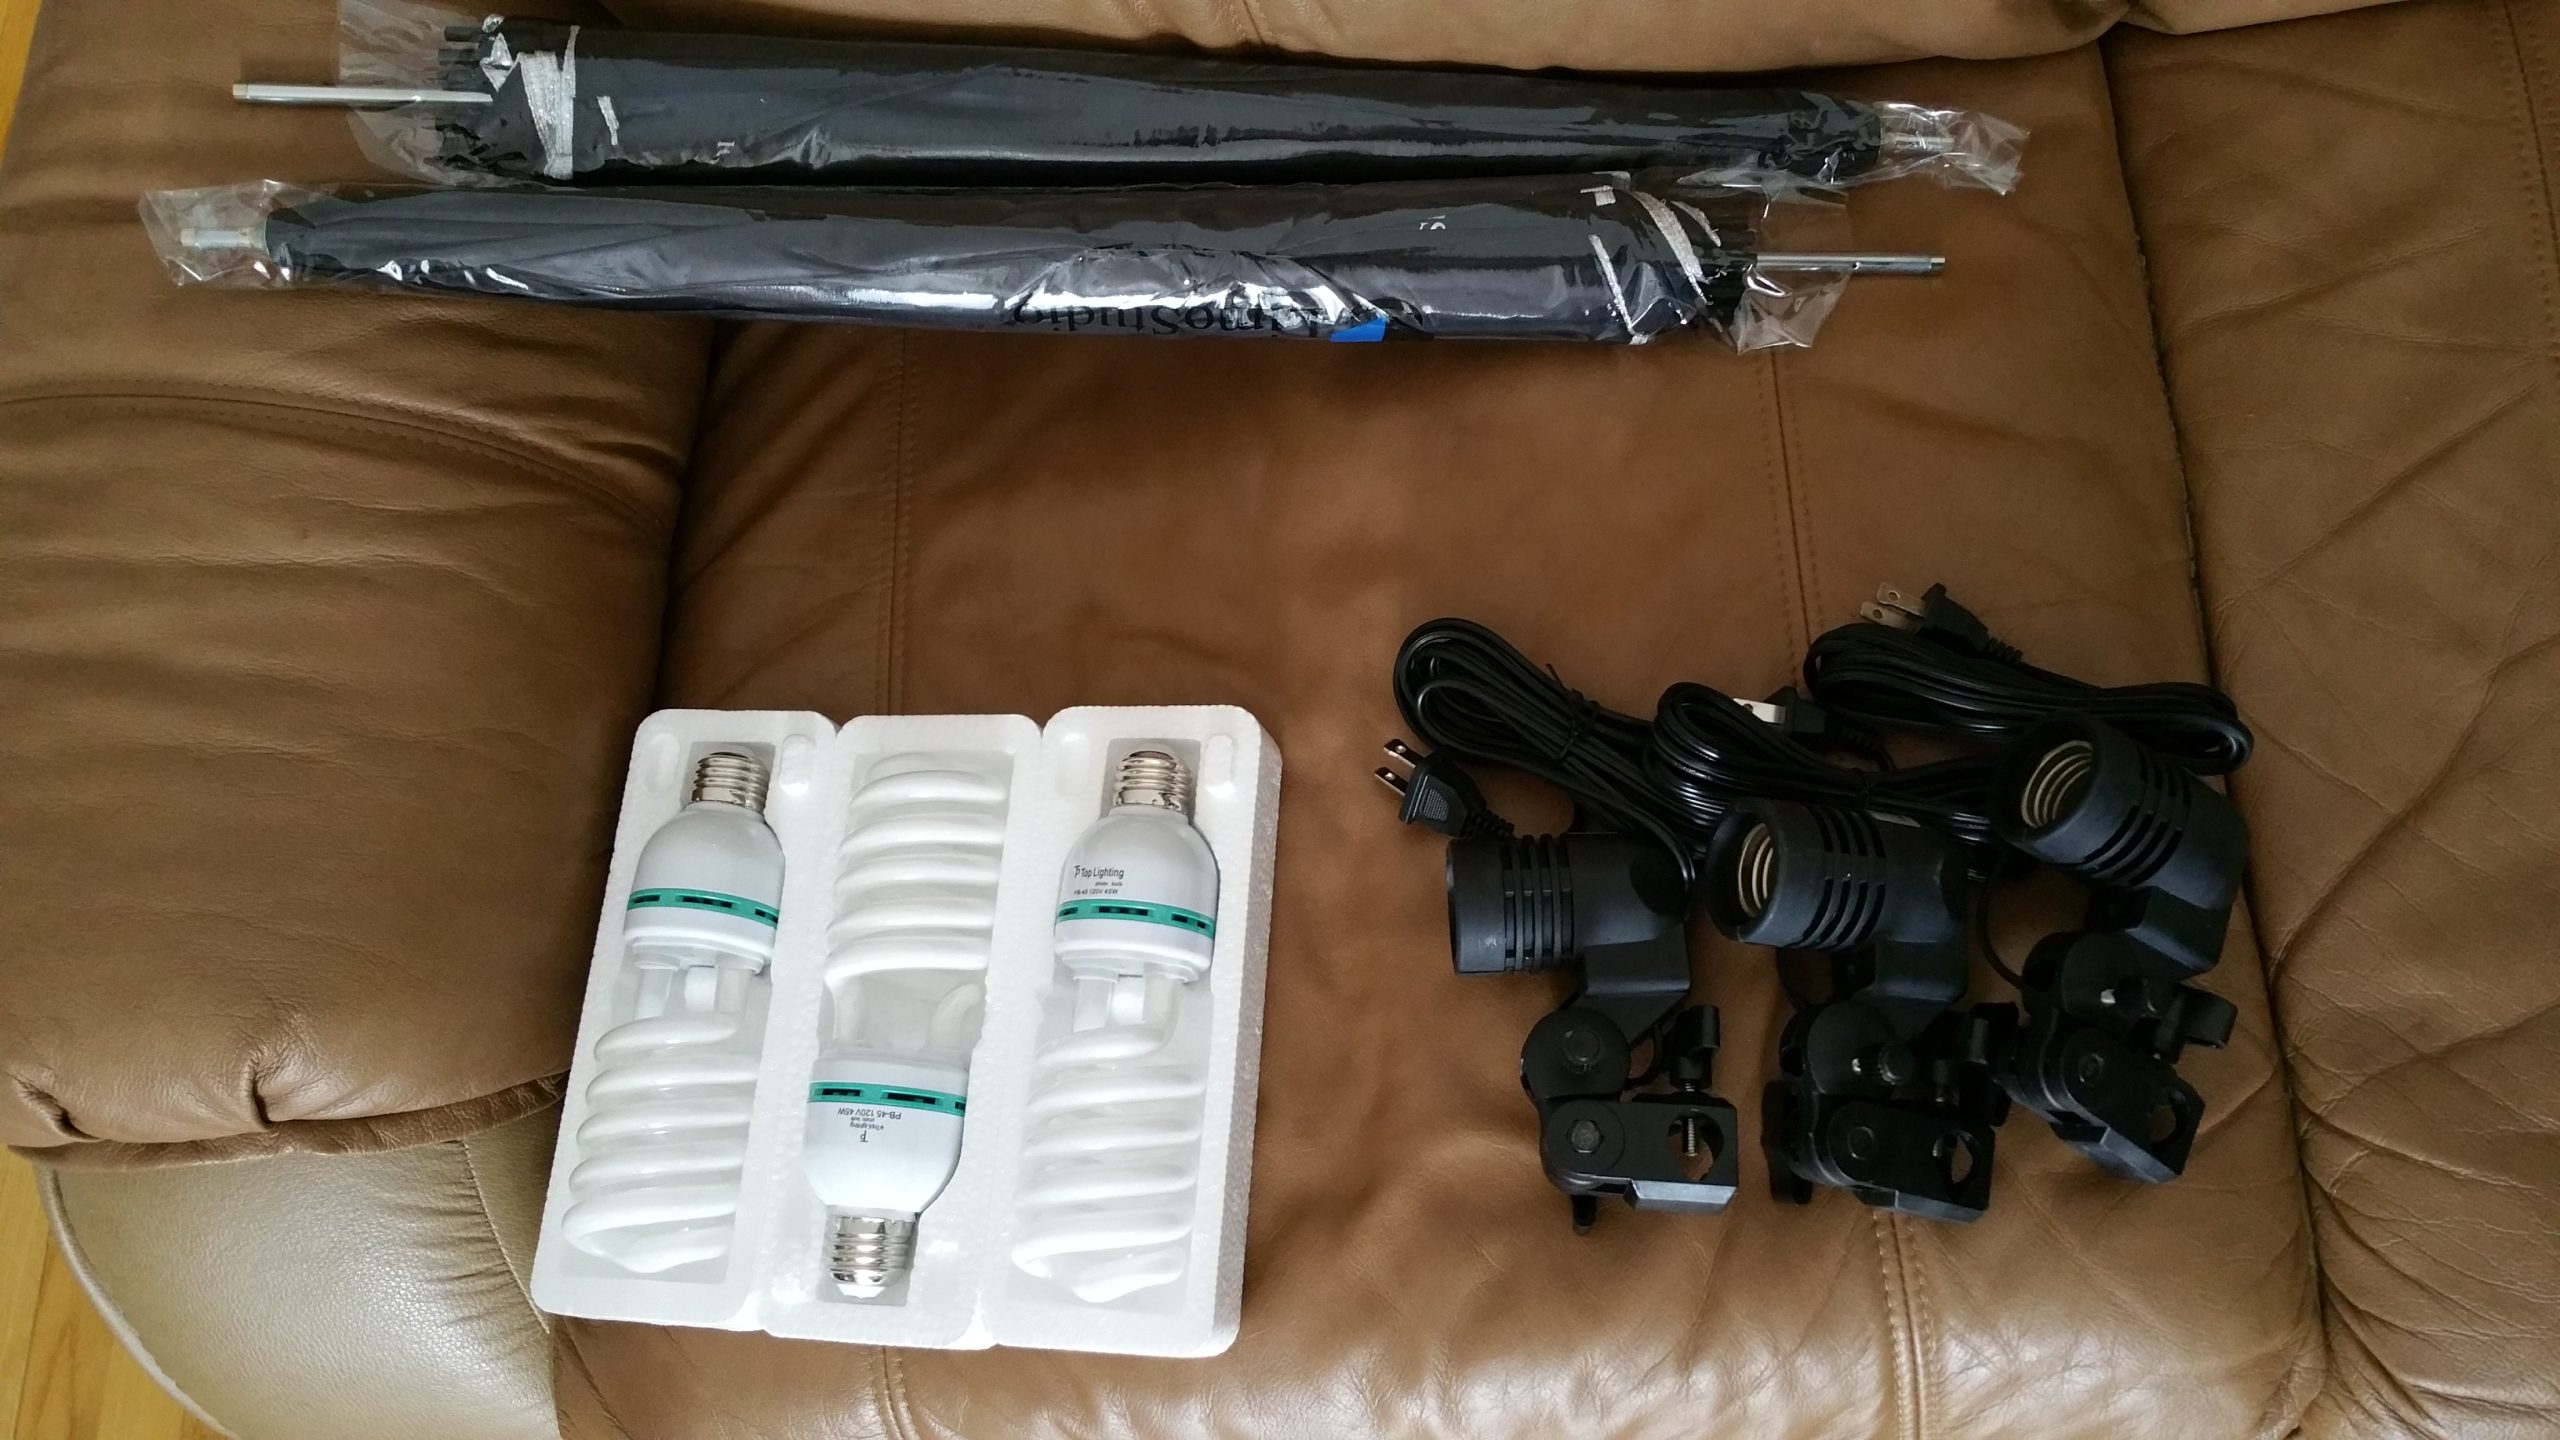
The part that I just ordered is the 3-point constant lighting setup:
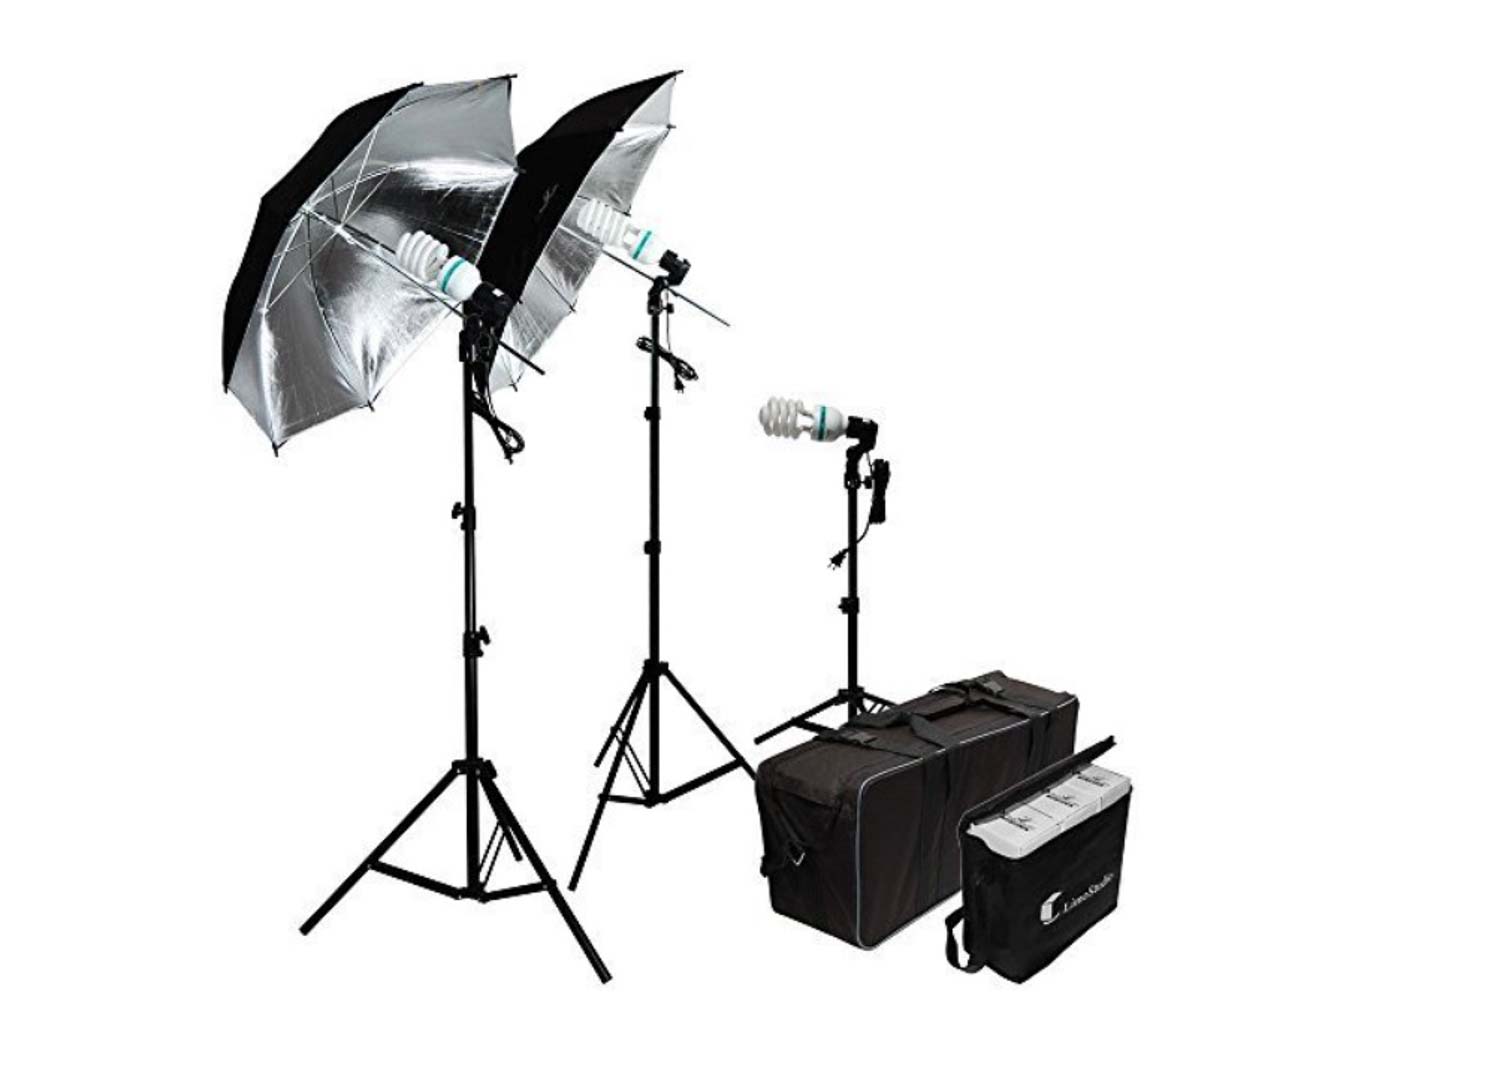
This set was found on Amazon.com by my friend Ed and is ridiculously affordable, so much so that when I saw it, I placed the order almost immediately. They should arrive in about a week for me here in Canada. I am quite excited and look forward for the kit to arrive. I think it will permit me to make some good accordion videos… not just the ones of me playing, but the coming “Roland FR-8X Mild to Wild” series of videos!
Camera Settings?
I plan to try to use my Nikon D4 dSLR camera as the main video camera, since it has a good quality of video that I need, and depending on other factors, I definitely want to use something else (either my Samsung Note 4 or Sony camcorder), as the 2nd angle. Creating this 2nd view at another angle is what is commonly referred to as the “B-Roll” (edit: as of February 25, I now own a Canon Vixia HF R70, what I think is the perfect “B-Roll” camera).
I’ve not had a chance to receive my video lights yet (they’re stranded in Nevada somewhere thanks to a snow storm), so I cannot really know how bright the lights are in real life, but I can try a half educated guess. I’ll want to keep ISO fairly low, somewhere under ISO 1600. Focal length between 50-85mm. Aperture somewhere in the range of F/2.8- F/4 for good sharpness. Smaller apertures will give a greater depth of field, of course. Shutter speed somewhere between 150th-1200th depending on both no flicker and proper exposure desired.
More to come as I start this new phase of my story!
Addendum: February 19, 2017
Today I did some testing and the results were quite interesting! First off, the camera settings using my single umbrella and the 150 watt bulb were: ISO 1250, Aperture of F/2.8 and shutter speed of 1/100th. There was zero flickering and if anything it all looked quite good. Though the D4 can easily handle these settings, I think a camcorder would be struggling, so more light is needed besides this one.
I also found out that the on camera mic of my D4 is great for voice, not so good for music and neither is the shotgun mic! I also tested digital output from the Roland BK-7m and it was a lot better, however there were 2 issues:
1 – I did not like the balance as it came out (though this can be adjusted, the ultimate solution is to record directly to the DAW).
2 – The BK does not start to record until the rhythm is started, so any long intros you play before the rhythm starts are not captured! This may be a setting that I can change, but don’t care enough since reason #1 kind of overrides this reason.
I think that the coming video lights are going to be brighter and so ISO will be lower and/or a smaller aperture will be used, so the shots will be more in focus as I move back and forth. I really do need that F/5.6 for reasonable depth of field.
I made a short test video that shows the results of the settings above and of the analog and digital captures of the music and switch back and forth in the video.
Check out my YouTube video on this topic:
Addendum: February 25, 2017
YAY! The lights came in! Not only that, I also picked up a nice lower end camcorder that I hope is going to help me make some better videos too! The video camera is a Canon Vixia HF R70.
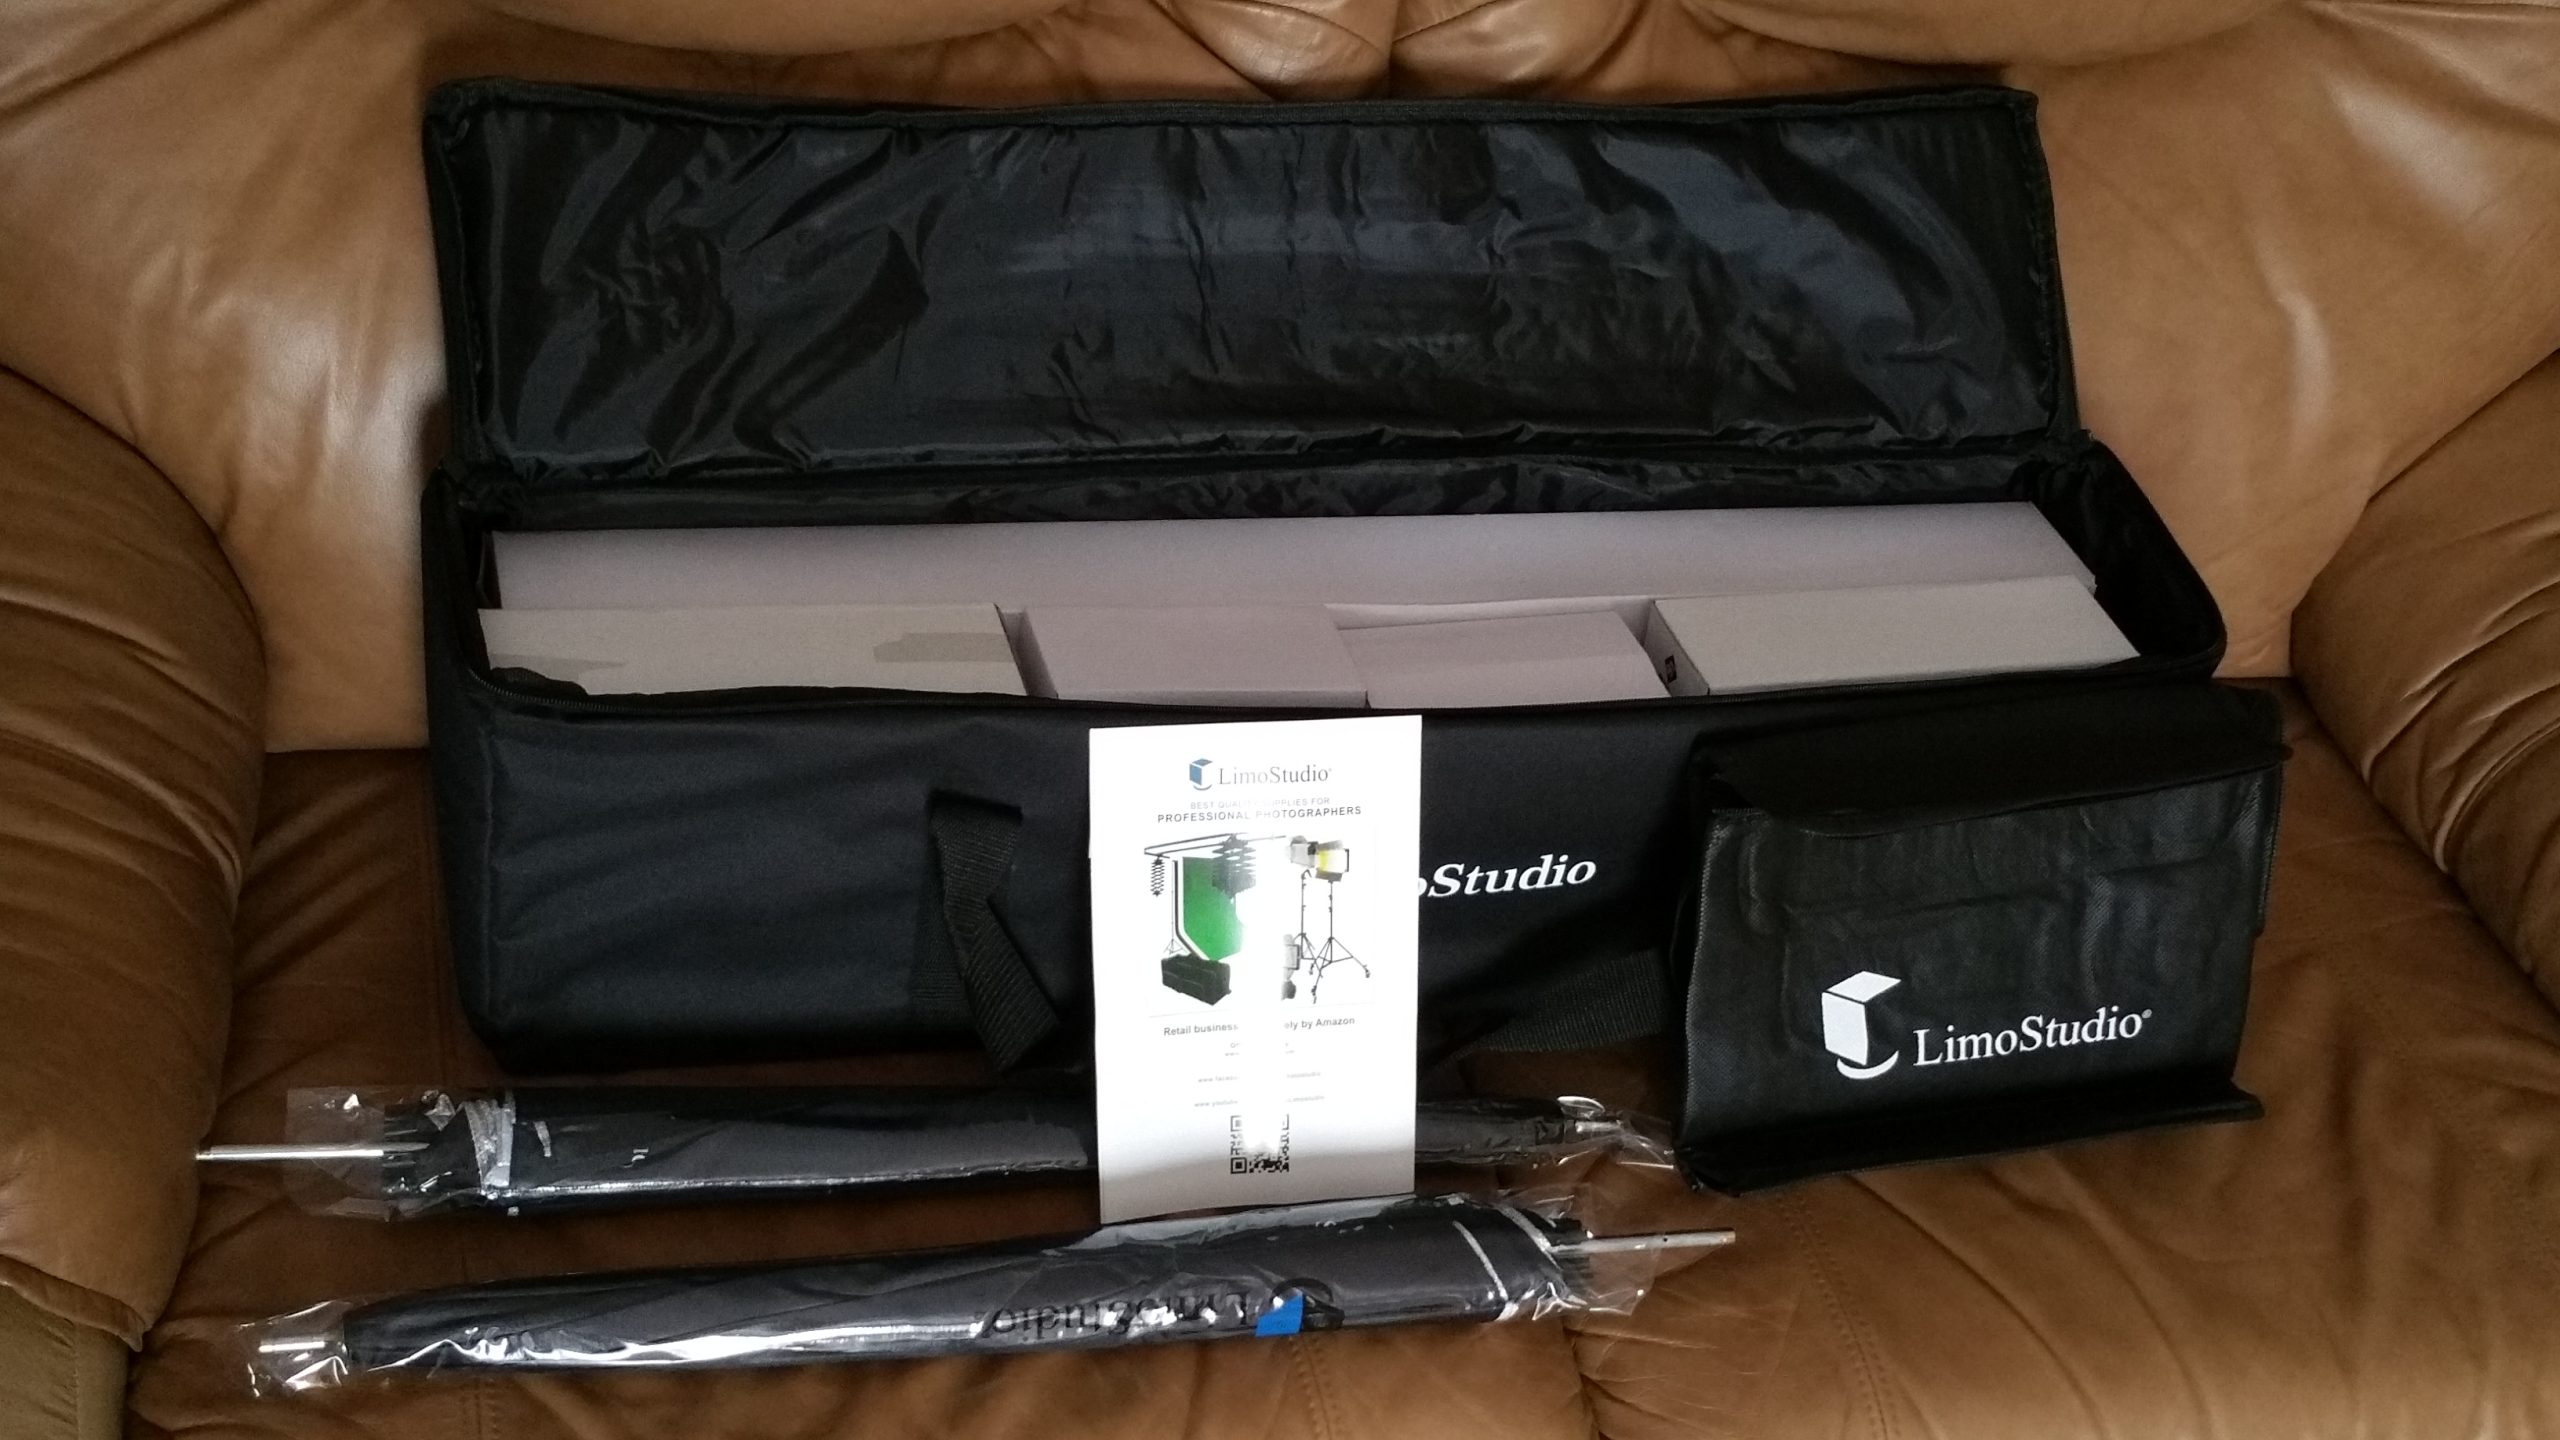
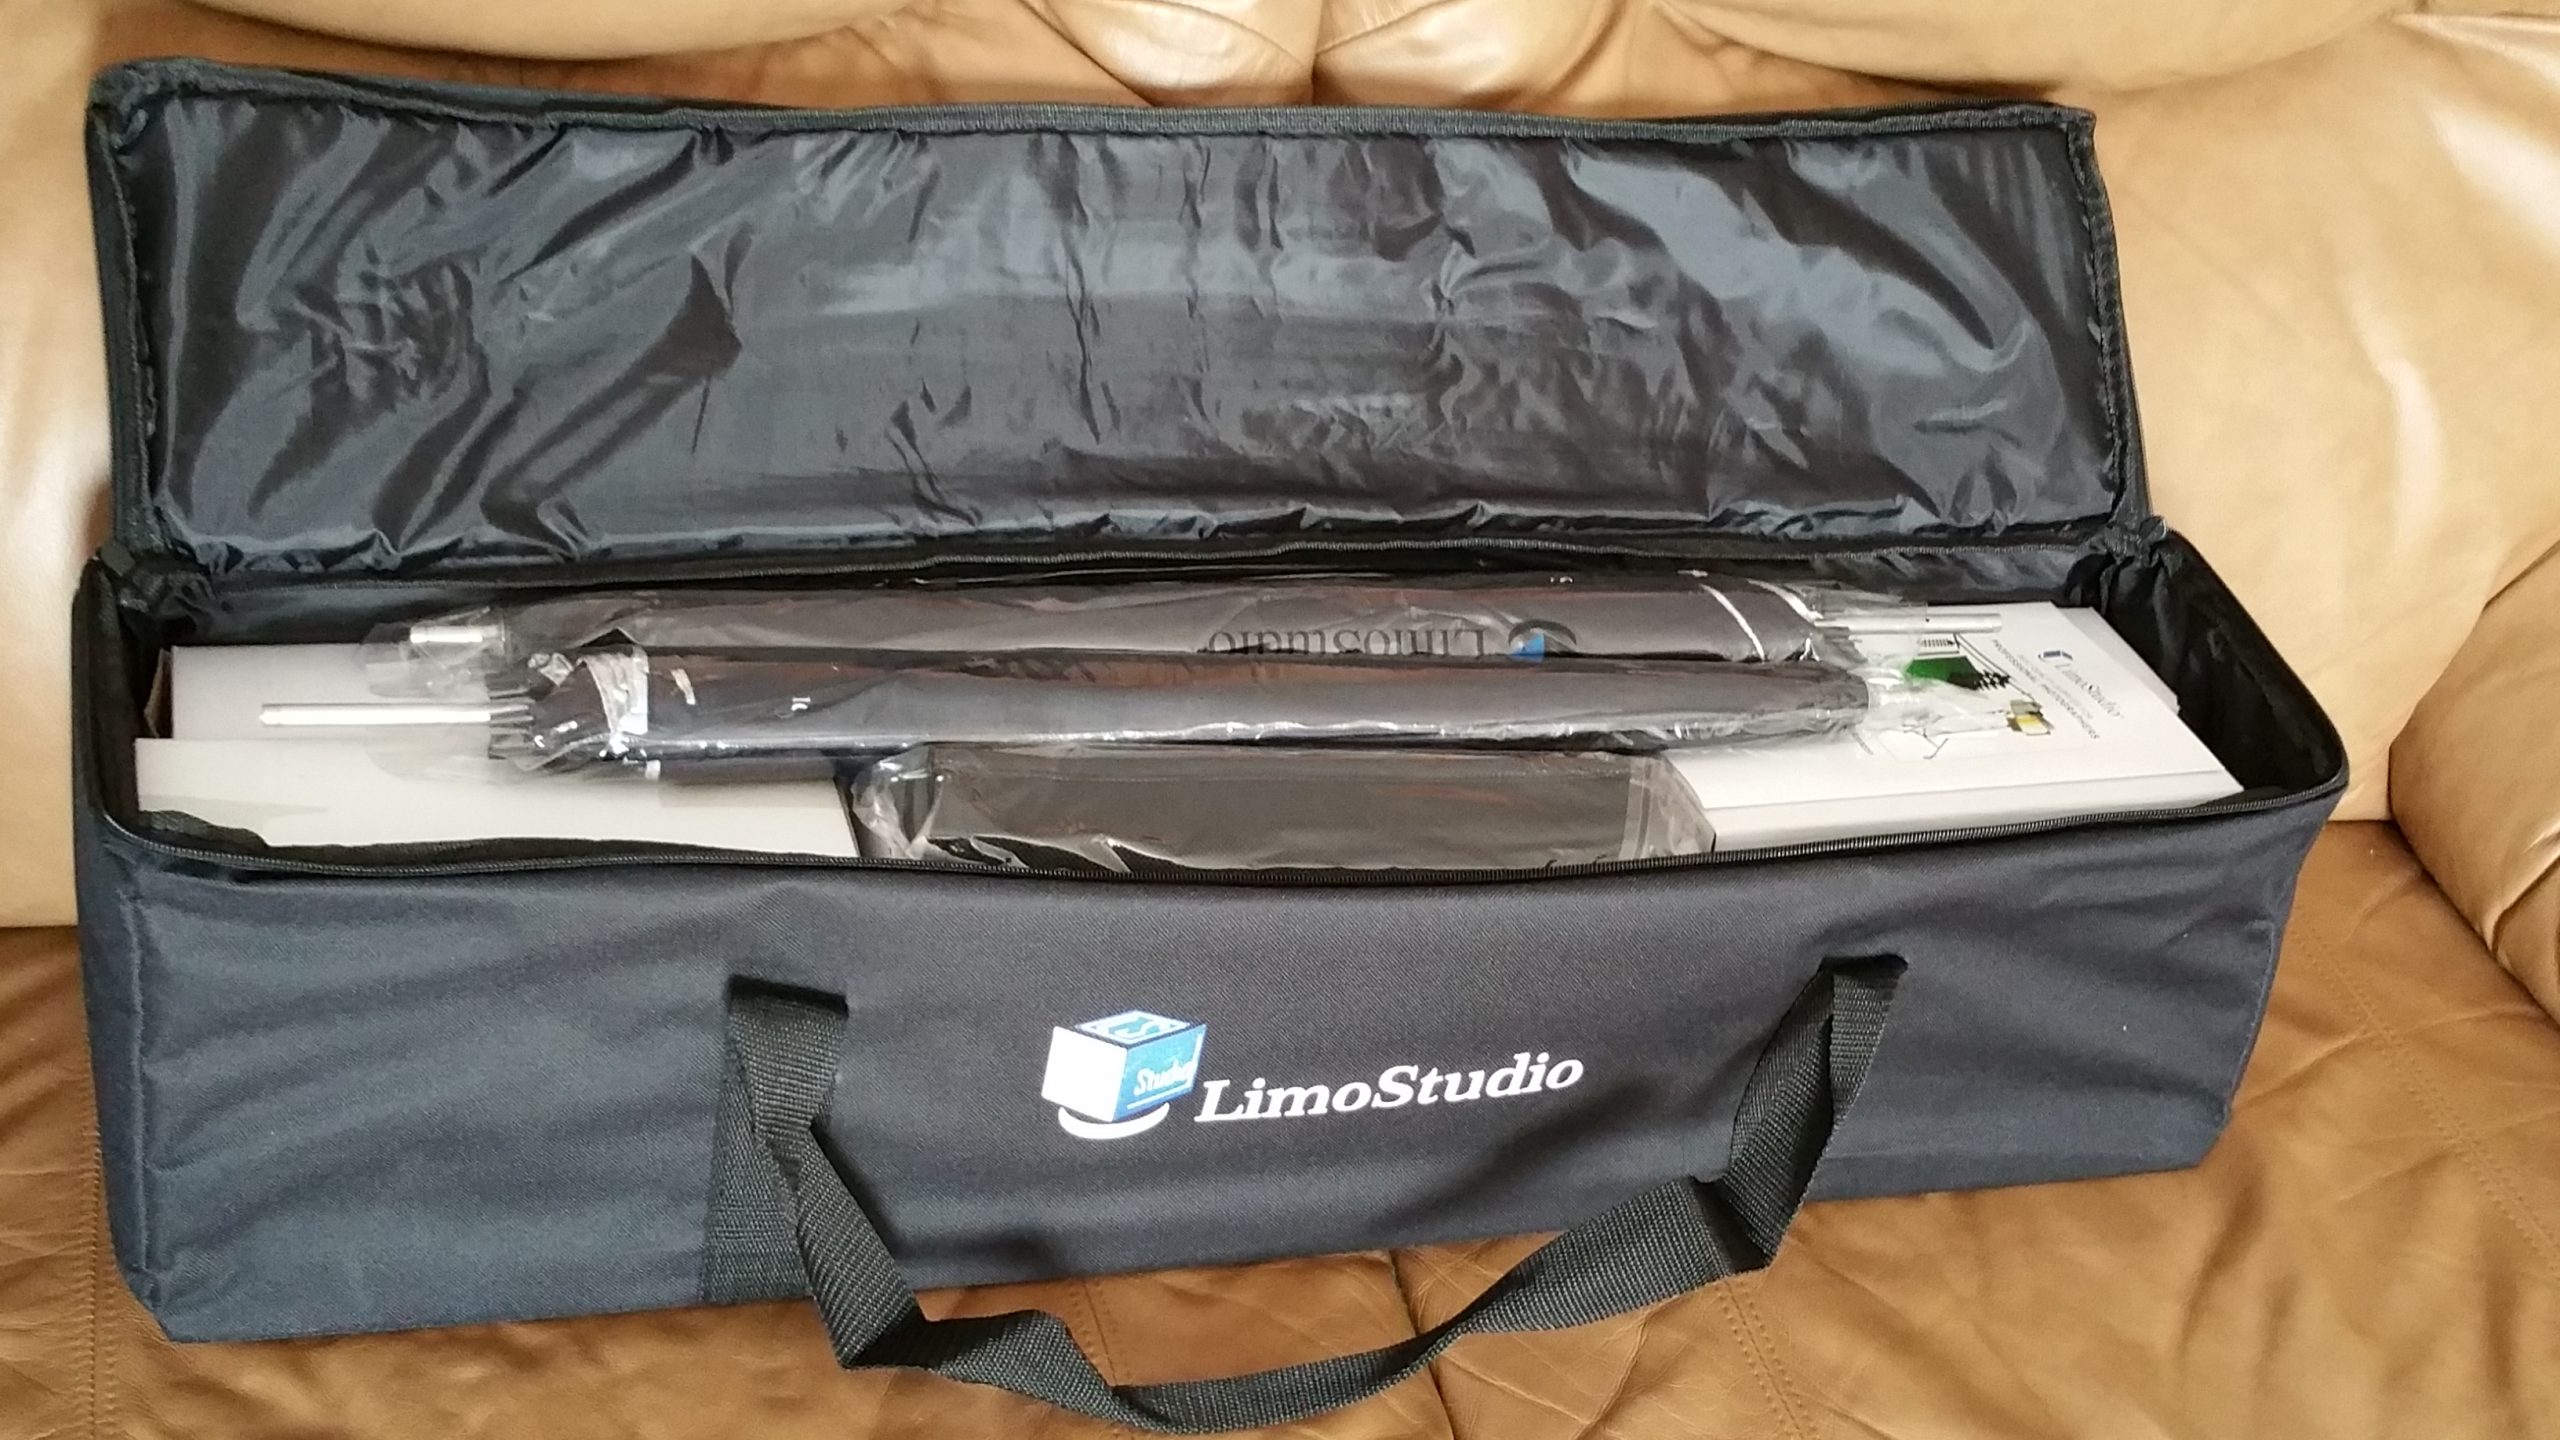
First, how do the lights look? Well, let’s say that for $54.00US, I got my money’s worth. I paid a very low price, and I received some very low quality items. That said, I am an amateur and I just don’t need to spend thousands on lighting equipment to accomplish my personal goals when it comes to making videos, this stuff will do me just fine and then some. I am no less excited to get them!
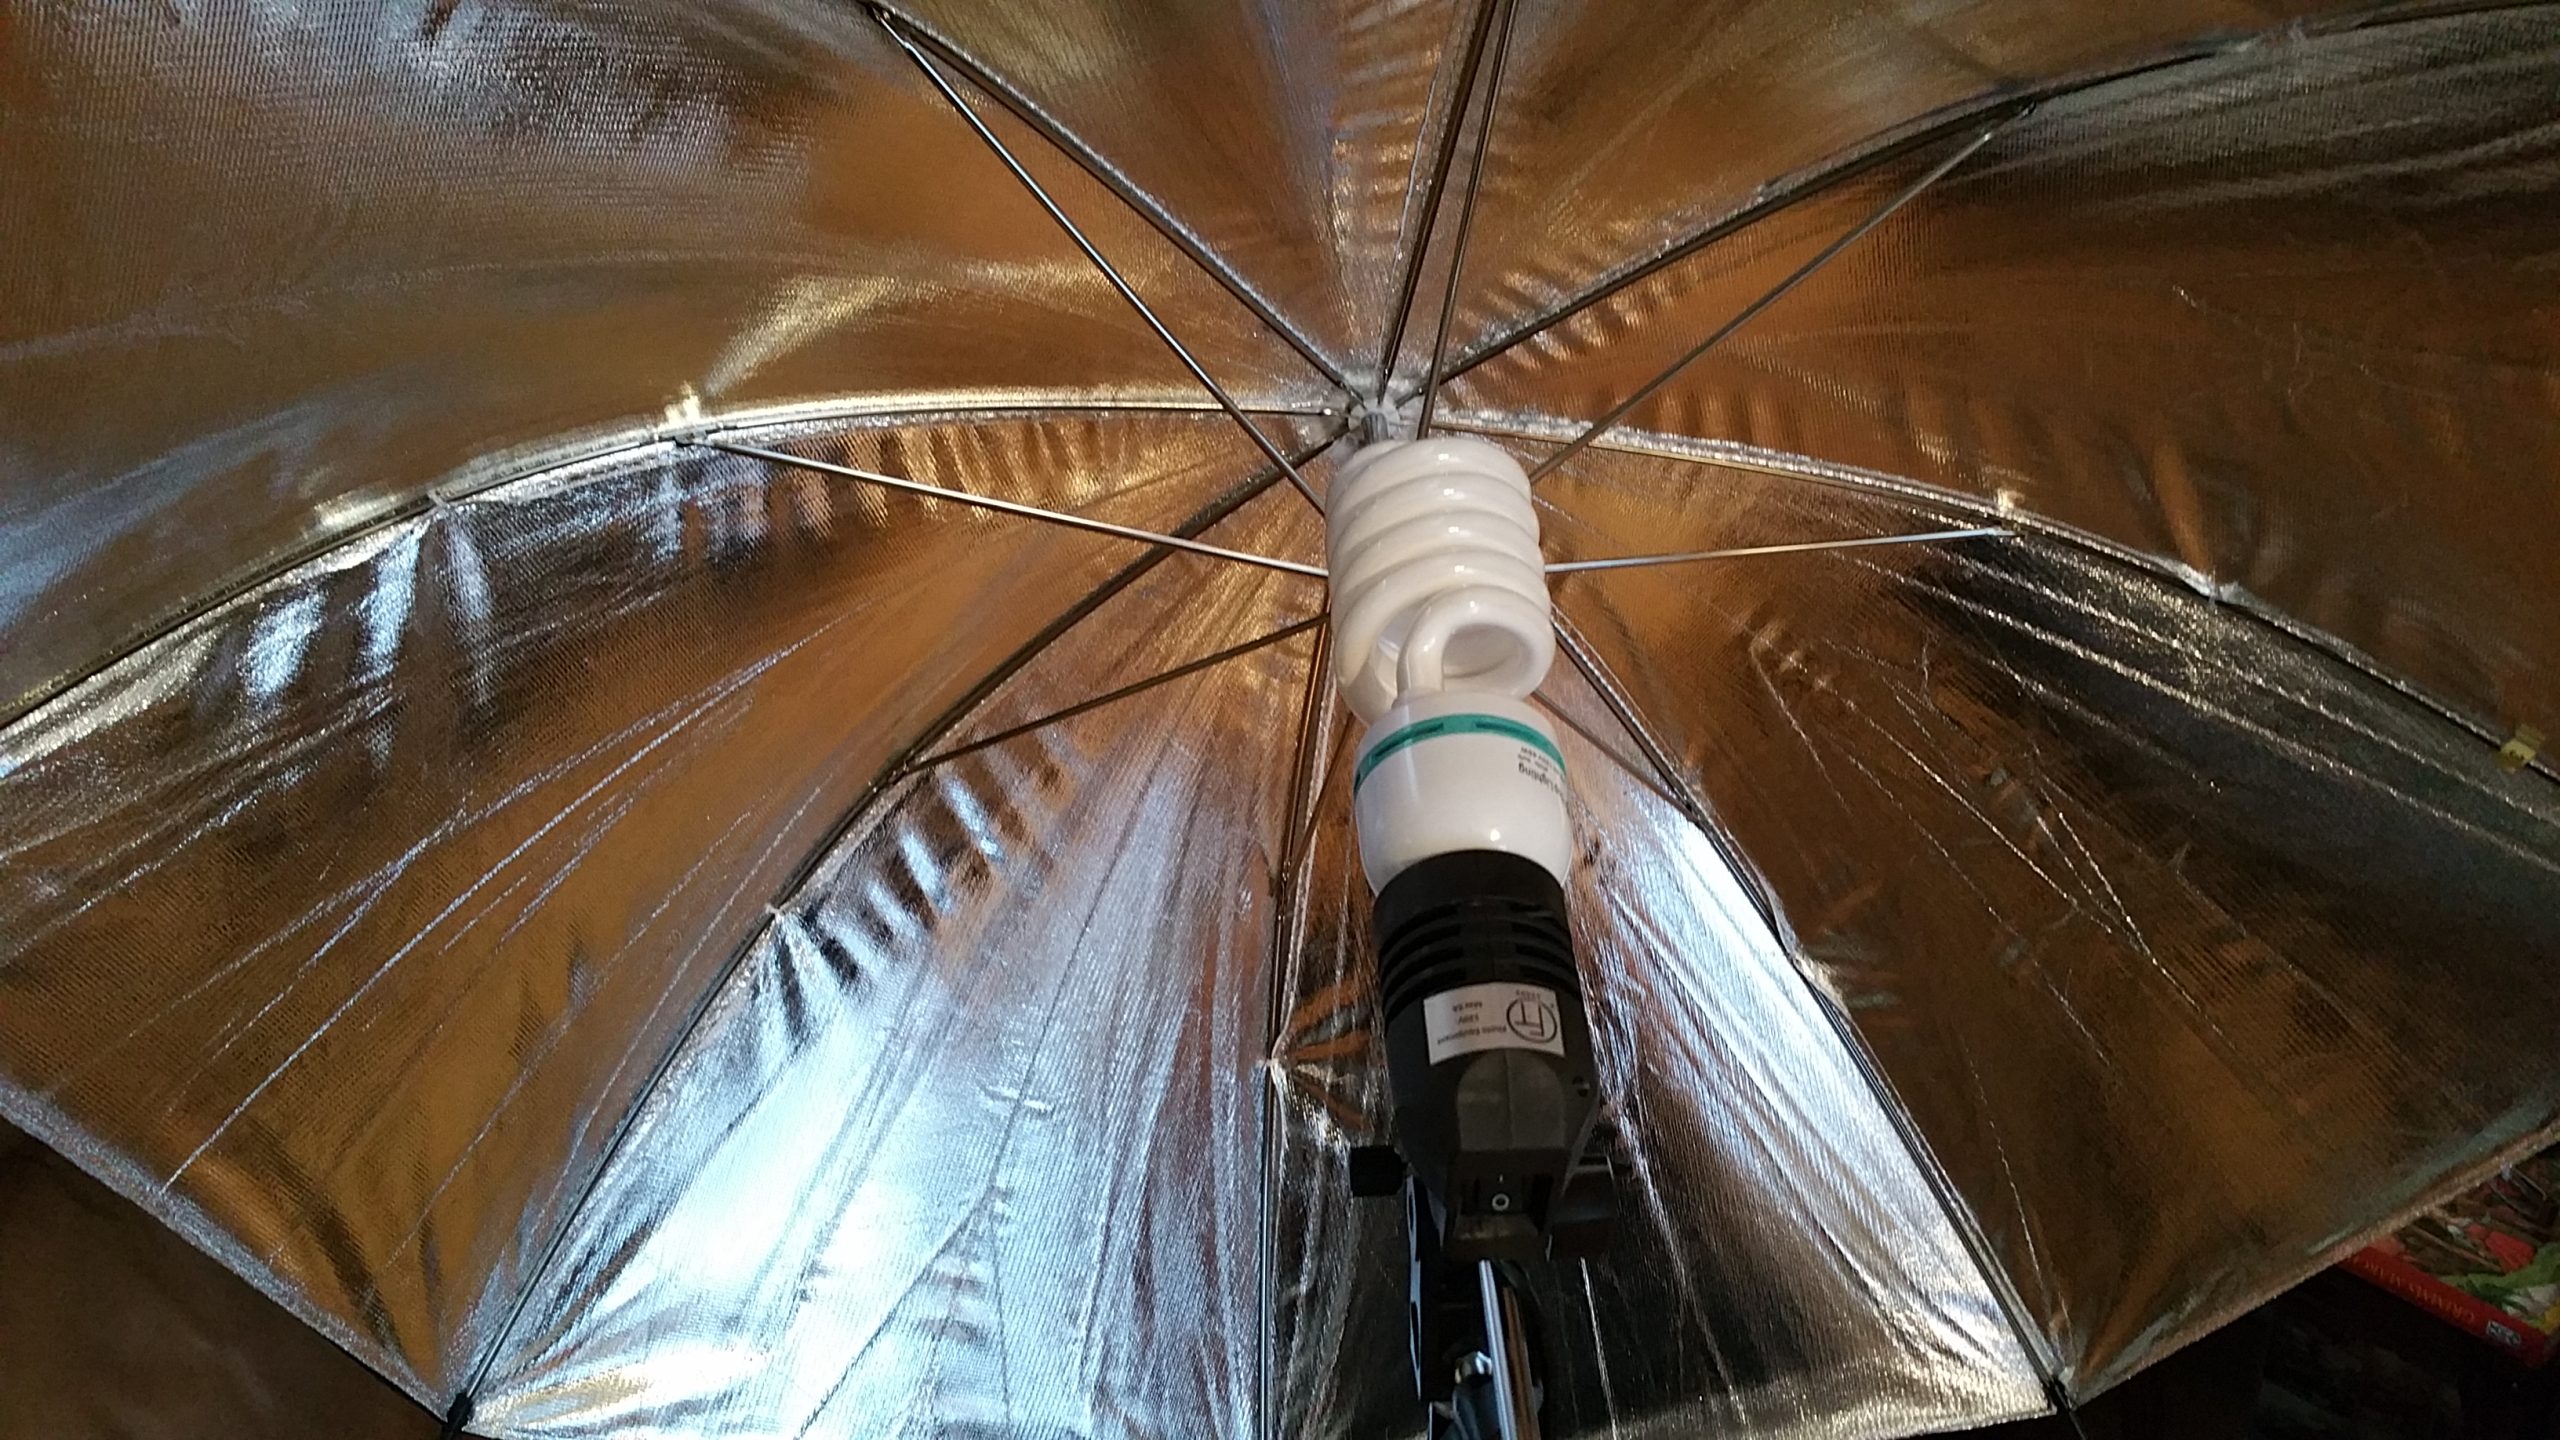
Here is what the lighting kit looks like:
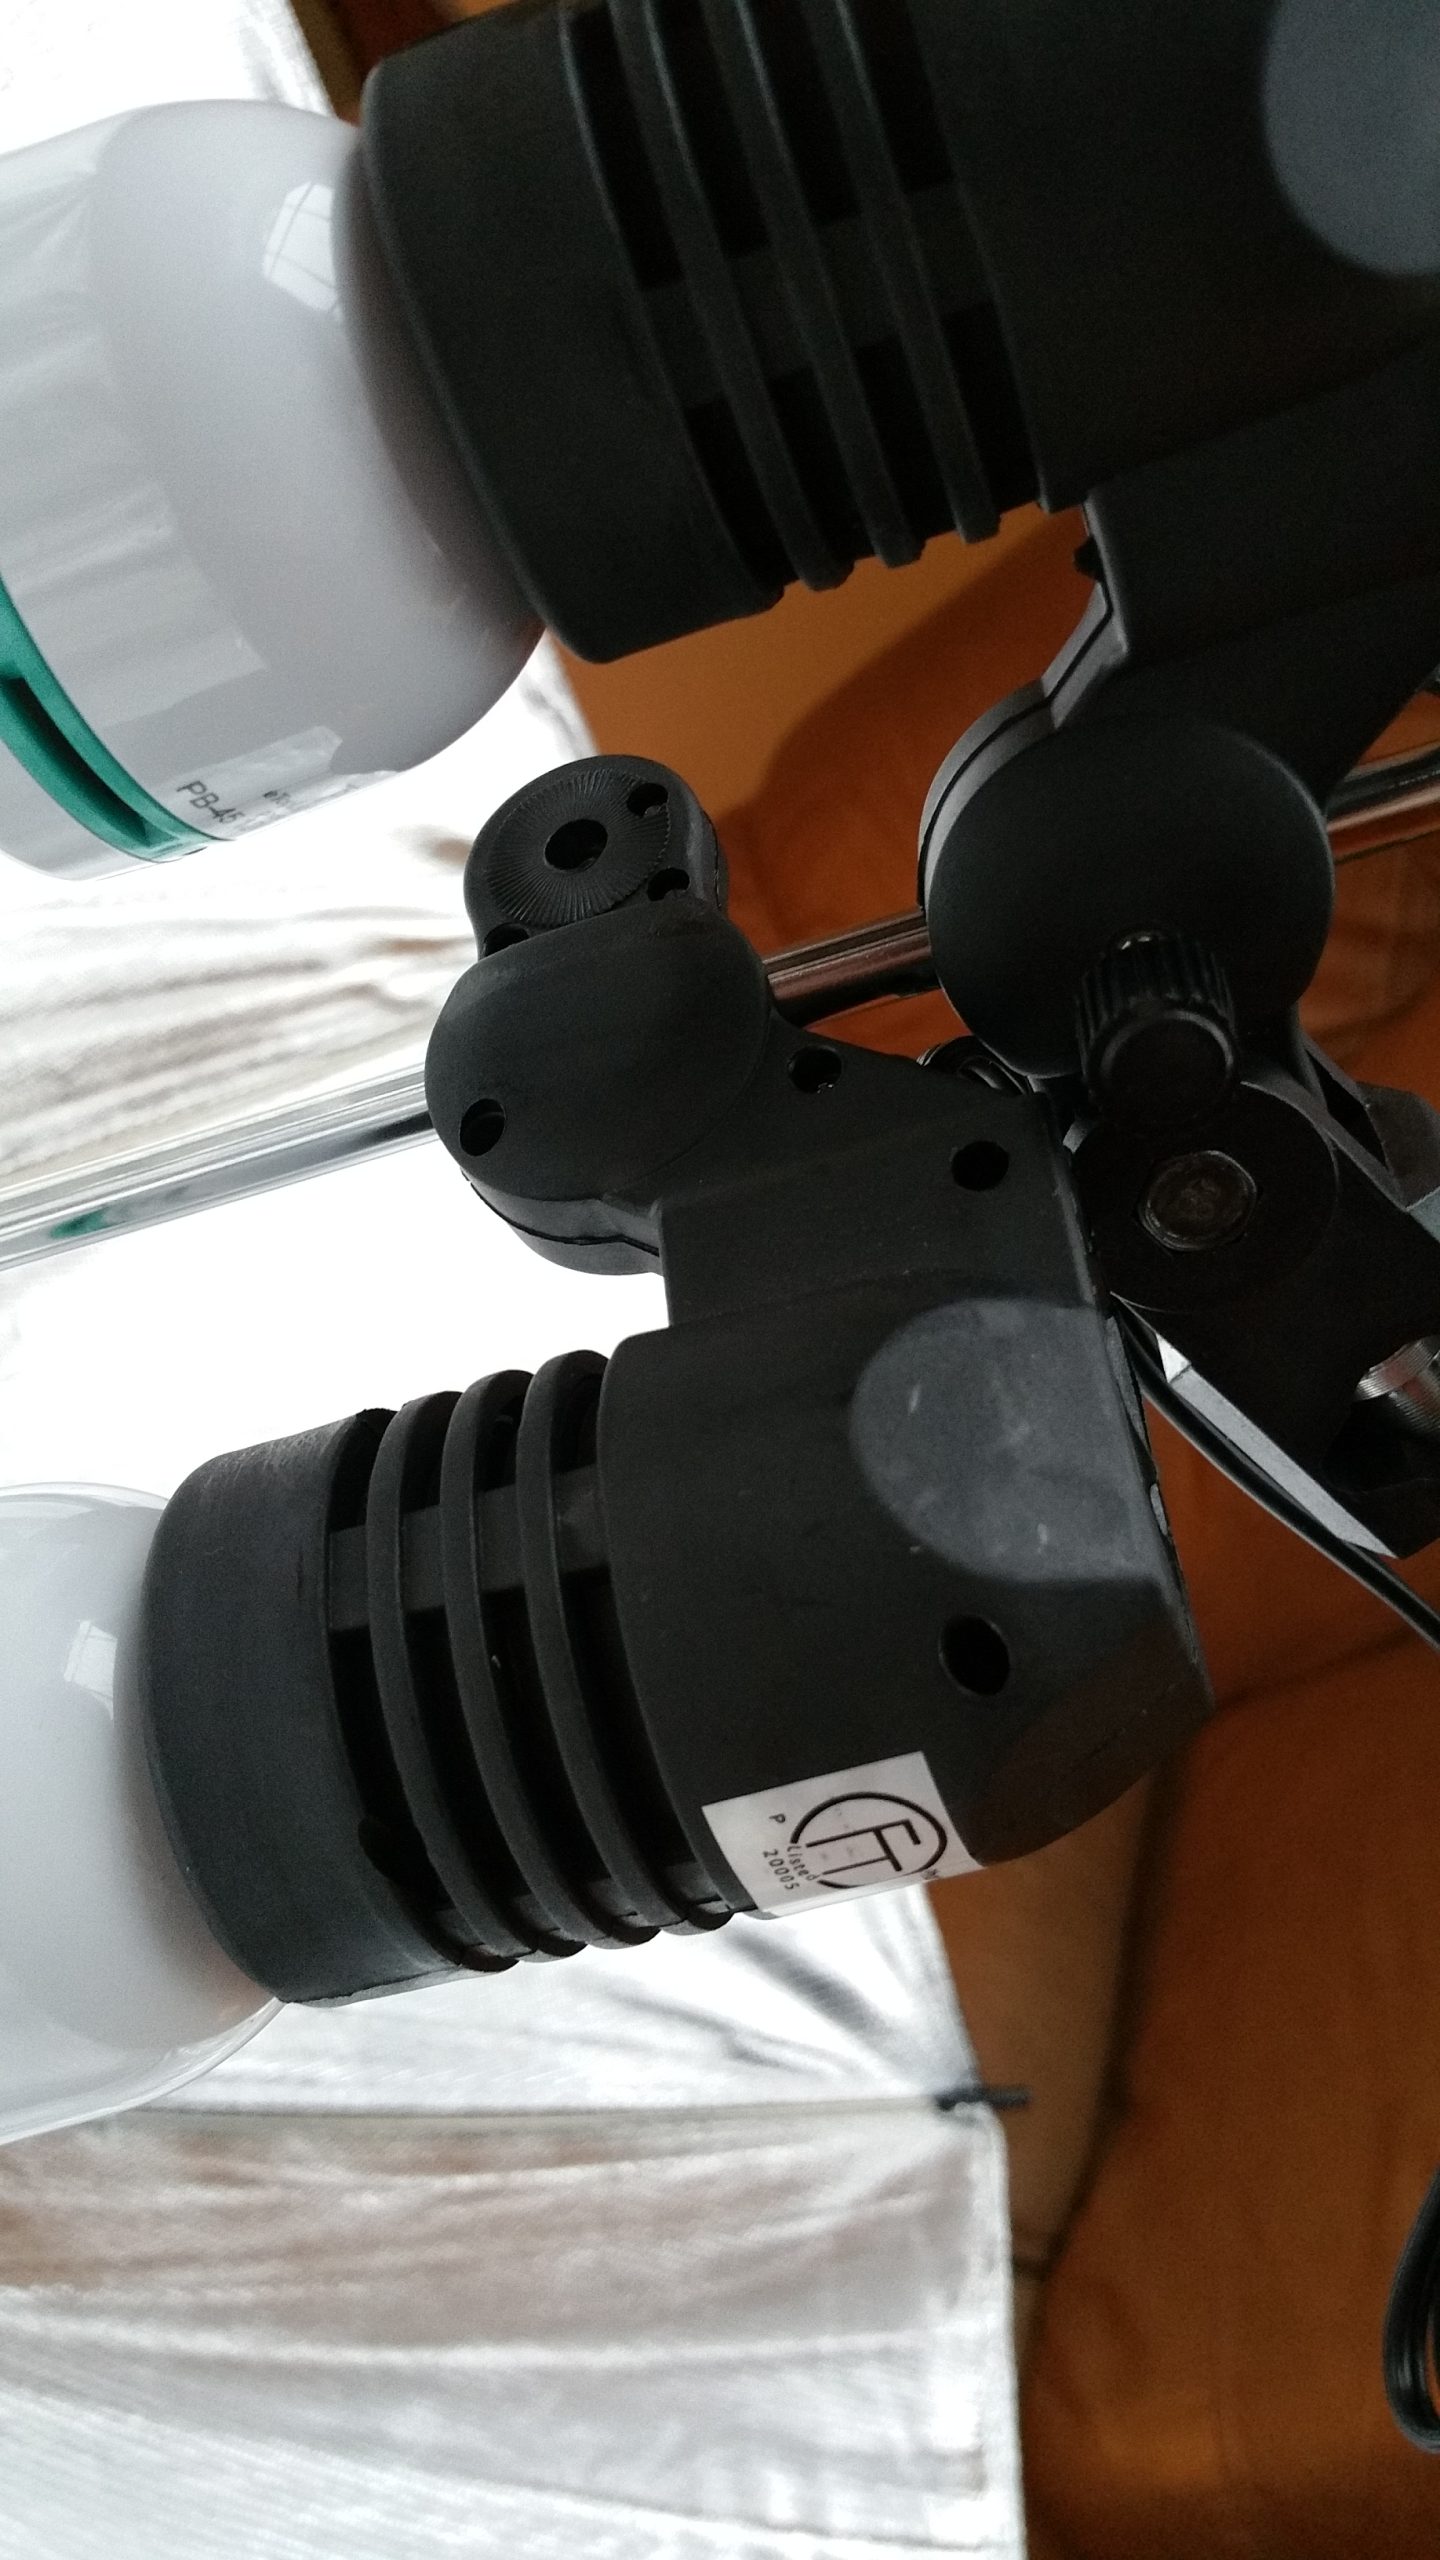
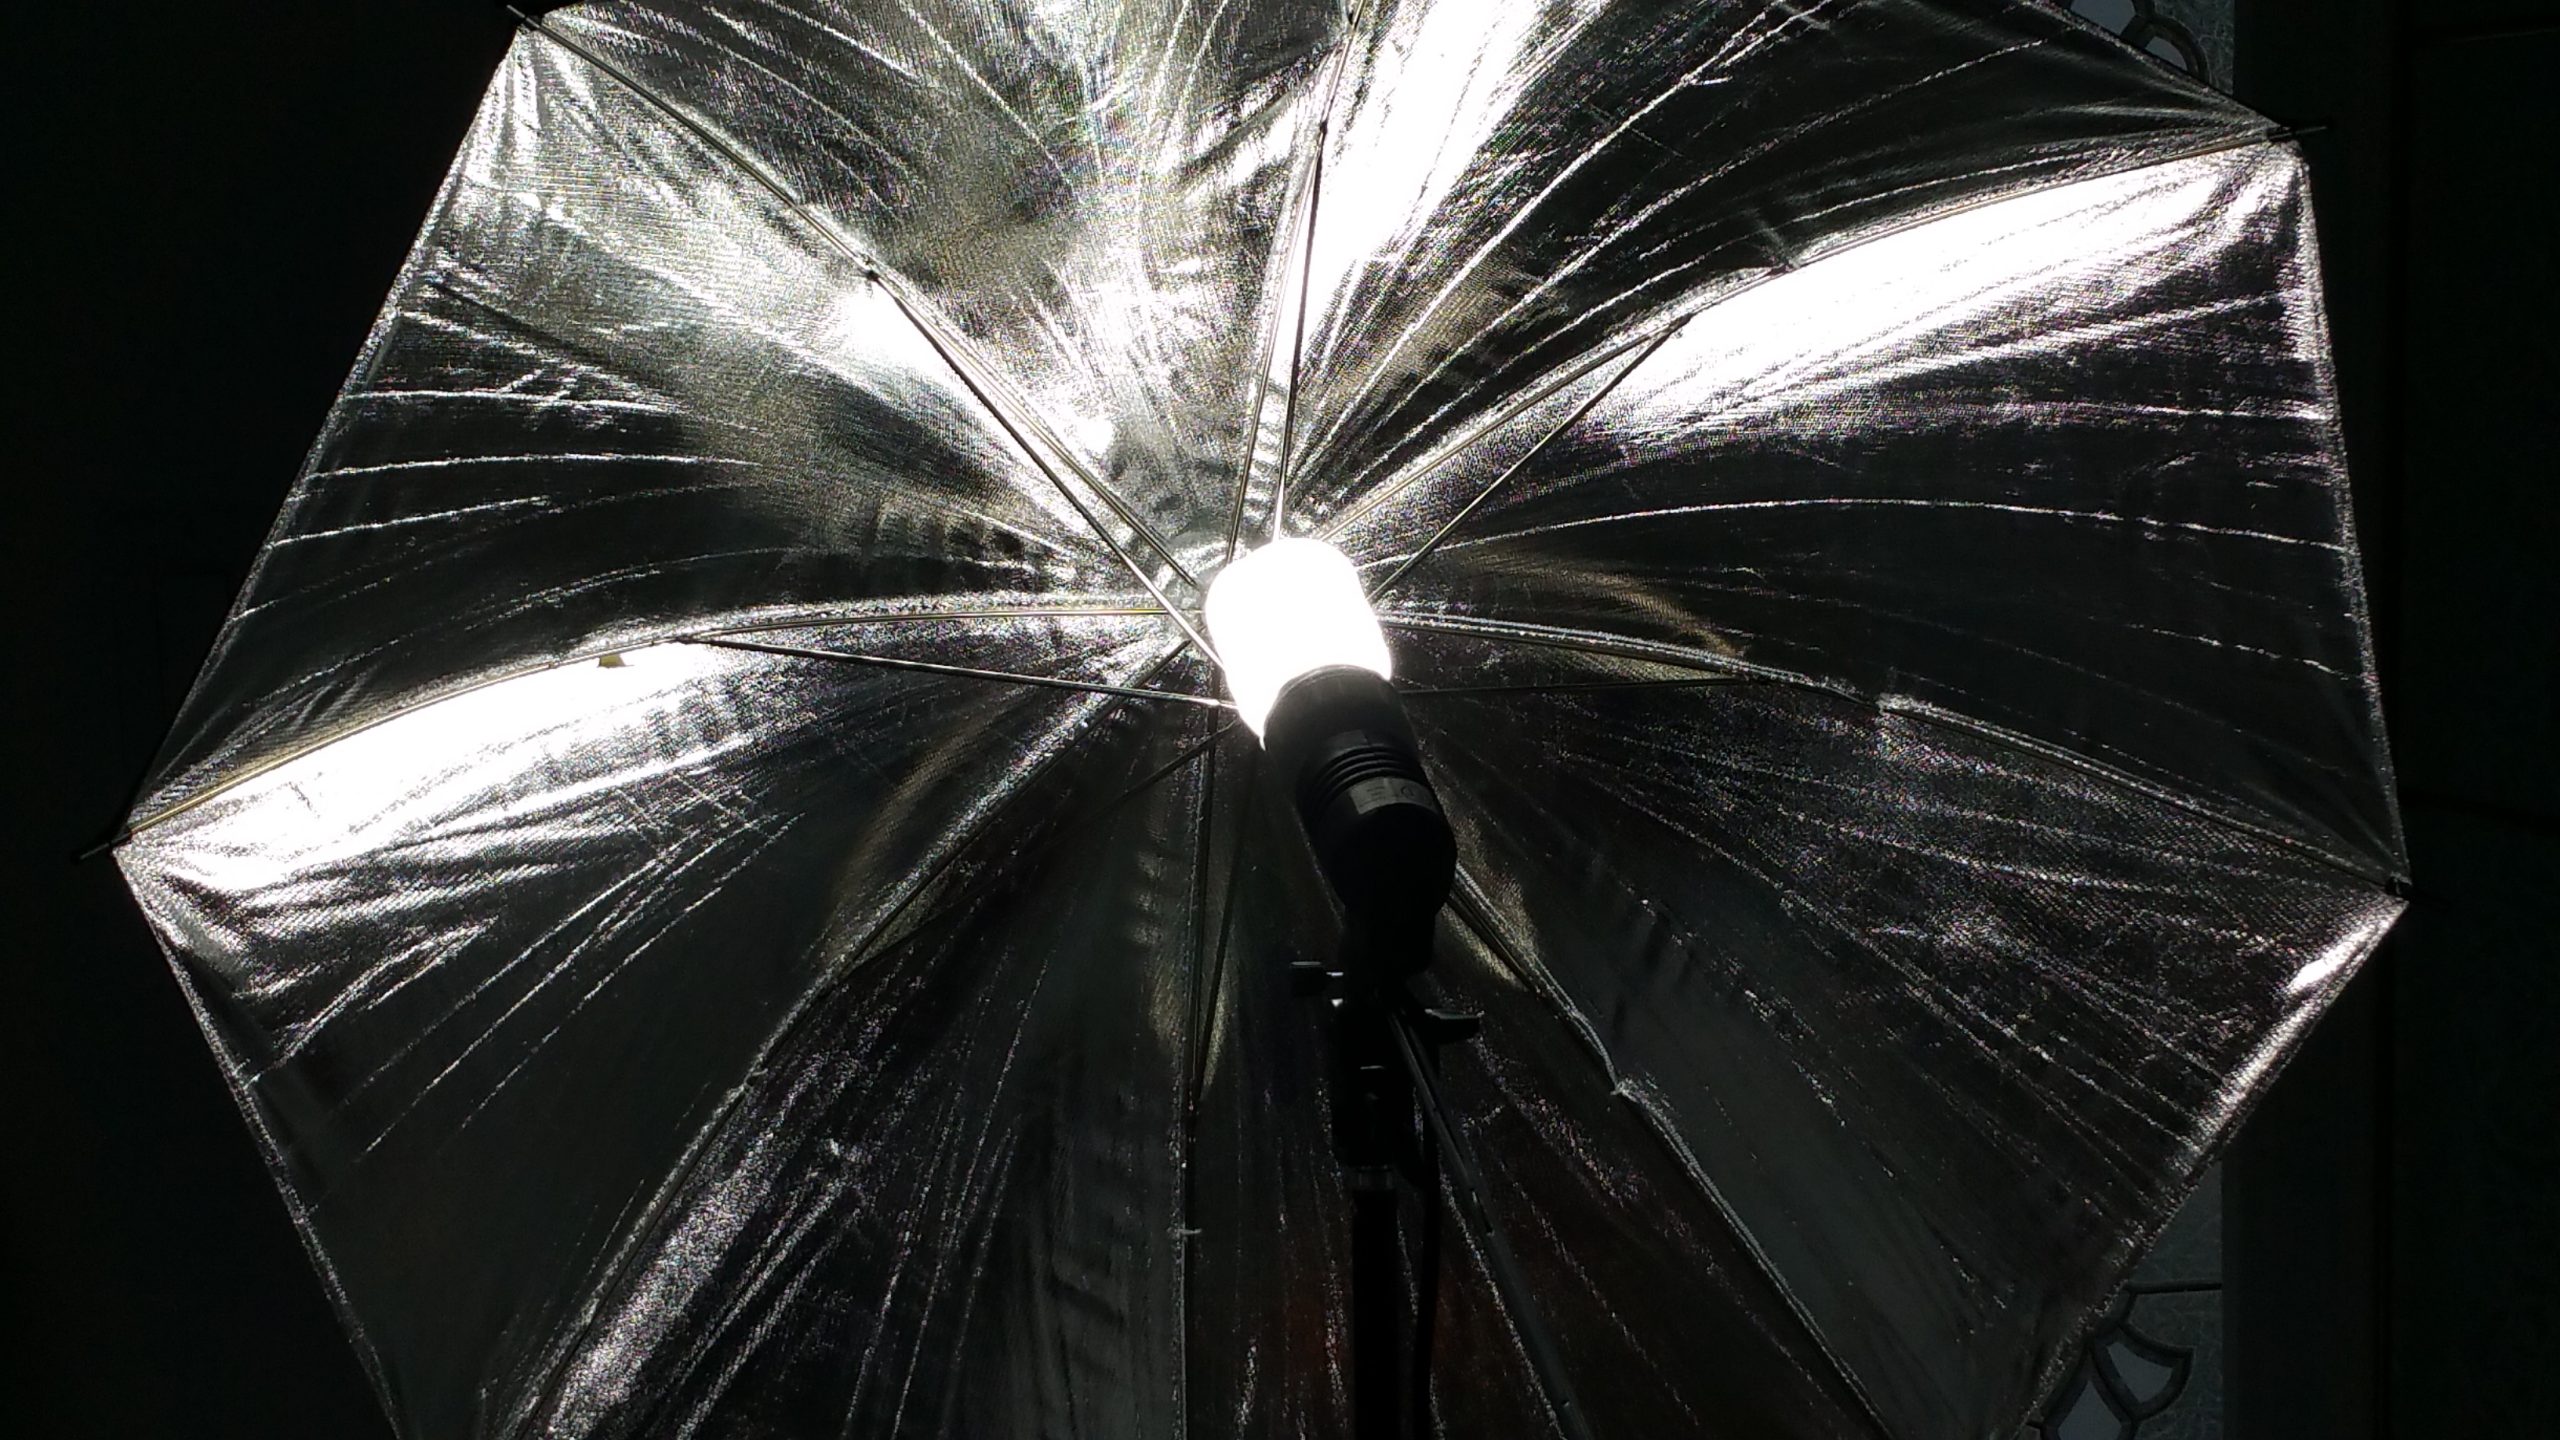
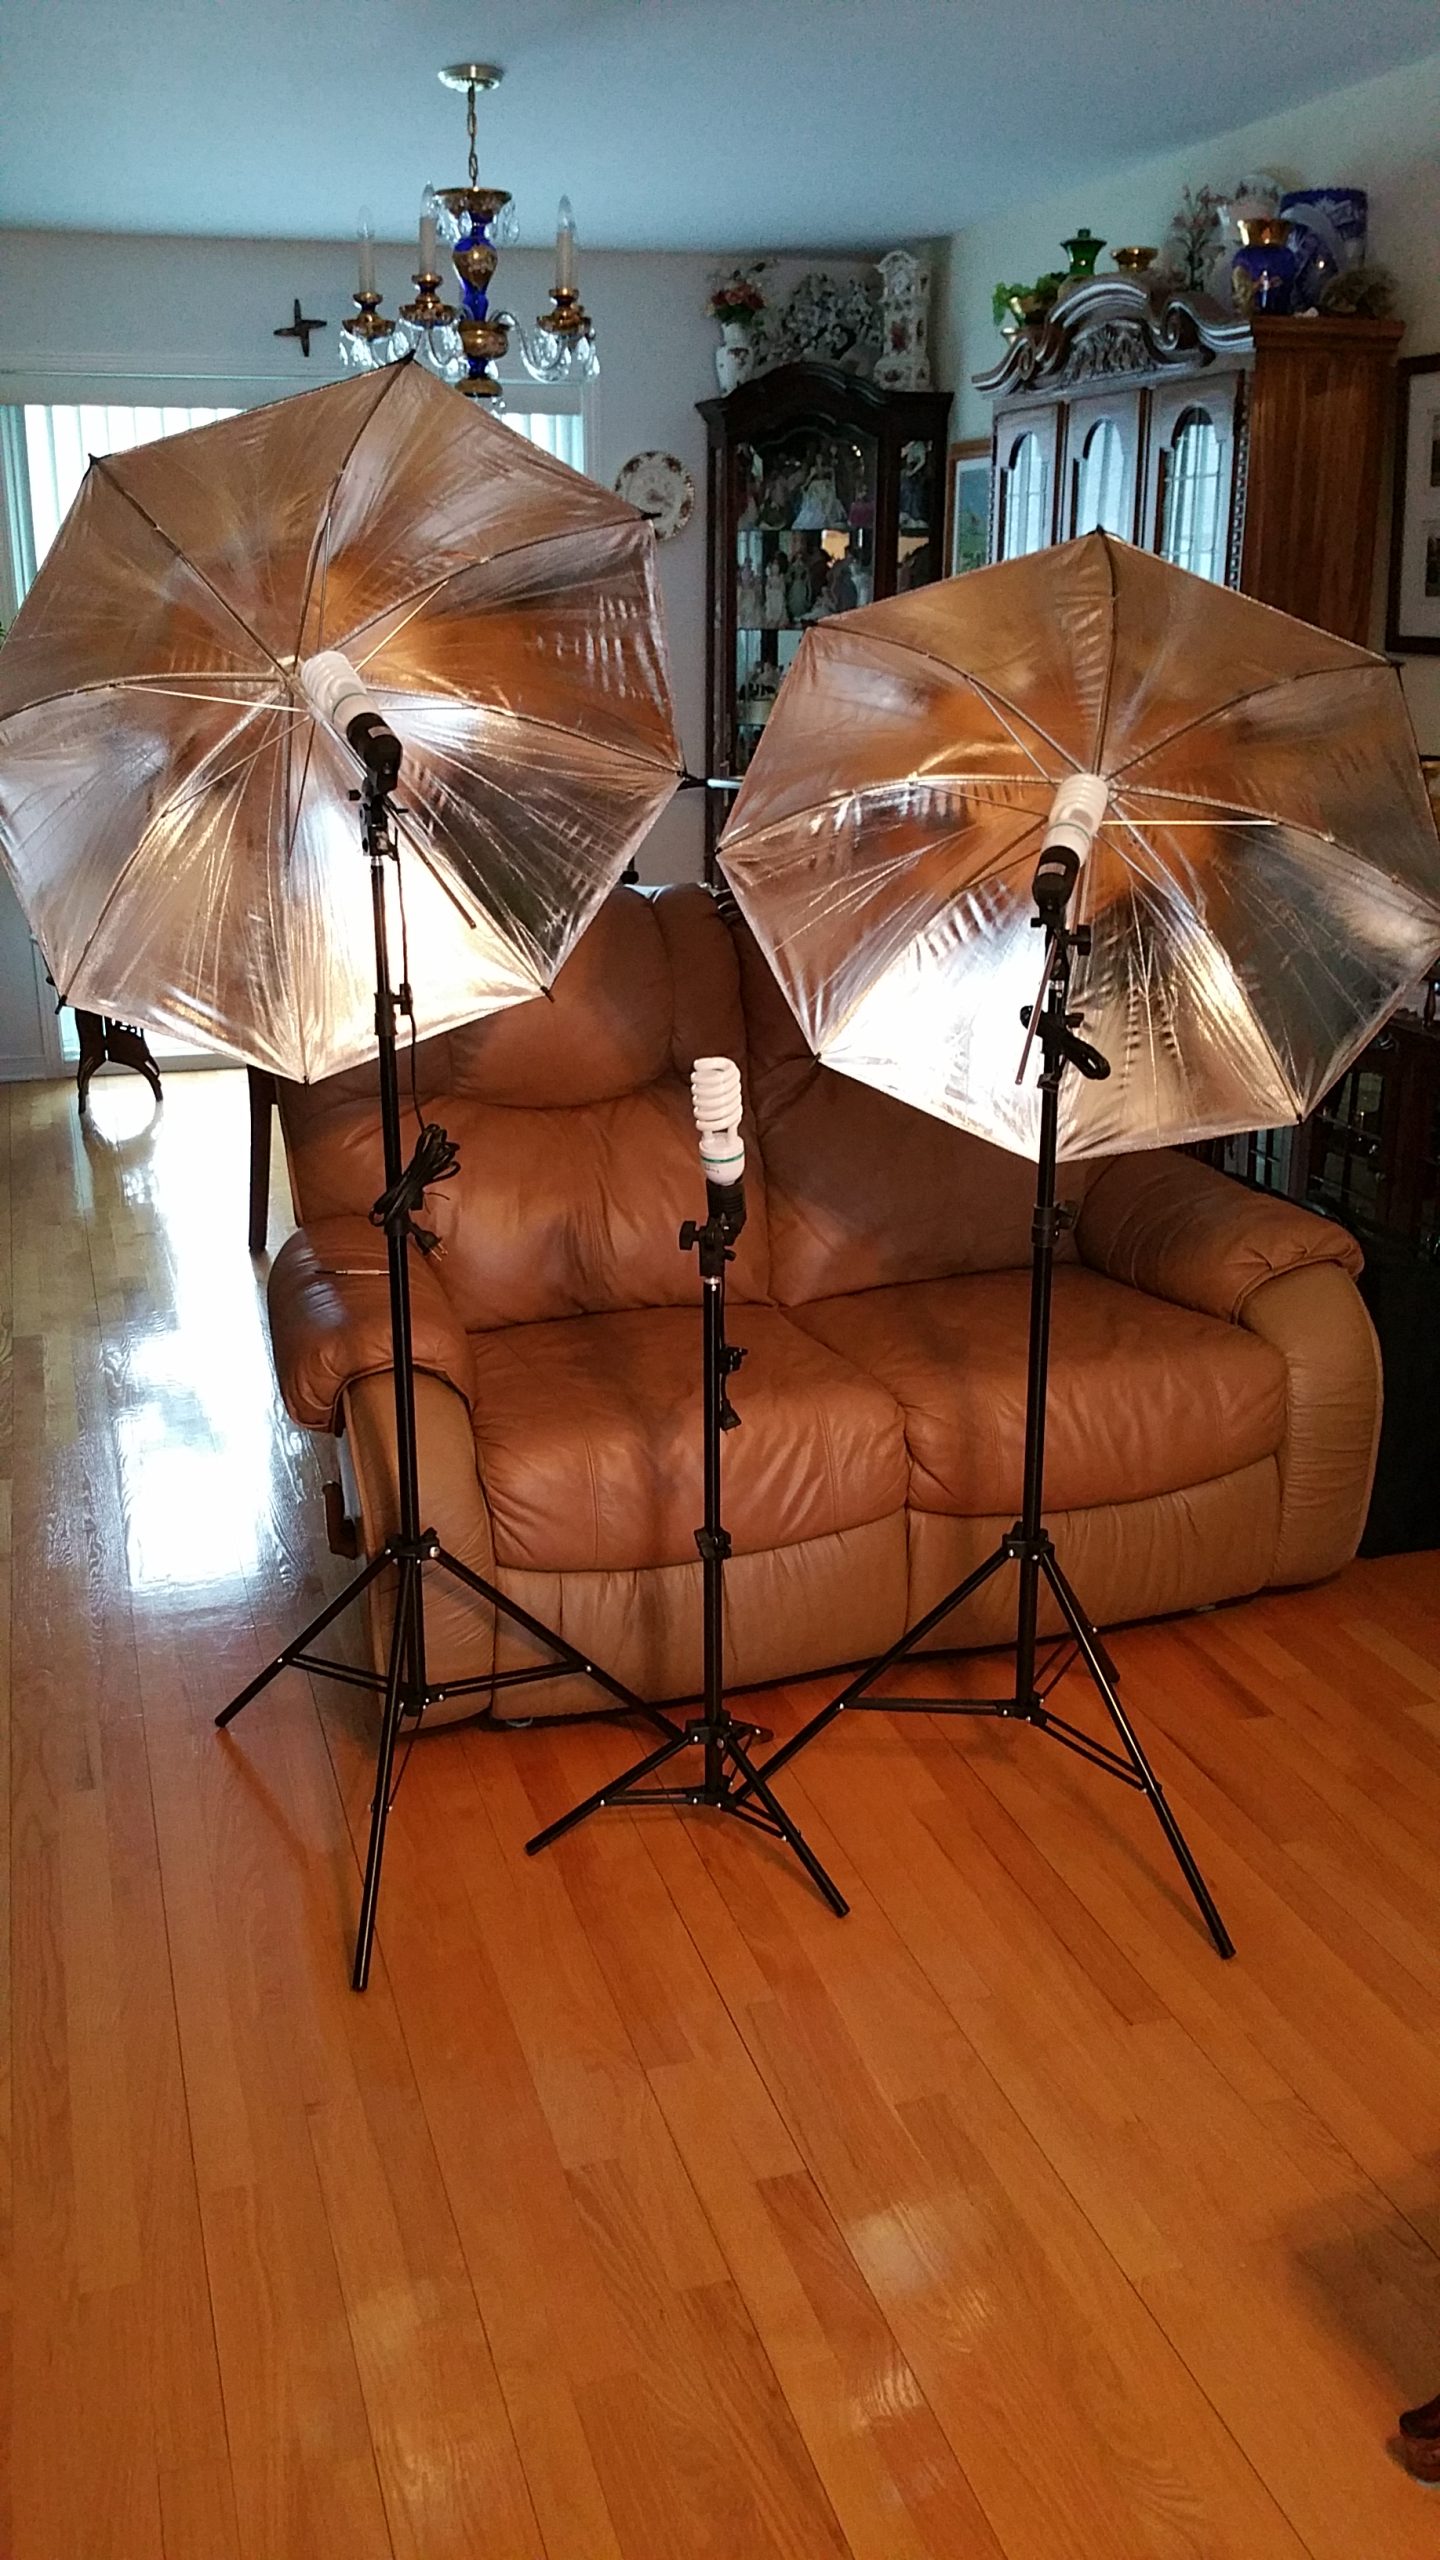
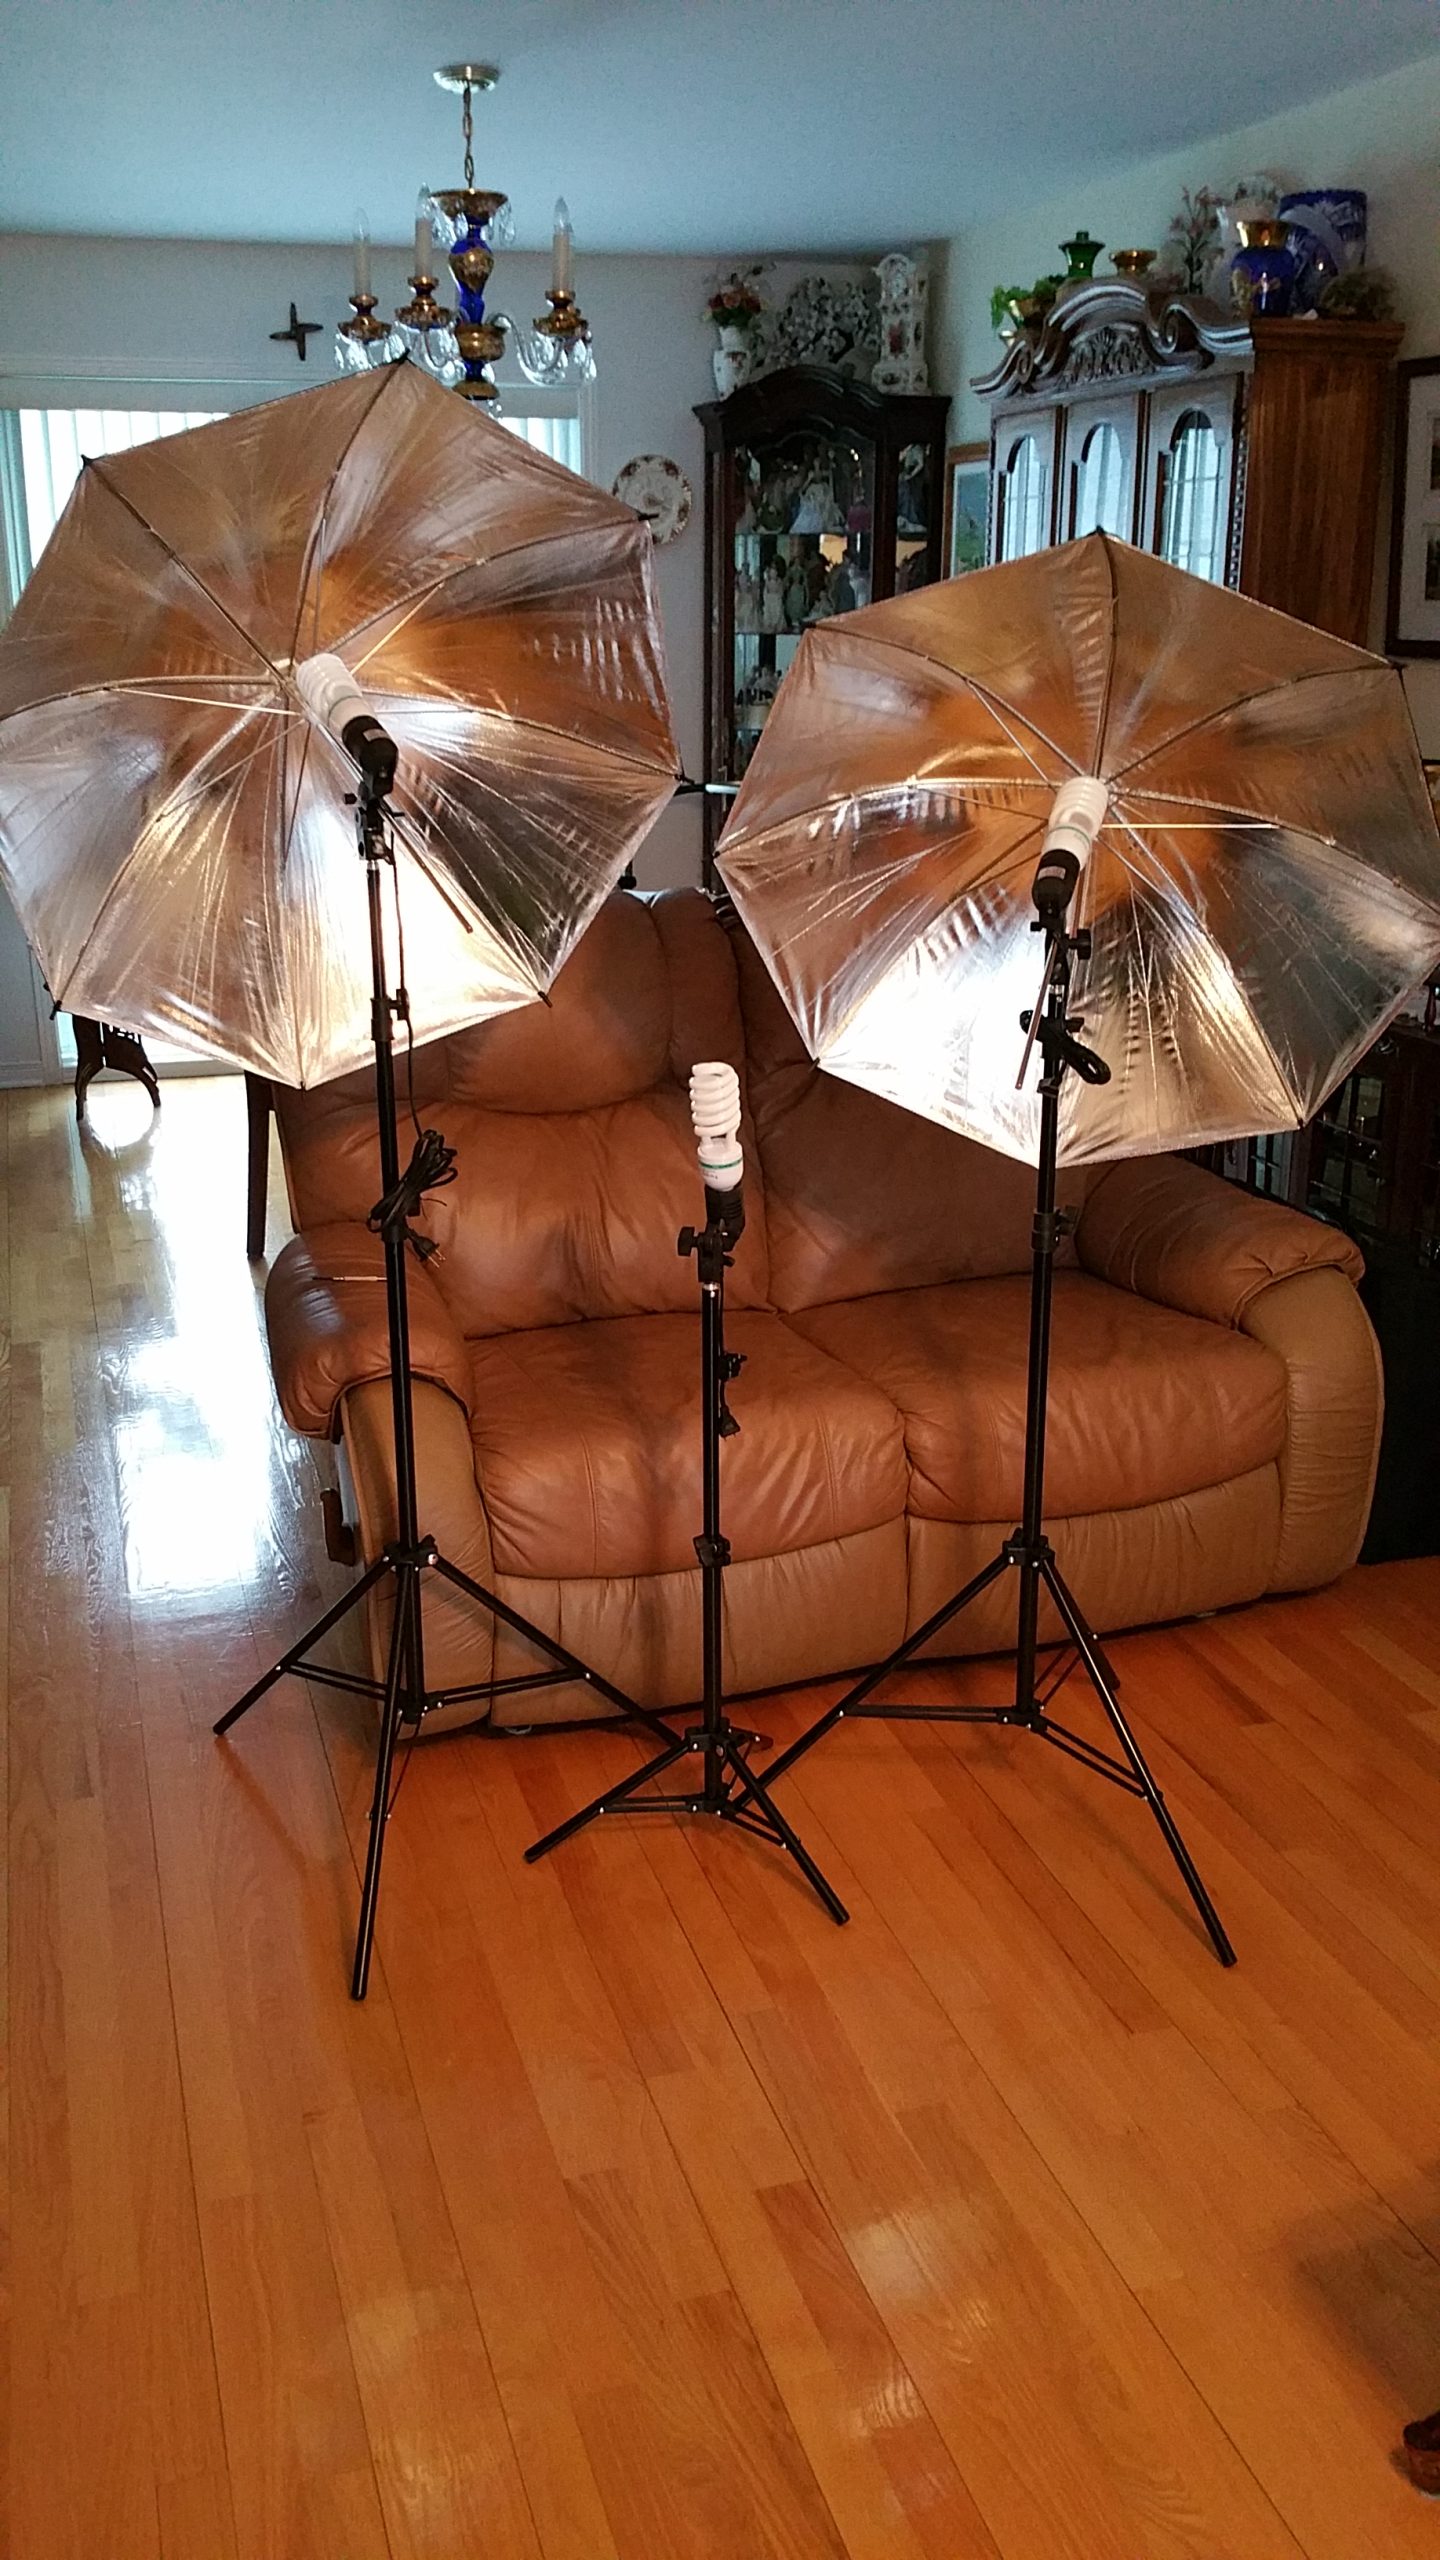
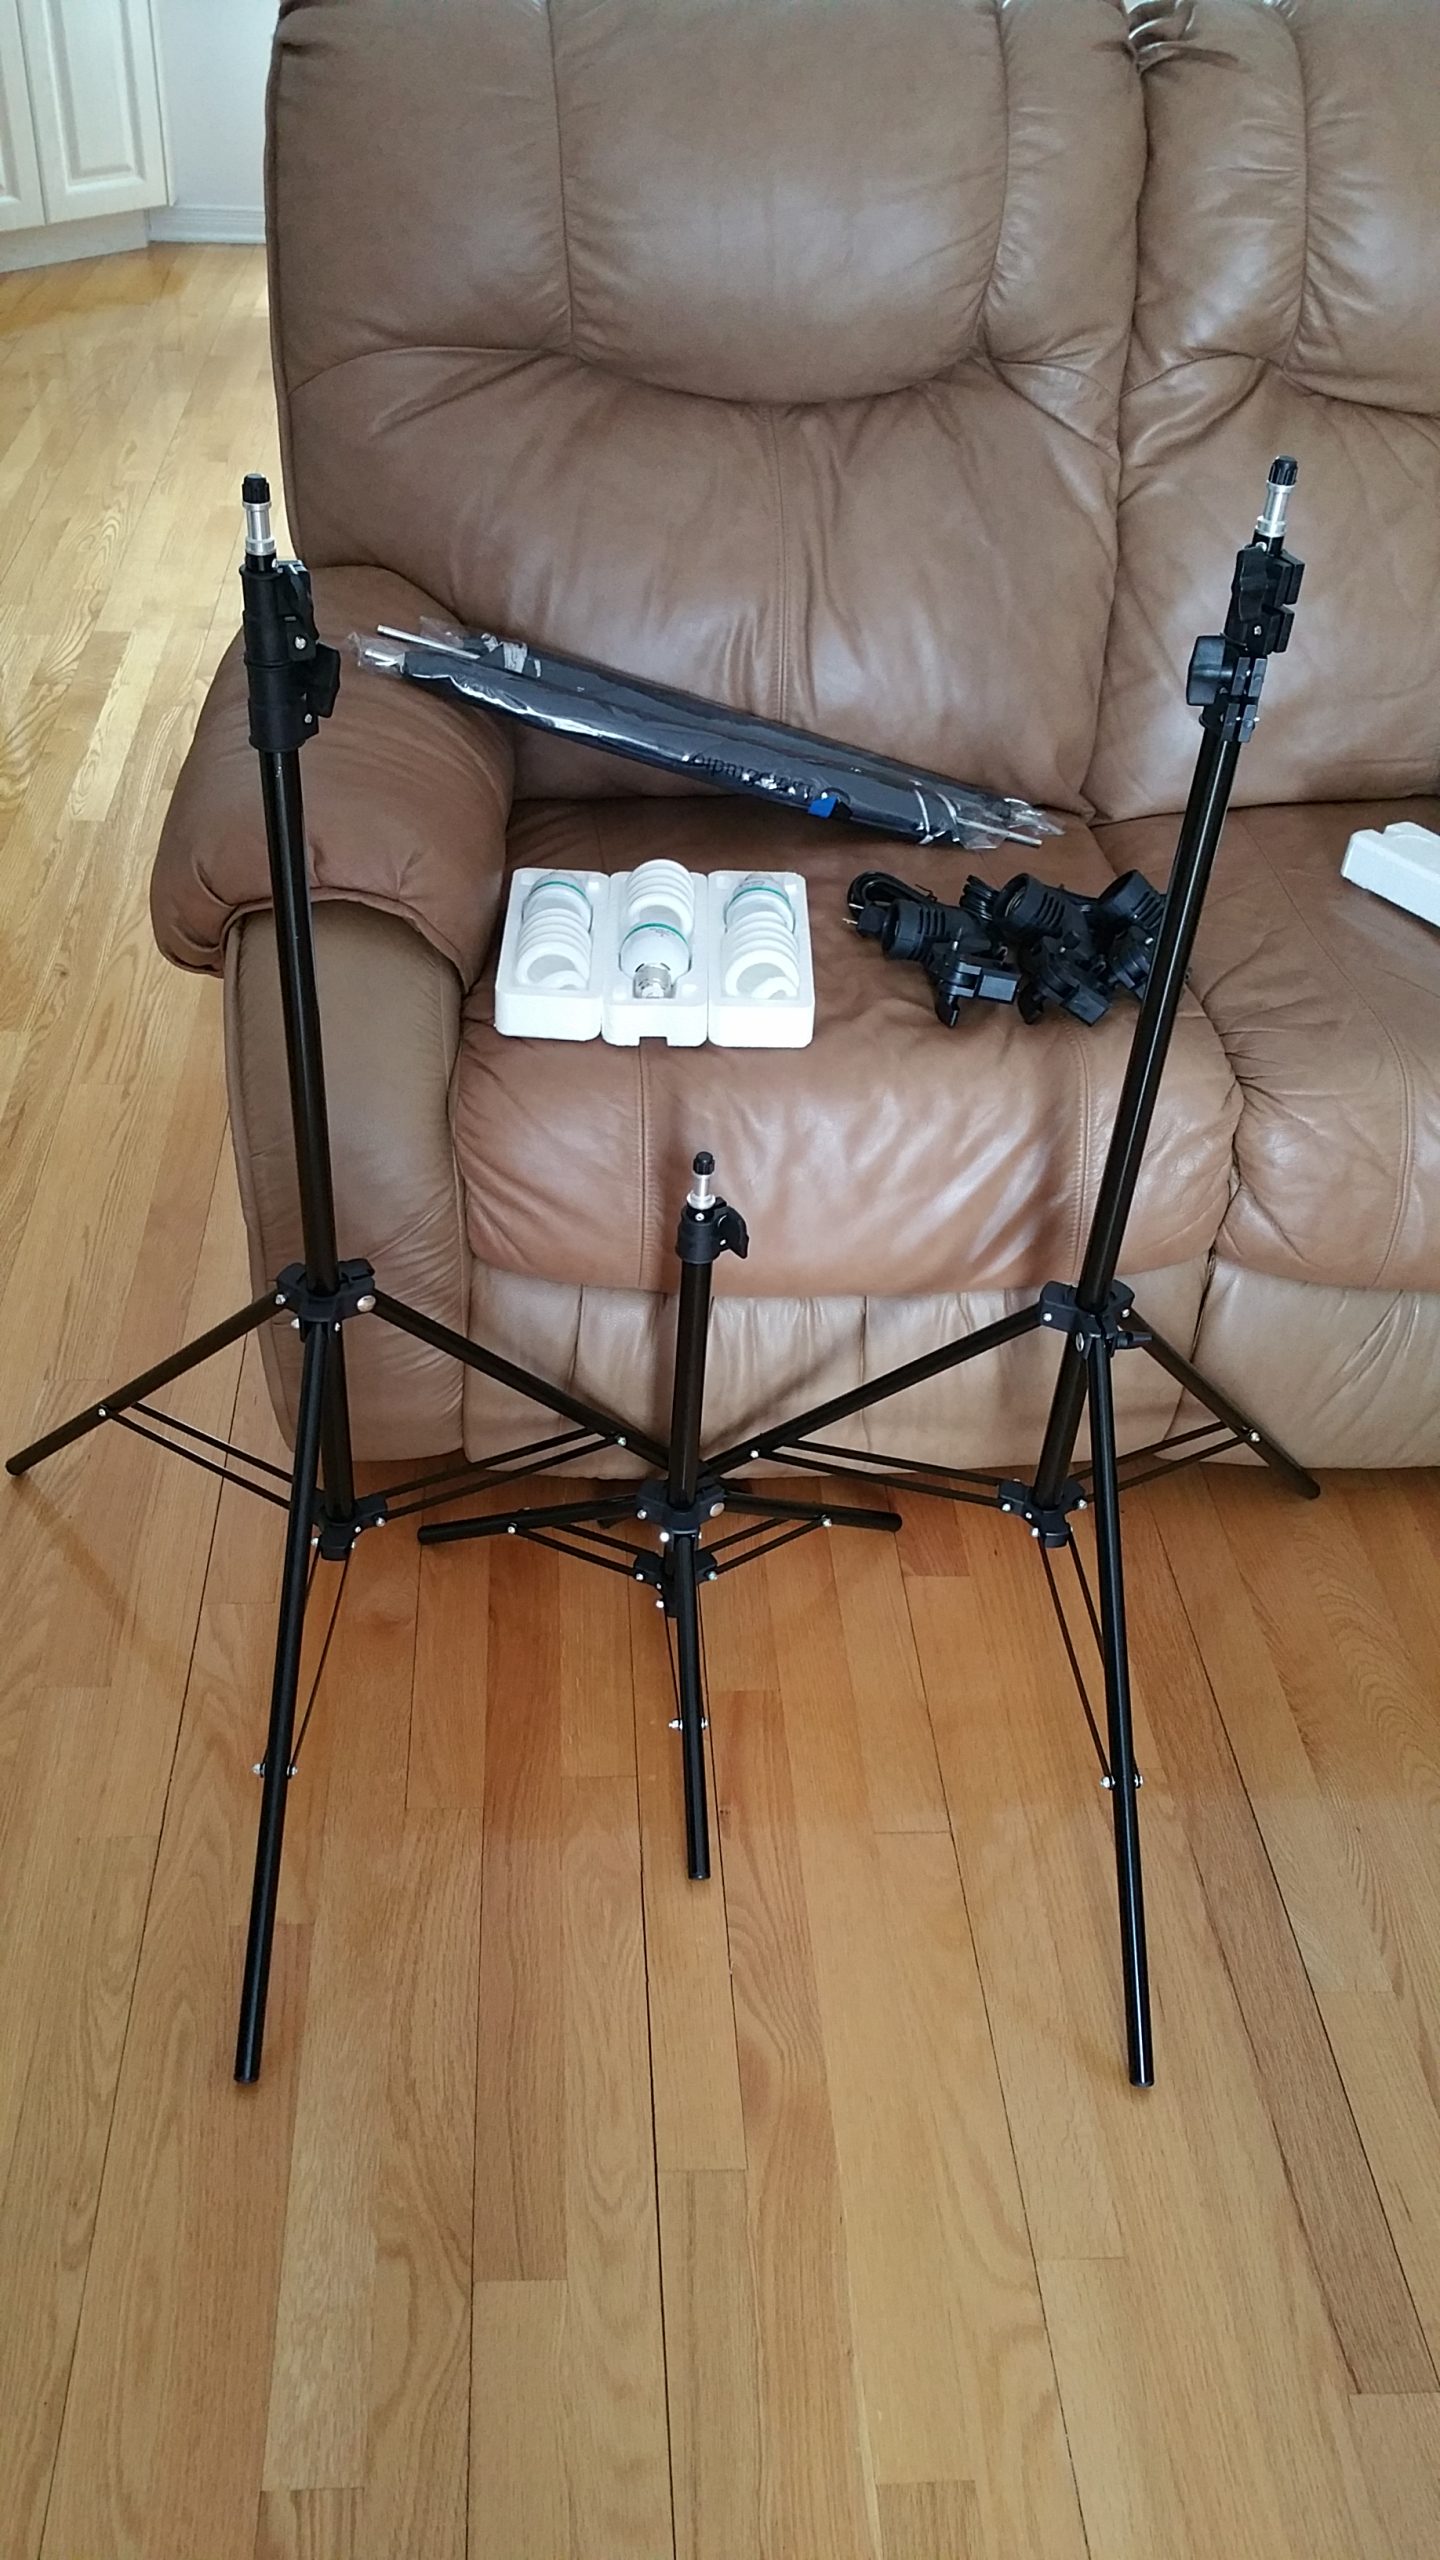
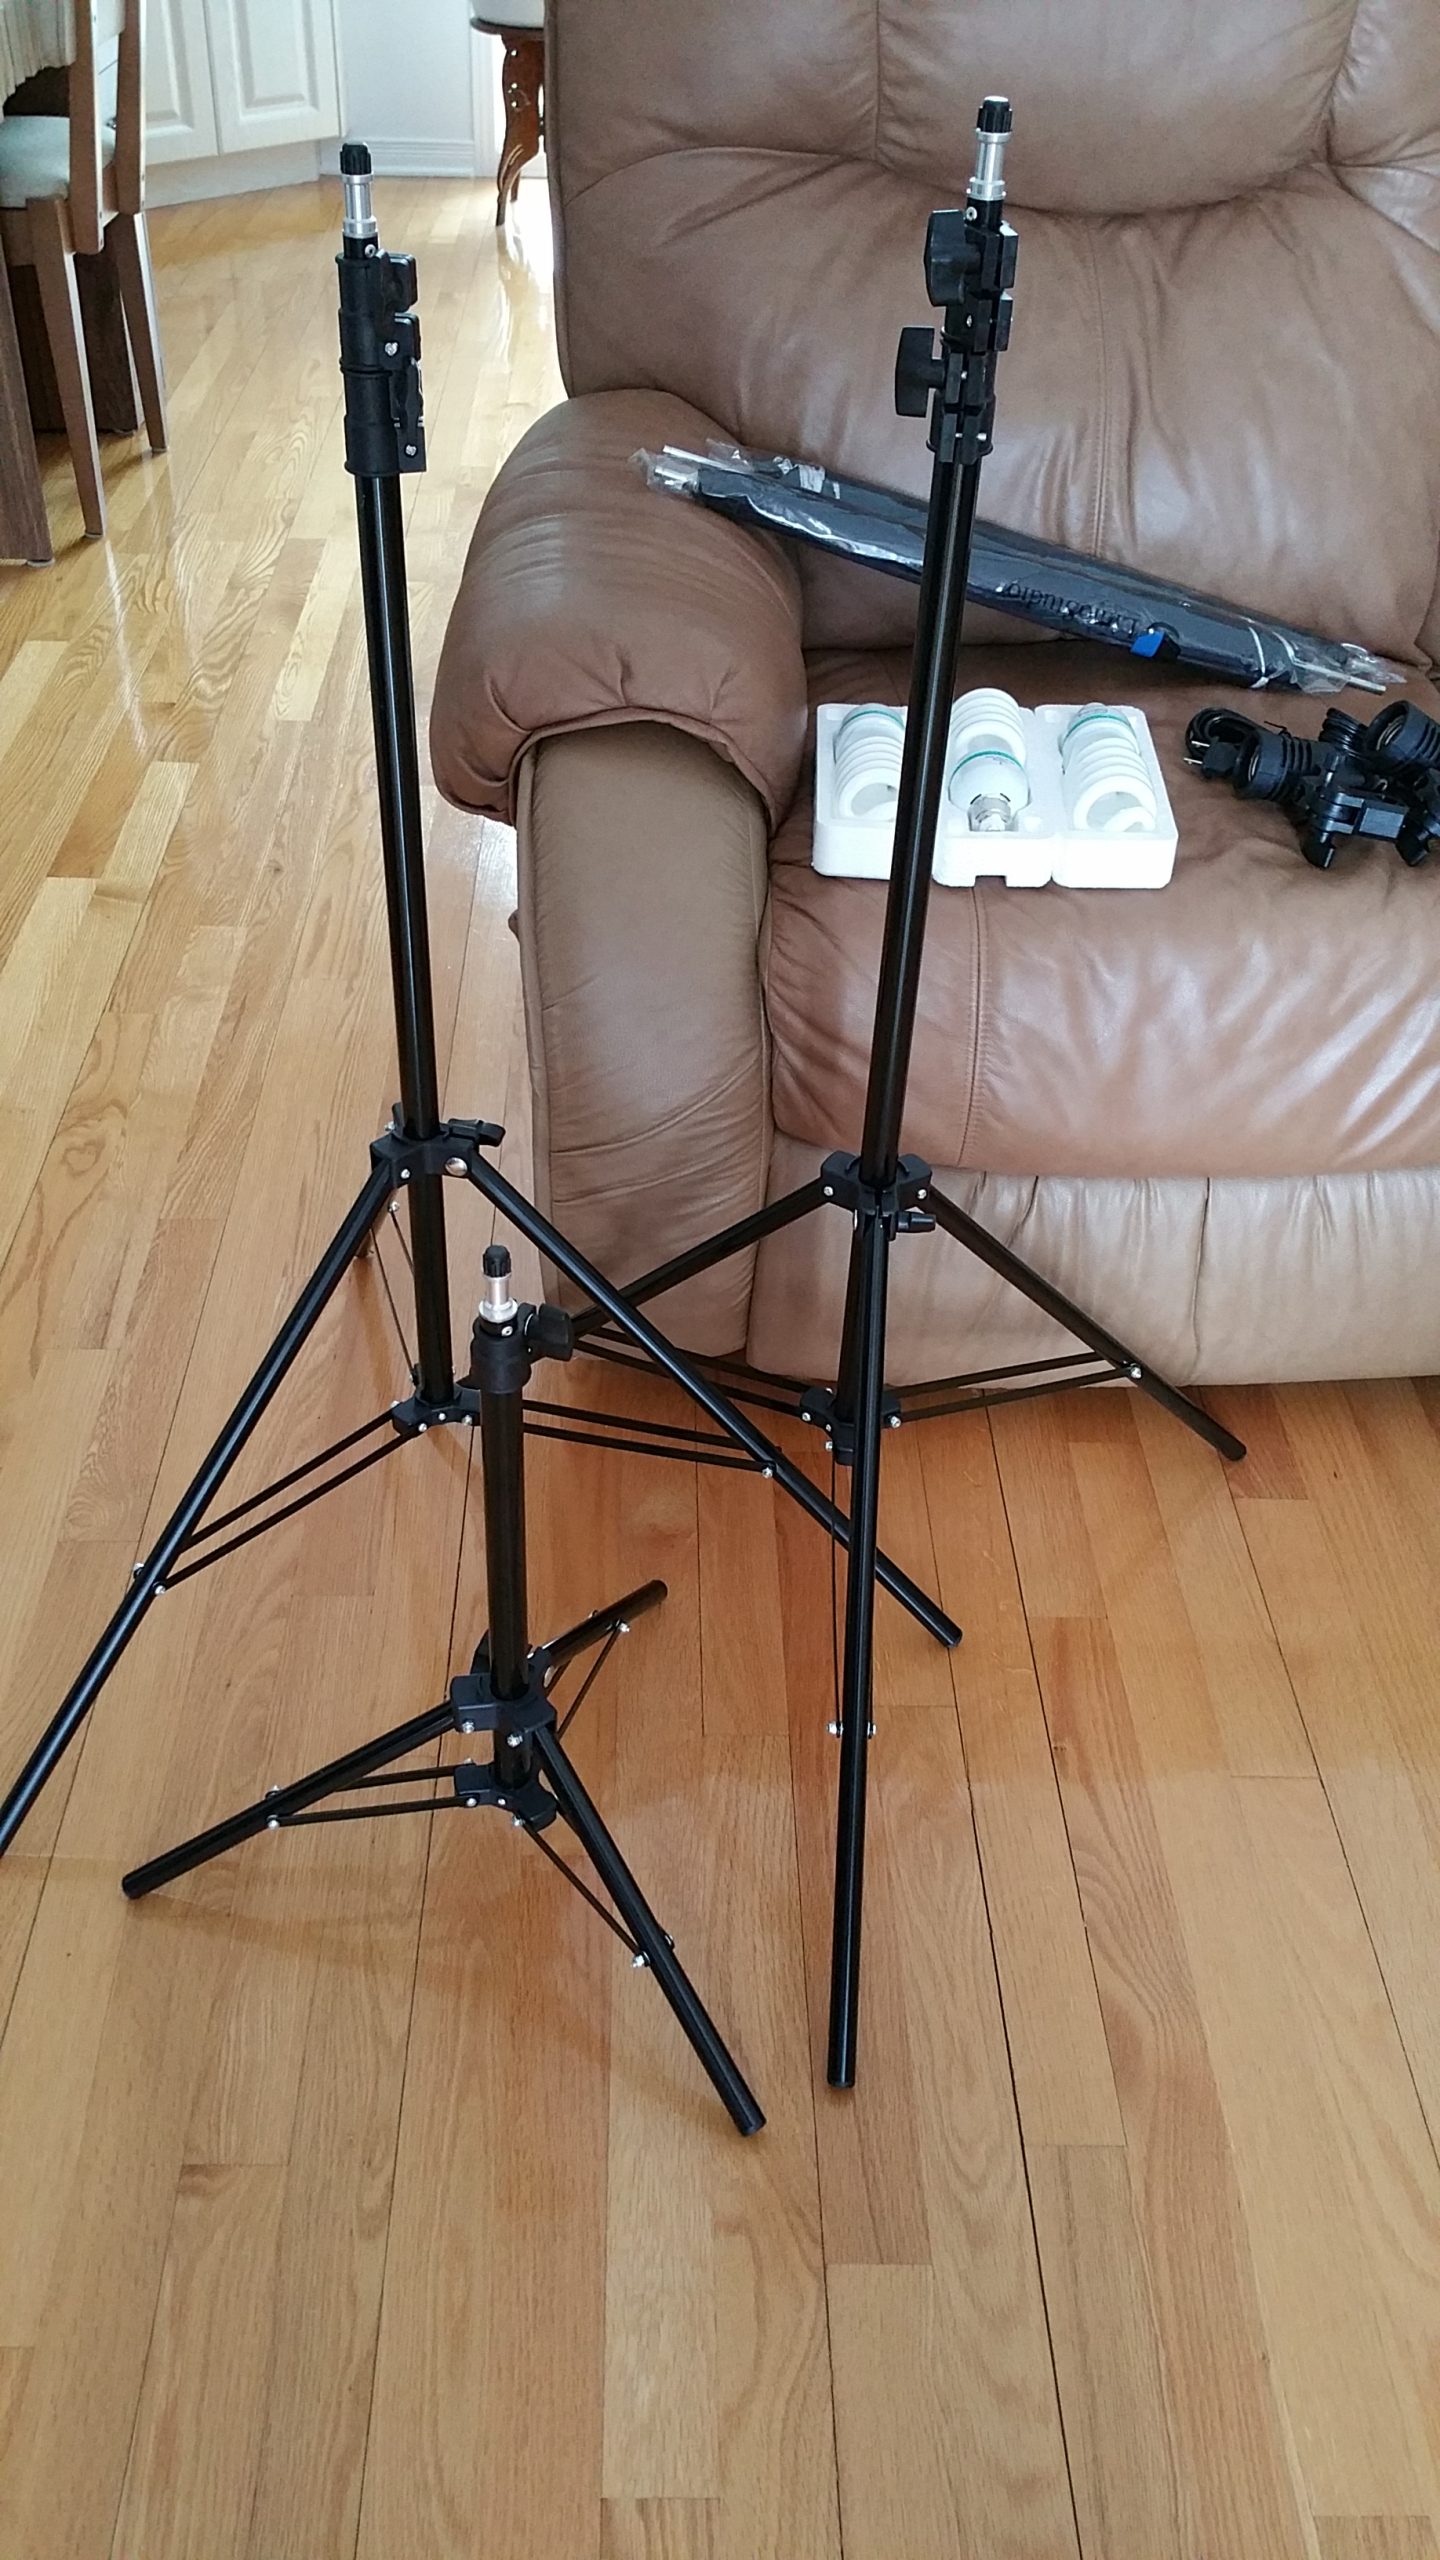
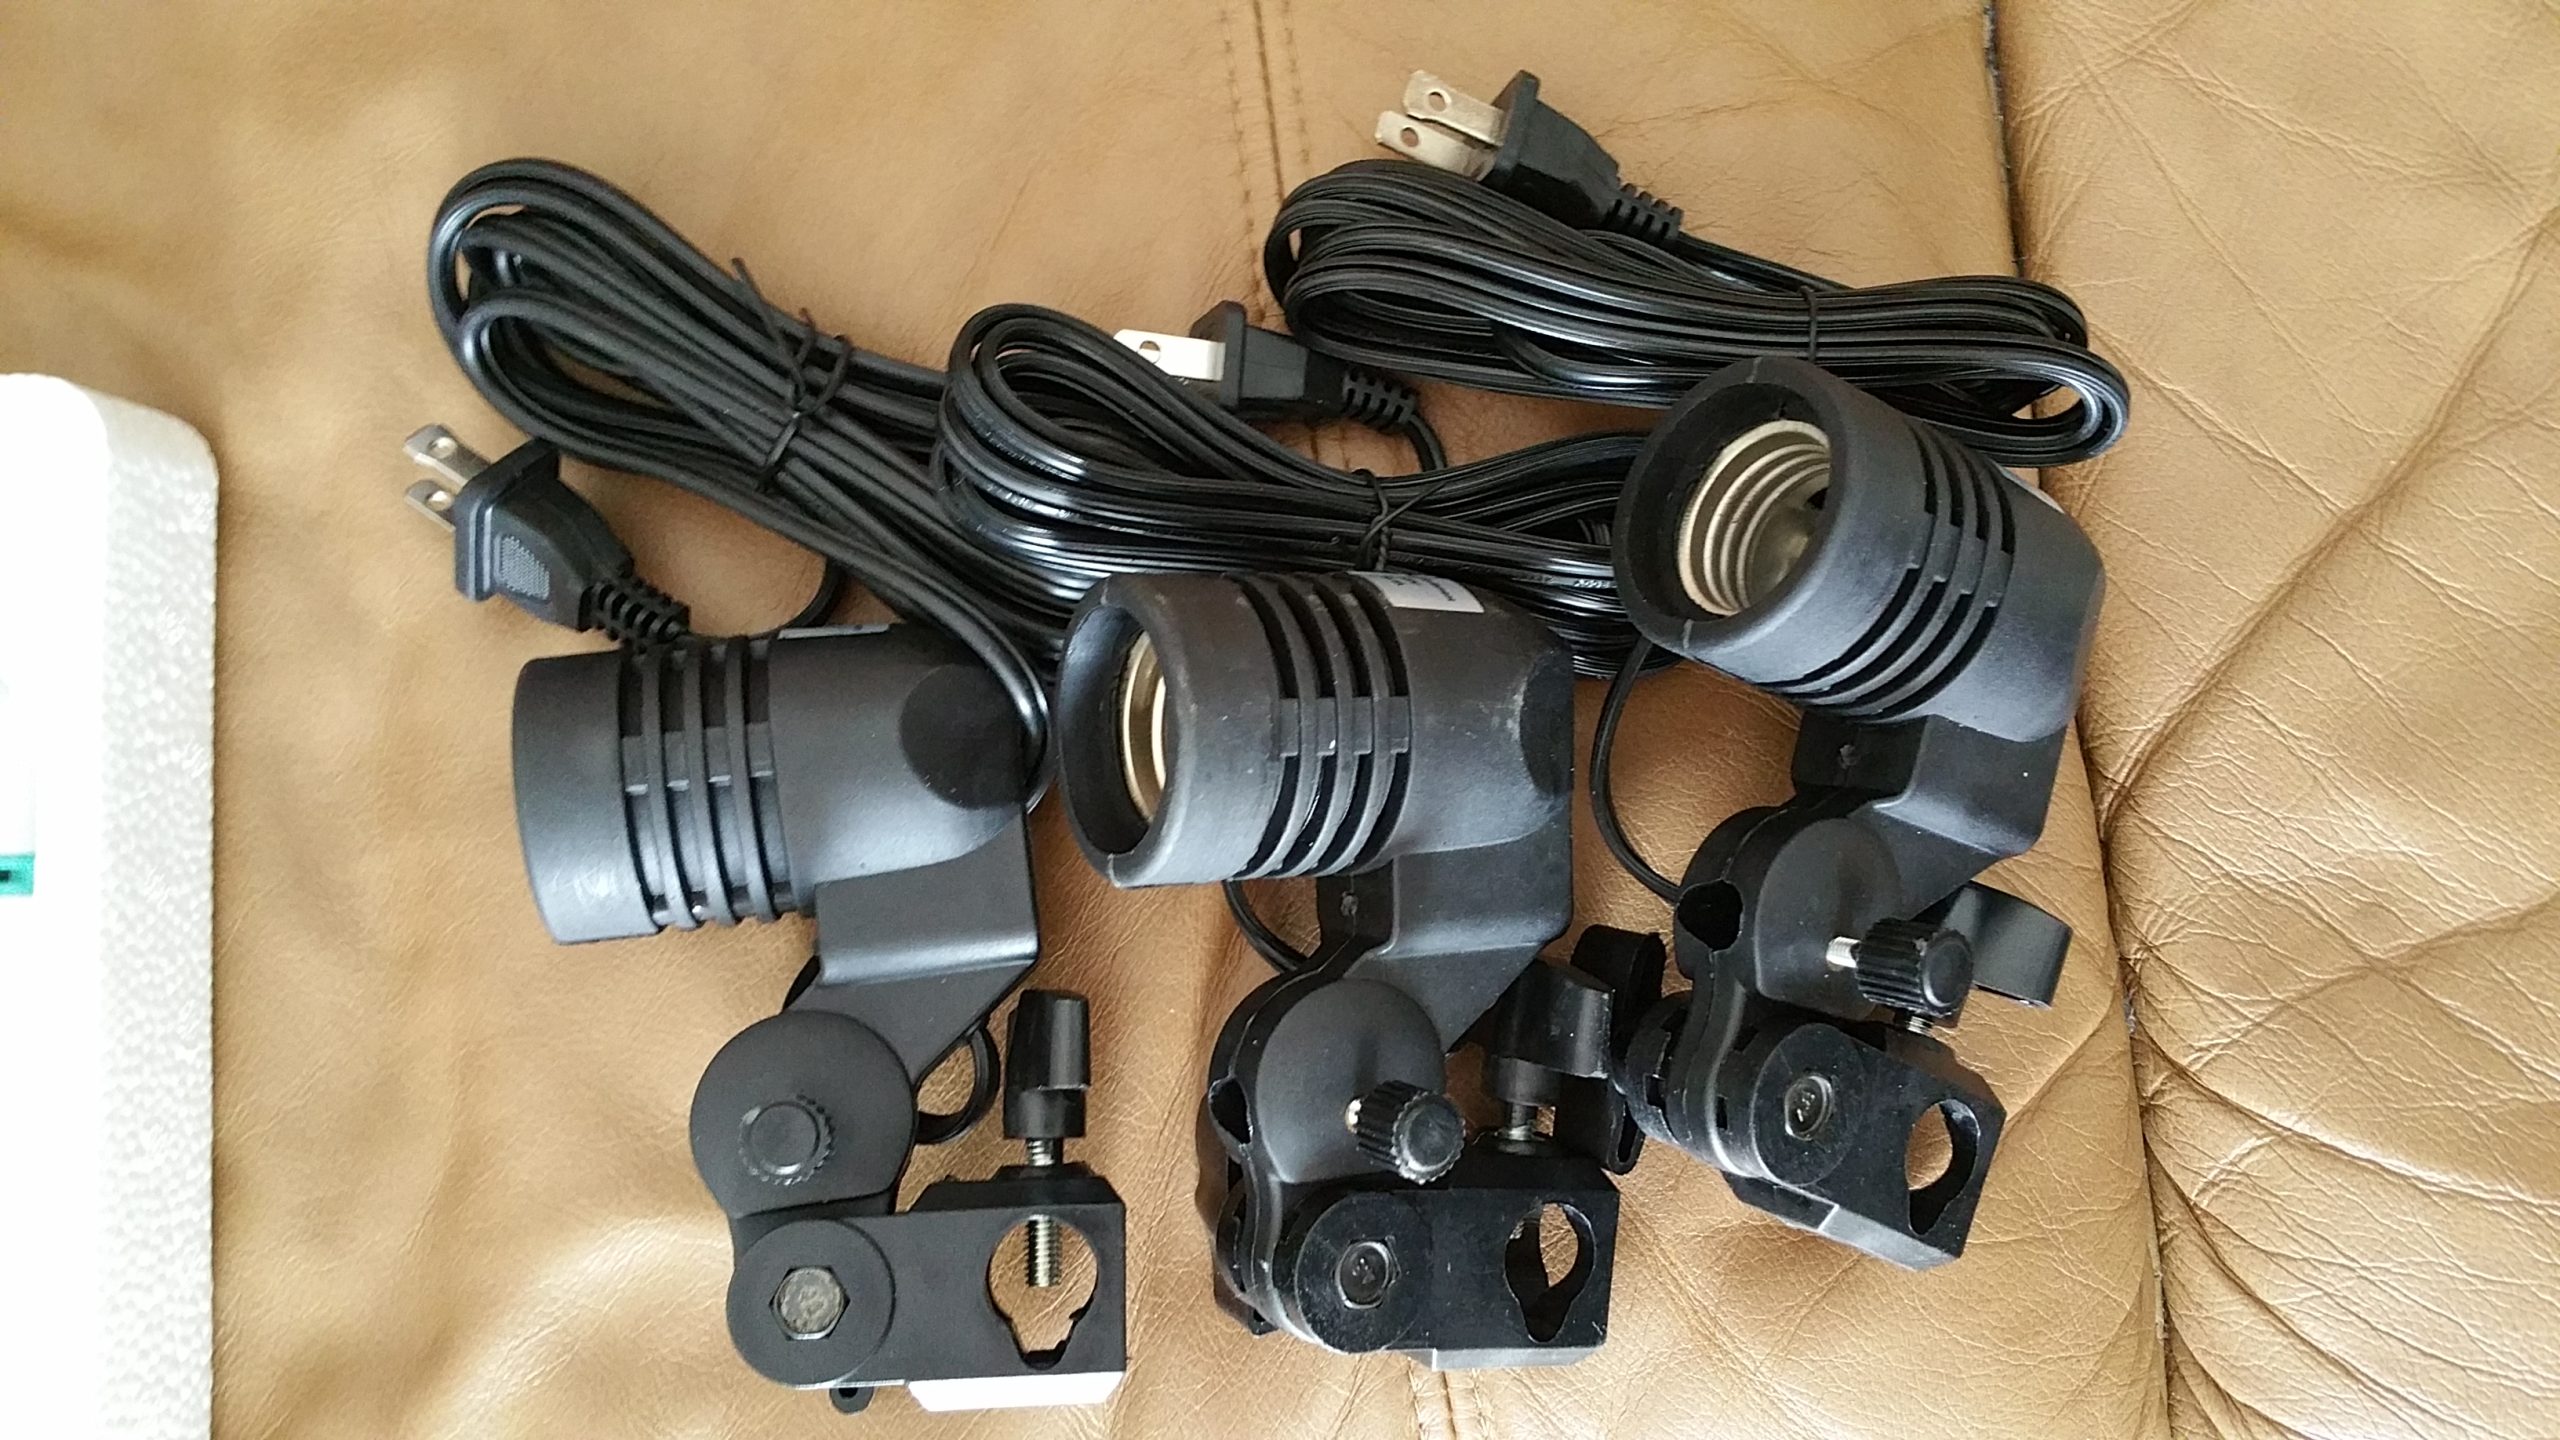
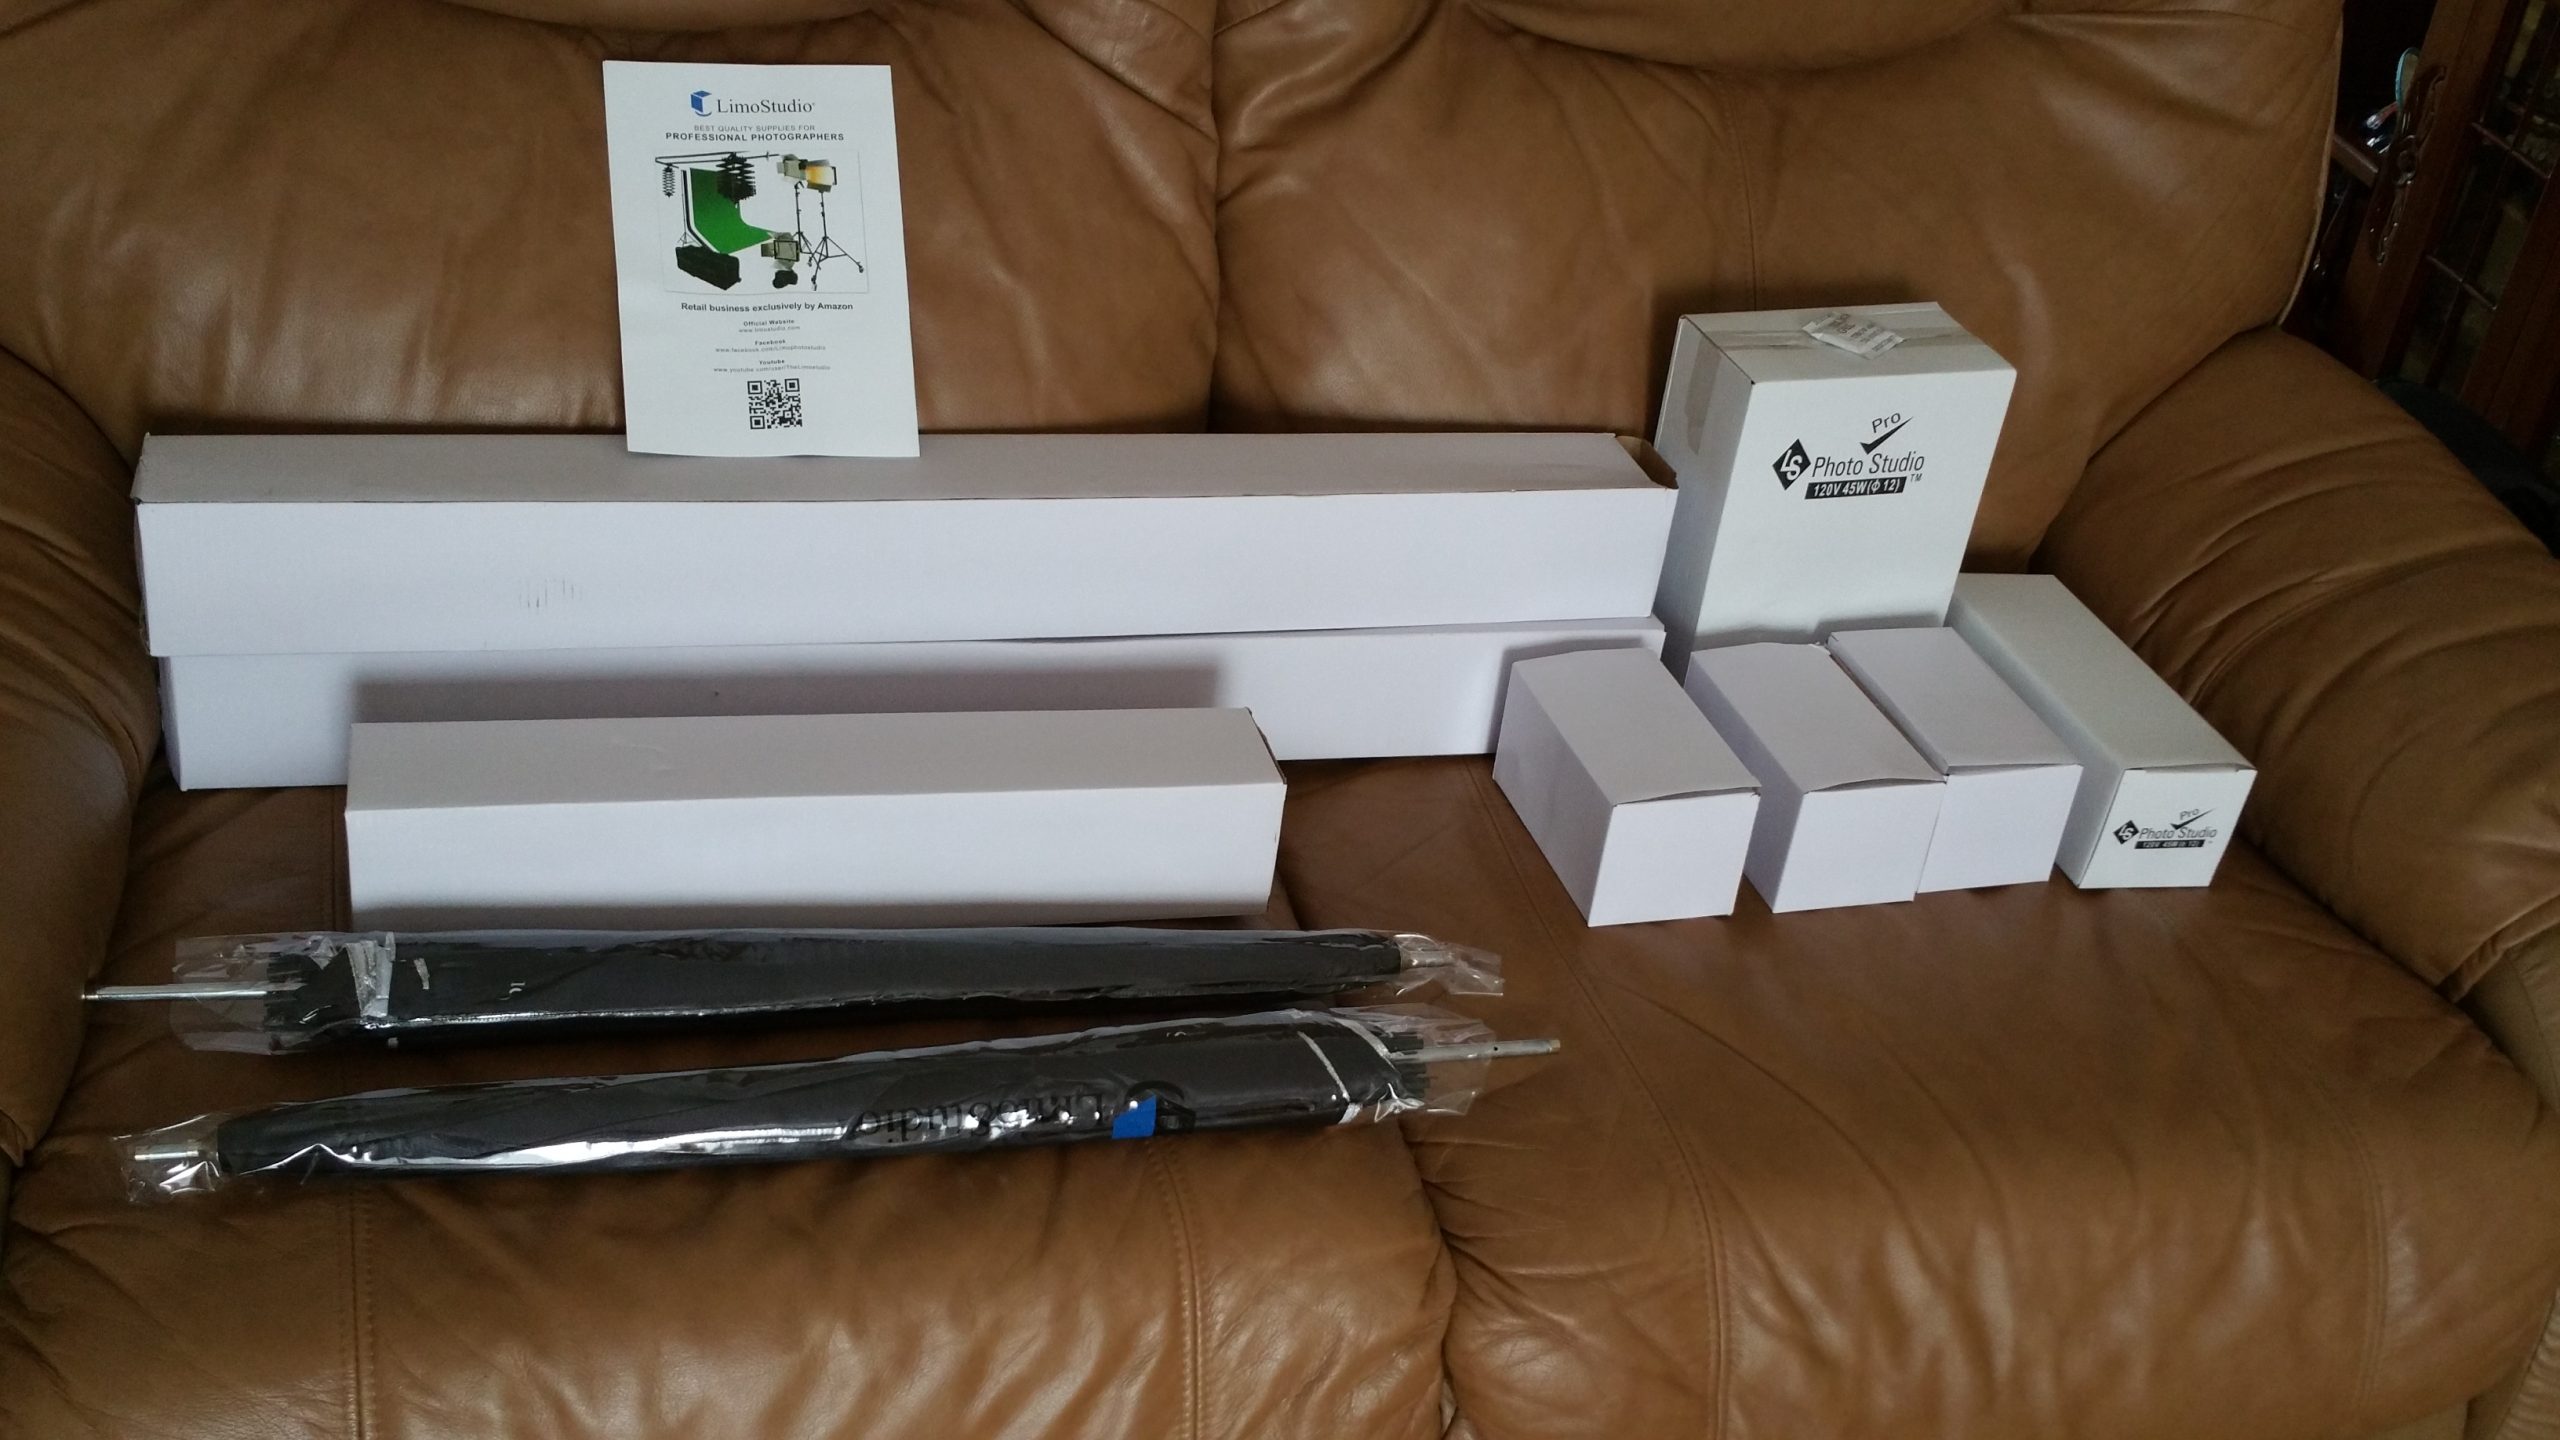
It wasn’t 1 minute after I took everything out and tested and found out that one of the light stands came from this company scratched and broken. I could not get it to stay in an extended position no matter how tight I made the screws. I took it apart, took a piece from another old light stand that I have and fixed it. It now works quite well.
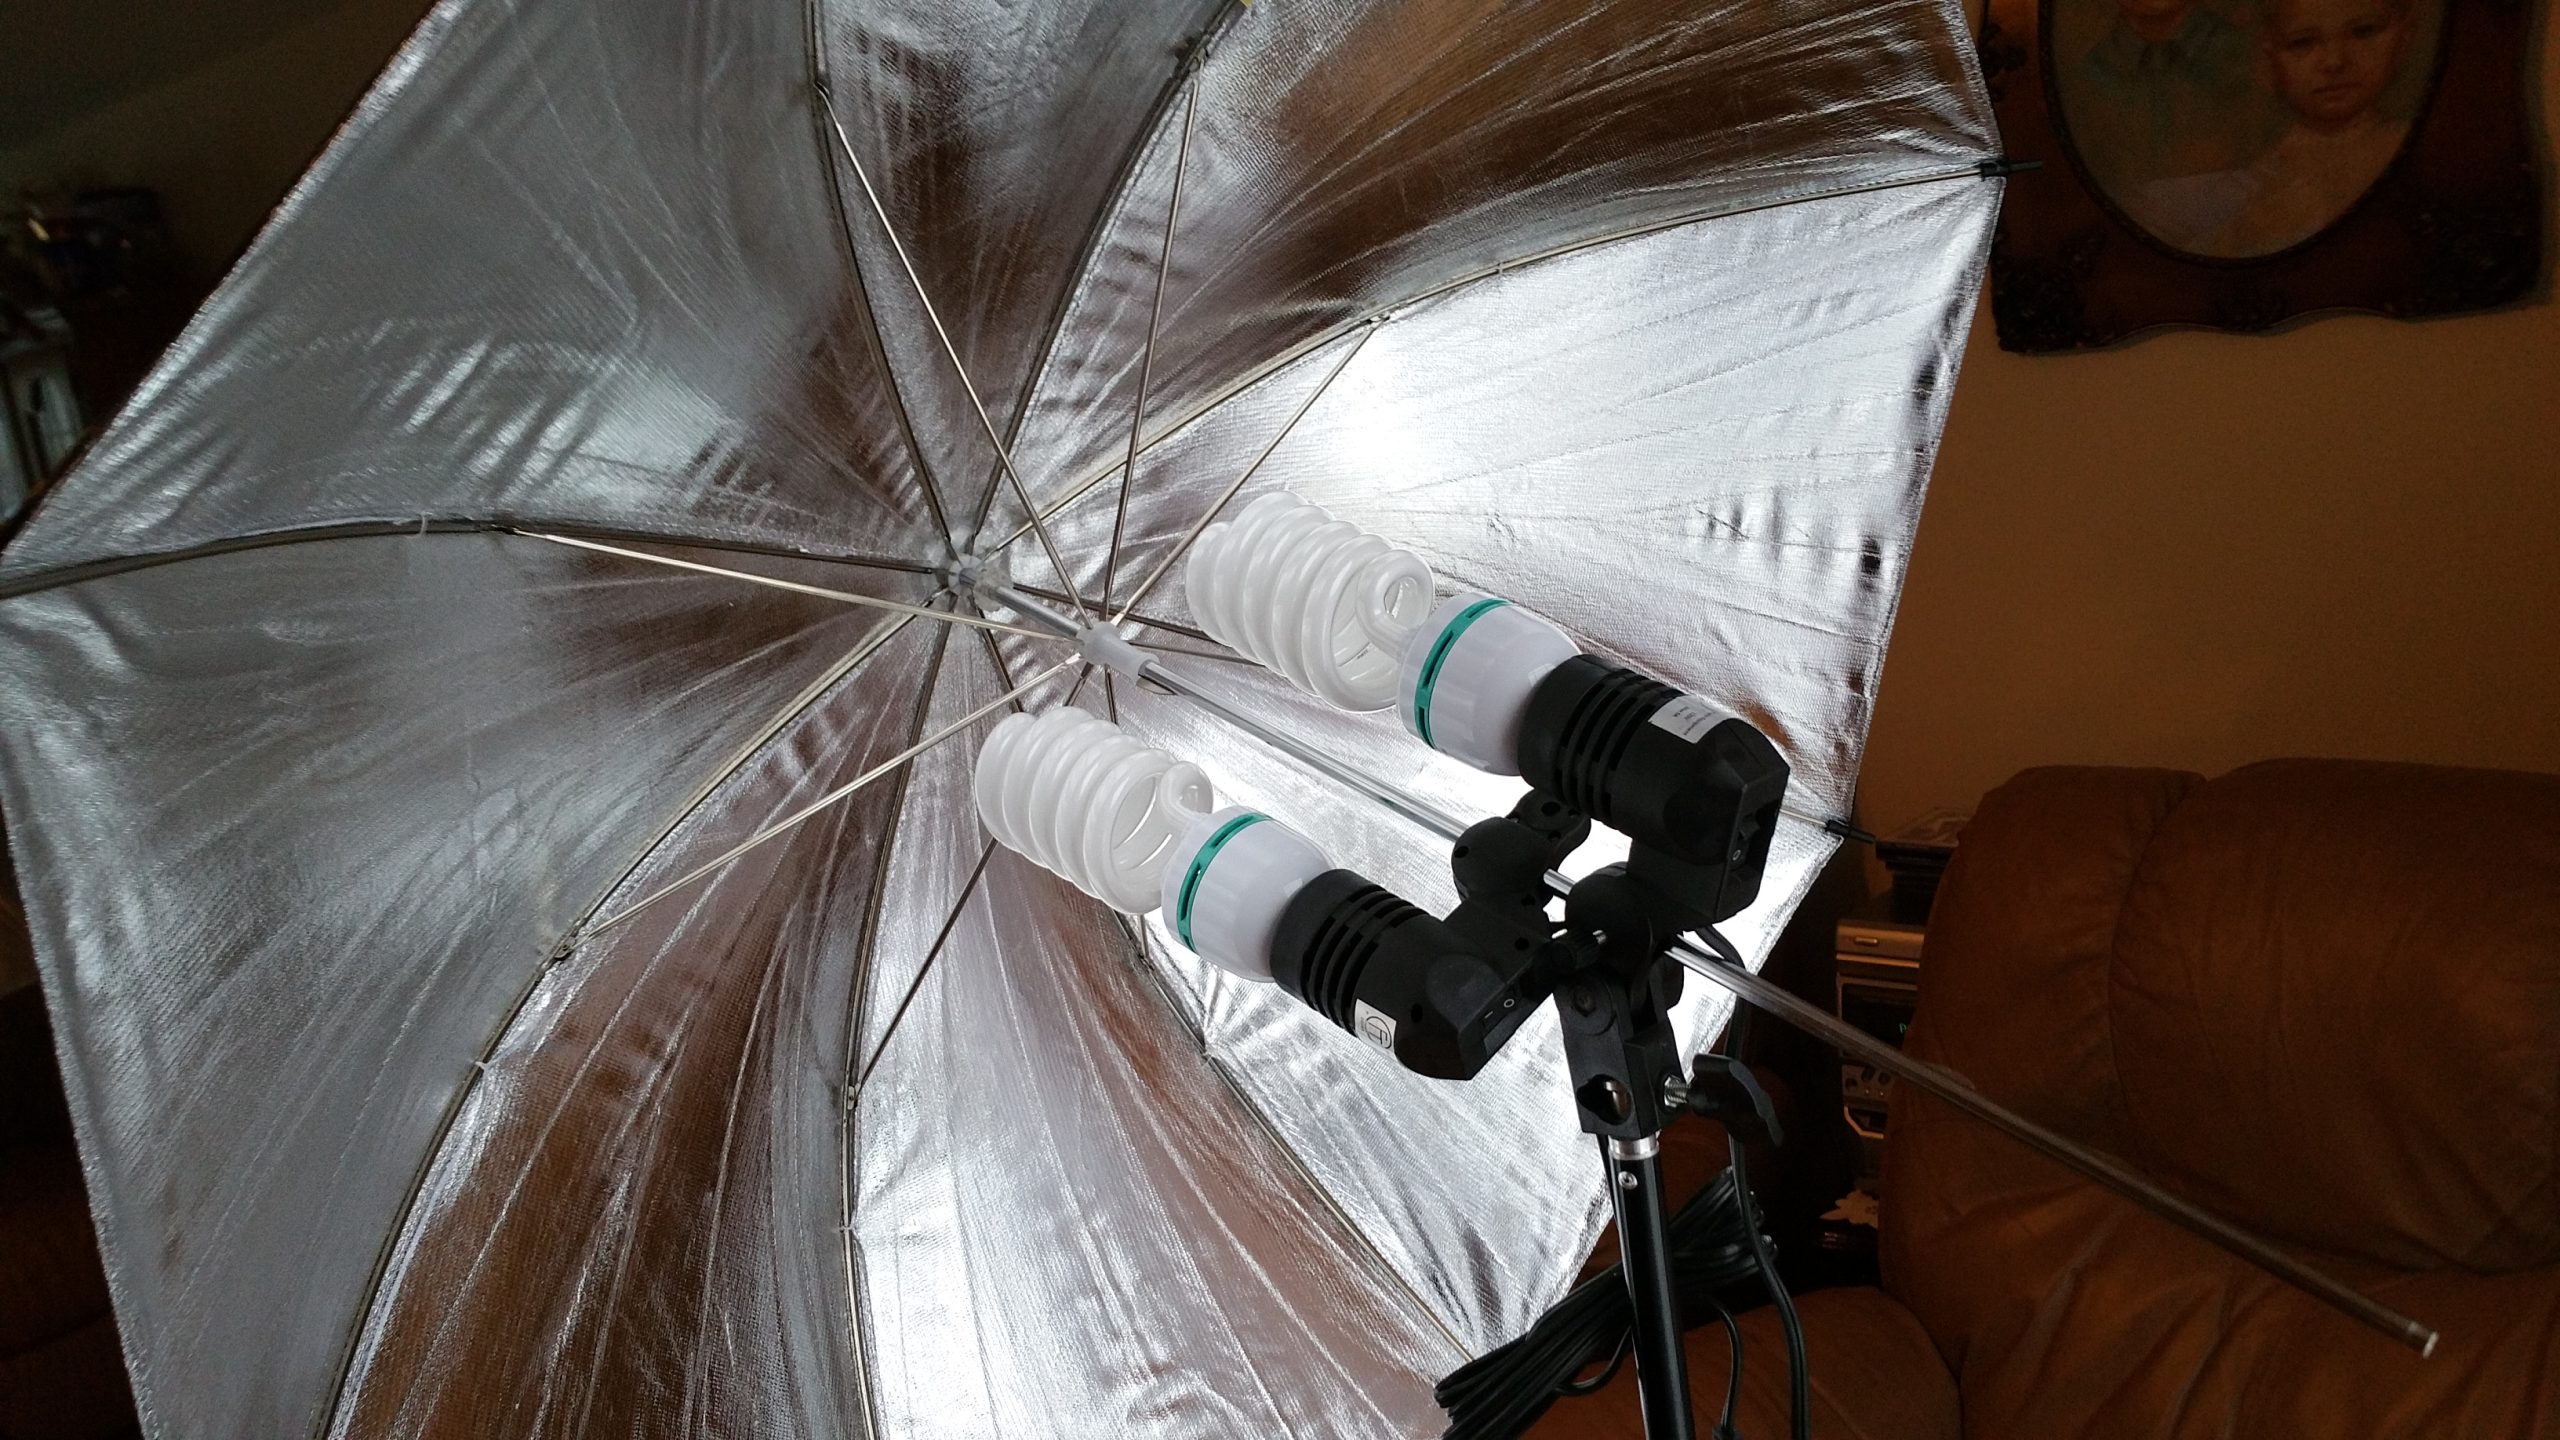
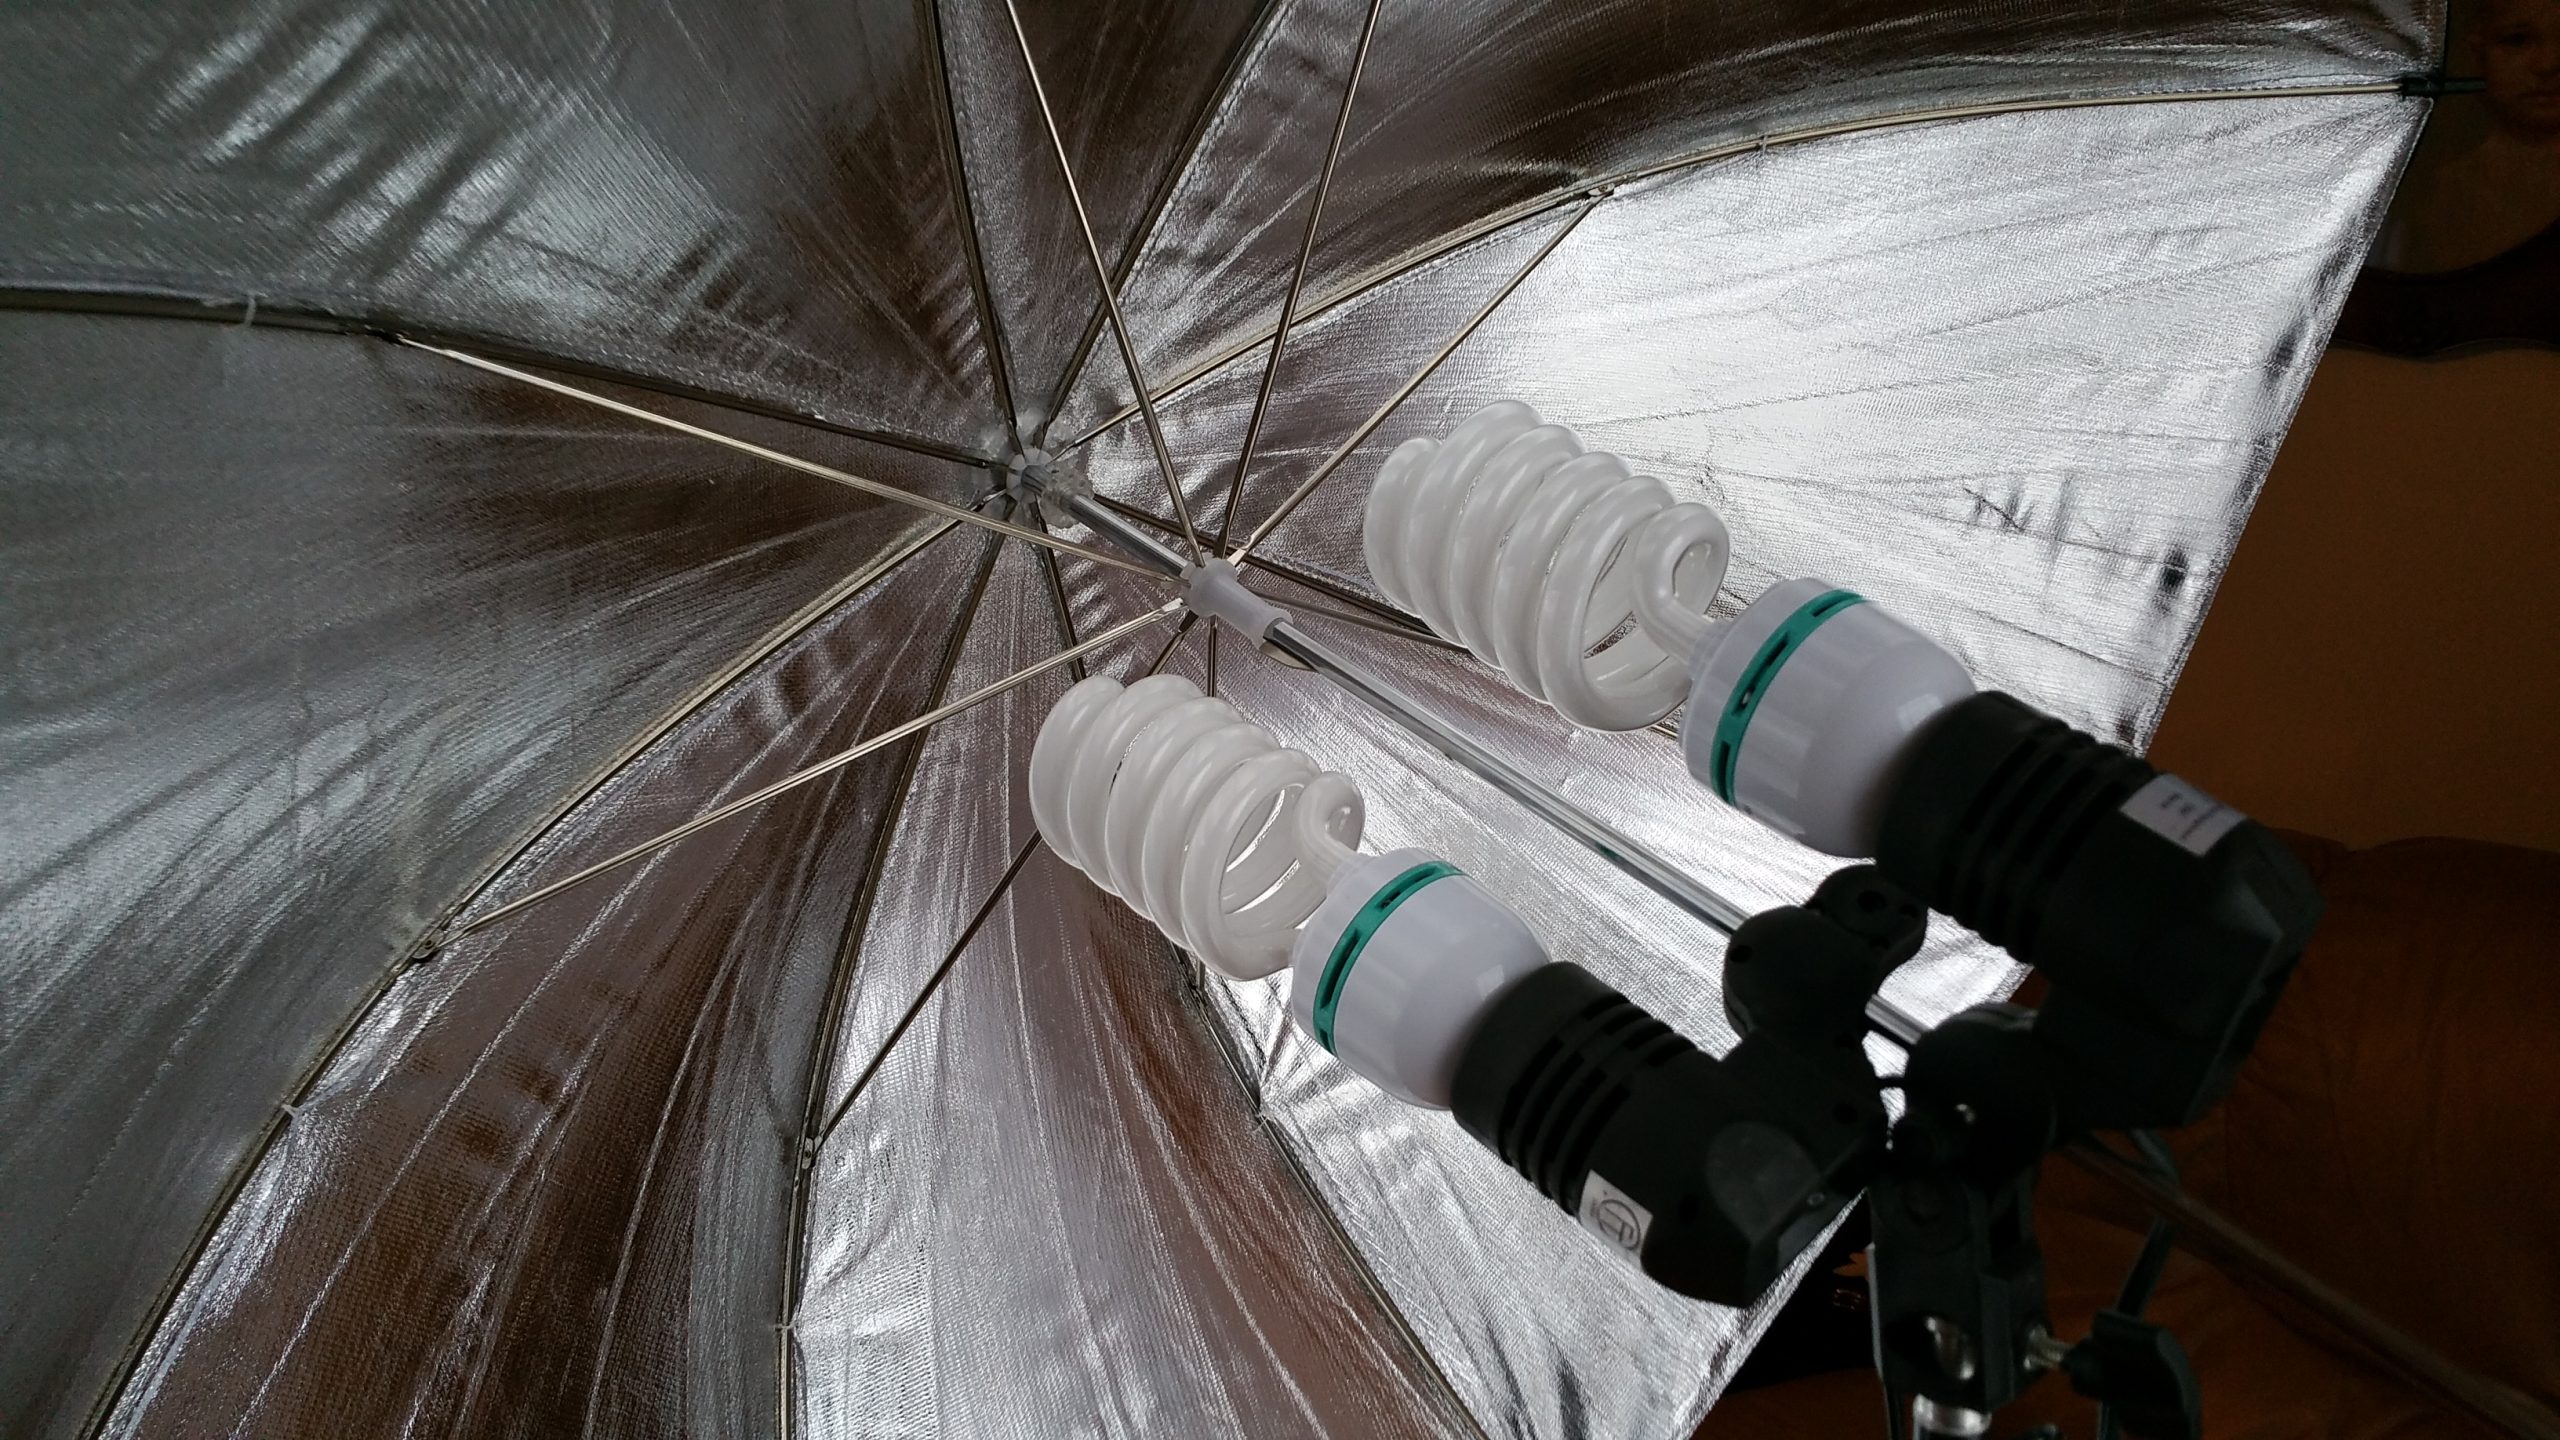
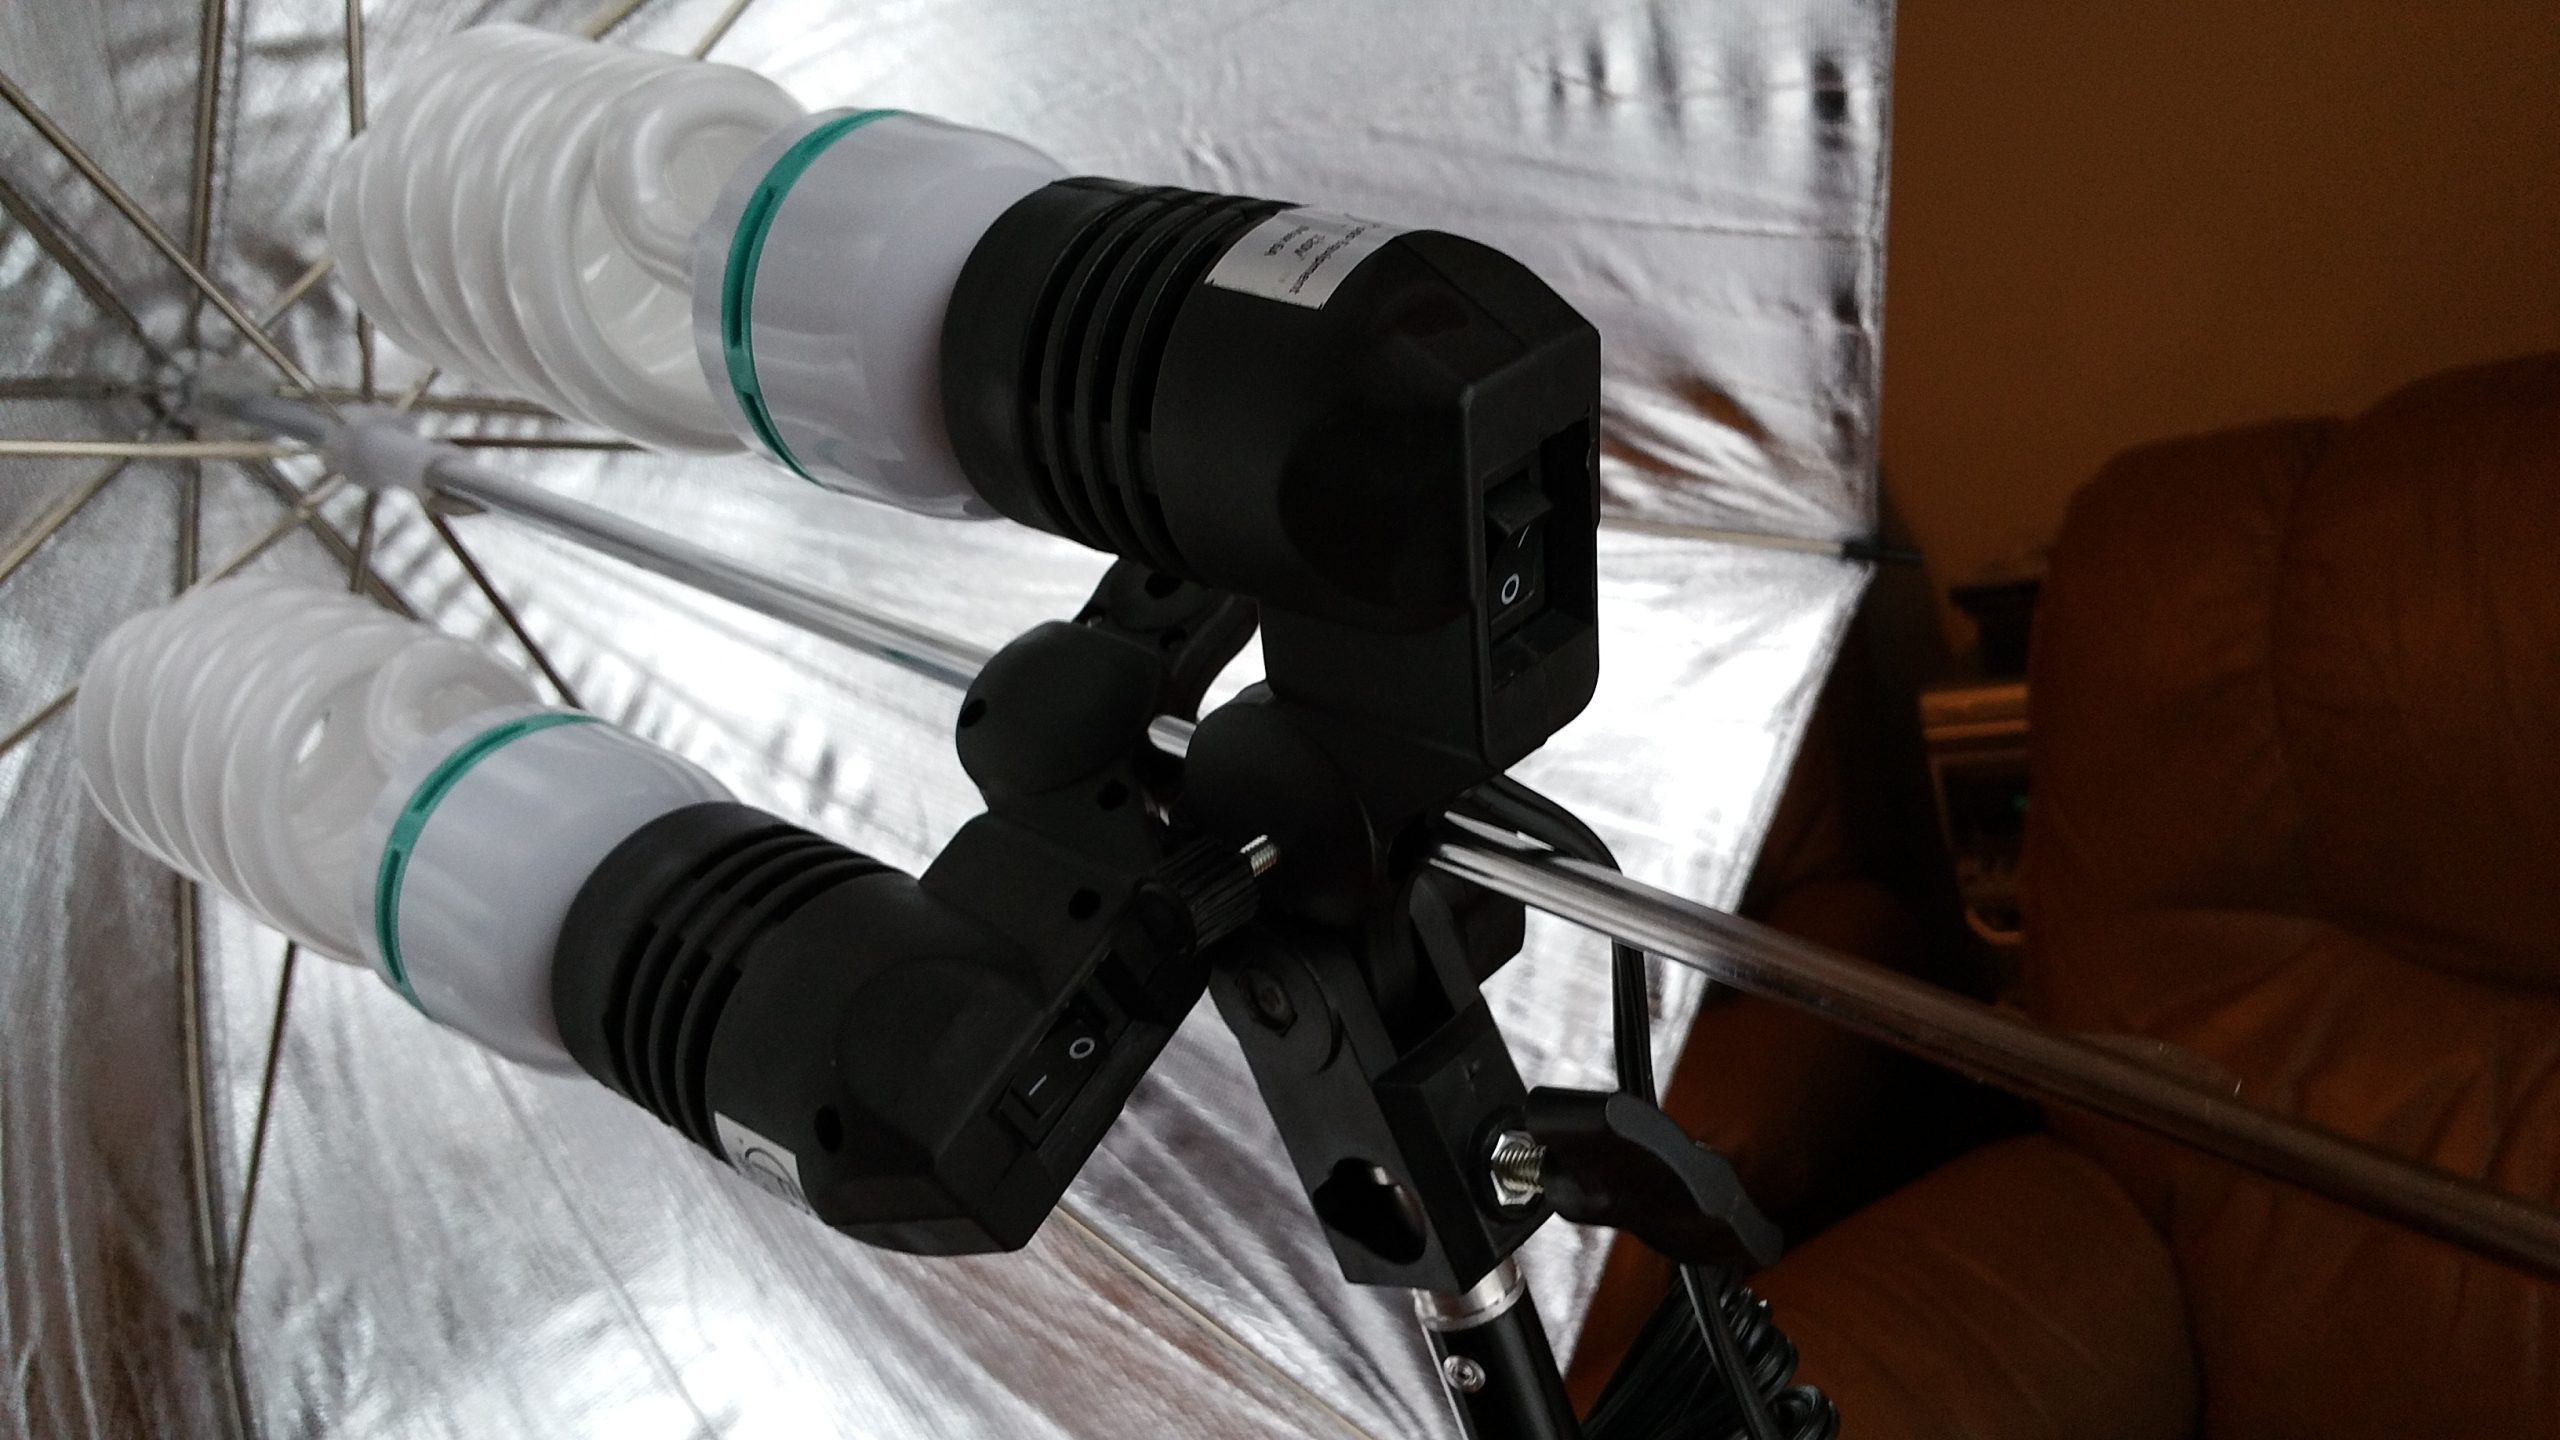
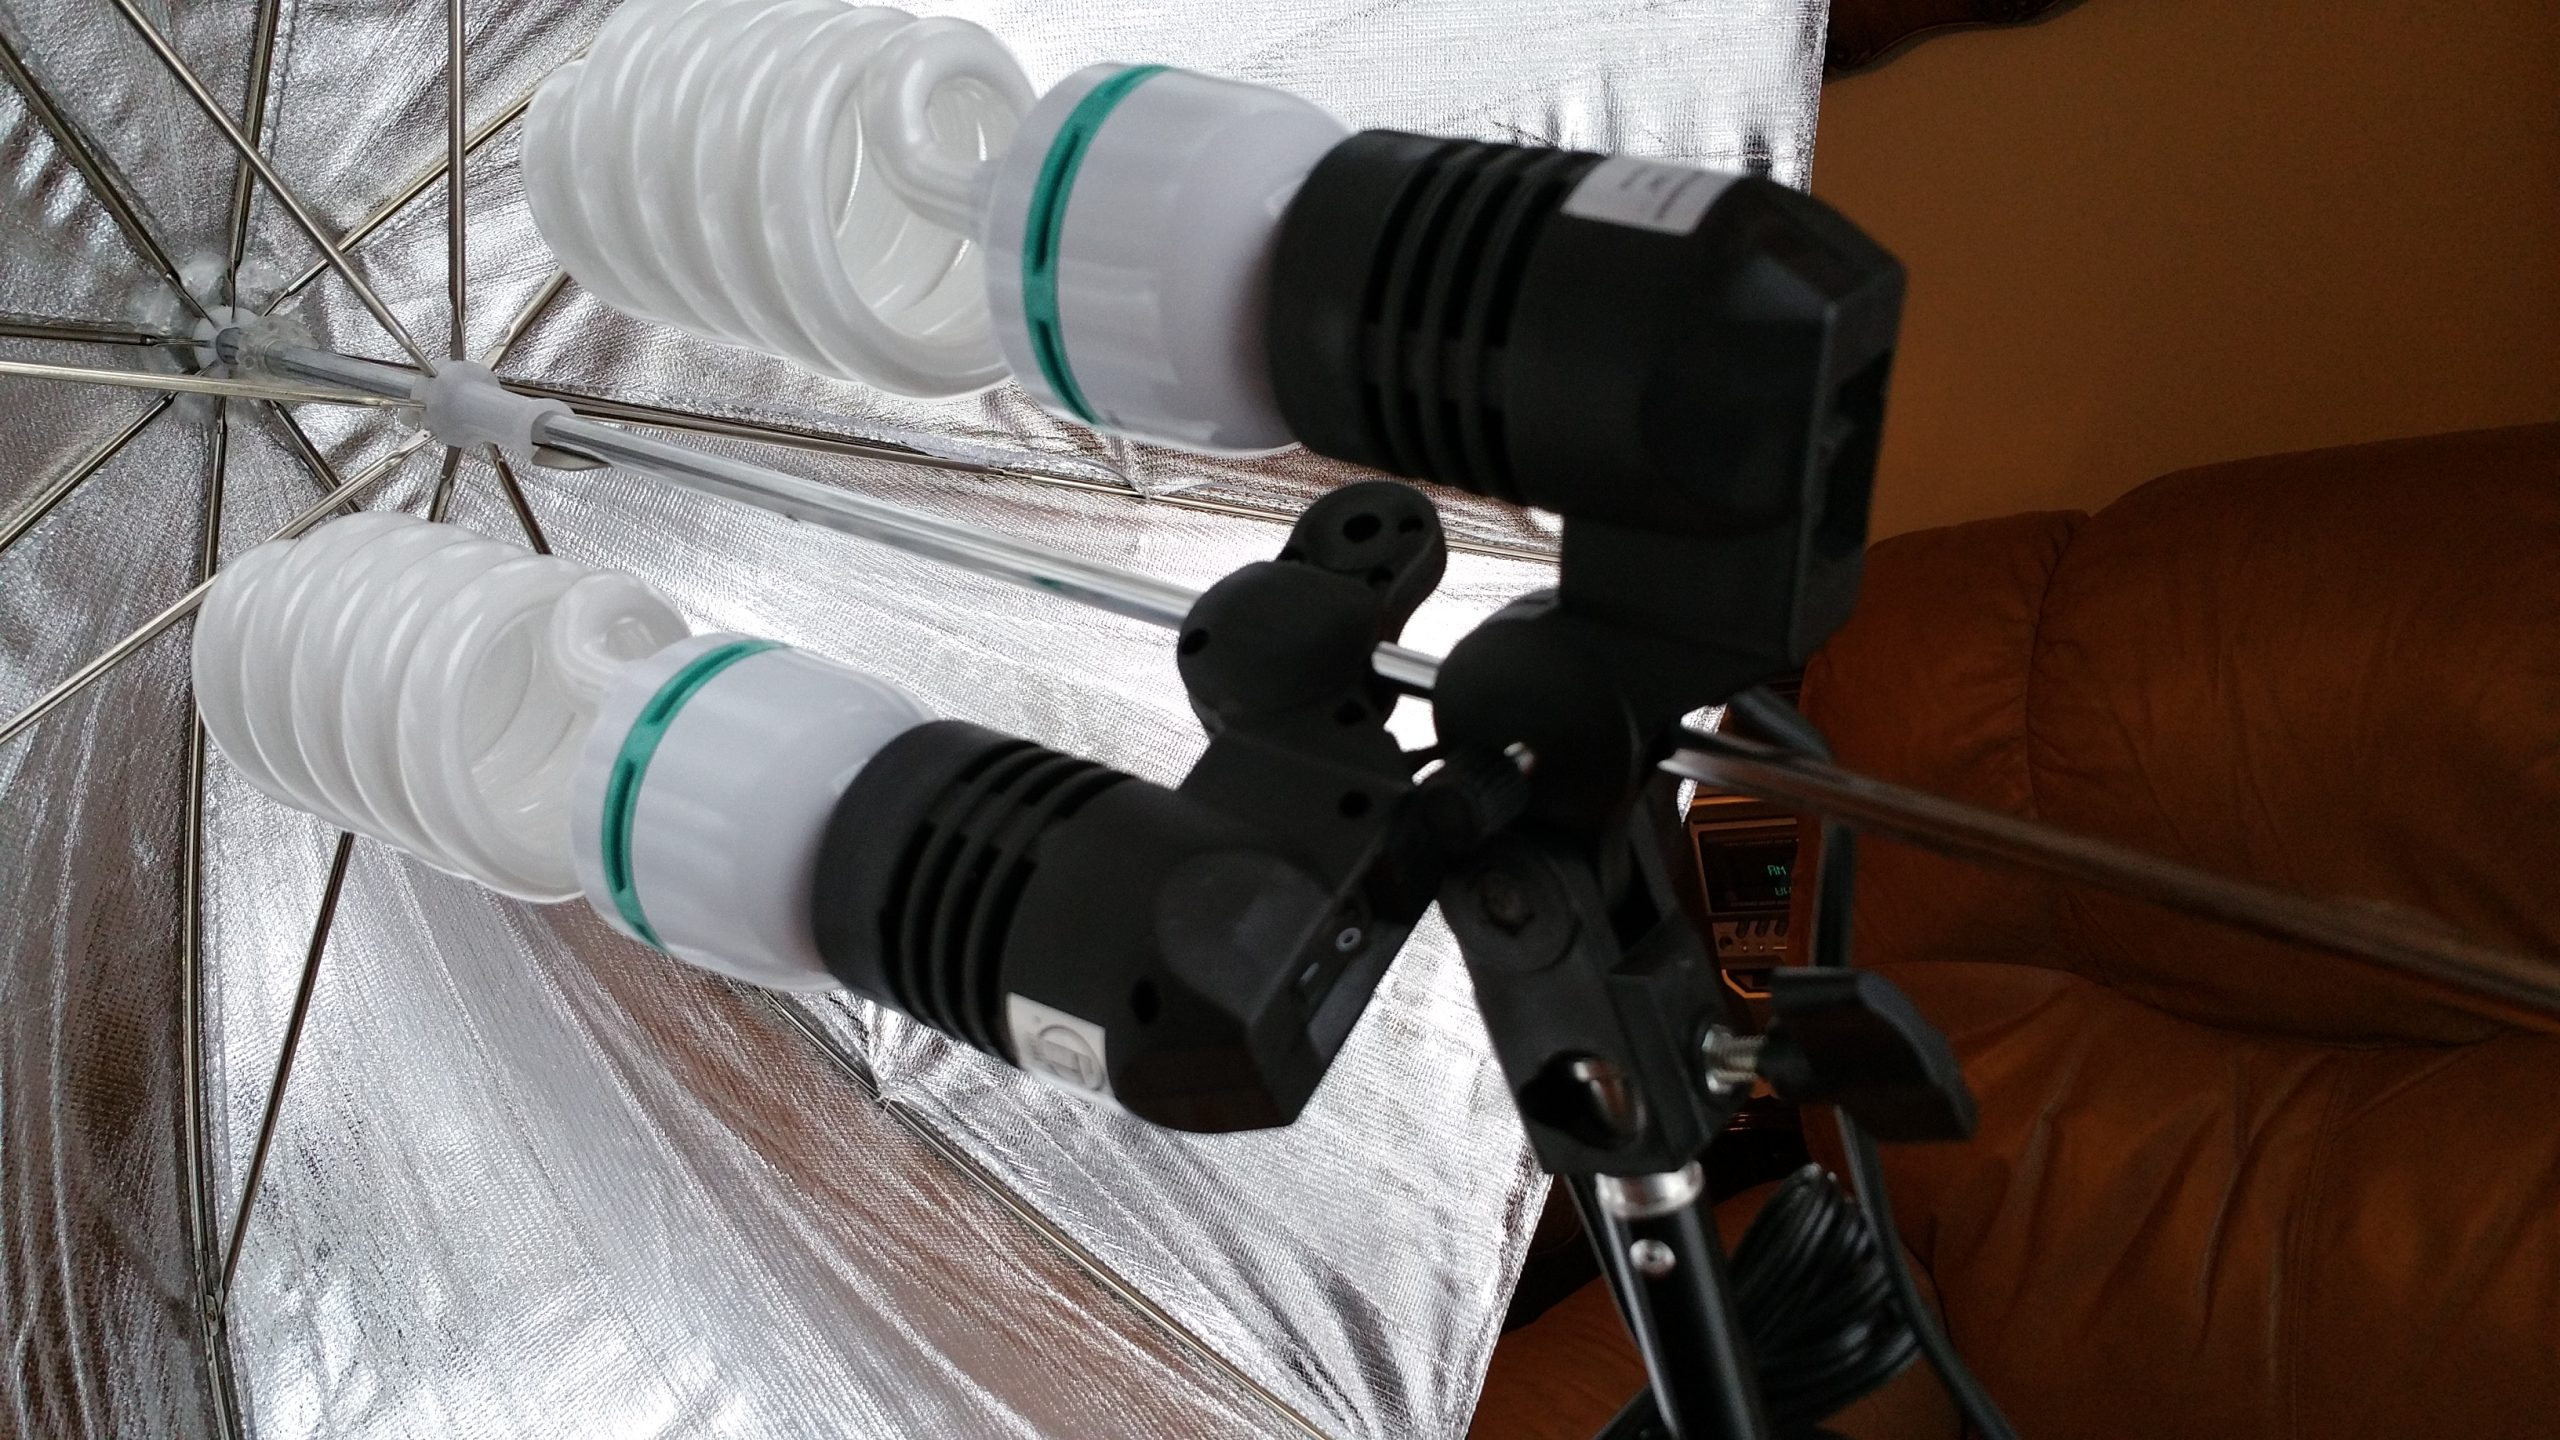
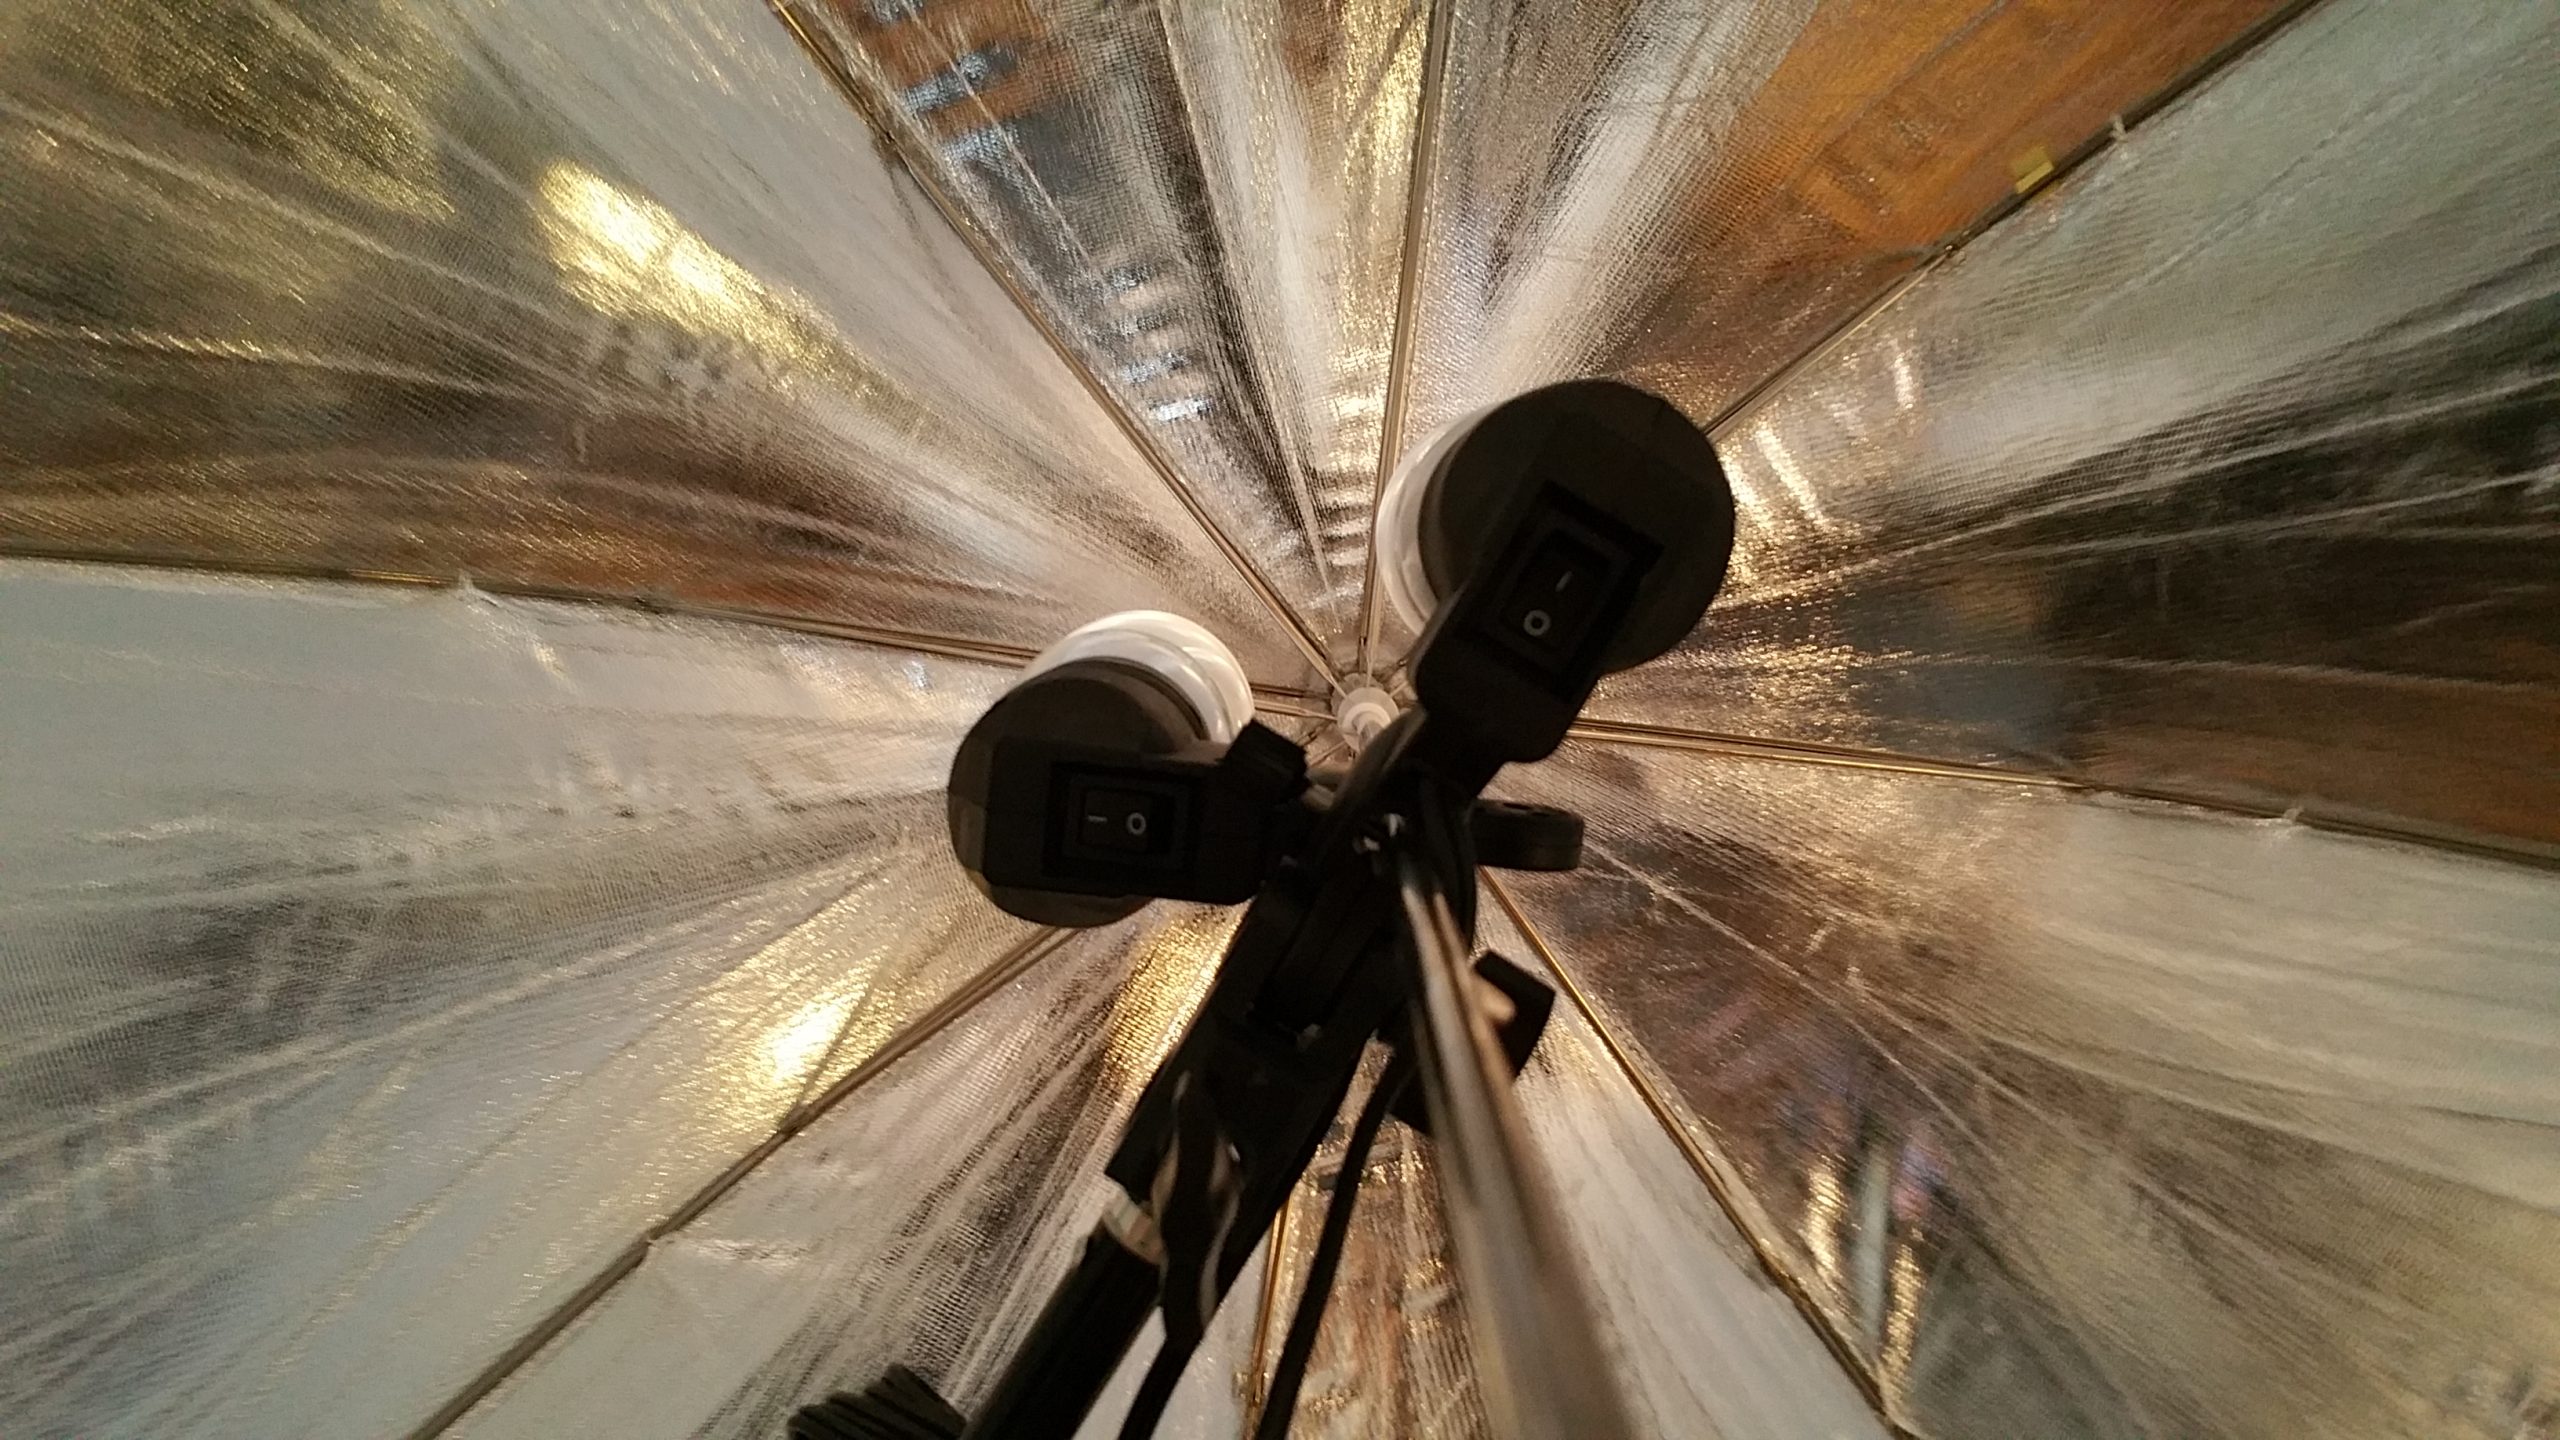
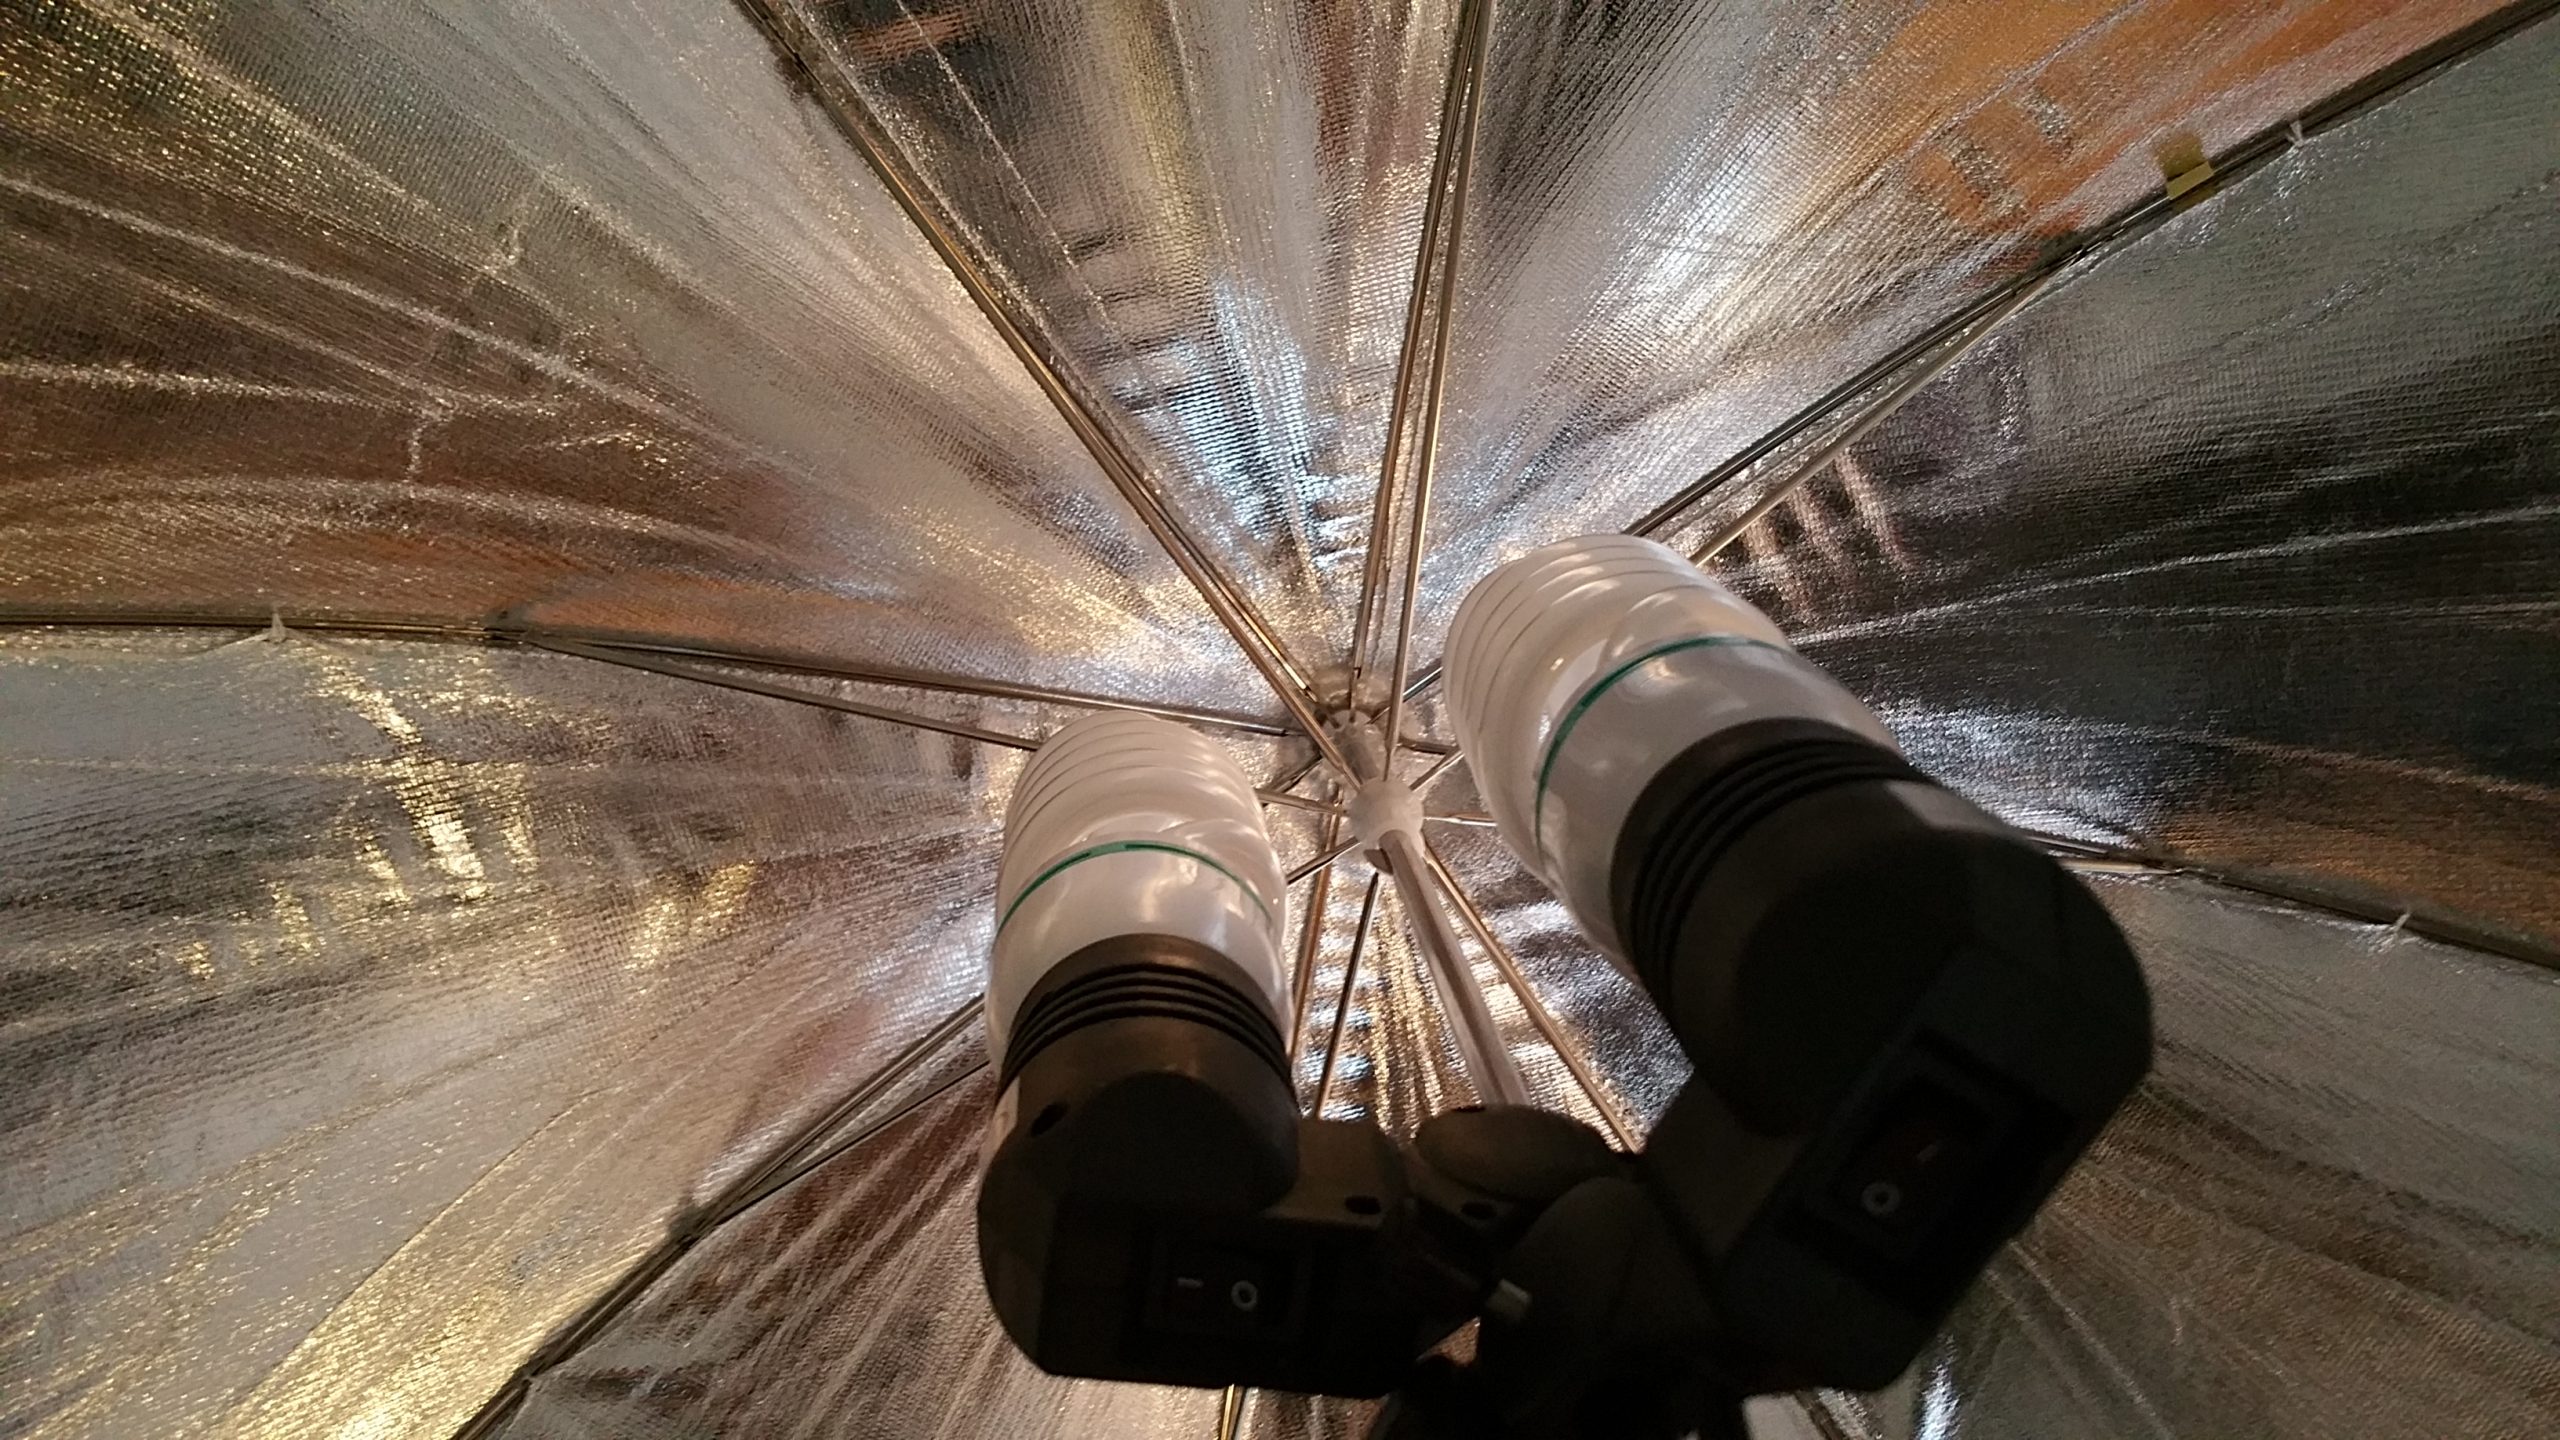
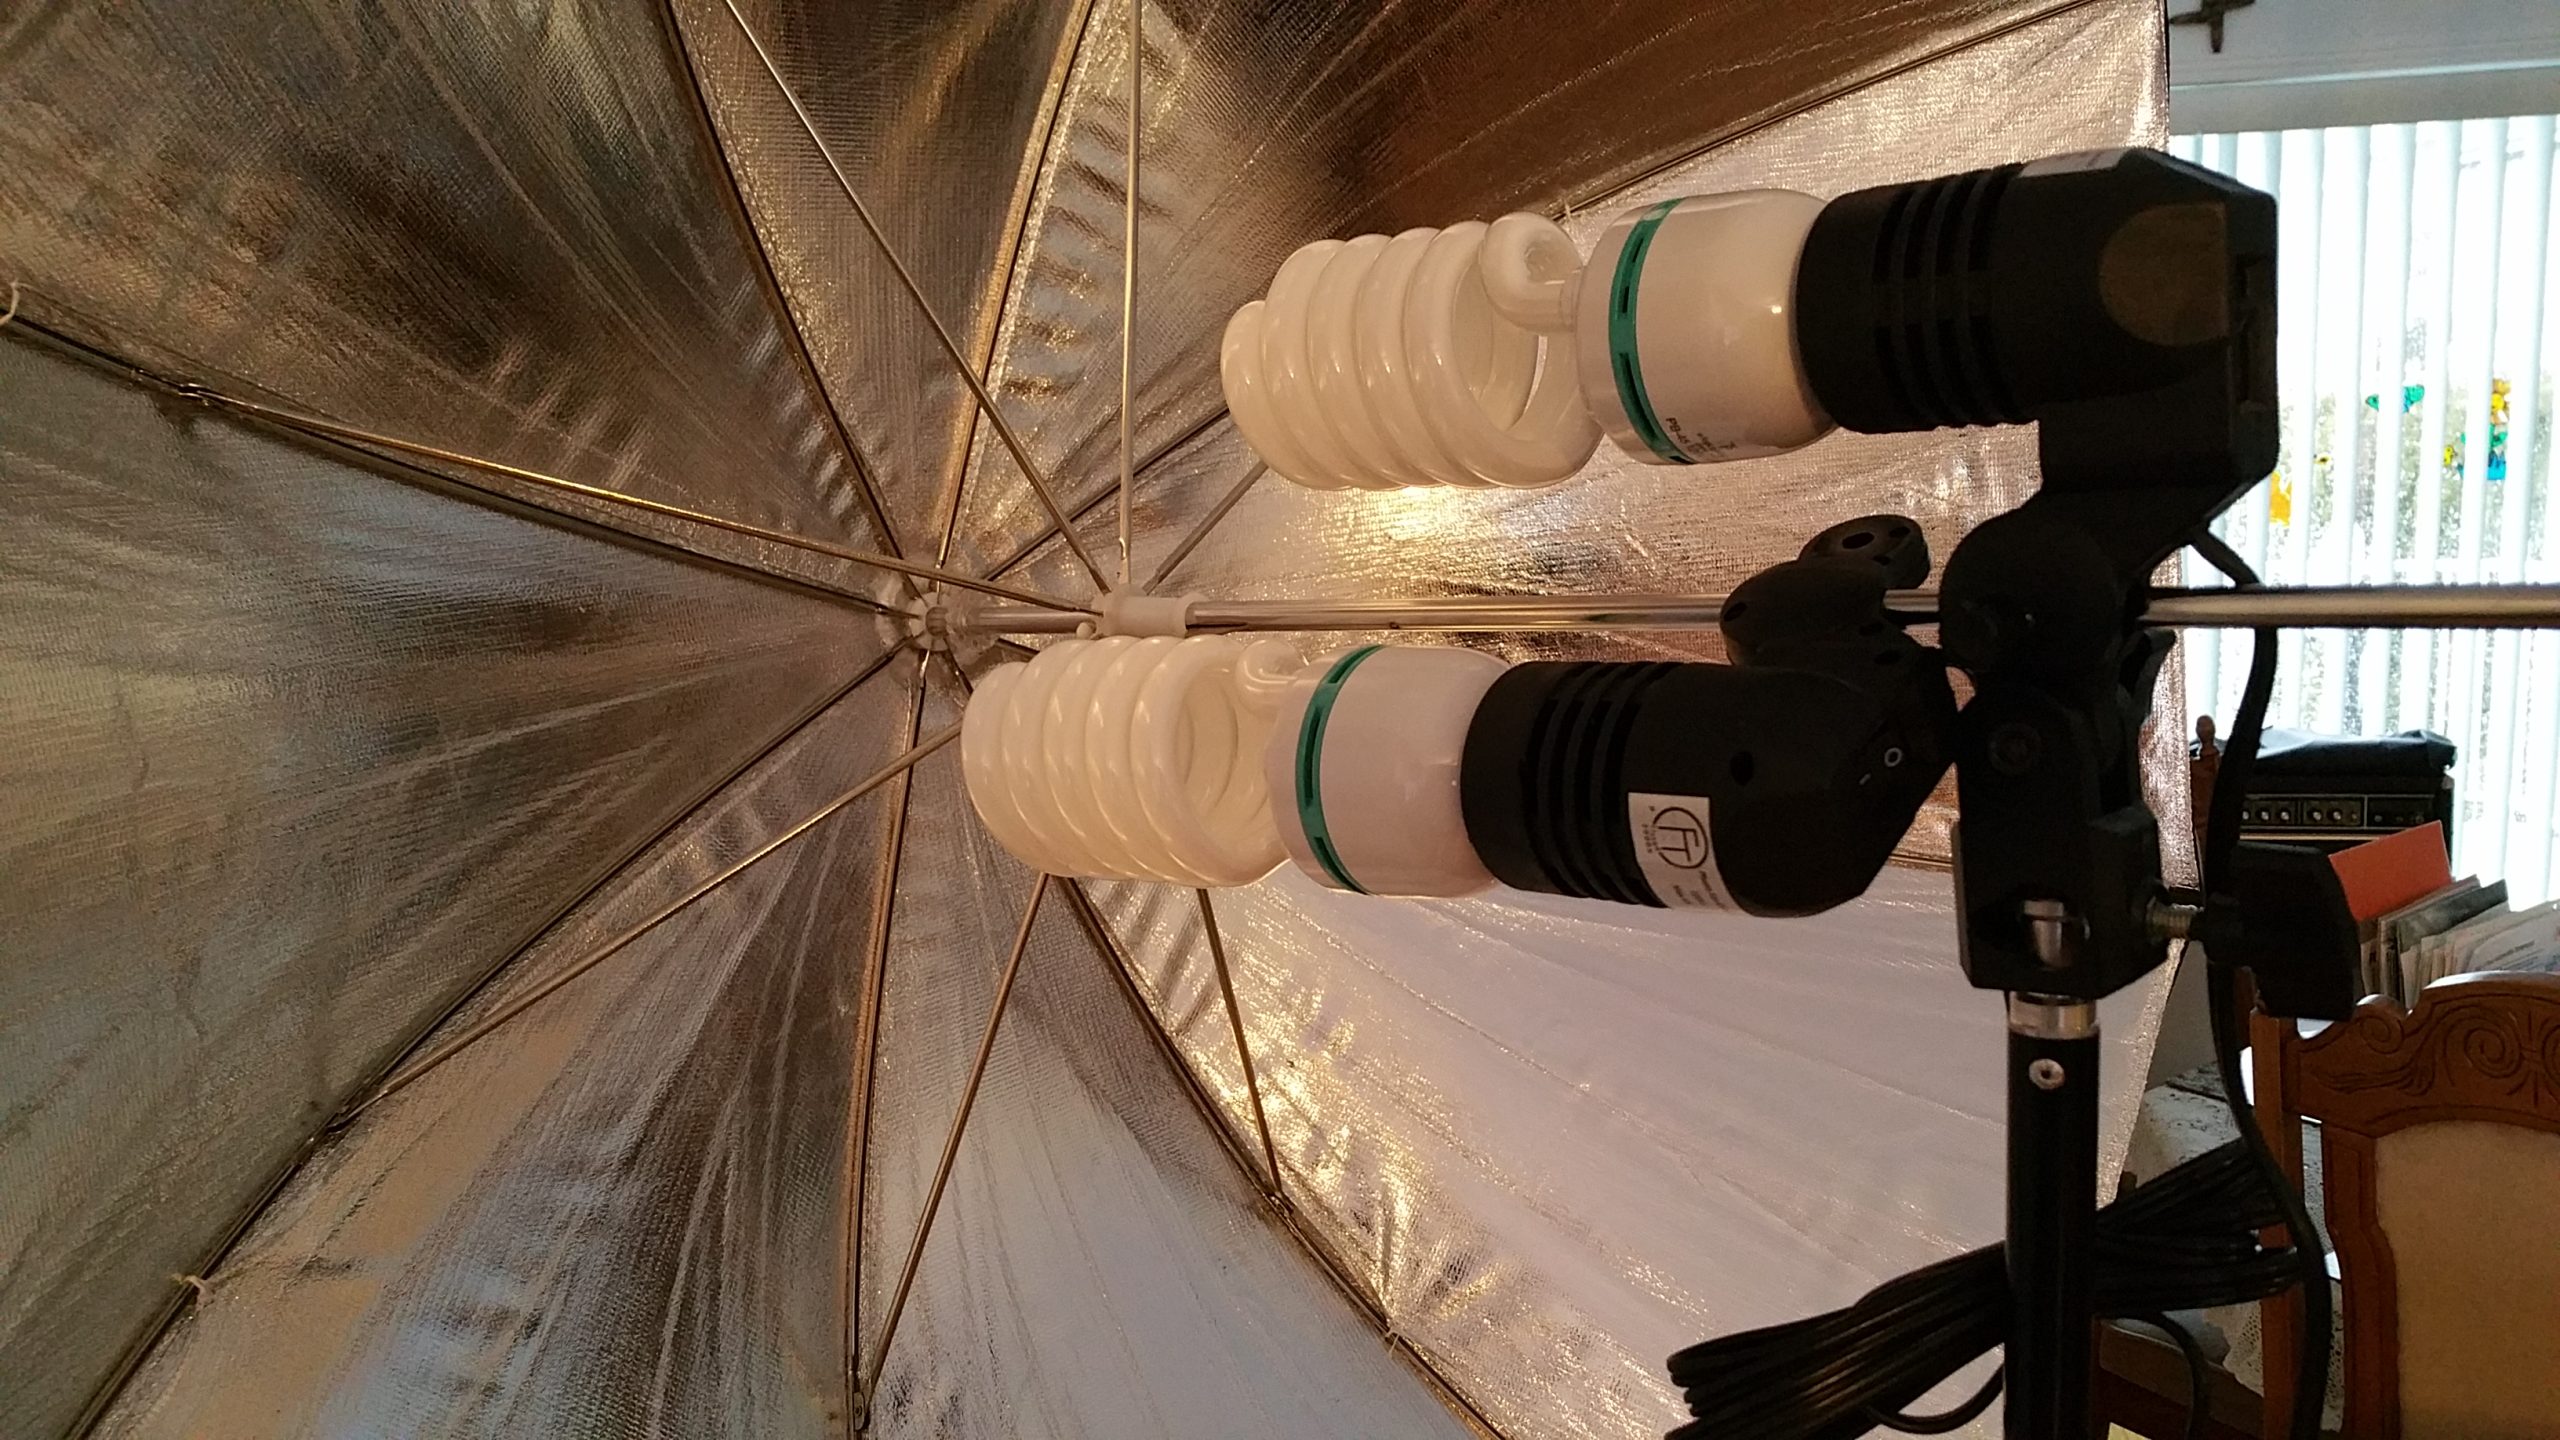
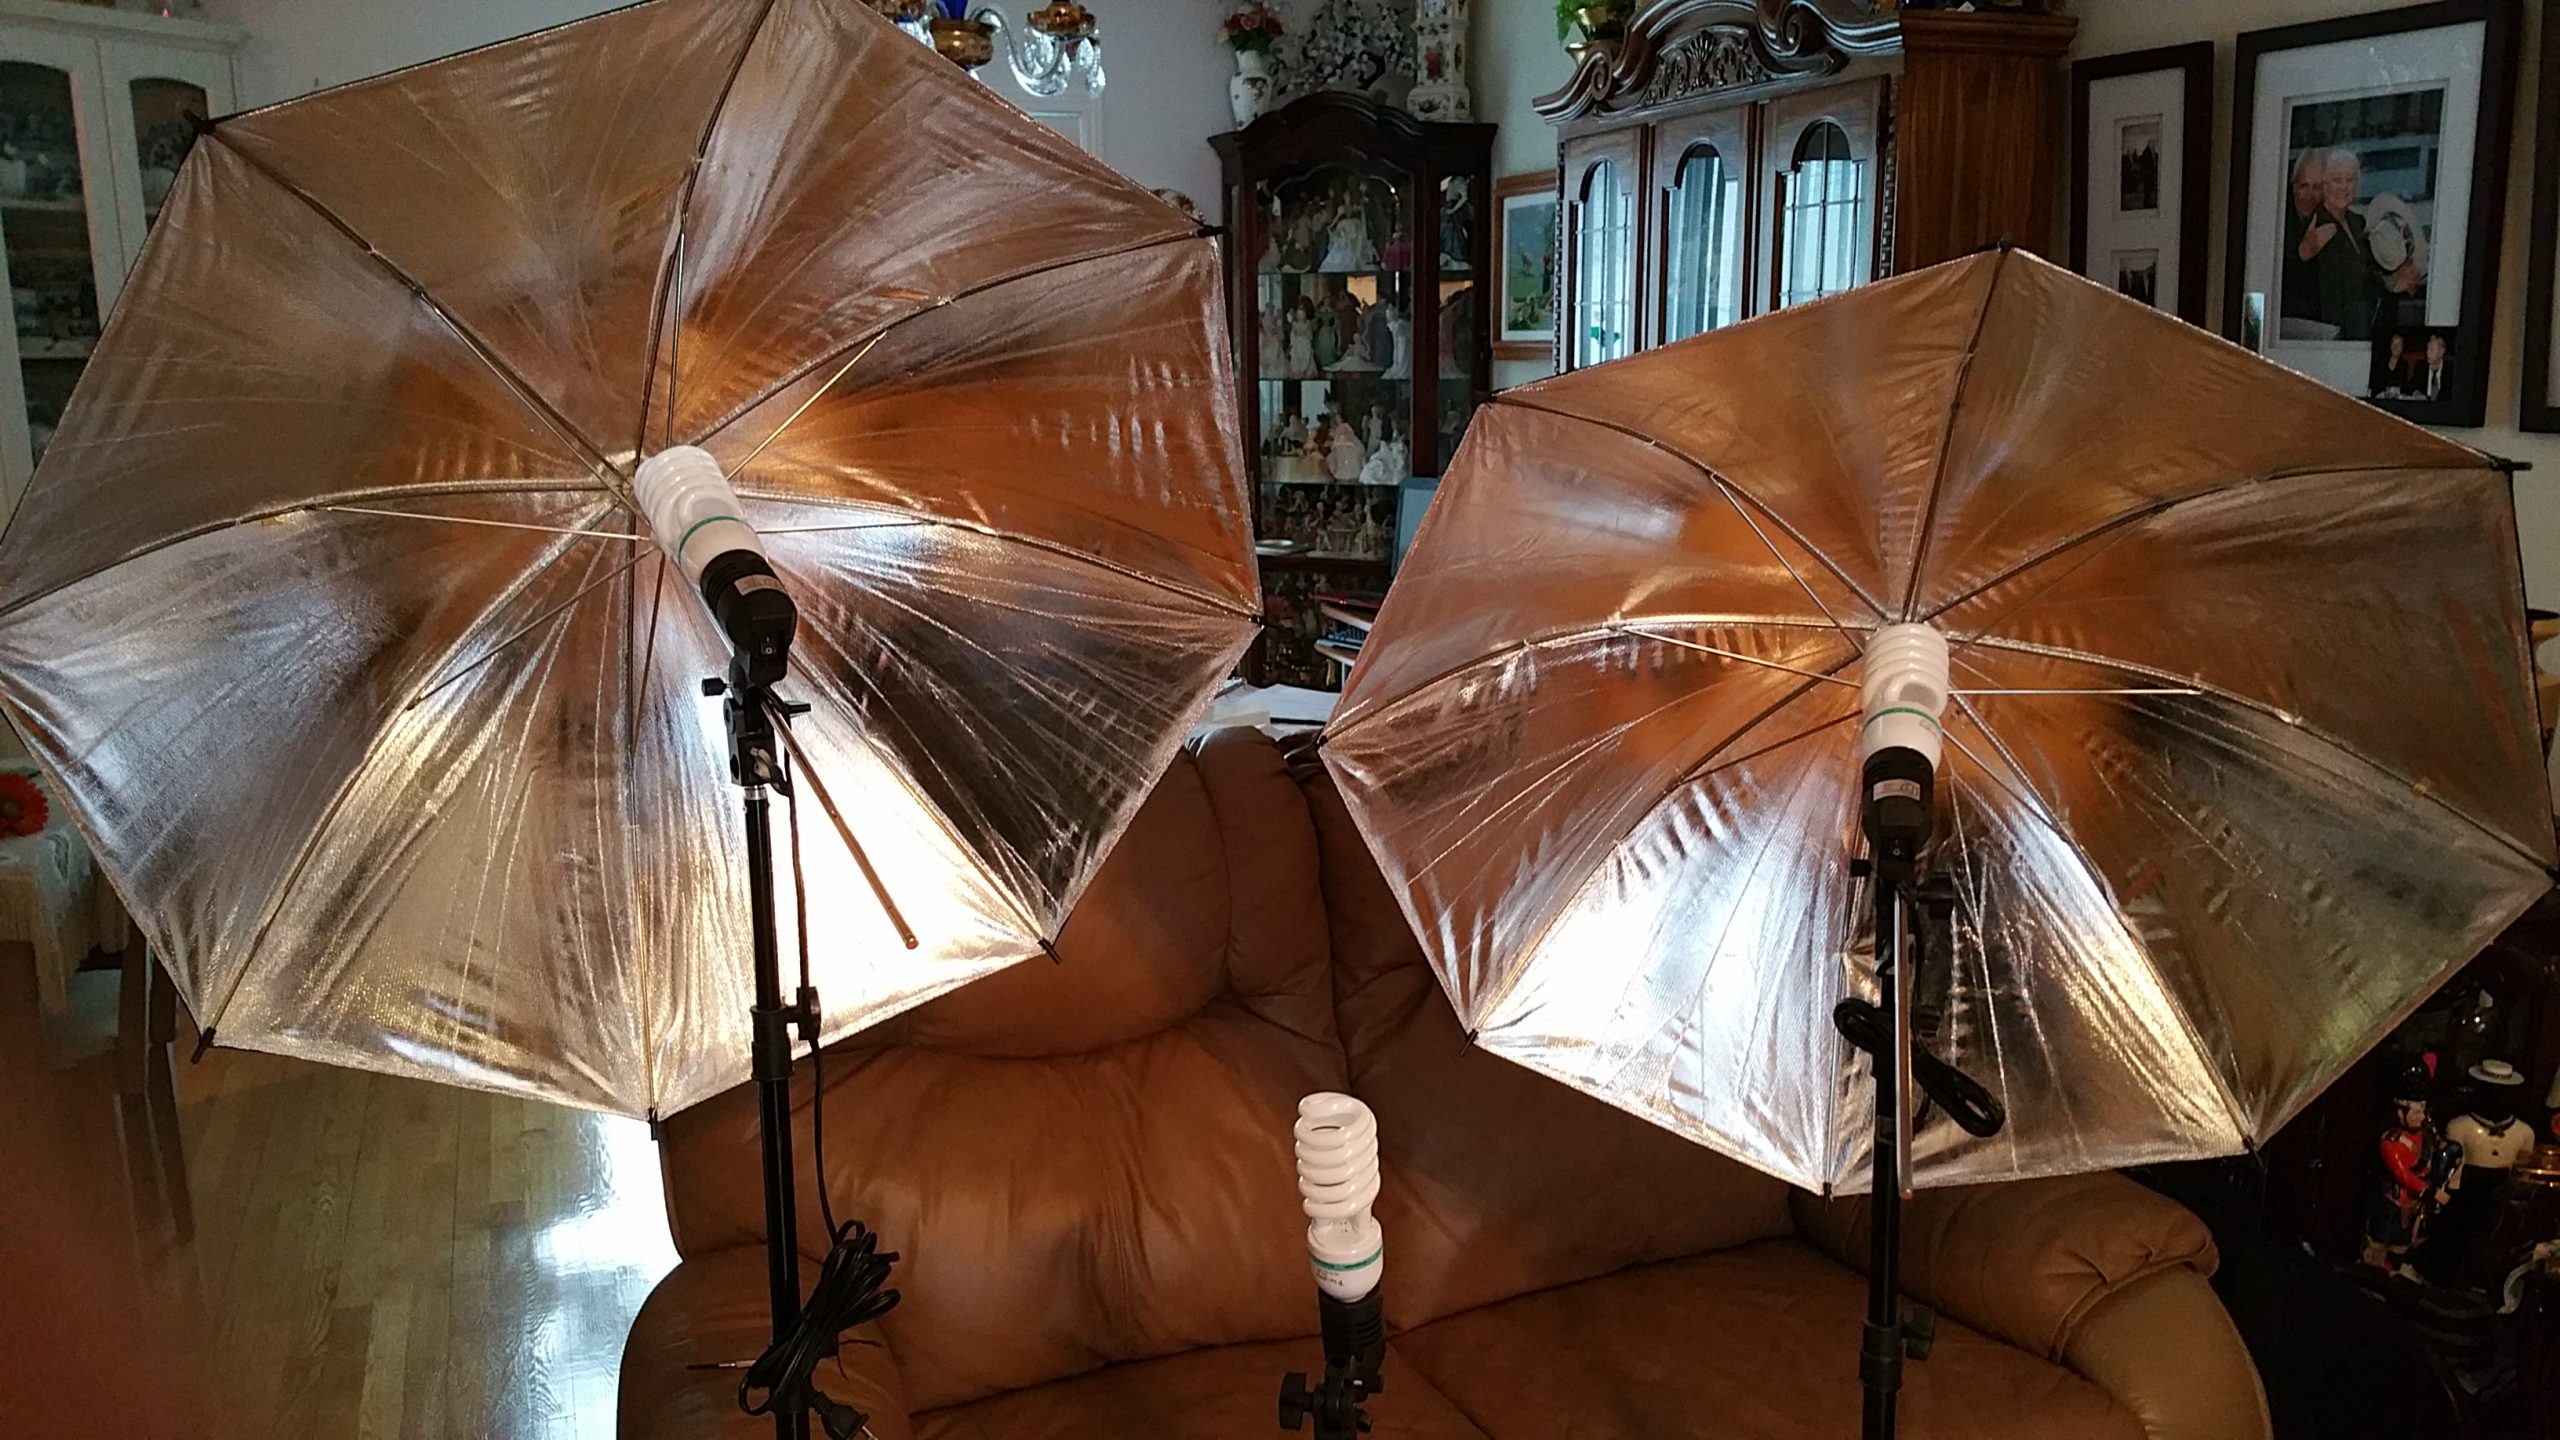
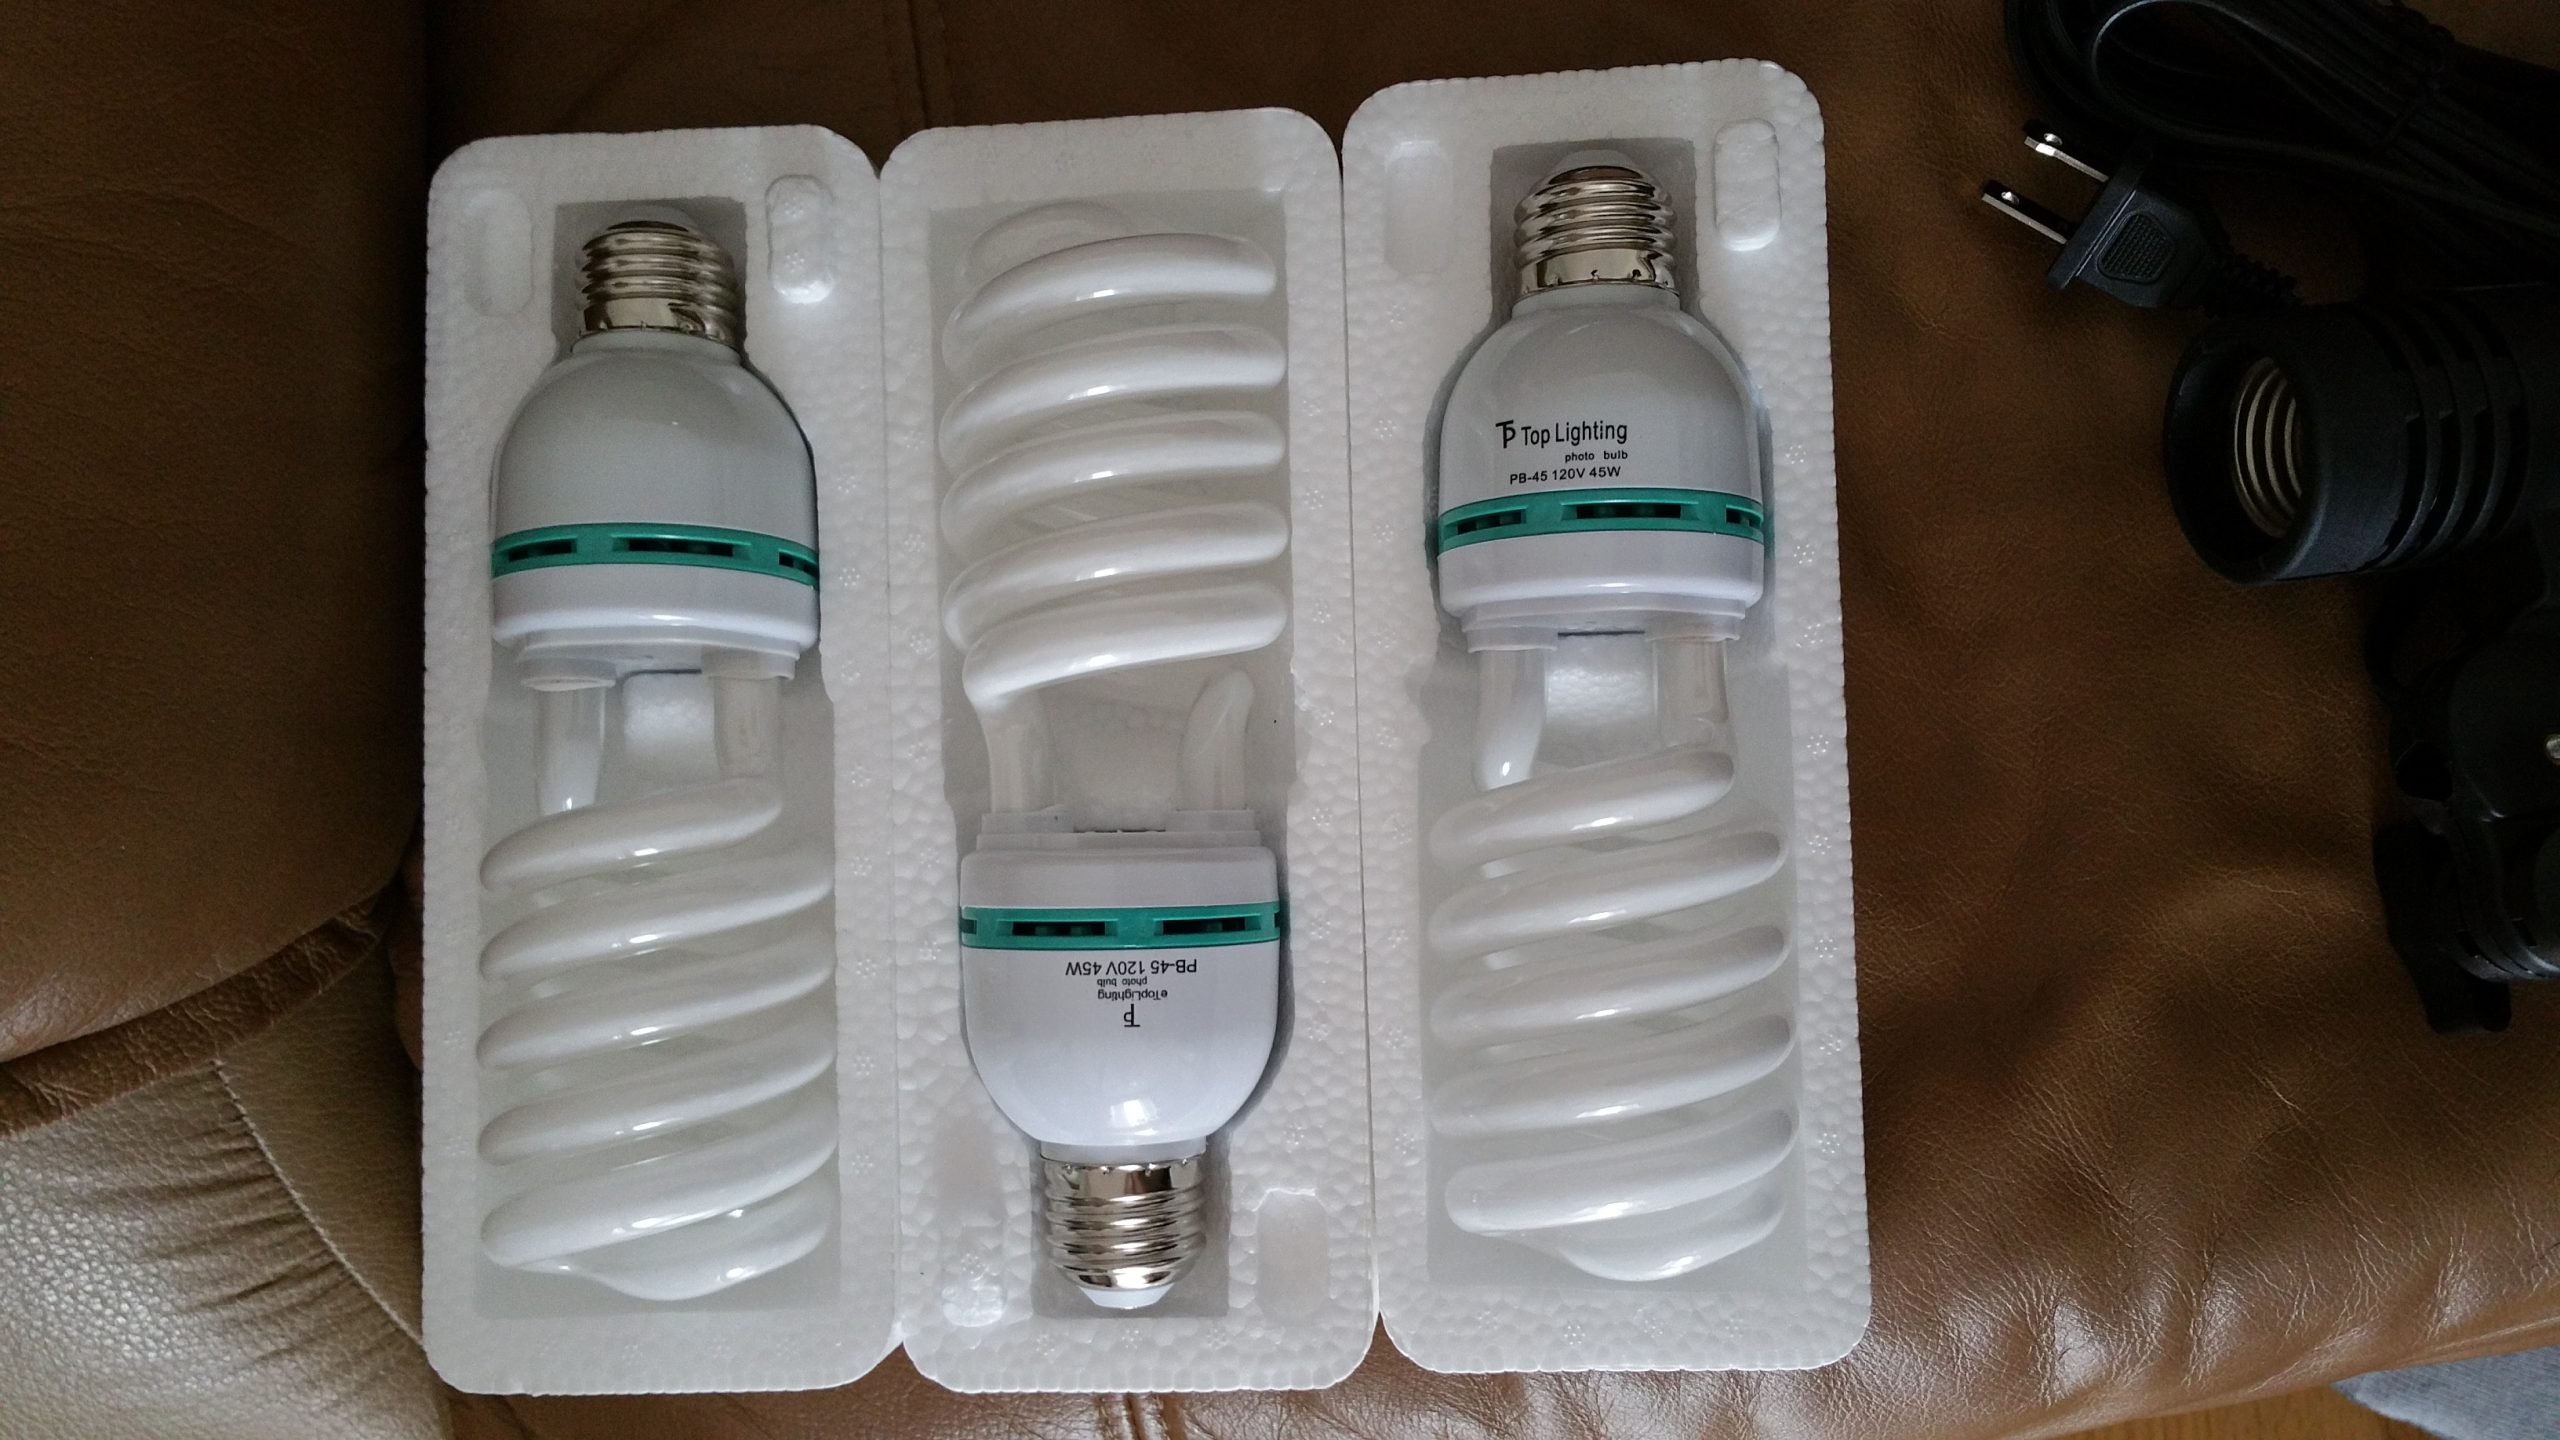
I also often see mini DIY projects pop in to my head and after looking at the bulbs, I saw they were only 45 watt each, and then saw that the small light stand was pretty much useless for my needs and so took the 3rd bulb and holder and made myself an instant 2 light setup for the main light in under 30 seconds!:
That is going to give me a bit more light (well, the technical parlance is that I will get exactly one more “stop” of light) and that means that I will be a bit brighter and the camcorder and dSLR are going to have to work less to give me a better quality photo.

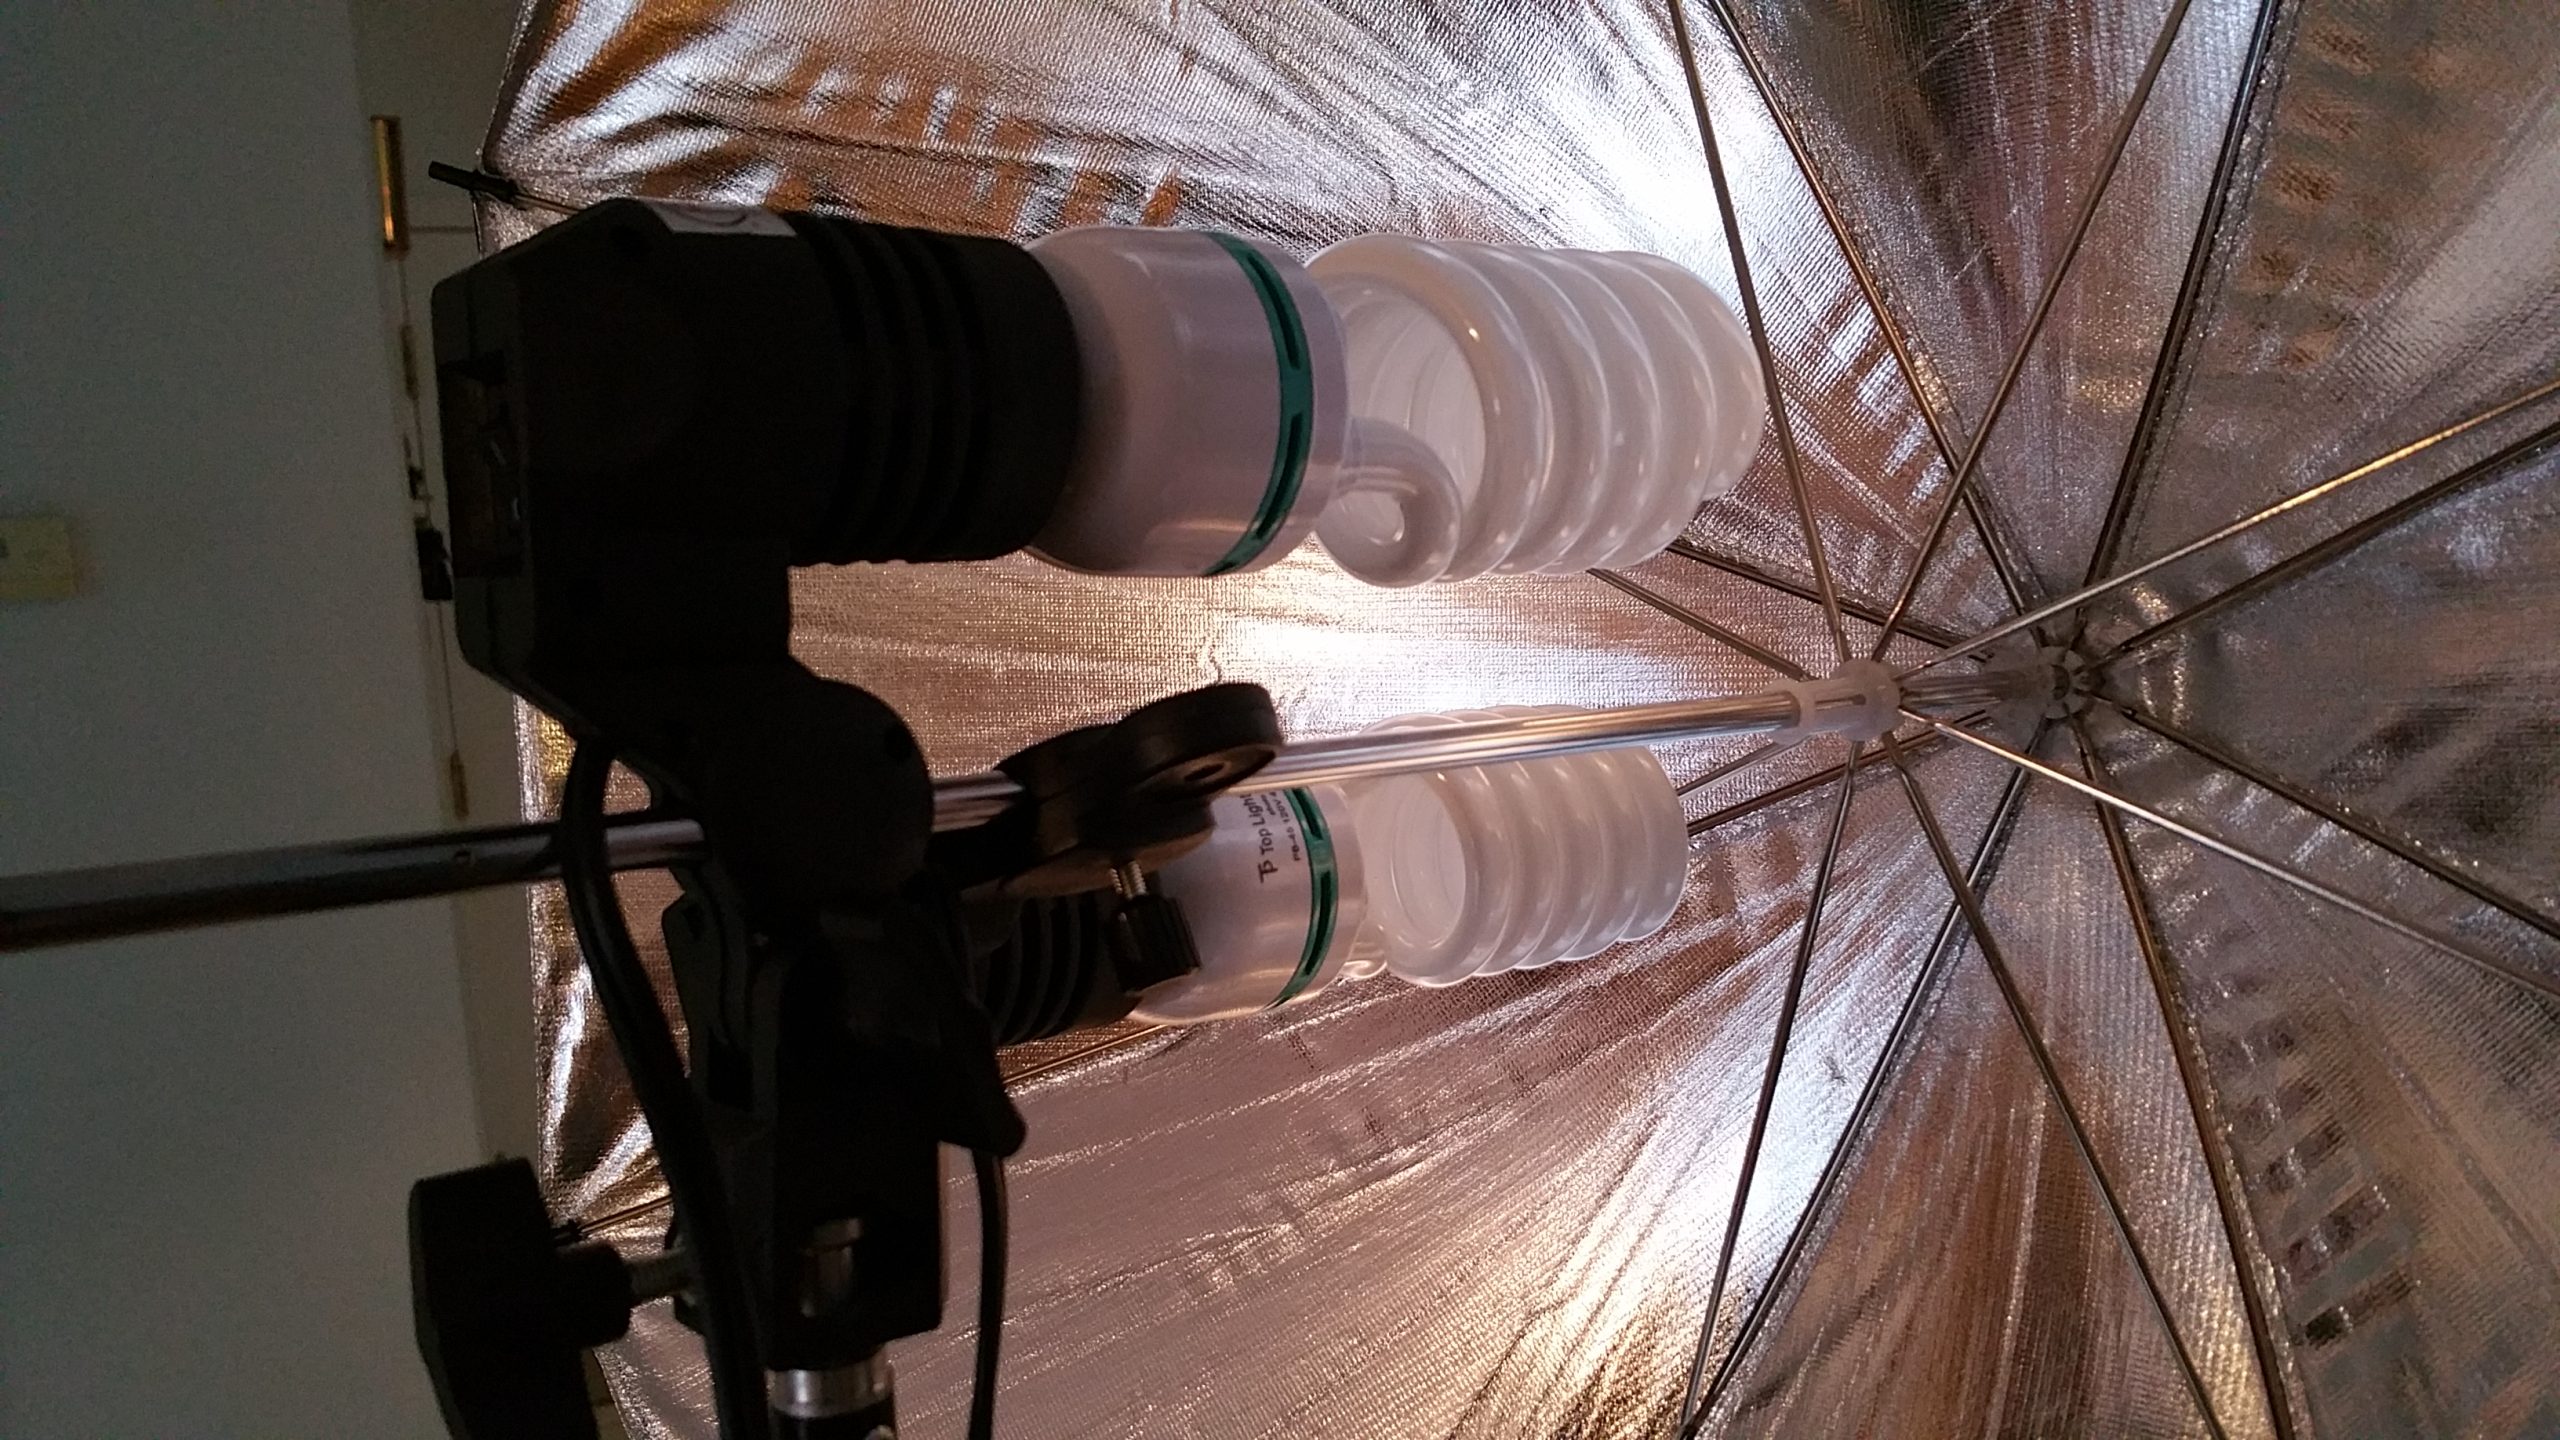
The one on the left came with the kit, and the one on the right is my smallest umbrella, so, if I wanted to, I could use the larger one for a bit of a slightly softer looking light, should I want to. I’ll test things out with the smaller umbrellas first and I think they will be just fine, looking at the excellent results from my friend Ed.
Here are a couple YouTube videos about my camera (not made by me!)
Now, someone has already asked me why I did not get the R72 model because it has an internal 32gb internal storage compared to the 16gb of the R70 and this offers you more recording time. This is easy to answer…
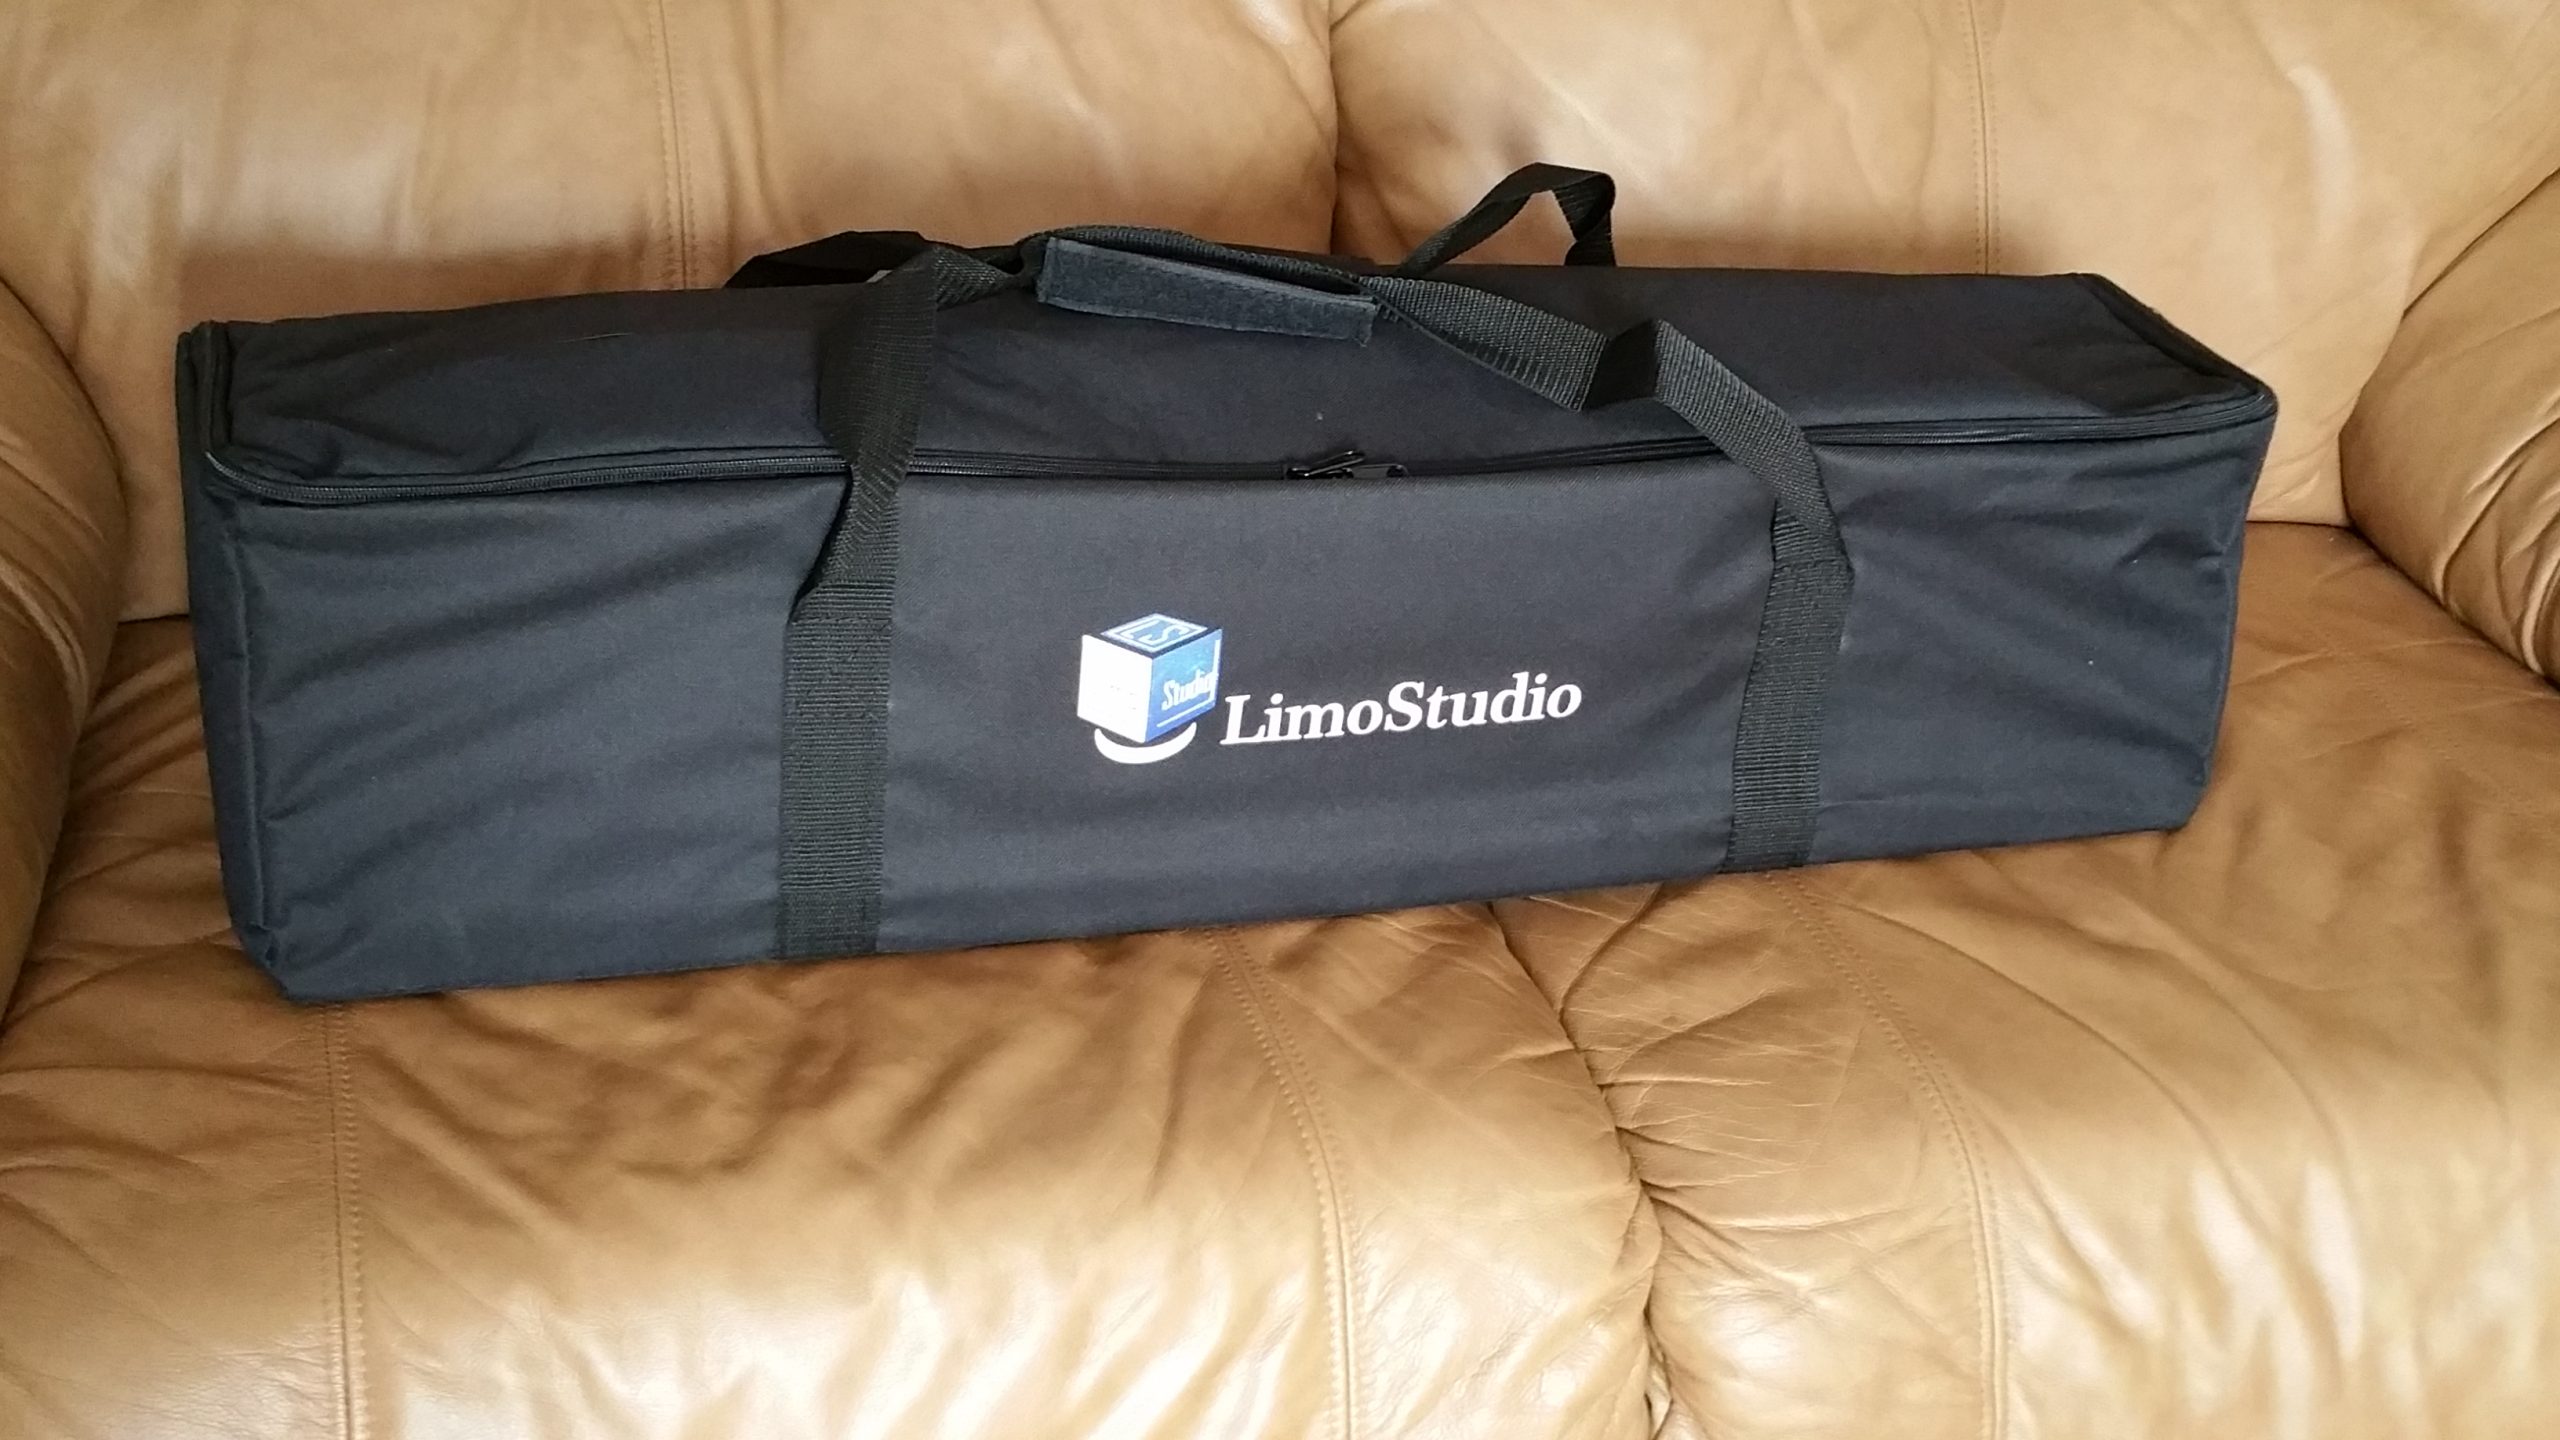
First, short of internal storage, the cameras are 100% identical in terms of specs. The R72 was $50 more. So what I did was purchase a 32gb SD card for $19 and have a camera that had 48gb storage and still paid $30 less than if I bought the R72. Also, I just upgraded the SD card for a 128gb one from Costco for $80! On top of that, the camera has this really neat feature to just send it’s files to an external hard drive. Just plug it in and move the files over to the external drive… all without a computer or anything else needed. I just happen to have this nice 250gb hard drive hanging around doing nothing, so that is going to go in the bag with the camcorder from now on and be the “just in case” storage area when doing vacations or something.
In short, I see some more video experimentation coming soon in my future and a lot of fun projects coming up… just as soon as I can find the time! 🙂
Addendum: March 11, 2017
Today I did some quick tests with my D4 and the new lights and I am pleased with the initial tests. At ISO 1250, 1/100th and F/2.8 I was overexposed by about 2 whole stops. Lowering the ISO to 800 and placing the lights a little closer did two things. First, the exposure on my face was near perfect and the background became a touch darker.
I really liked the effect of the F/2.8 aperture as it very gently blurred the backdrop, giving it a nice look. The only thing was that these lights are very white, almost in to the blue range and I will need a custom white balance to be sure the colours are crisp and accurate.
The Vixia in full auto mode performed satisfactorily and as I said, will give me excellent B-roll video, likely of a closeup of my hands. I wish I had more time to practice and make my videos, this would make me happy, however, it does not pay as well, so I must continue to work.
Maybe next week I will get a 2-day weekend and might try to make a little video. I’d like to hope so. 🙂
Addendum: March 18, 2017
Just did some more quick tests, and the setup is slowly improving. In terms of camera settings, I used my Sekonic meter to measure ambient lighting to get proper settings on the Nikon D4 and what I found was that my most effective setup was with the larger 43″ reflective umbrella with the 2 bulb modification on camera left (accordion/subject right hand) and the smaller 30″ umbrella with single bulb on camera right (accordion/subject left hand).
With that I can get proper exposure at ISO 400, shutter speeds of 1/100th and F/4.0 in a fairly big area that should cover from head to waist in a sitting position and the width of my right and left hands with full bellows extension, and that’s a big improvement over previous tests! At these levels of light, even a video camera with poor low light performance is going to give me very nice results, so I am looking forward to trying to find some practice time and starting a nice special little project!
That said, I think that in the future, I might invest in some nice 85 watt bulbs for future use, just for the sake of lowering ISO even further or being able to use a deeper depth of field. One thing that I did learn, it is a little surprising at how much better the quality of the dSLR video is over the camcorder. Likely because of that little increase in sharpness and of course that famous dSLR shallow depth of field which blurs out everything behind me just a little and makes the video just stand out a bit more. Oh yeah… if you are doing this, don’t forget to use a custom calibrated white balance for proper skin tones!
Addendum: January 24, 2018
Time for another video camera upgrade! I did some hard thinking and I basically LOVE the quality of the video coming out of the dSLR, however, all dSLR cameras suffer from a couple very important restrictions.
- A maximum 15 minute filming time limit
- Possibility of burning out the sensor faster over time. They’re made to take hundreds of thousands of pictures… not the MILLIONS of pictures that video makes (at 24FPS that is 24 photos a second and in 15 minutes, that comes to 54,000 photos!)
- My Nikon D4 is limited to 24FPS 1080P. My Vixia is good for 1920X1080 @ 60P
So… my decision was to go for another camcorder, and I looked around at hundreds of models. Eventually, I came back to the tried and true brand of Sony, but none of them were in my budget. I looked and looked and by coincidence, I looked on BestBuy Canada and found an open box model for a major price reduction.
After doing my research I found out that the price reduction was for 2 reasons, first it was an open box and it’s upgraded unit was already out for 2018. I looked at the specs and this camera would easily future-proof me for many years because not only is it a prosumer level camera of really good quality, it also has an AMAZING image stabilization system (best on the market) and it can shoot 4K videos! I am set for the next 5 or more years! Sold.
The quality is certainly far above what I need at this point in my YouTube video making career, and it may actually be more than I need… EVER. I have now shored up the weakest link in my video side, and now, my audio side is also pretty strong. I am making some damn fine looking videos and that frees me to concentrate on only one thing… QUALITY CONTENT.
I am free to record for hours at a time and just cut out the parts that I want. I have a two camera system that is pretty awesome and on top of it, when the update to Pinnacle Studio 21 came out, they must have had a video codex upgrade because the video quality of the Canon Vixia files has risen dramatically!
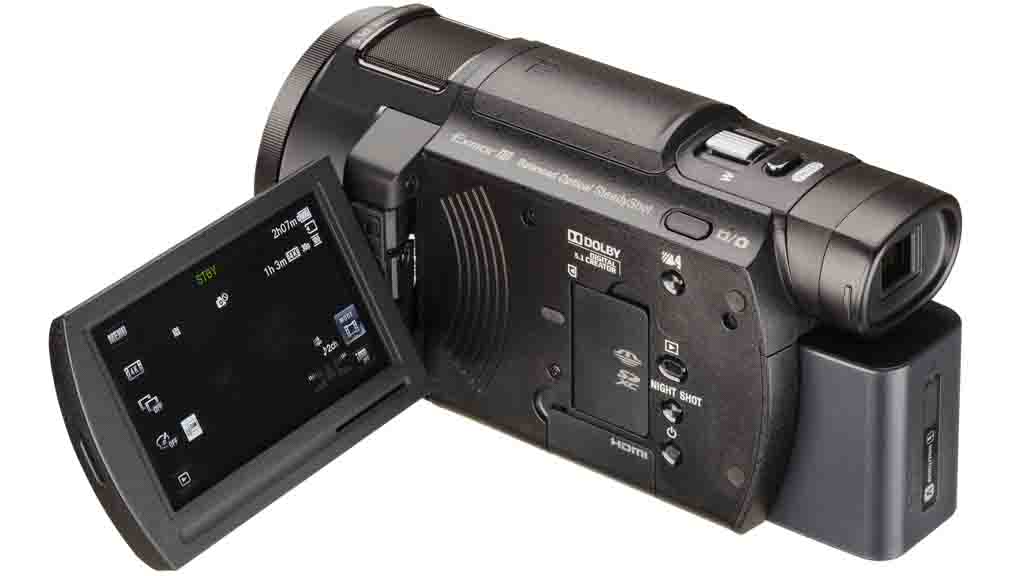
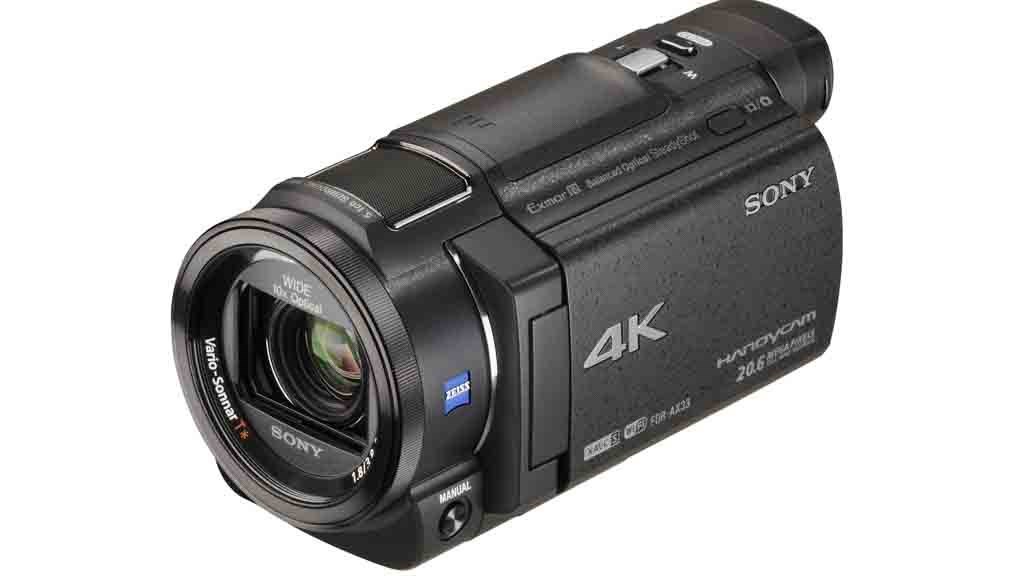
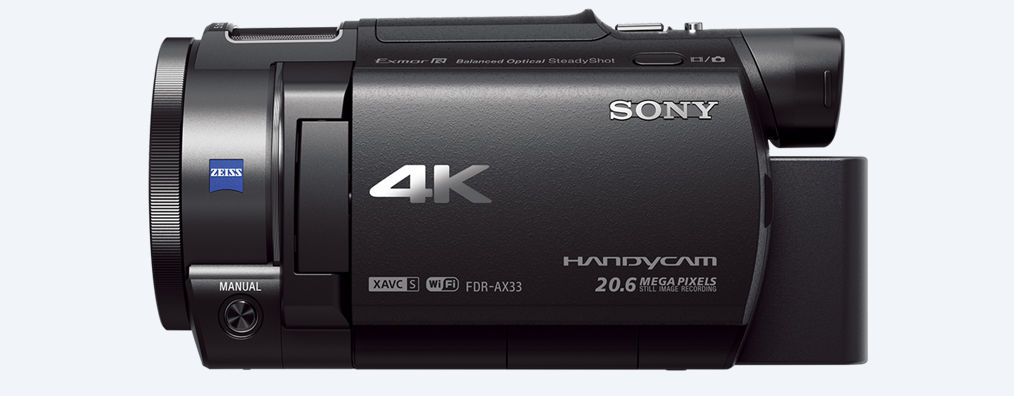
So, what is the camera?? It’s a Sony FDR-AX33 and the full specs can be seen HERE.
CLICK HERE for YouTube video reviews of this camera:
Love the results this video setup gives me!