August 27, 2017
In this article, I want to discuss a bit about making videos of you playing your accordion using one low end and affordable camcorder. As always, my goal is not to make the most inclusive repository of data on the topic, but I do want to share a few ideas that can be used to bring your recordings up to the next level. While it is great to see the incredible quality of high end dSLR or high end camcorders expertly used, most users are not fortunate enough to be able to own all this expensive equipment, but that does not mean that one cannot get good results from a single low end camcorder!
I have seen quite a few videos that have been shared online, some of them even from my friends and fellow accordion playing comrades and quite honestly, they are all pretty darn good, however, I think I can offer some thoughts that can take those videos up one notch.
Most videos that we see online are with camcorders in fully automatic mode, and some of those camcorders can give you some very nice end results. So, if they are all that good, you may ask, what can we do to improve them?
Well, one phenomenon that is starting to happen more and more, even with some very low end camcorders, is the ability to take the camera off autopilot and use a manual setting. A camera is made to run under many different conditions, from the lights to the darkest, from static to fast moving and so in the process introduce so much compromise that they can drop the quality of your videos. We do not need to settle for those compromises and we can draw out the best video and audio that camera is capable of with just a little extra effort and knowledge.
What am I trying to say? Easy. Take control of your equipment, don’t let it make some pretty important decisions for you that you can do better!
Setting the camera to a predefined mode setting is sometimes a good start, but going all manual as far as the camera permits, puts you in charge and improves things… and in some cases, quite dramatically, but you have to both know your equipment and know how to use these settings to your advantage!
I am going to demonstrate this concept with my very low end B-roll camera, the Canon Vixia HF R70. This camera is quite “low-end” and very affordable. As a matter of fact, you can find this camera on Amazon for under $200US (or under $170 for used or refurbished), again with free shipping!
Also, most camcorders on the market today have some, if not all, of the semi-manual settings that my camera has, and many have even greater levels of manual control for even potentially better results. Time to break out the manuals of your equipment ladies and gents, and find out what your hardware can do for you!
So, where does one start?
Well, there are five areas where things may look good, but have a lot of room for improvement, so that is where we might implement easy changes that can take things to the next level, and when combined, all result in a final video with superior results. Those five things are:
- White balance
- Sharper images
- Improved recorded sound quality
- Video post processing tips
- Audio post processing tips
These are the topics we are going to limit ourselves on today and even if you use the first three of the five, your videos will already be improved.
Let’s get started!
1 – White Balance
What is white balance? Well, being a photographer, I could go in to the nice long conversation about colour temperatures and what light sources give off what colour temperature settings in Kelvin degrees, but I think it is wiser to keep it very simple. Basically, not all light is the same. It can vary in shade and in terms of our recordings, under the more extreme circumstances, can make us look quite weird. I really enjoy when the black part of an accordion looks black, the keys look perfectly white and my face looks just like it does in real life, neither jaundiced yellow, oompaloomah blue or some weird shade. Let’s take a look at 3 sources of light that are common, at least to me and my shooting conditions:
- shooting outside in the sunlight
- shooting indoors under your average indoor house lights
- shooting under the fluorescent lights that I use for my videos
Setting your white balance is the process of removing unrealistic color casts, so that objects which appear white in person are rendered white in your videos. Proper white balance has to take into account the “color temperature” of a light source, which refers to the relative warmth or coolness of the light.
Though our eyes are very good at judging what is white under different light sources, video cameras often have some difficulty with auto white balance and can create unsightly green, orange, or even blue color casts (there is that oompaloompah look again!).
Understanding this, we can take steps to help avoid these color casts, thereby improving your video by optimizing the settings under which you are shooting your video at the time.
Sunlight is actually quite variable in that the time of day that you shoot can give you quite different results. For example, in the morning, we all see that golden sun just bathe us in this wonderful light. In actuality, there is a lot of yellow in the colour tone and in some extreme circumstances make us look like we are almost jaundiced, and yet in the evening, or even in deep shade, there is a lot less yellow tone and a lot more blue tone. That is a broad range to cover!
Average indoor like is a lot more yellow/orange and if you are not careful can make your accordion keys look a yellowed/orange vintage look when they are not, and no on’s face looks good a nice shade of orange. Some internal lights also have a tinge of green in them, and that can make you look as if you were playing the accordion while sick, with that greenish cast to your face and entire video!
Fluorescent lighting for me seems to offer the nicest quality of light, and yet there is so much blue in there that it can make you look as if you overdosed on your mother’s blueberry dumplings!
So what can be done? CUSTOM WHITE BALANCE! By having the camera optimize the white balance for your current lighting conditions, you are going to have the best settings possible under the current conditions and your skin tones are going to look natural, your whites are white and your blacks are black and the whole video will look that much better.
Here is how to create a custom white balance setting with my little camera:
2 – Sharper Image
The auto focus of most cameras are pretty good, but there are two issues when it comes to taking videos of you playing your accordion:
- focus accuracy
- unwanted focus adjustments
The autofocus accuracy of most camcorders is not all that great. They want to focus on what they THINK you want to focus on and even then, in many cases the accuracy is not even all that great. When I first got this camera, the autofocus on this camera drove me nuts… everything was just ever so slightly off and it made the video look soft. I want crisp accurate focus, and there is only ONE way to do that… MANUAL FOCUS.
The next issue that I just do not like is the movement caused by the camera re-focusing every time it thinks something has changed. This can be caused by head motion, a swaying body or even the movement of the bellows… and since most people do move some, there is often that 1-2 seconds where the camera gets all confused and wants to refocus causing everything to go further out of focus before getting things right again. And even if you enjoy looking like a statue, sometimes even the movement of the bellows triggers this.
Manual focus does one thing that addresses these two issues. First, by you telling the camera exactly what you want to focus on, your video will be it’s sharpest on the object you want it to be in focus on… specifically, you and your accordion. Second, by using manual focus, it won’t refocus on something else if you move and you don’t get those “focus, out of focus” shudders that annoy the heck out of me.
BTW. here is an important hint… whenever you are recording video and the camera is sitting on a good strong tripod, make sure to turn OFF your camera’s image stabilization. Depending on camera make/model, it can add a bit of unwanted blur.
Now, manual focus is not perfect for all situations, and like anything else, it has it’s own caveats. First, if you are the kind of person that moves forward or backward in your videos more than a couple feet, you are going to be pulling yourself in and out of focus ever so slightly. This is not normally a bad thing as not many of us film ourselves moving around that much in our videos. Second, if you are walking around, you are going to want that autofocus to help keep you in focus, and as the distances between the camcorder and the subject changes, you will want the system to refocus. You can refocus manually or have the camera refocus for you under those conditions.
Challenge: How do you set perfect focus if you are both videographer and accordionist? I’ve found a rather slightly humorous solution that works… my focus pole!
Basically a 1.37 meter (4.5 foot) length of 1″ X 3″ scrap wood with a base that lets it stand by itself and has a high-low contrast pattern in it that makes it easier for the camera to focus on. That pattern is a very low tech solution of a series of horizontal black stripes made with a black marker. Locking in the focus manually now is quick and accurate. One important tip… do NOT zoom in, focus and then pull out, the focus will be off. Set the zoom at the setting you want to shoot the scene at, lock in the focus using the focus pole, shoot the video and enjoy much sharper video!

Strategically placed right in the focal plane of where your keyboard or head is, results in a target that makes pre-focusing super easy. No more out of focus video clips and it just works!
For us here, since we are talking about making a music video of ourselves playing the accordion without moving around a lot, manual focus rocks and using this cheap and easy method to lock in that focus perfectly is just hard to beat.
Let me show you:
3 – Improved recorded sound quality
Ok, so this one might not be about camera settings, but it is about getting your videos to have better sound through your camcorder. That said, this is going to be a small addendum to my video about HOW TO RECORD YOUR ACCORDION, because pretty much everything there can be used in your videos, but, I want to make this section with several tips about how to capture decent sound from your accordion on the audio system integrated in your camcorder. Now, before we start, I just want to mention… sure we can spend thousands on external high end quality recorders and sync up this great quality audio to our video… but what if we don’t want to? Does that mean that I cannot get decent audio recording straight to the camera? Read on!
A lot of people record themselves using the external mics of the camcorder and it does work, but the quality is quite bad, matter of fact, this is the acknowledged absolute worst way to record audio for music videos!
We need to find a way to get the sound from your accordion to the audio system of your camcorder directly. But what if we have no mics on our accordion? Well, you can use the camcorder’s integrated mics, as bad as they are or we can use external mics and still use the main trick of this section. As mentioned, the third way is to use some kind of audio interface and either sync external audio to the video (that is going further away from the one camera, “lets keep it simple” theme of this post). One can also use a hybrid approach where some kind of “mixer” takes all the audio and pushes it directly to the stereo mic inputs of the camera. One can get all complex, and capture to some kind of mixer and send that output directly to the camera, but again, though it offers good results, is there an easier way?
In my case, most of my accordions have some kind of outputs, so this basically deals with how to get it out of the accordion and in to the camcorder directly, and it stays with the “let’s keep things simple” and still use manual settings to get things sounding as good as possible.
Basically what we are going to do is take advantage of the stereo microphone input of your camcorder to make an adapter where you can plug your accordion directly together. No, obviously this is not the best but it does work and has three distinct advantages:
- Simplicity. No need to sync external audio.
- Ease of setup. Basically, it is plug-and-play… literally!
- Cost! It is cheaper to make a cable than need to get an external audio capture device.
Now, in following the theme of using manual settings for improved results, we are going to do the same here. You see, by default, all camcorders have something called AutoGain Control. What this does, basically, is play with the recording levels so that it can both catch a whisper and a yell all at the same time without distortion.
Let me give you an example of why AutoGain is not good for our accordion videos:
- The video fades in with you just about to start to play. The camcorder doesn’t “hear” anything and boosts the recording level to the maximum, introducing a nice hiss and likely any sounds in the room during that moment of silence.
- The moment you start to play, it drops the volume to keep the audio from distorting, but also goes from maximum, to volume that is too low to a volume that is what the camcorder deems as being acceptable. This causes a short but weird dip in volume as you play.
- Not to outdo itself, when we play a quiet section of the song, the camera helpfully tries to raise recording levels, making the quiet sections of the song as loud as the loud part of the songs and potentially adding a little hiss as well. This kills all that dynamic range and nullifies all your hard work of trying to make a song with quiet and loud parts.
In short, leaving the control of the audio to the camera works, but is likely a quality nightmare in terms of dynamic range. Again, by setting it to MANUAL, we choose a setting by which our loudest part of the song is as high as the camcorder can record WITHOUT introducing distortion and then that level is locked in. The results are that loud parts of the song are loud without sounding bad and quiet parts of the song are quiet without being artificially boosted and we don’t have the hiss that is there at the start and end of all our past videos.
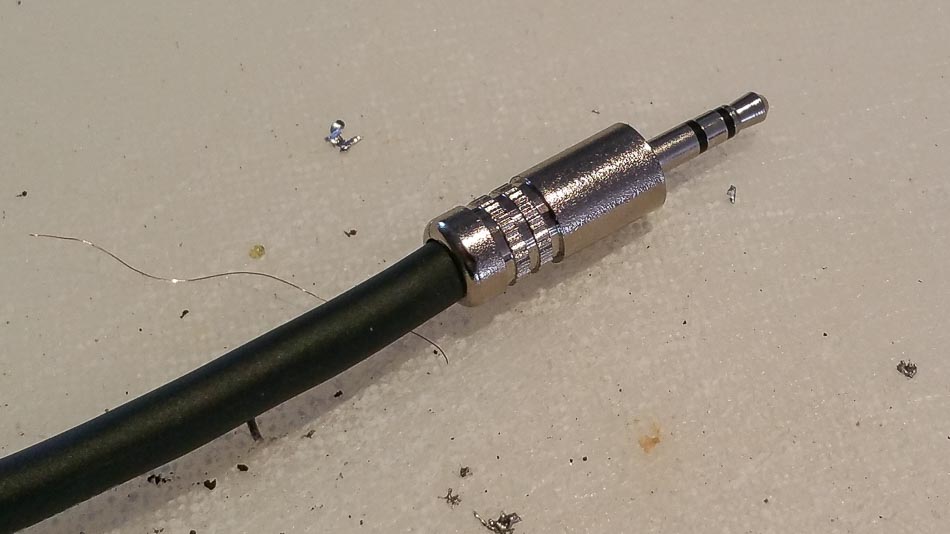
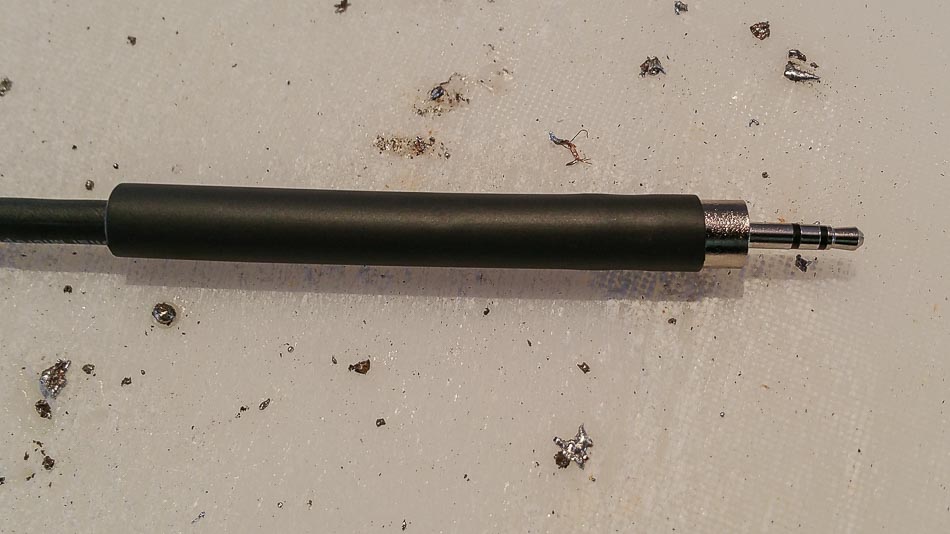
The key to this all lies in a small adapter. Now, you could go and spent $50 or more and buy one ready-made, or you could spend $5 for the plugs and $10 for 20 feet of pro quality mic wire on sale for $0.50 a foot (normal price was 0.75 per foot). Total price there, 15 bucks!
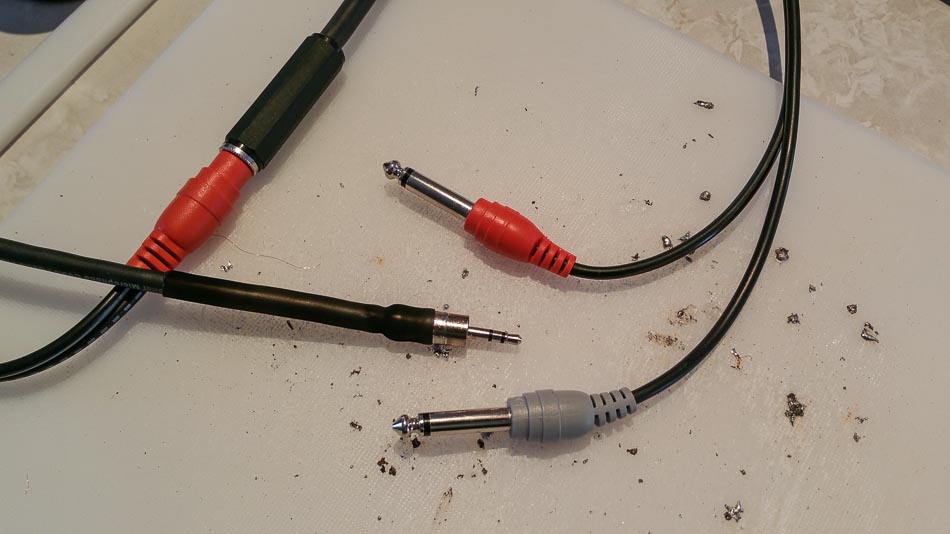
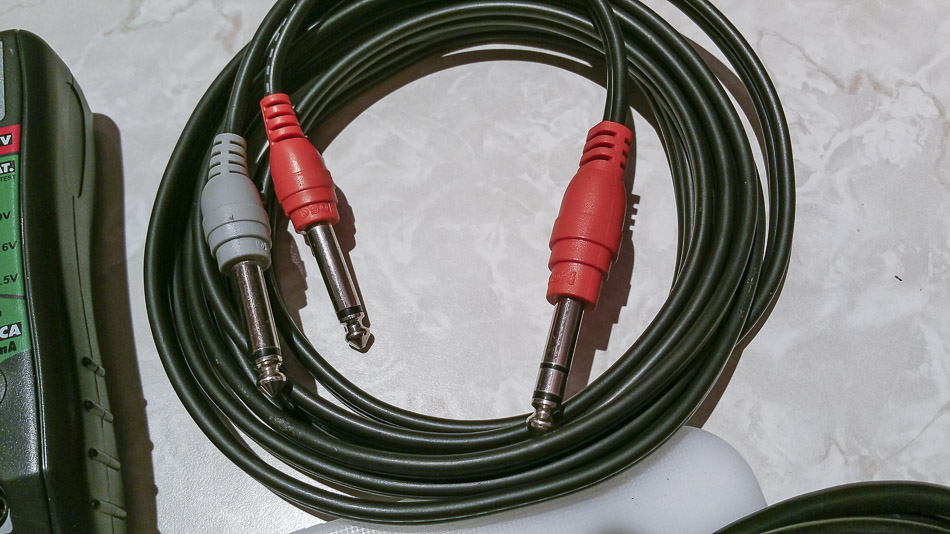
You basically need a male 3.5mm stereo plug on one side for the camera and whatever your accordion uses on the other side. For example, you might have a single stereo 1/4″ plug going in to the accordion and two 1/4″ mono plugs, so your adapter is going to be a stereo 3.5mm adapter going to twin mono 1/4″ adapters and use it along with the accordion cable you likely already have.
My Roland has two 1/4″ jacks. If I use one of these jacks, I get a mono signal, if I use both I have a stereo signal, so I can use a 3.5mm stereo adapter that goes to a female 1/4″ stereo cable and then I just use a two 1/4″ mono male adapters that lead in to a male stereo 1/4″ adapter that goes right in to the camera. If I am recording from my Hohner Morino, which is a single 1/4″ mono sound source, I use a simple adapter of a 3.5mm stereo male adapter that goes in to the camera and a mono 1/4″ plug. The big difference is that at the 3.5mm stereo plug end, I wire the left and right channels together!
In short, make and use whatever works for your needs, but make a way to connect your accordion DIRECTLY to the camcorder, set the volume to MANUAL, adjust volume levels properly and enjoy improved sound in all of your videos!
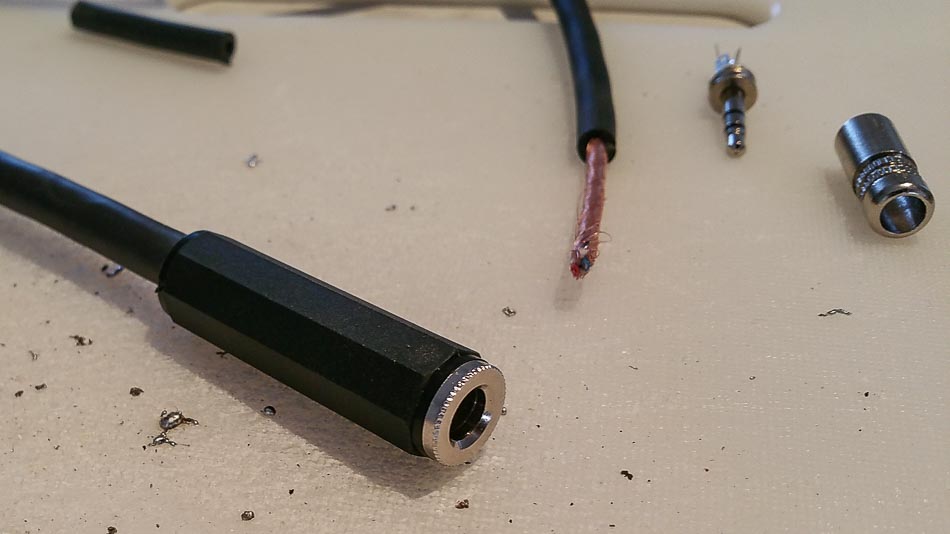
Now, don’t forget the lesson about setting proper gain structure. I’ll say it again, because it is important. You want your loudest playing to be captured at it’s highest settings possible without distortion. Experiment with your equipment, get to know it and pull the best sound quality and dynamic range possible from your equipment. Here you can see how I made just this kind of a cable:

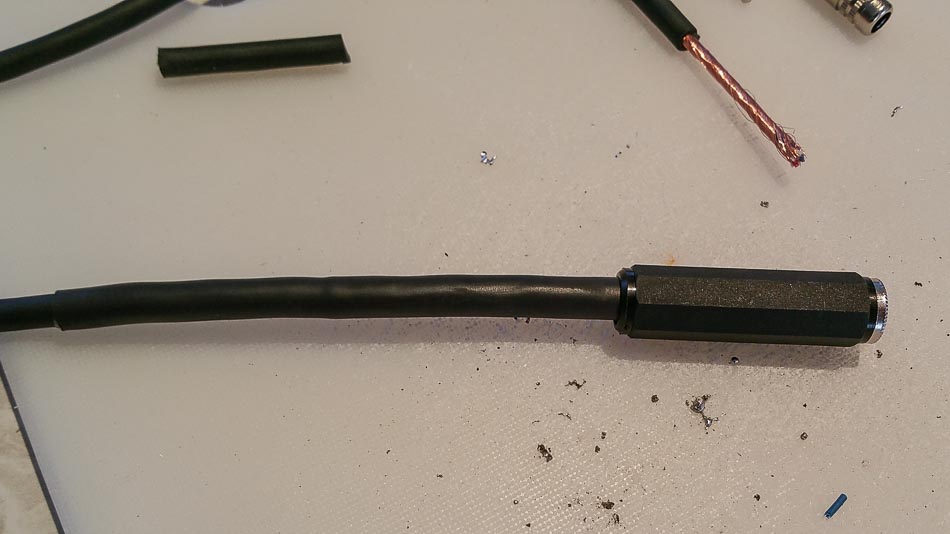
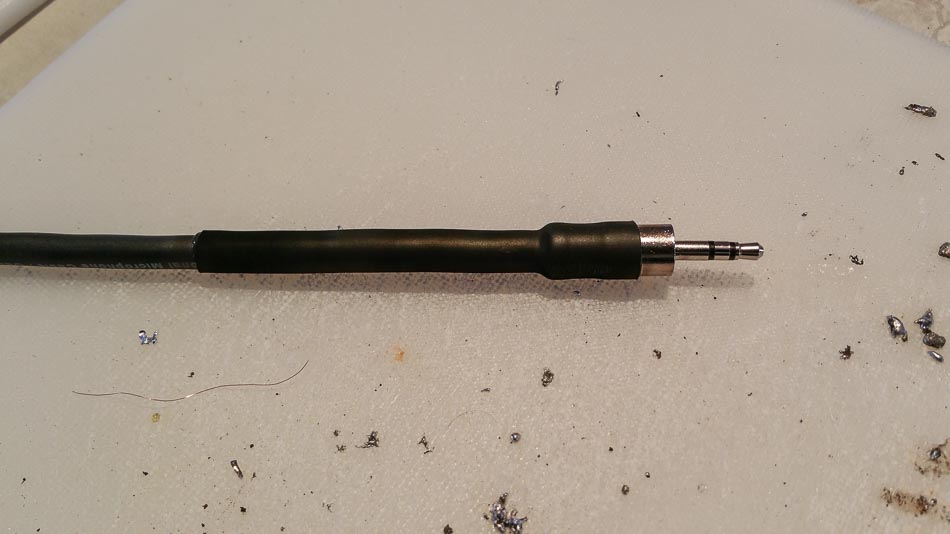
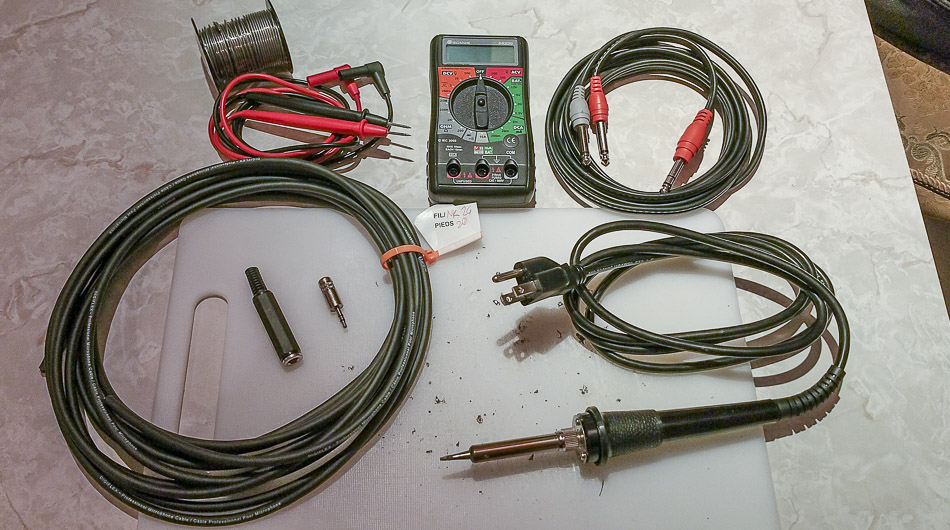
What you need:
- Soldering iron and solder
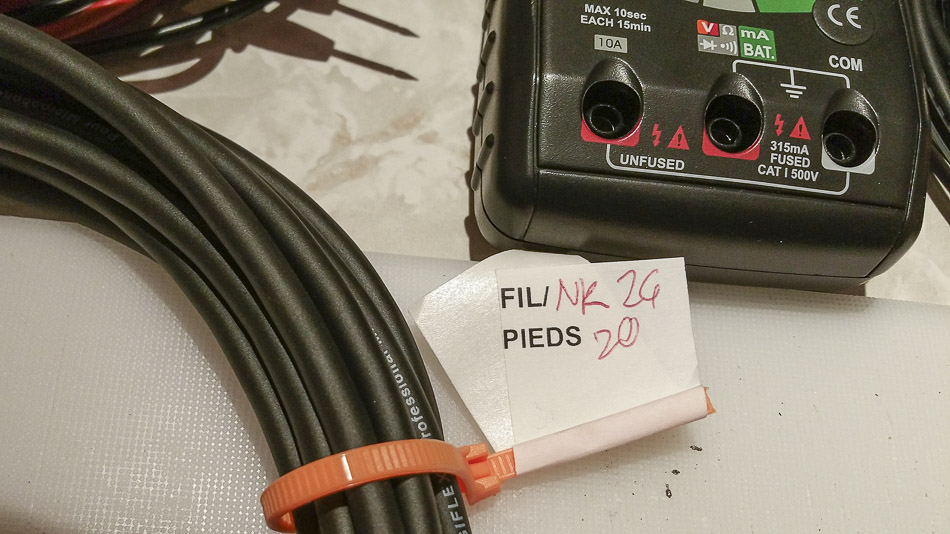
- Cable tester
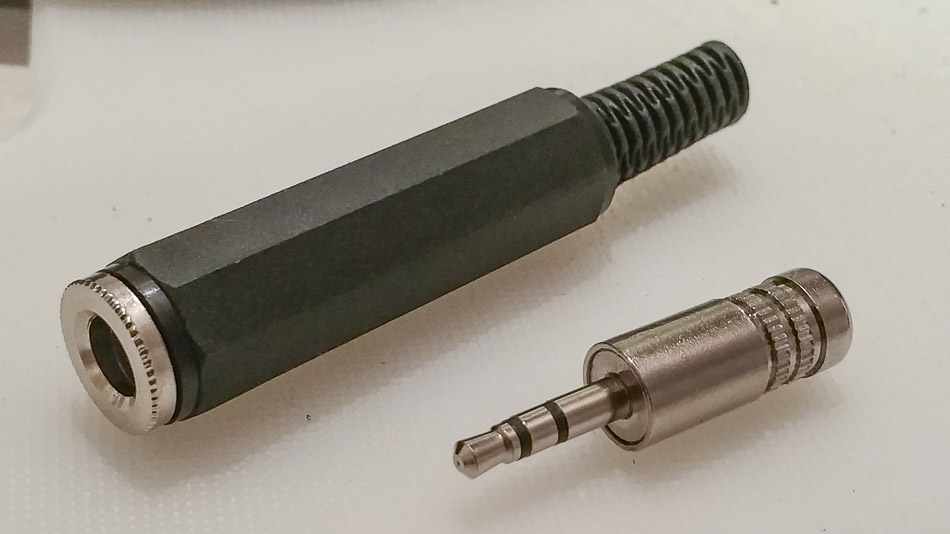
- Male 3.5mm stereo adapter
- 20 feet of 3 wire cable (use whatever length you need!)
- Female 1/4″ stereo adapter (use what works for your needs!)
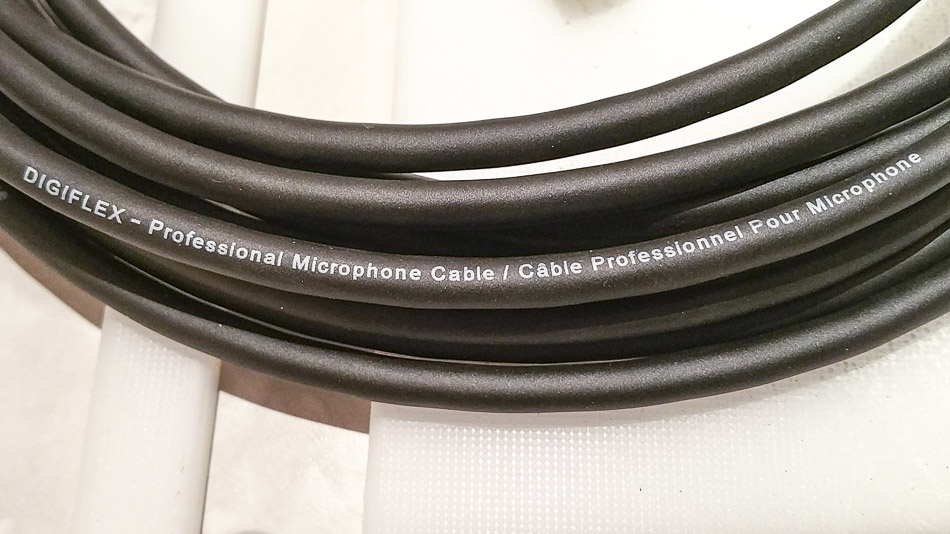
Why 20 feet of cable, wouldn’t 10 feet work just as well? It may well work, however, it is easier to use a 20 foot cable when there is 10 feet between the accordionist and the camera compared to trying to use a 10 foot cable when there is 20 feet between you and the camera. In this case, a little more is better. Also, using good quality shielded cable here helps, hence why I used professional microphone cable. It’s strong, well shielded and covered in a soft flexible rubber that should last decades. In short, it is the perfect cable for this use!
outputs on my FR-8X accordion and others might not, so if they have low level mic outputs on their acoustic accordion, you need some kind of small mixer or audio interface to connect your acoustic accordion to and push that signal to your camera. Food for thought.
4 – Video post processing basics
Ok, this is one of those things that is not done in the camera, but using the video processing software. My choice of video editing applications is Pinnacle Studio Ultimate. At the time I am writing this article, I am using version 20.6.
Now, I am not going to go in to nauseating detail about everything that makes a good video and how to do it, but I am going to discuss a couple small hints that can make your video clip a tiny bit better. Again, we’re going that little extra step further to make it that much better. Here are a few ideas on how to do that:
5 – Audio post processing basics
Yes, yet another one of those things that is not done in the camera, but using the video processing software, but you do want a good sounding video, don’t you? Most video editing applications have the ability to edit the audio to some extent, some more than others. Again, my choice of applications is version 20.6 of Pinnacle Studio Ultimate. It does have some nifty things it can do to make the audio better.
Again, I am not going to go in to nauseating detail about everything that makes for good audio (see my other video about that) and how to do it, but I am going to discuss small things that will make a video’s audio clip a tiny bit better, again, we’re going that little extra step to improve it.
Now, I will be the first to tell you that there are better tools out there to do this with (pretty much ANY audio editor like Audition, Audacity or Reaper). A video editing program is never going to give you the best possible final results, but we do want to keep it simple and after using the tricks and tips in the first 3 sections of this article, you just might be so happy with what you hear that you might not even want to do any other changes! No matter what, if I can suggest something… when it comes to audio editing… less is more, but let me show you how I do it:
If in your video, you have used all the above and implemented these changes, you may now see and hear the improved results… now go out there and enjoy better looking and better sounding videos of you playing your accordion.
Enjoy!