March 16, 2024
My QSC TouchMix-8 mixer died!
Well, technically, it didn’t die, but it suffered from the disease that I just recently found out that many other of these units suffers from. Failing capacitors.
About a week ago I was looking at the output volumes of the unit and noticed that the left side was down drastically compared to the right side. I checked all my settings, did a mixer reset and nothing fixed it.
Google to the rescue!
Doing a fast search is where I found out that I am in a pretty big group of people that also had this very same issue. Oh no!
The good news is (if there is any good news to be had here!), is that there was a solution. Apparently QSC put some pretty shitty capacitors in their units and they expanded, some blew and some leaked. This caused a combination of one or both main channels and/or one or more AUX channels to drop in volume or cut out completely. To address this, one has to replace the bad “caps”. Me being me, I decided to go one small step further. I found a couple of YouTube videos where they showed someone replacing the caps and didn’t look as if it was completely beyond my abilities, though its not a walk in the park by any means.
The “one step further” for me was that I would not just replace the bad caps in the mains section, but that I would replace all 8 caps. Second, I would not use some crappy quality ones, but better ones, more robust with a better chance of surviving the higher temperatures. These should last me for as long as I own this unit.
But I was missing a few things, so off to a local electronics store to pick up the caps, a “solder sucker” and some low temp solder:
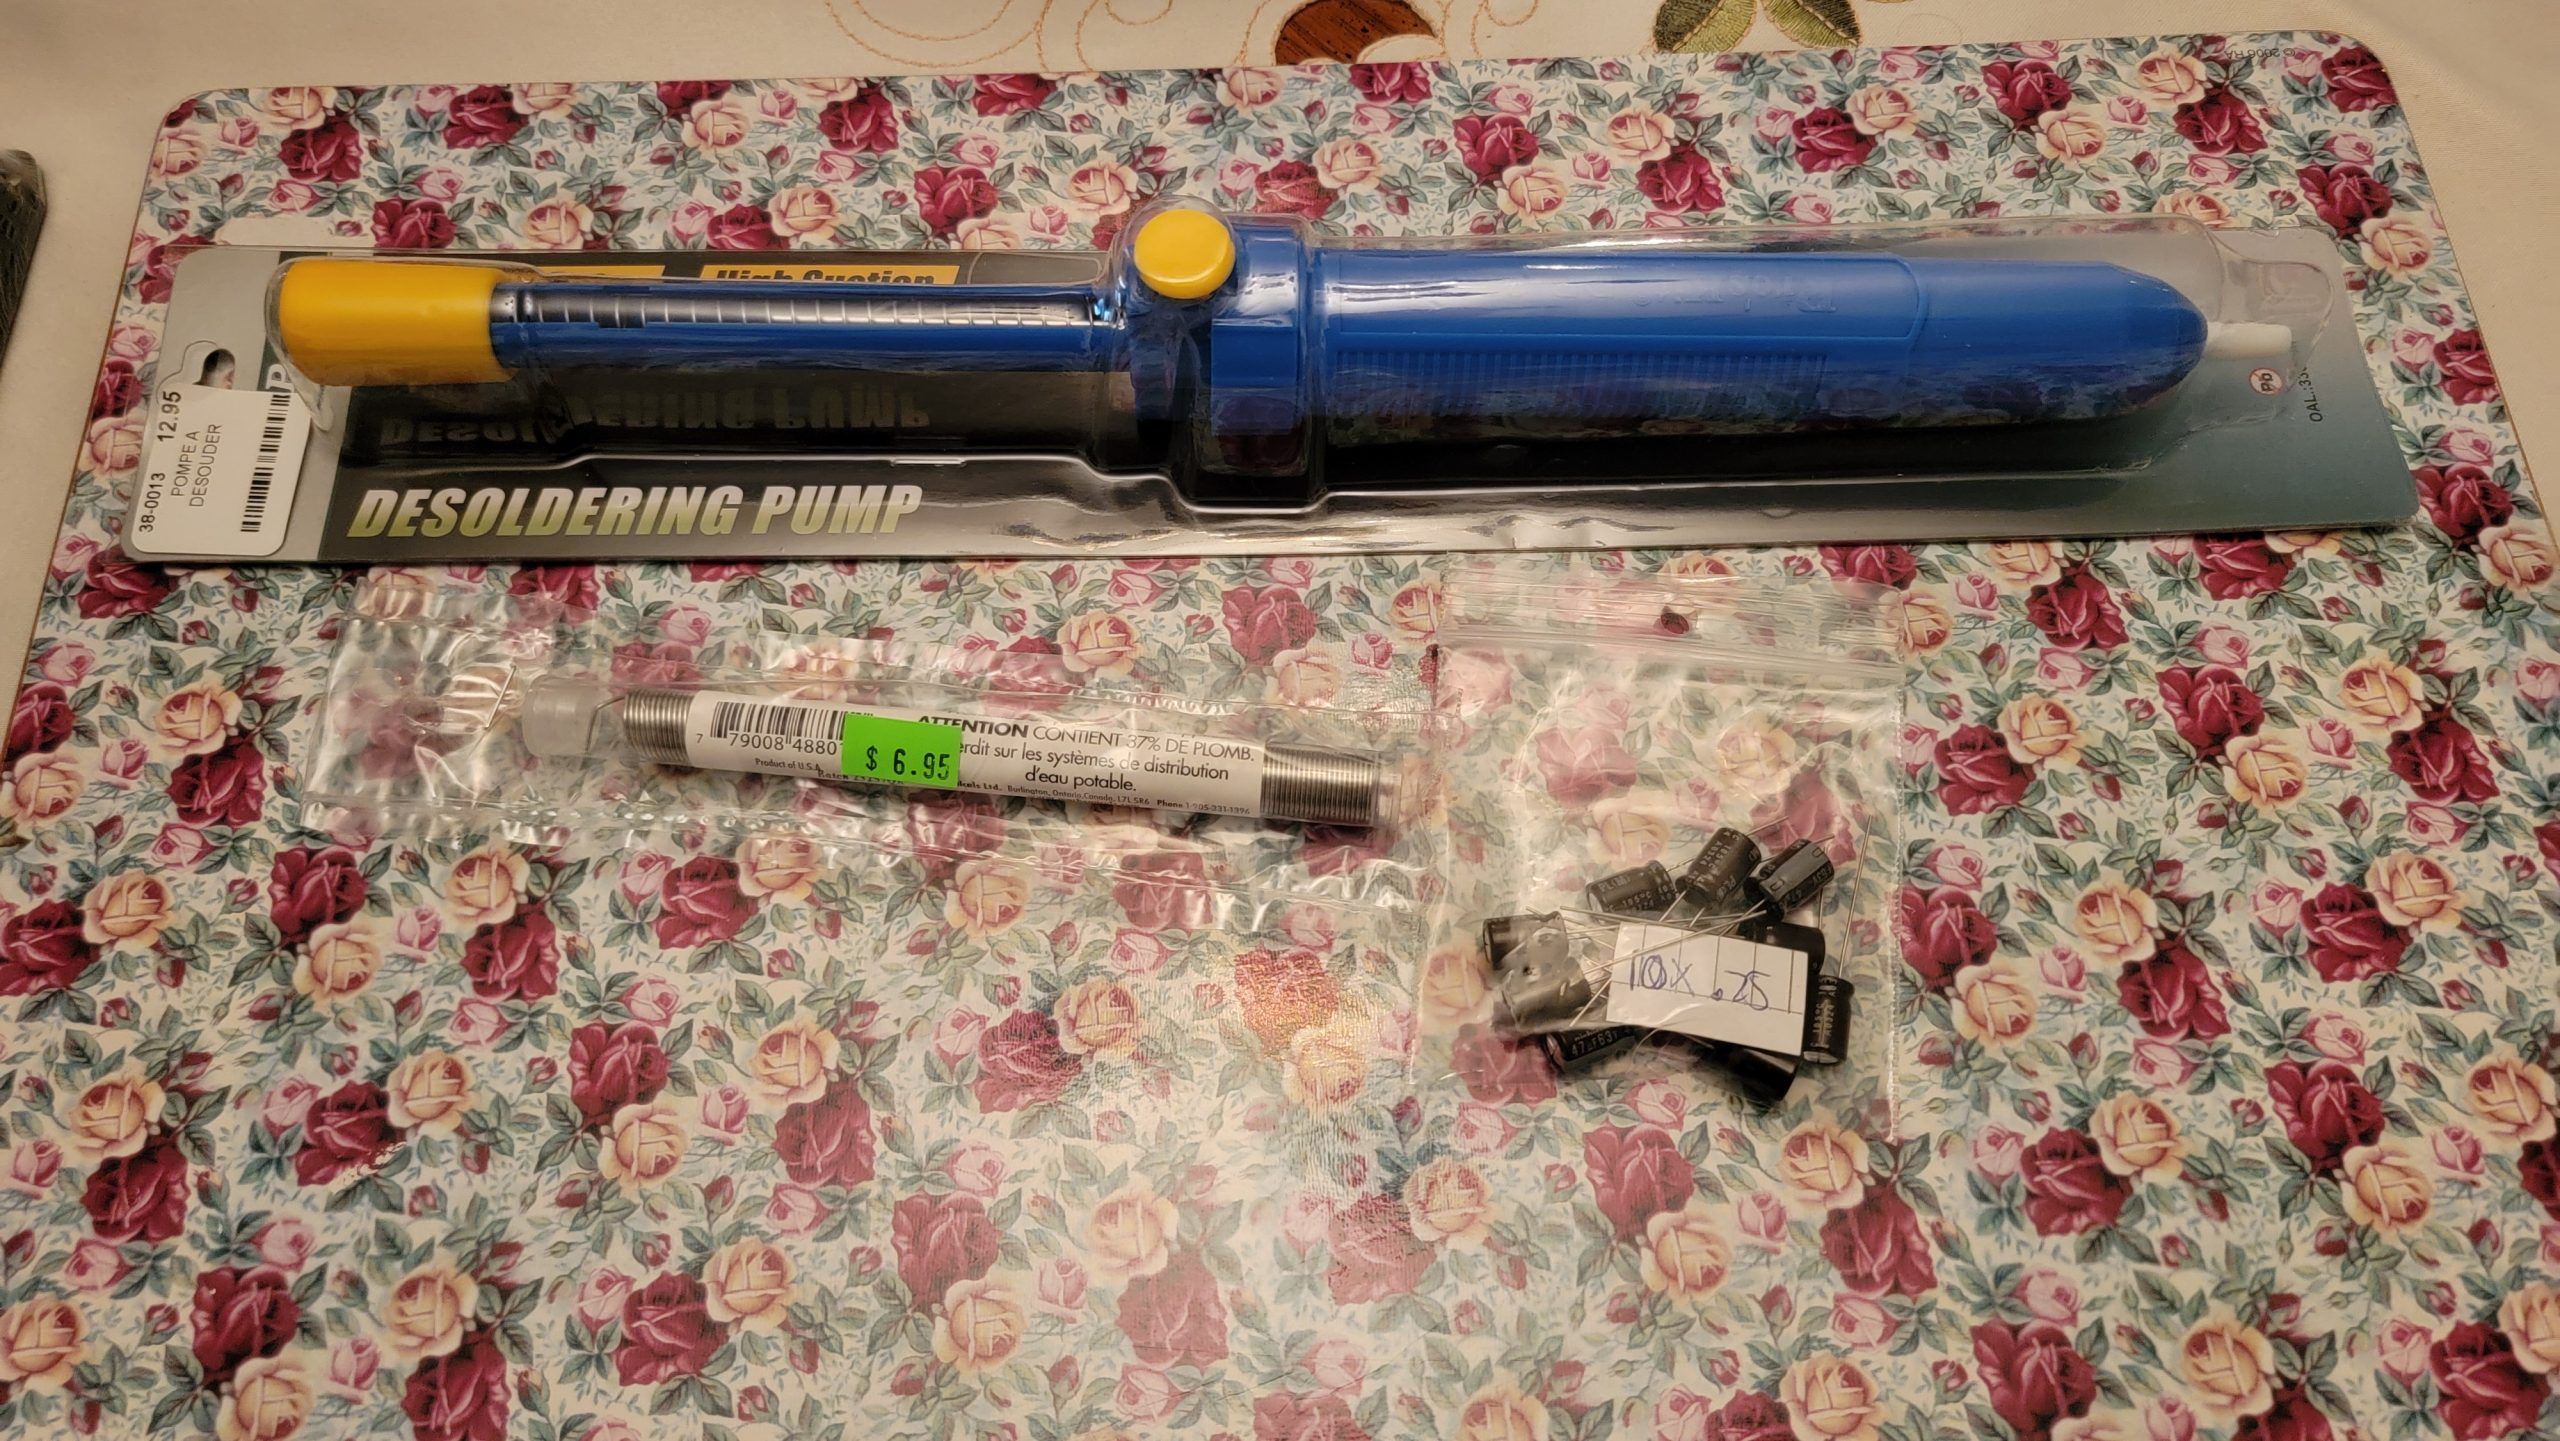

At 75 cents a piece (a couple spares never hurts!), this was a very low cost for parts!
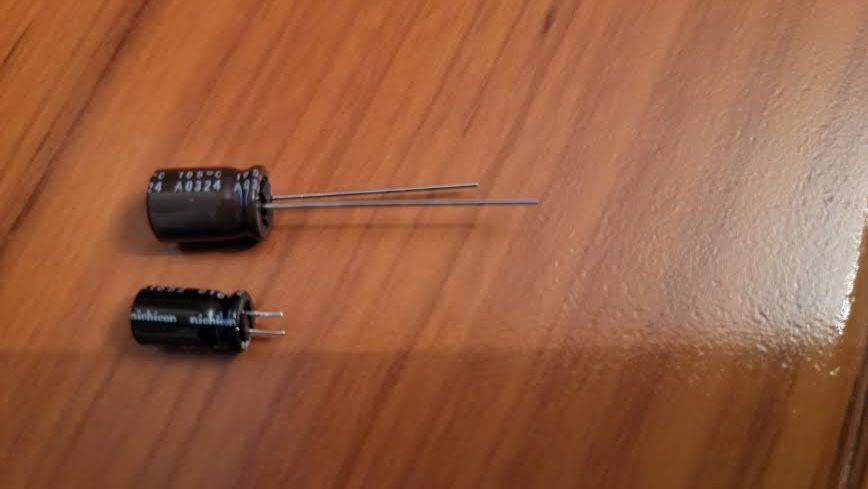
They are noticeably larger than the original capacitors too!
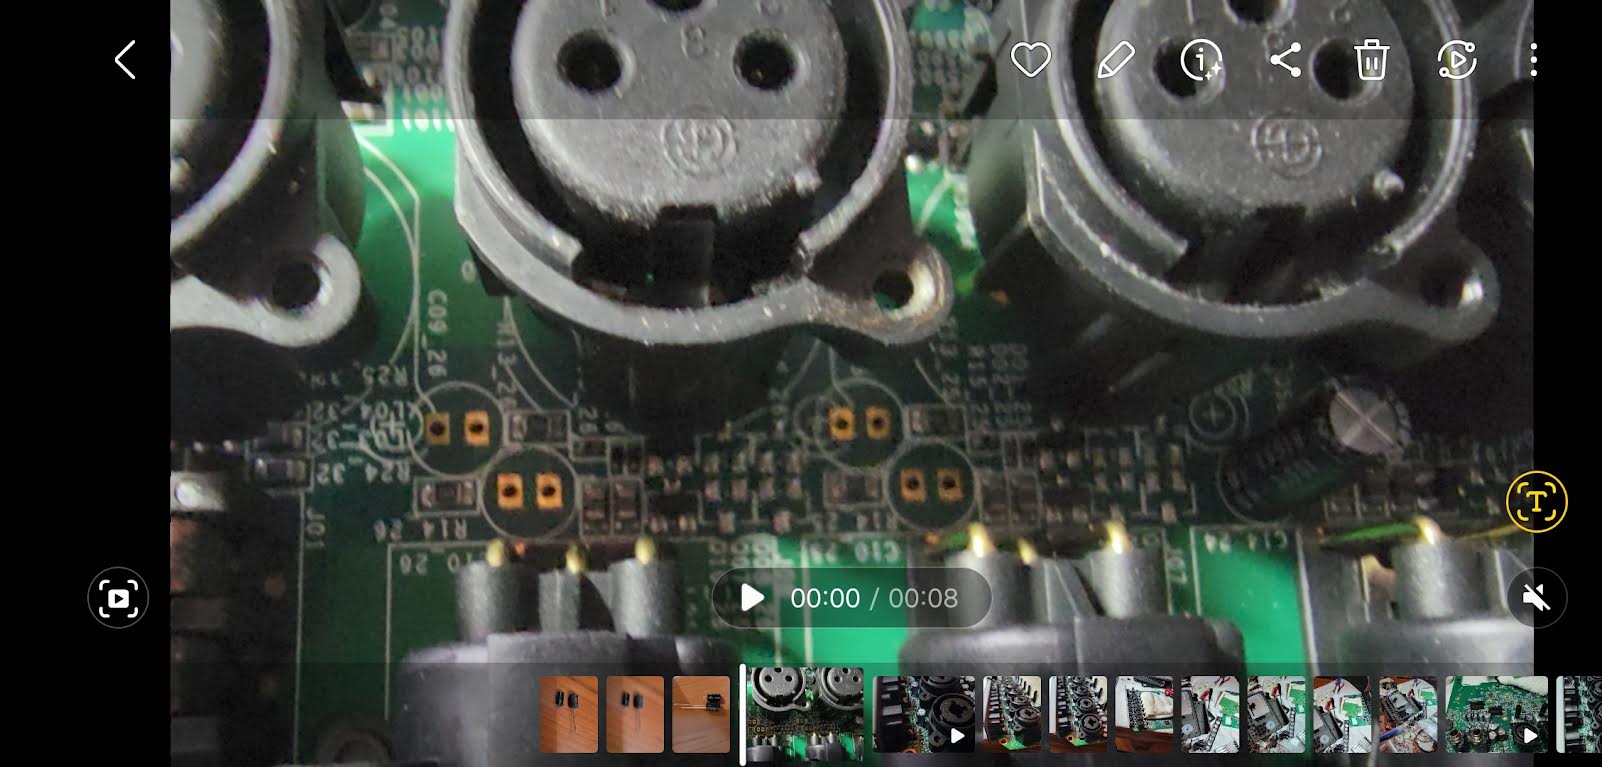
Below you can see the 4 holes after cleaning where the two main left/right channel capacitors were. Yes the new ones were a bit bigger and had to be slightly bent and repositioned to not touch each other or the right/left output connectors.
A couple videos of the process
The below are not from me, but rather of someone else doing the process and are from YouTube. Now, it doesn’t look too hard, but there are areas to be very mindful of while doing the job. None of the videos show the several “danger spots”, and one of them is the loosening /removing and then re-attaching the ribbon cables that attach the top IC board to the screen and another VERY flimsy cable that attaches the motherboard to the control knobs and buttons circuit board. If anything went wrong in any of those 3 areas, the mixer would be pretty much useless.
A couple of important notes I found online:
- Capacitor info needed, for my Touchmix-8, 8 units of a 47uF 63v MFD. Get replacements rated at a true 105 degree C for longer life.
- Be very careful with the ribbon cable attachments to touch screen once unplugged, it really is nothing short of a nightmare both removing and re-inserting these cables carefully.
- Some of the early boards were improperly marked as to the positive/negative sides (I think those were addressed by the time I purchased my TM). Before I start I’ll take LOTS of pics and make sure I note how the current bad caps are installed (note: I have one of the later boards with the properly marked boards. The negatives were all on the right side, when looking at it from the top with the AUX outputs facing me), and install the new ones in the same orientation.
Addendum March 19, 2024
Well, the entire process took me maybe 2 hours over 2 days as I was doing it little by little after work, but the surgery was a success!
I was very careful throughout the whole process but was extra careful with not overusing the solder gun and having tiny resistors and transistors fall off the motherboard and I ended up not disconnecting the connector between the motherboard and the control center circuit board. In the end, the areas where I paid the greatest amount of attention to were the removal and re-attachment of the ribbon cables, the removal of the solder and of course re-soldering in the new caps.
Honestly this is the most ambitious DIY to date in my DIY career, and I am very happy it was a successful venture. The mixer outputs a ton more volume on both sides and no longer distorts on the left channel. When capturing the output from the mixer on my Zoom F4 for streaming purposes, I previously had to have the gain faders at the 10-o’clock and 1-o’clock positions to hit the 0db mark on the meters. Now it is like new again and I zero out the gain knobs at around the 7-o’clock positions else I clip the audio… thats a HUGE difference!
Initial tests so far are very positive, great sound, consistent and performance equal to the day it came out of the factory!