October 21, 2022
The Mackie mixer is near perfect for me. The one thing that I’ve been looking around for is the Rotopod option that would take the rear facing inputs in the back and rotate them to face upwards. That would make plugging in the inputs/auxes, etc. easier.
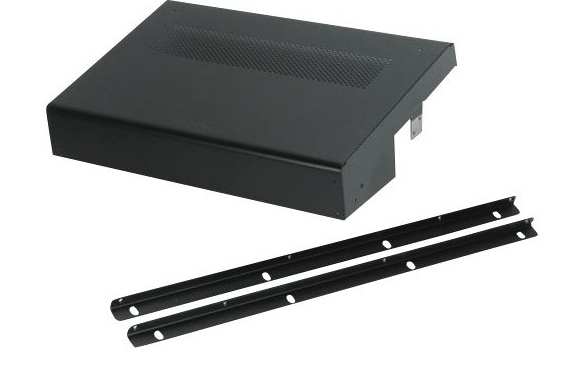
This is what the kit looks like:
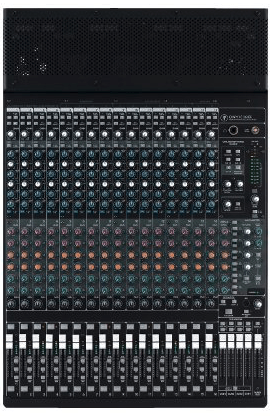
Currently my Mackie looks like this:
The kit would make it look like this:

It would make plugging in things a bit easier, HOWEVER, I ran in to 2 challenges…
1. The Mackie RotoPod is not made anymore, and no one has one in stock.
2. In my setup, the mixer is on a stand and under 2 shelves/items, blocking easy access to the inputs, even if facing up (Addendum Nov 12: I’ve moved the mixer back to the top of the desk by my left hand side, making the inputs even more awkward to access, but using the mixer is tons easier and more convenient!).
So I was looking to take this idea to the next level in terms of making access to these inputs easier… but how to move the plugs all the way from the back rear facing direction to somewhere much more convenient?
I think I found a way!
I started looking at “audio snakes” and quickly found out that they cost a lot (like nice ones are over $500!). I then thought “how about if I made my own? The cost instantly shrank from “a lot” down to “let’s do it now!”. So, a fast visit to a popular Asian website and about $90 later, I bought 50 meters (about 164 feet), of XLR cable, 20 male XLR plugs and 20 insert-mount female XLR plugs.
My idea was to mount my DIY snake under the mixer and move all the inputs from the rear to a very convenient front location.
“But”, you may say… “your mixer has 16 inputs, why did you purchase 20?”. Good question!
I need to route 4 channels to a location on the other side of my desk, so… channels 11, 12, 13 & 14 are going to be split in to two directions… one set that leads these inputs under the mixer to the front with all the other channels and 4 channels (likely 11, 12, 13, 14), will be routed to the far end of my desk, so that they are close to the area where I will be playing in my “green screen” side of the room, so that way I will have 4 input plugs available to me on the other side of the room where I can plug in my accordion L/R and arranger L/R inputs and record off the desk, leaving me with as many as 12 channels free to do what I want with. The way that I have things set up, it would be super easy to turn one of my monitors 180 degrees to face me when I am making recordings, and access to the system will be easy with a wireless BT keyboard/mouse pad and control REAPER from that position!
This way I have a convenient way of plugging in my FR-8X and BK-7m to the system without having long wires hanging all over my desk. Of course these 4 channels will ever only be plugged in to 1 input at a time in to the mixer ever, so no dangers there.
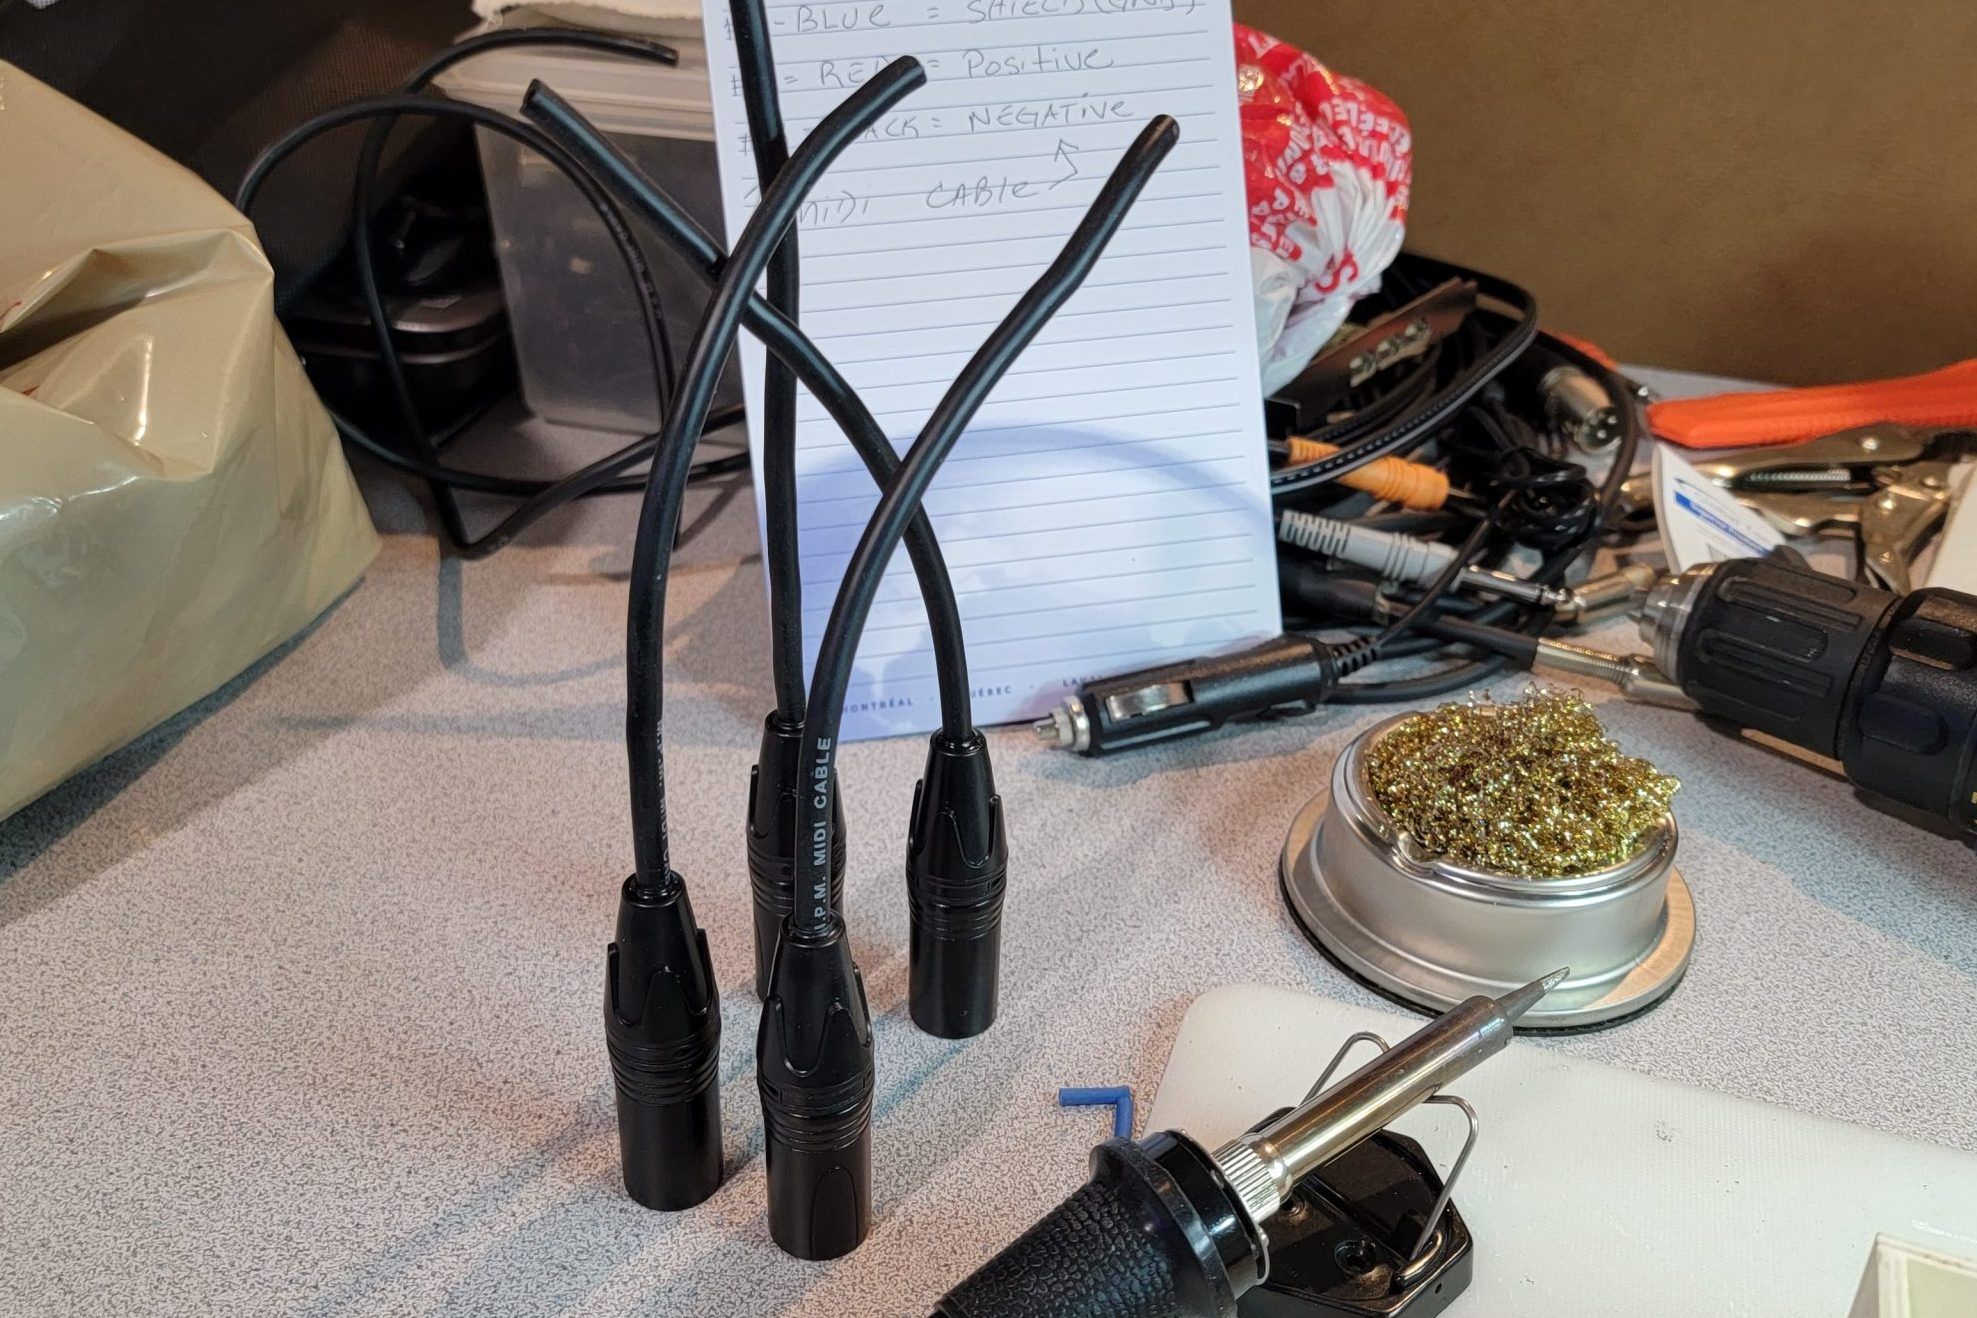
Time to find the right pin-out for XLR cables and pull out my soldering iron! 🙂
Addendum Nov 11, 2022:

#1 is the Shield/ground
#2 is the positive
#3 is the negative
A very cool discovery (again thanks to YouTube university), is that it’s actually possible to successfully use CAT 5 or 6 “Shielded Twisted Pair” or STP cabling as snake cables and the nice feature is that one cable is actually good for **4** inputs at once! What I see most people doing is buying these converter break out boxes and not making the connections directly themselves, yet several say that all the connections are direct and not modified. I’m not really interested in spending $150-$175 for this break-out box that only supports 4 channels, but instead I’ll solder the wiring directly to the male/female XLR plugs after finding some interesting way to get them set in to my desk and available for my needs.
Addendum: 11/13/2022:
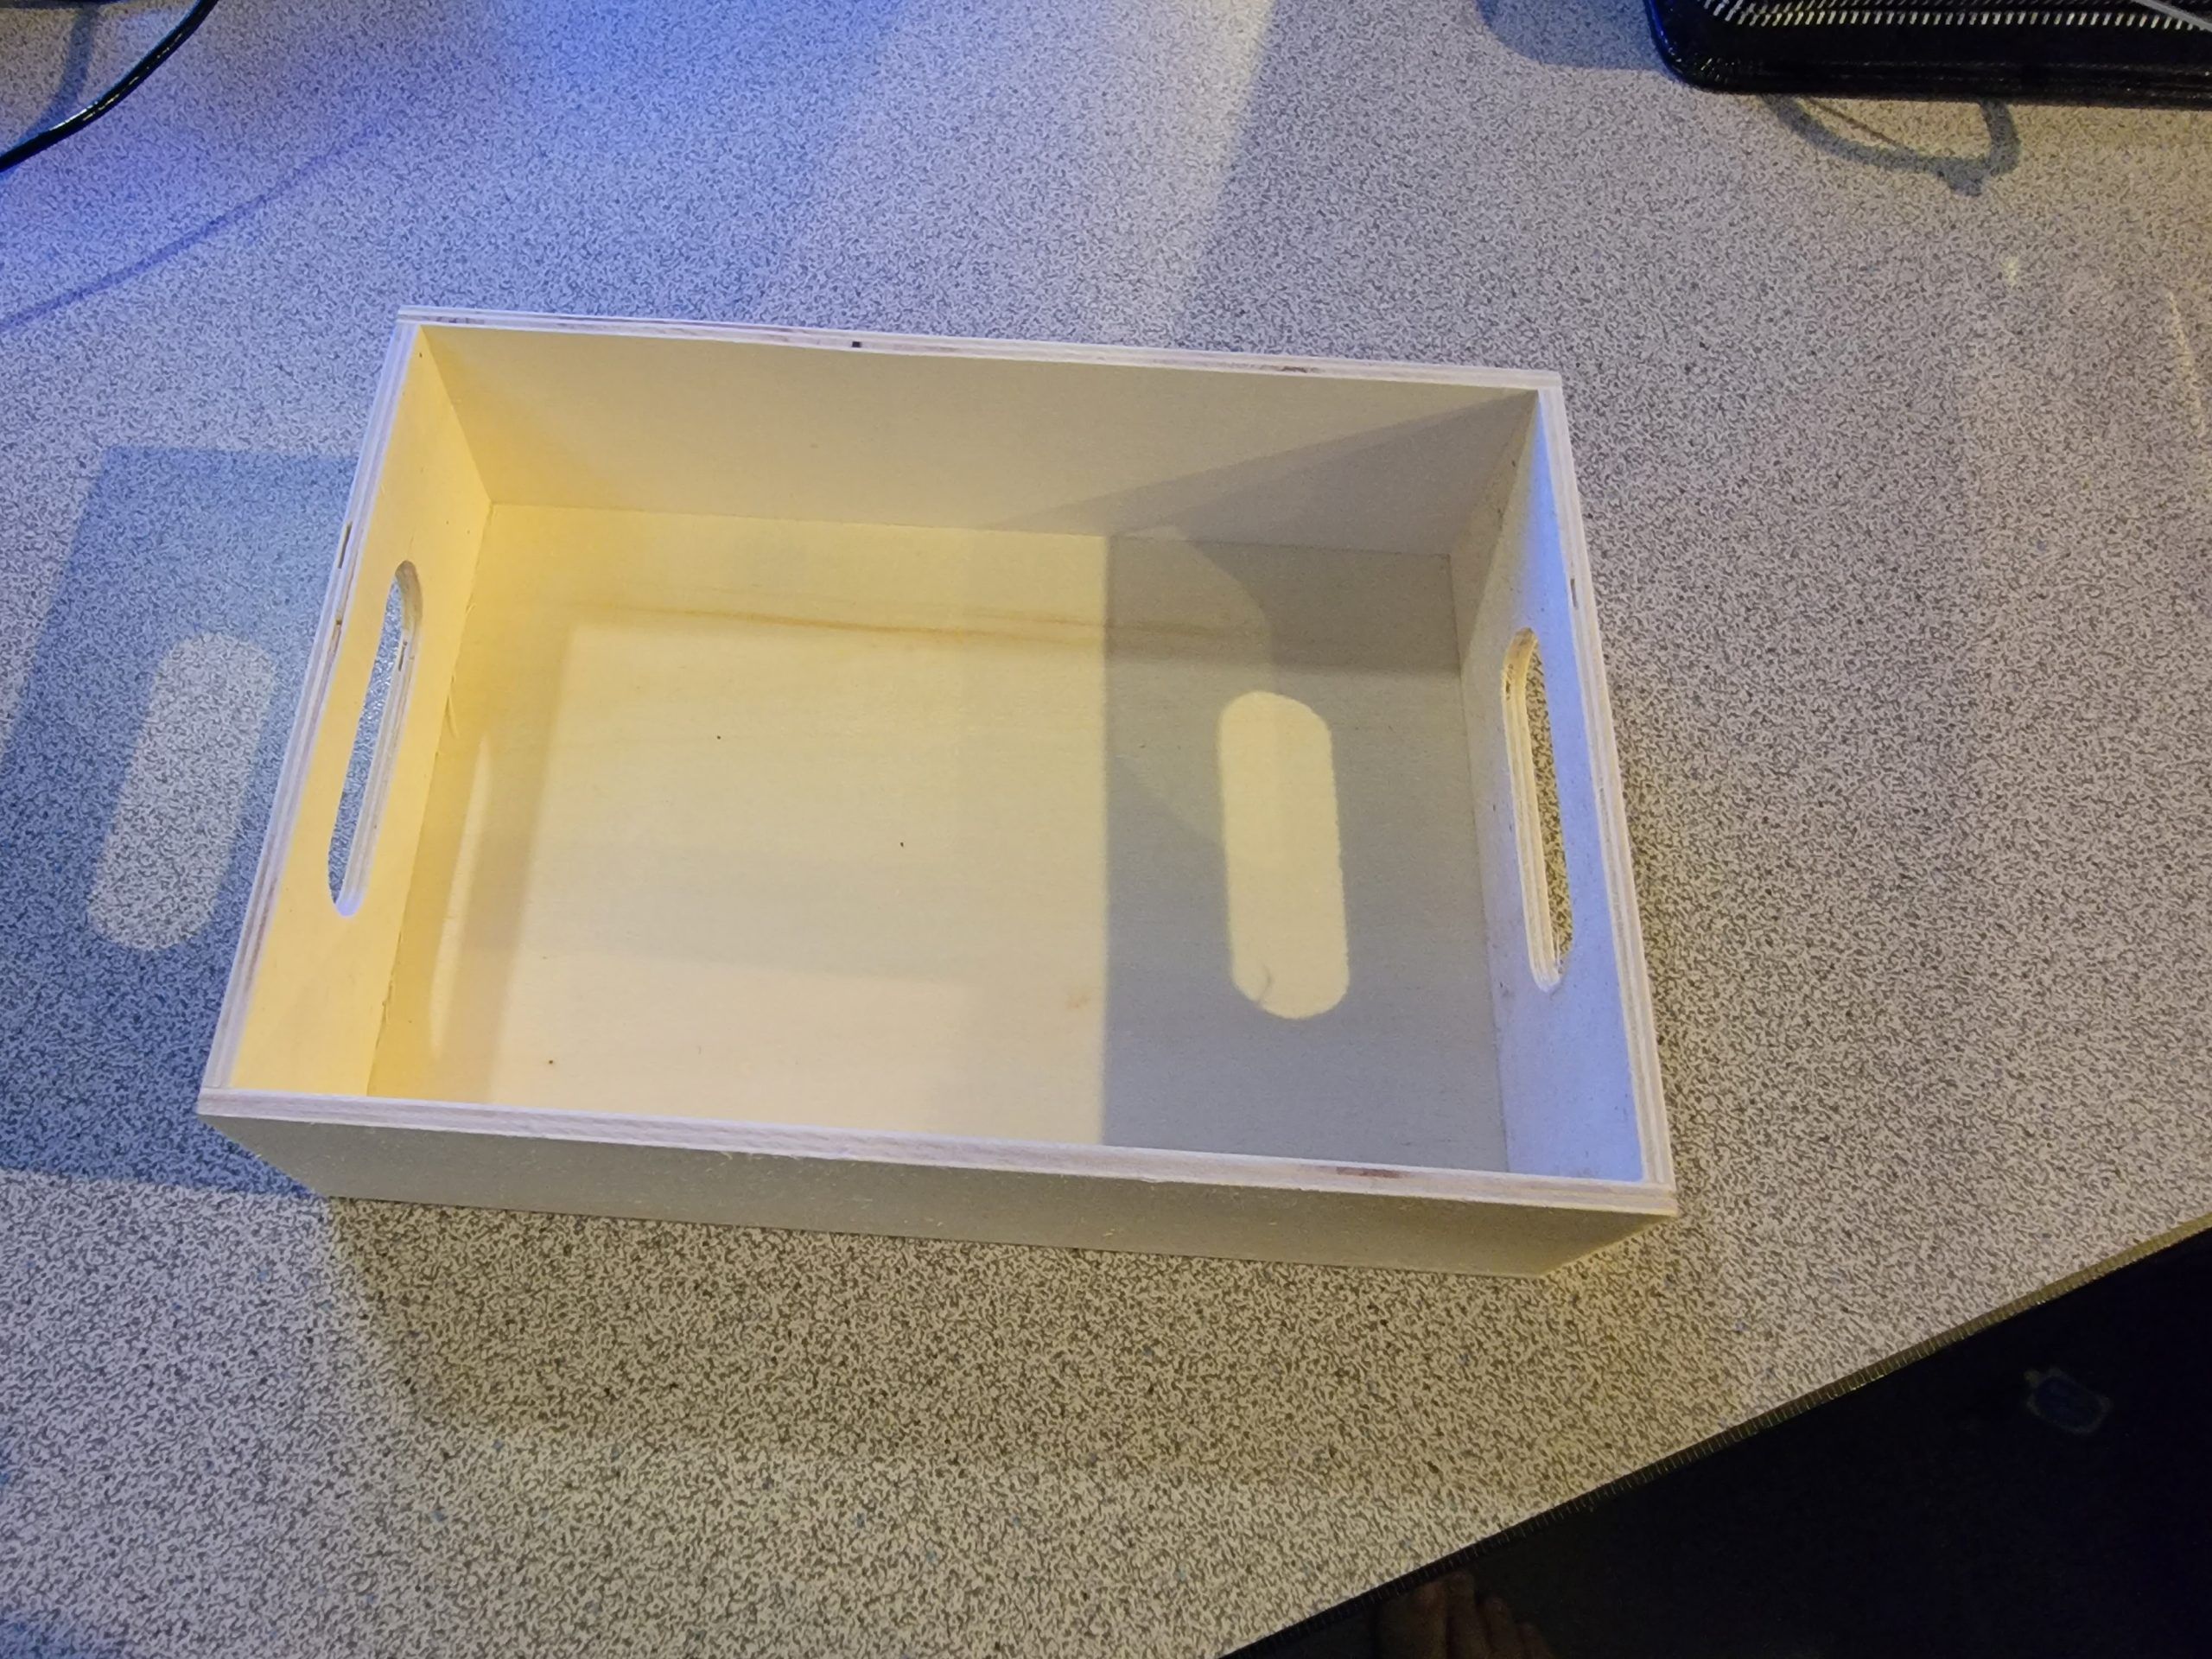
Found a great little box at a “dollar store” that is easy to attach to the underside of the desk in a convenient and EASY manner using either small screws, double-sided tape or hot glue. Total cost was a meagre $1.25.
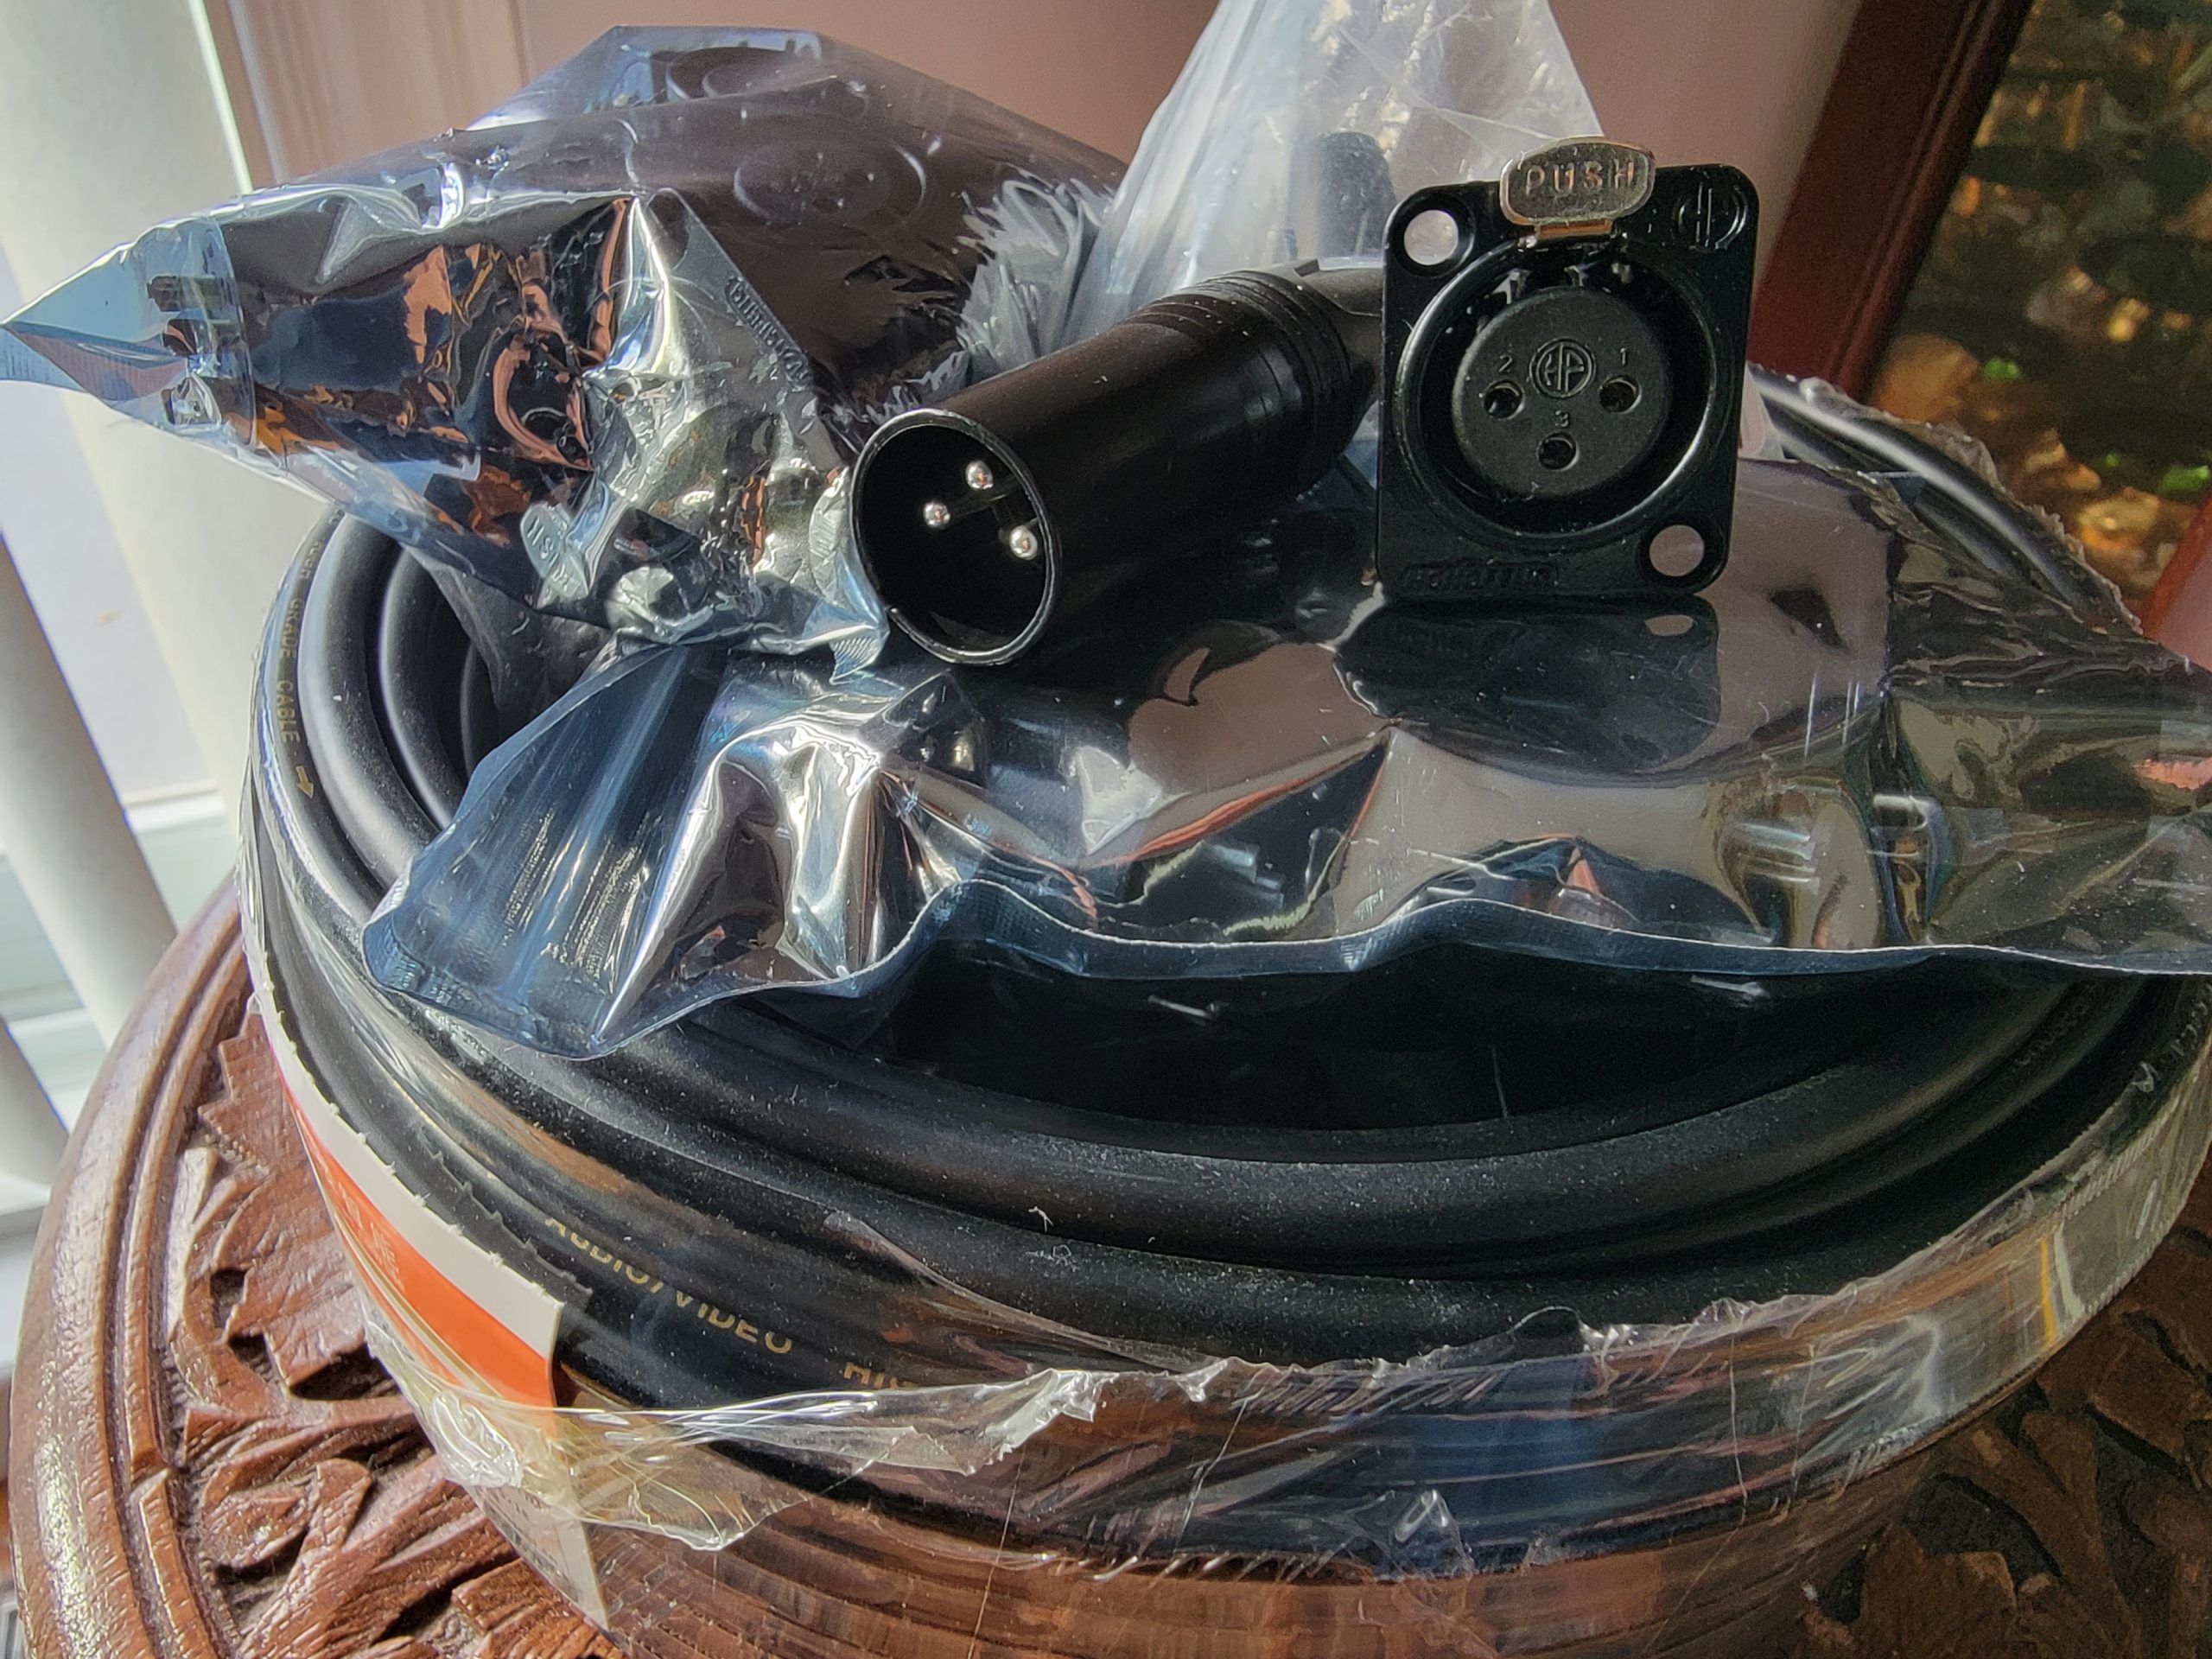
Cables and plugs all came in!
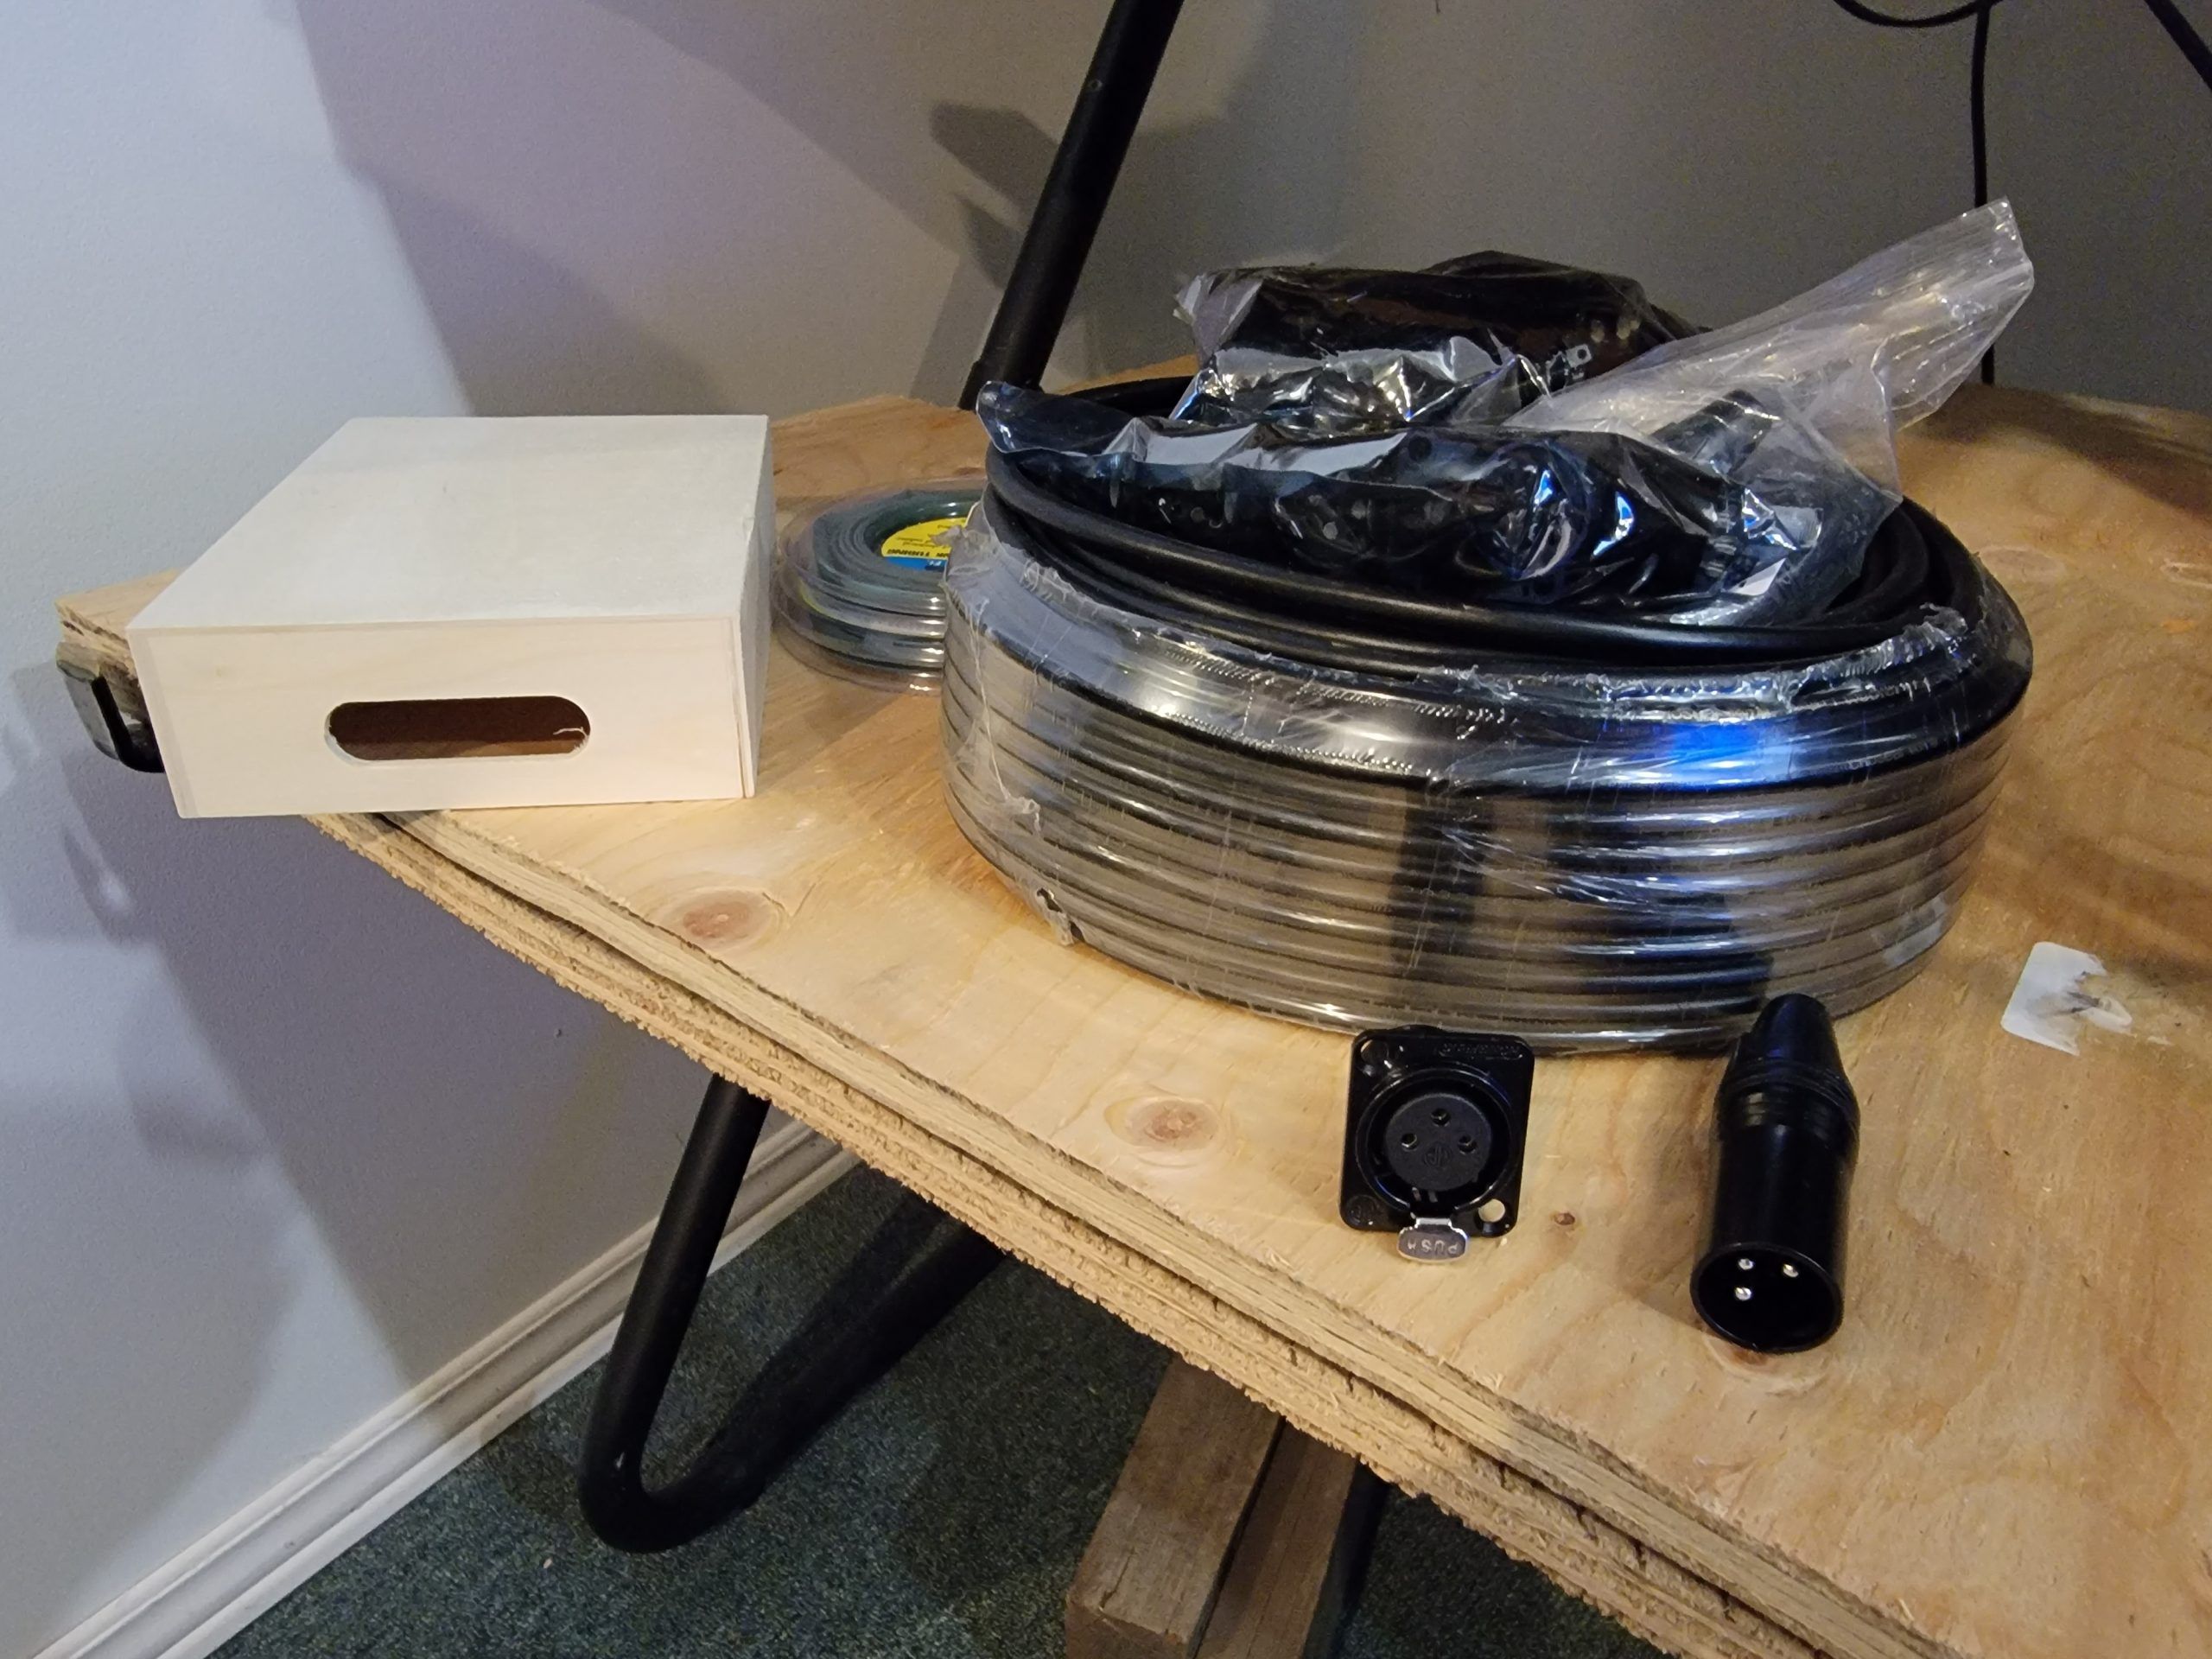
The depth of the box is simply perfect for my needs and the side cut outs give it easy access for the cable to come in on either side.
I also ordered some CAT6A shielded twisted pair cabling that, thanks to Amazon Prime, I receive it tomorrow, since I did a small paradigm shift in thinking about how I wanted to do the cable.
Addendum: 11/14/2022:
So… about that small paradigm thought shift, I thought why not use STP cabling everywhere, not just in the 4 plugs remotely! I decided to use all the mixer extensions (snake) with that instead of the XLR cable, leaving me lots of XLR cable to use for my extensions now and int the future… nice! Thanks to Amazon Prime, today the STP cable comes in and this weekend I start the assembly. It will be great once completed, adding a lot of functionality and accessibility motivating me to use this setup even more!
Addendum: 12/28/2022:
I’ve been doing a lot for the holidays but I did manage to advance the project a little over the last couple days…
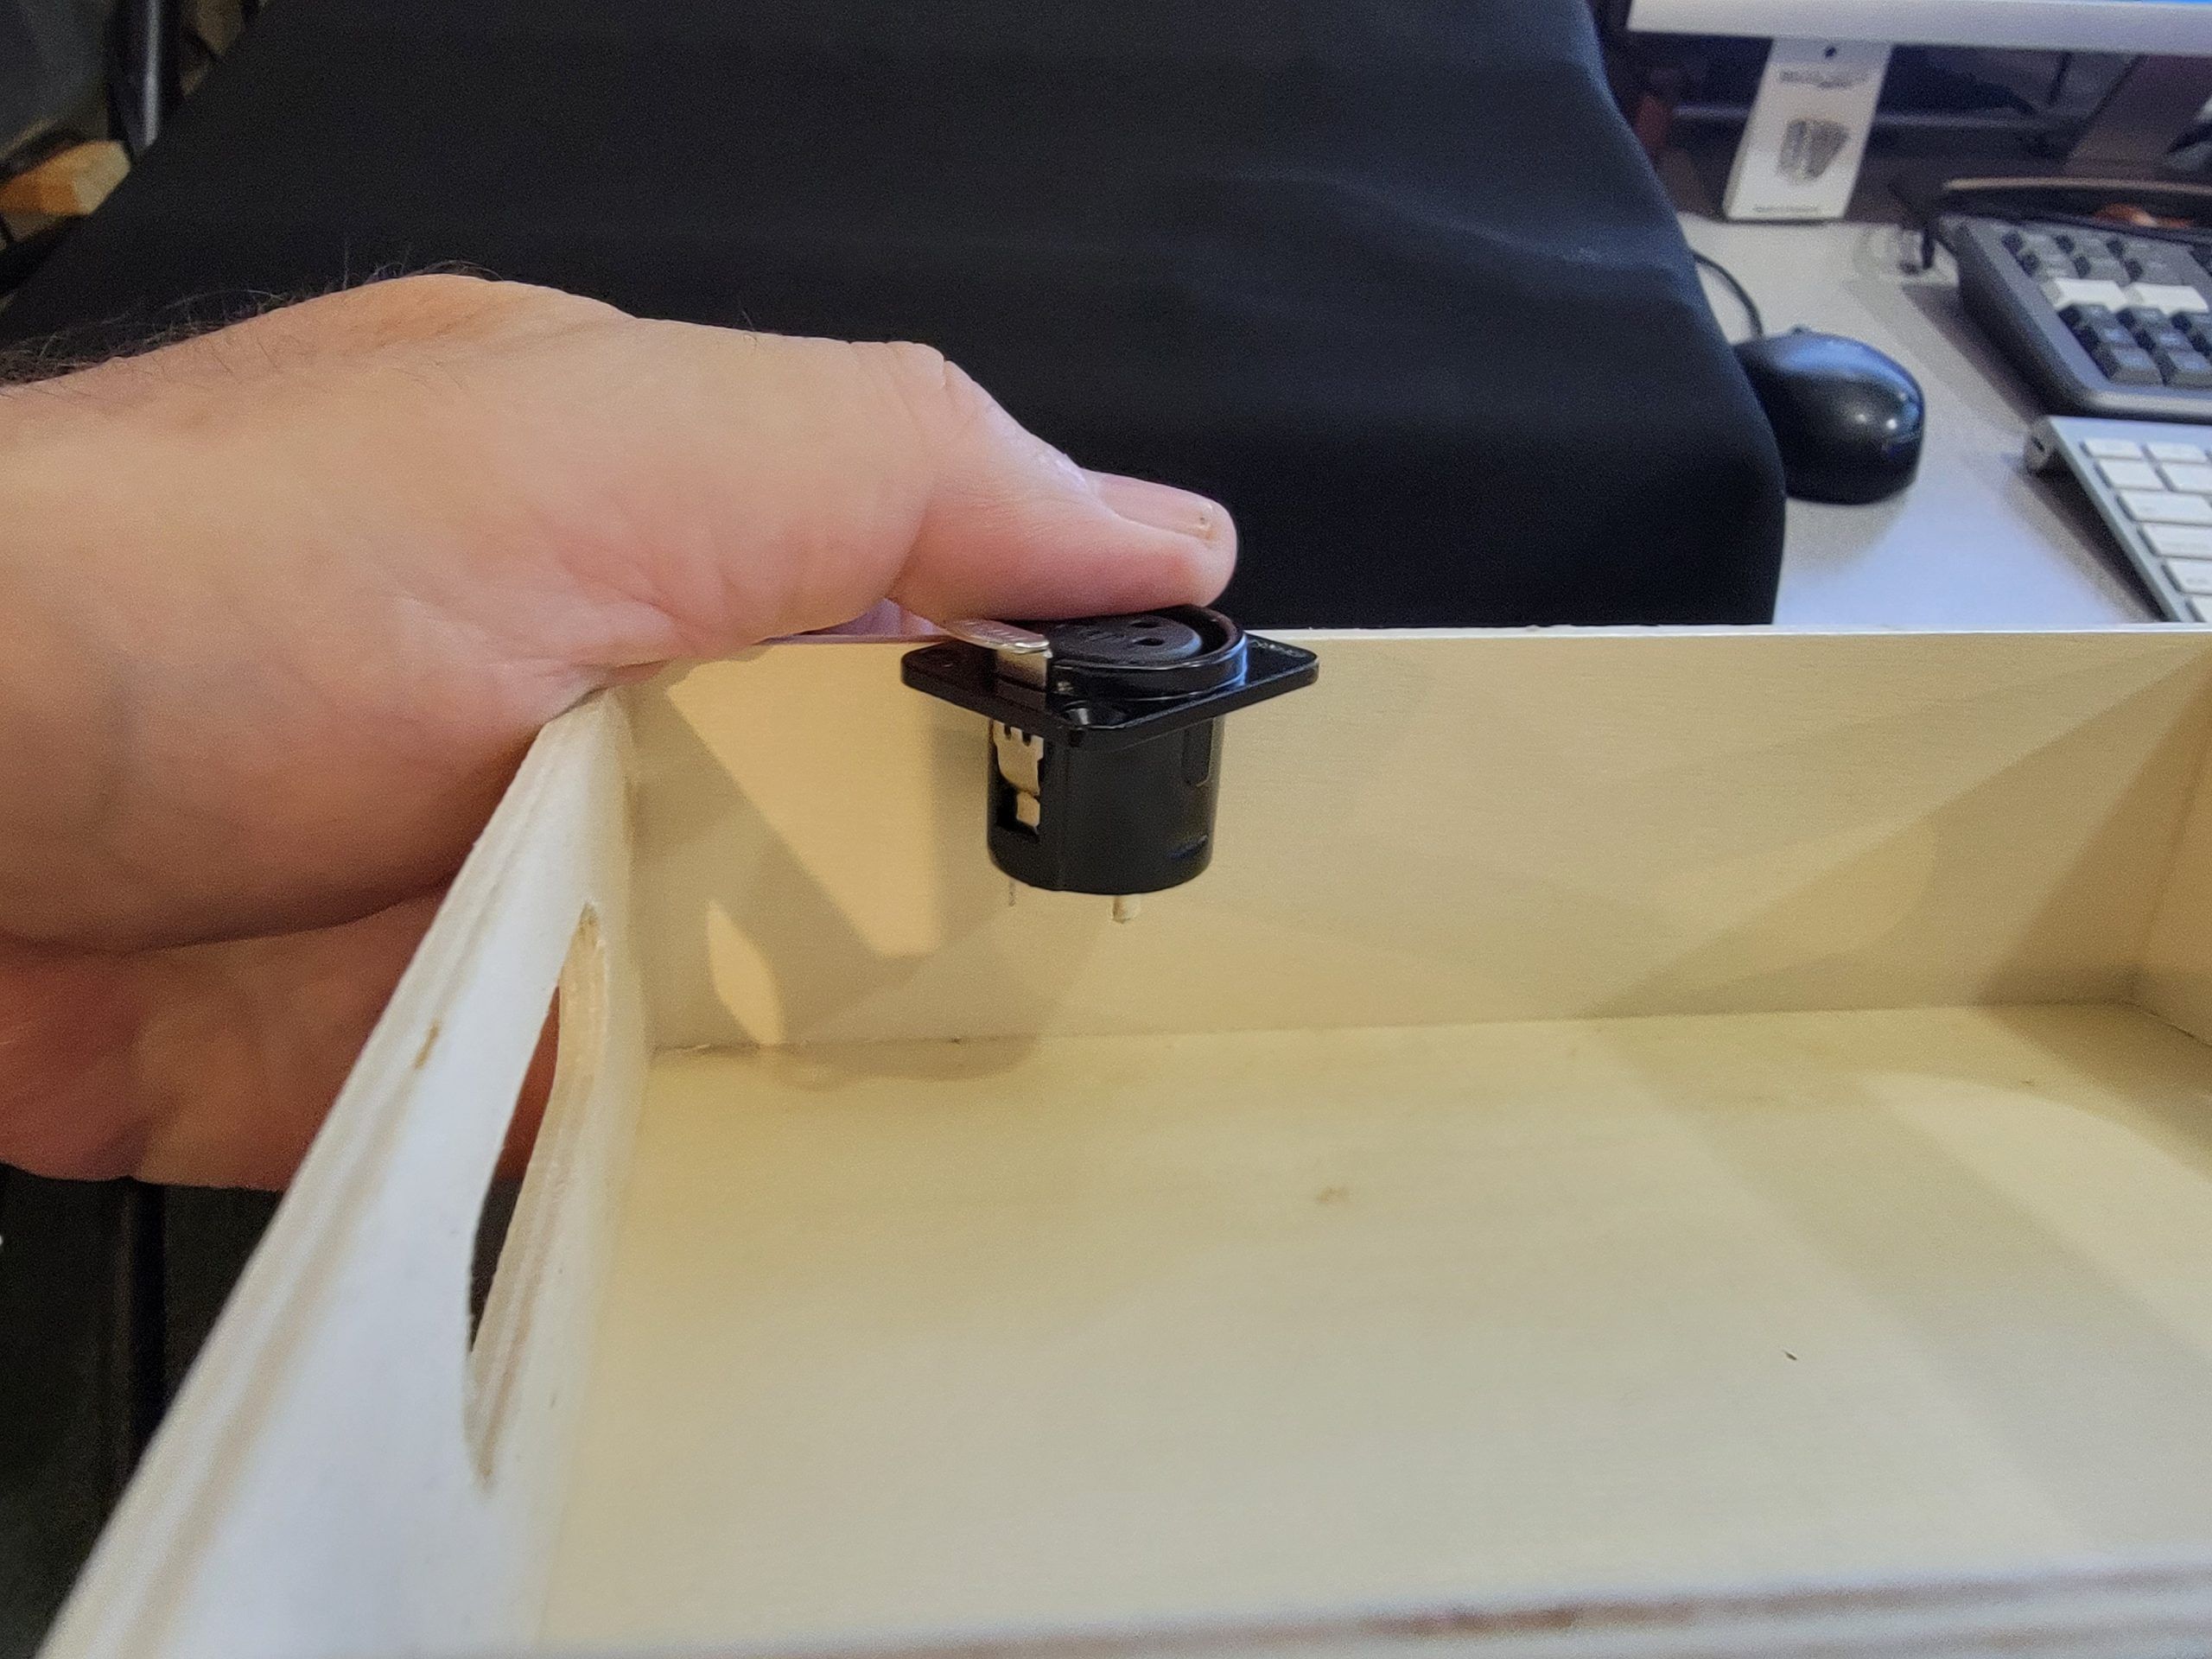
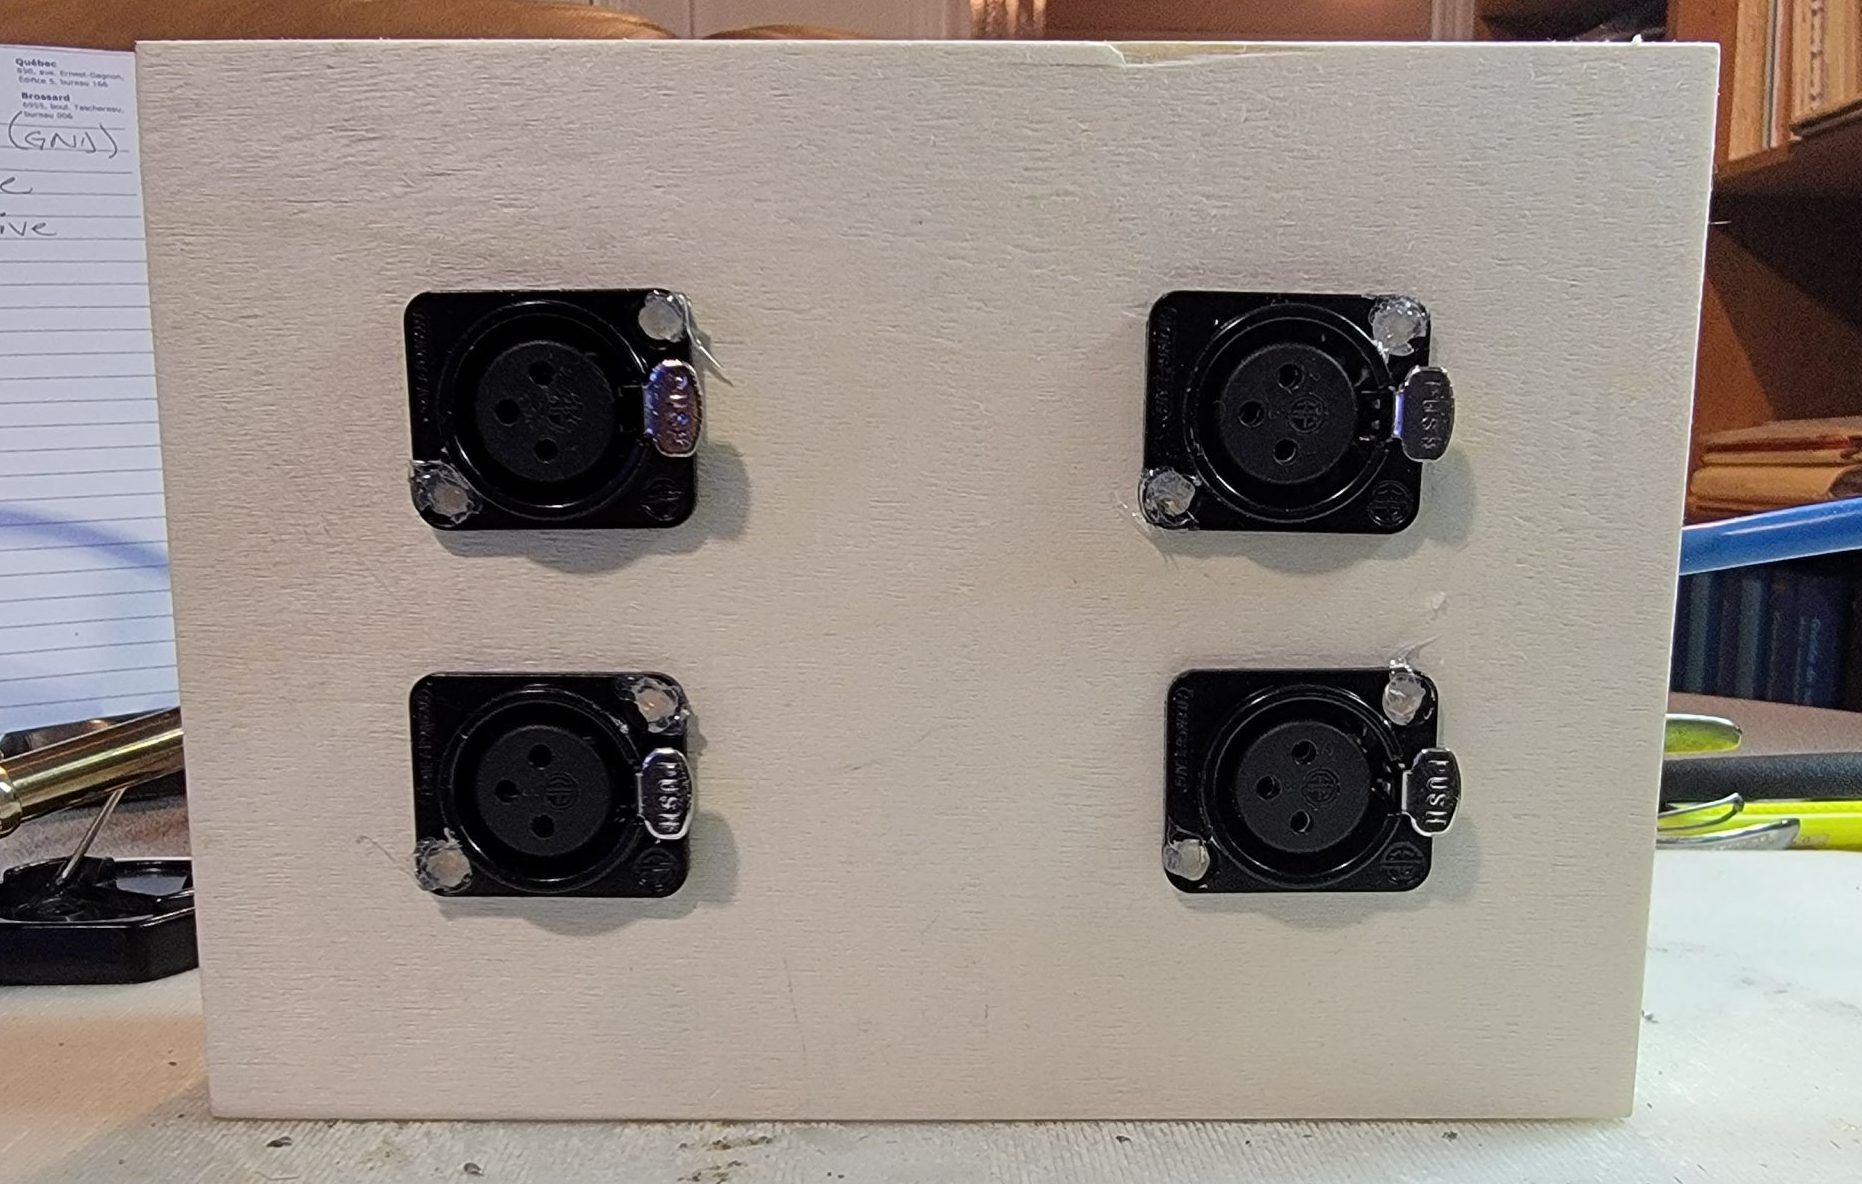
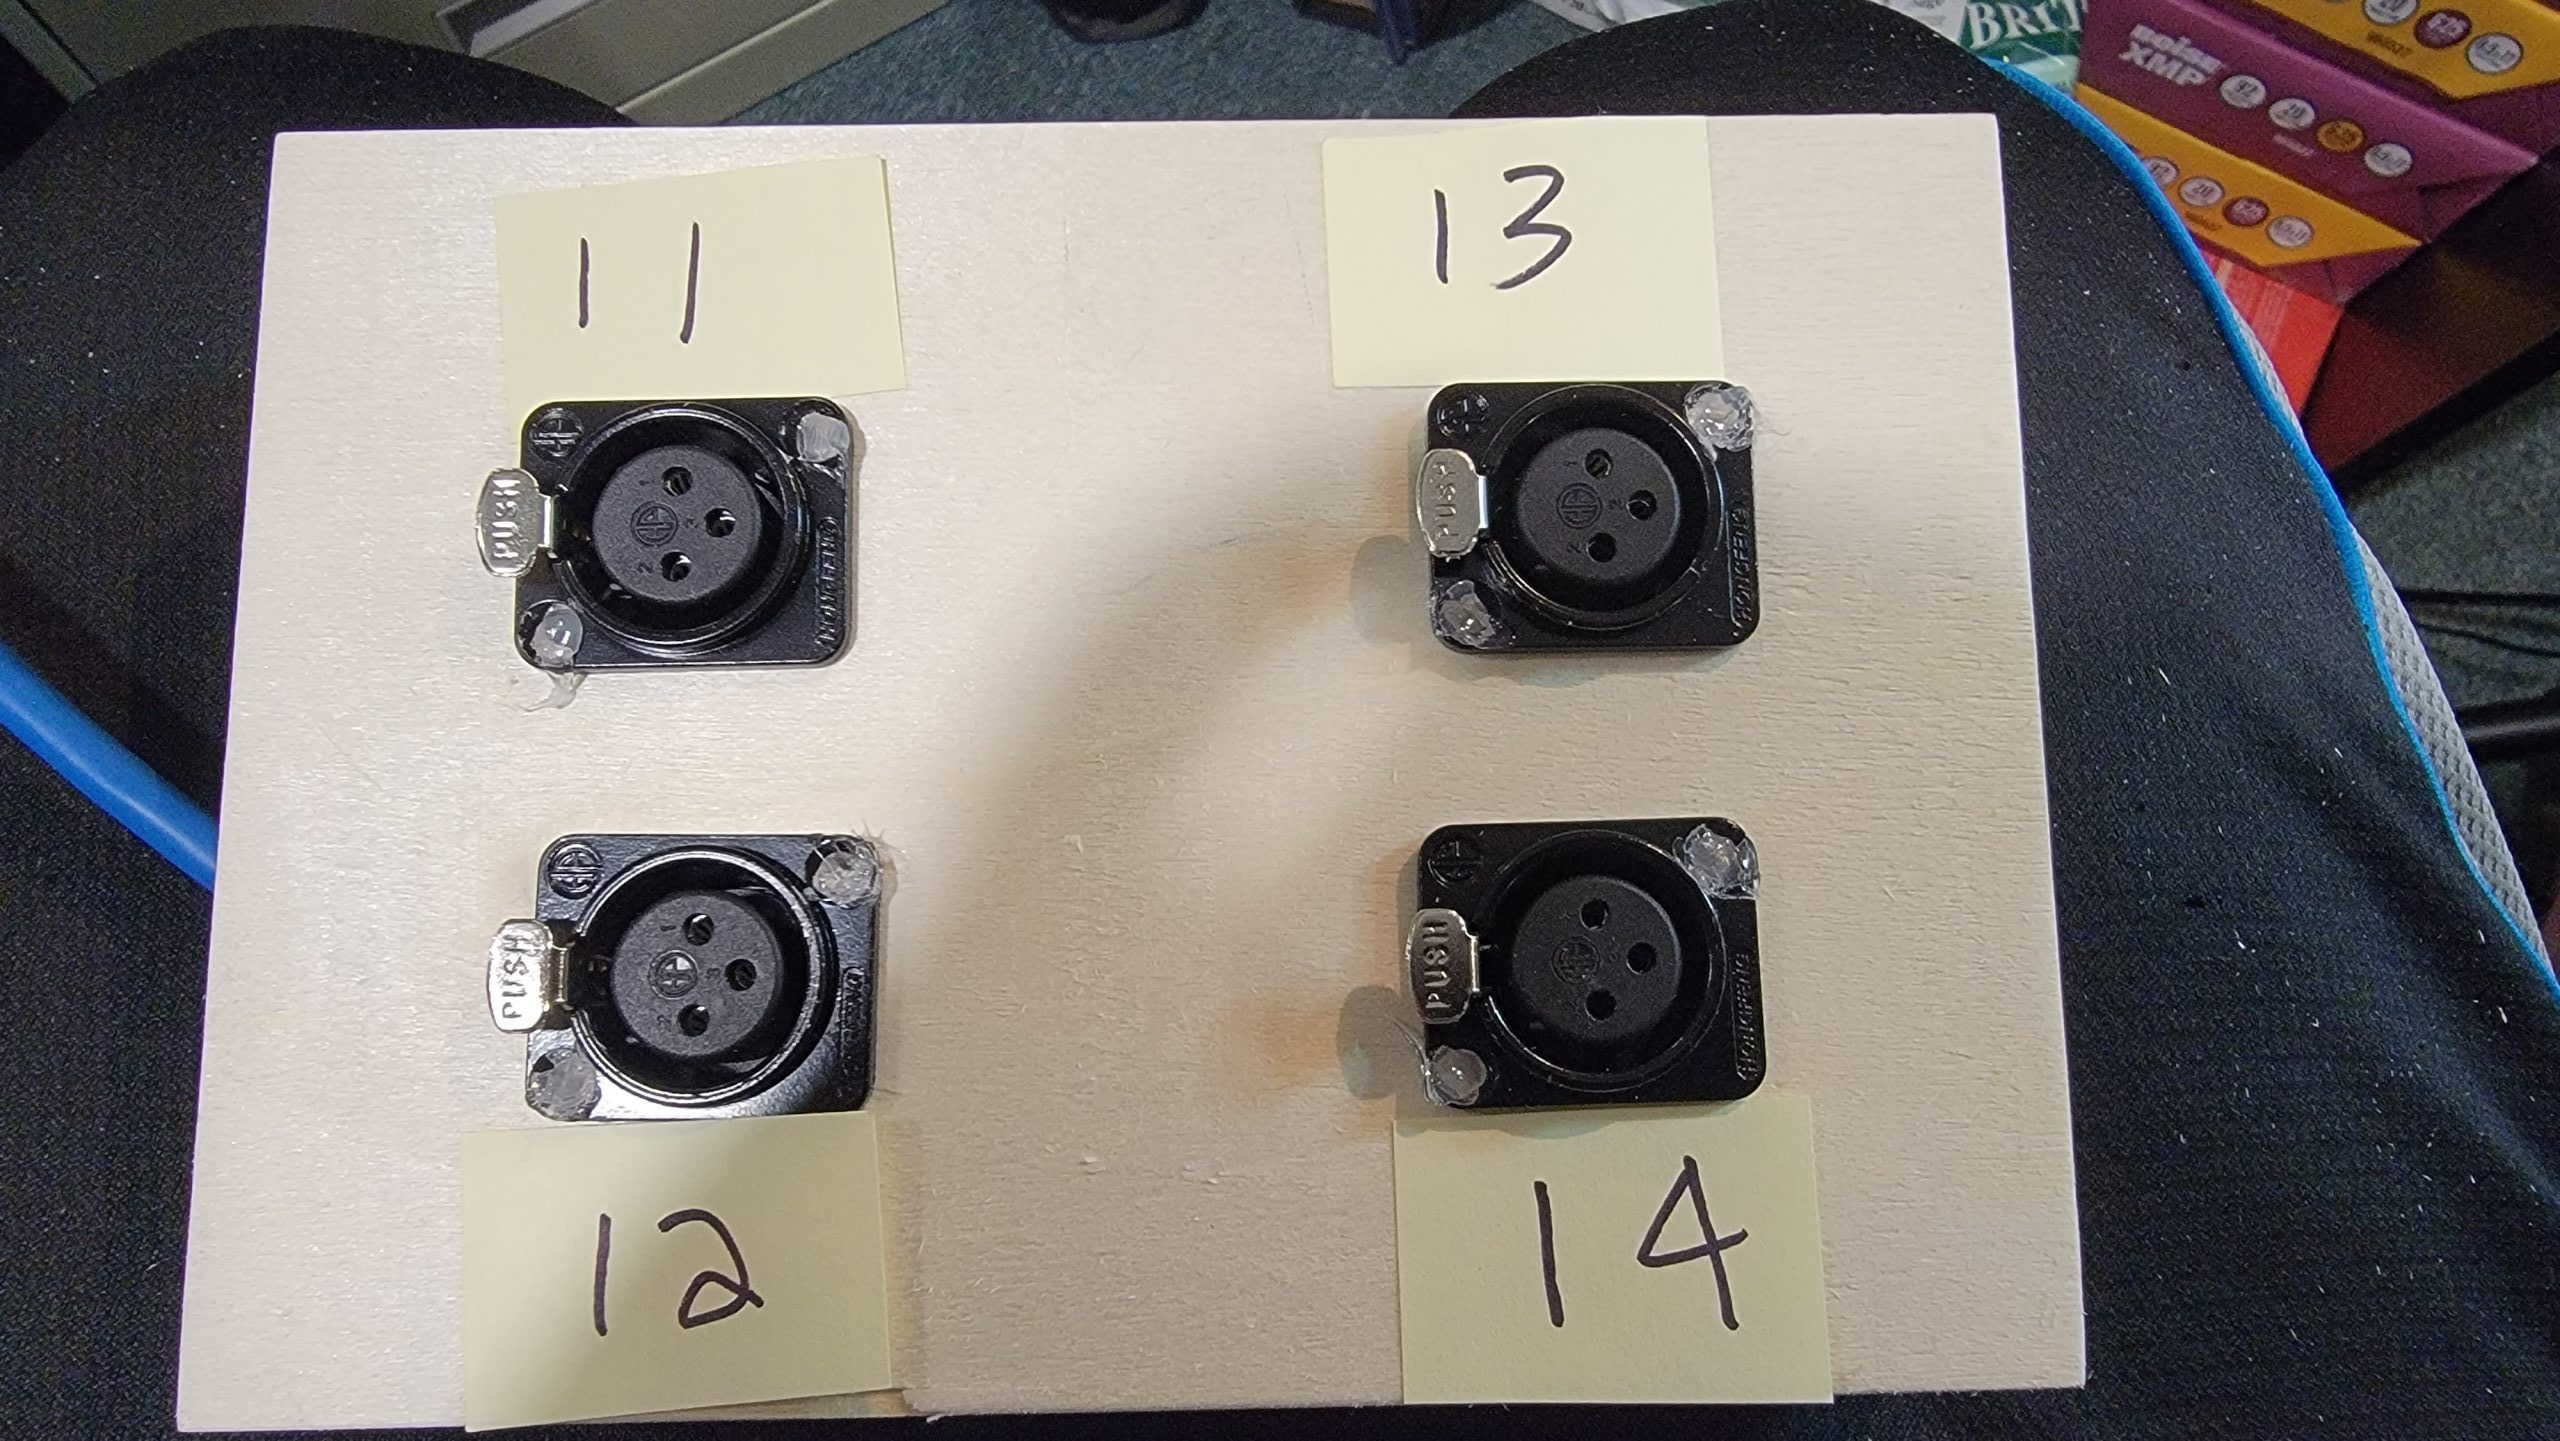
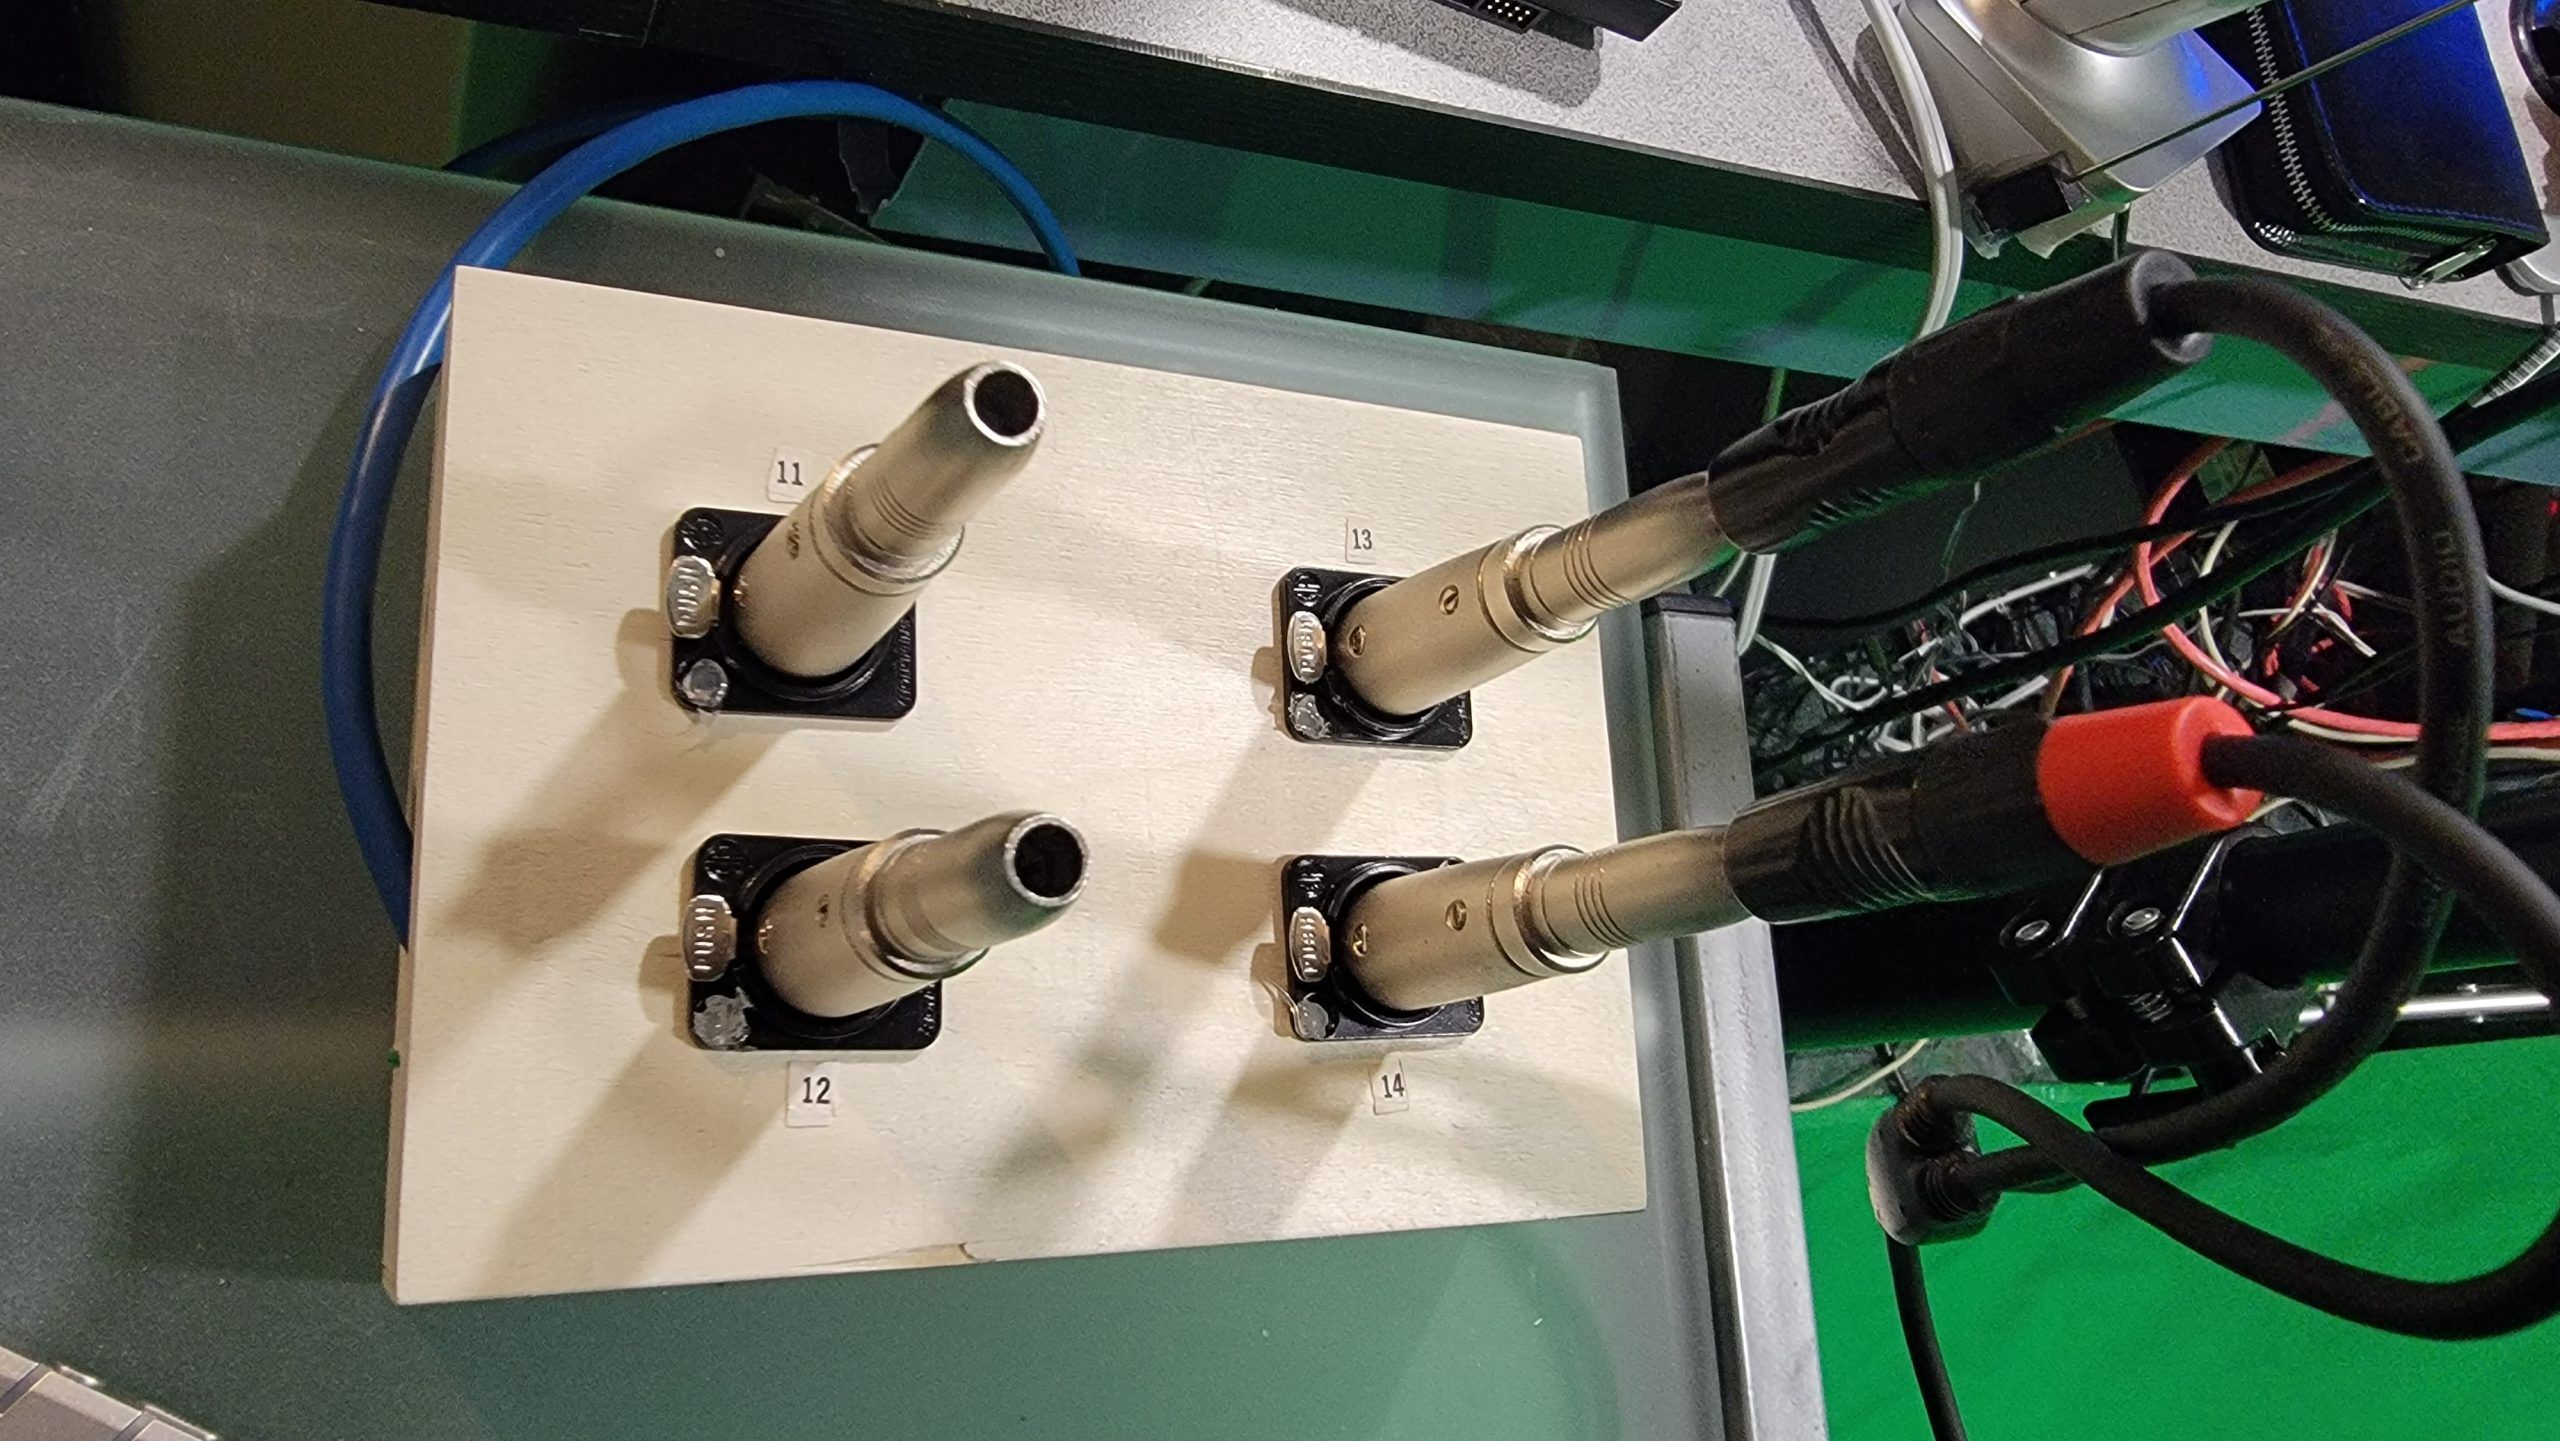
I setup the plugs in the box:
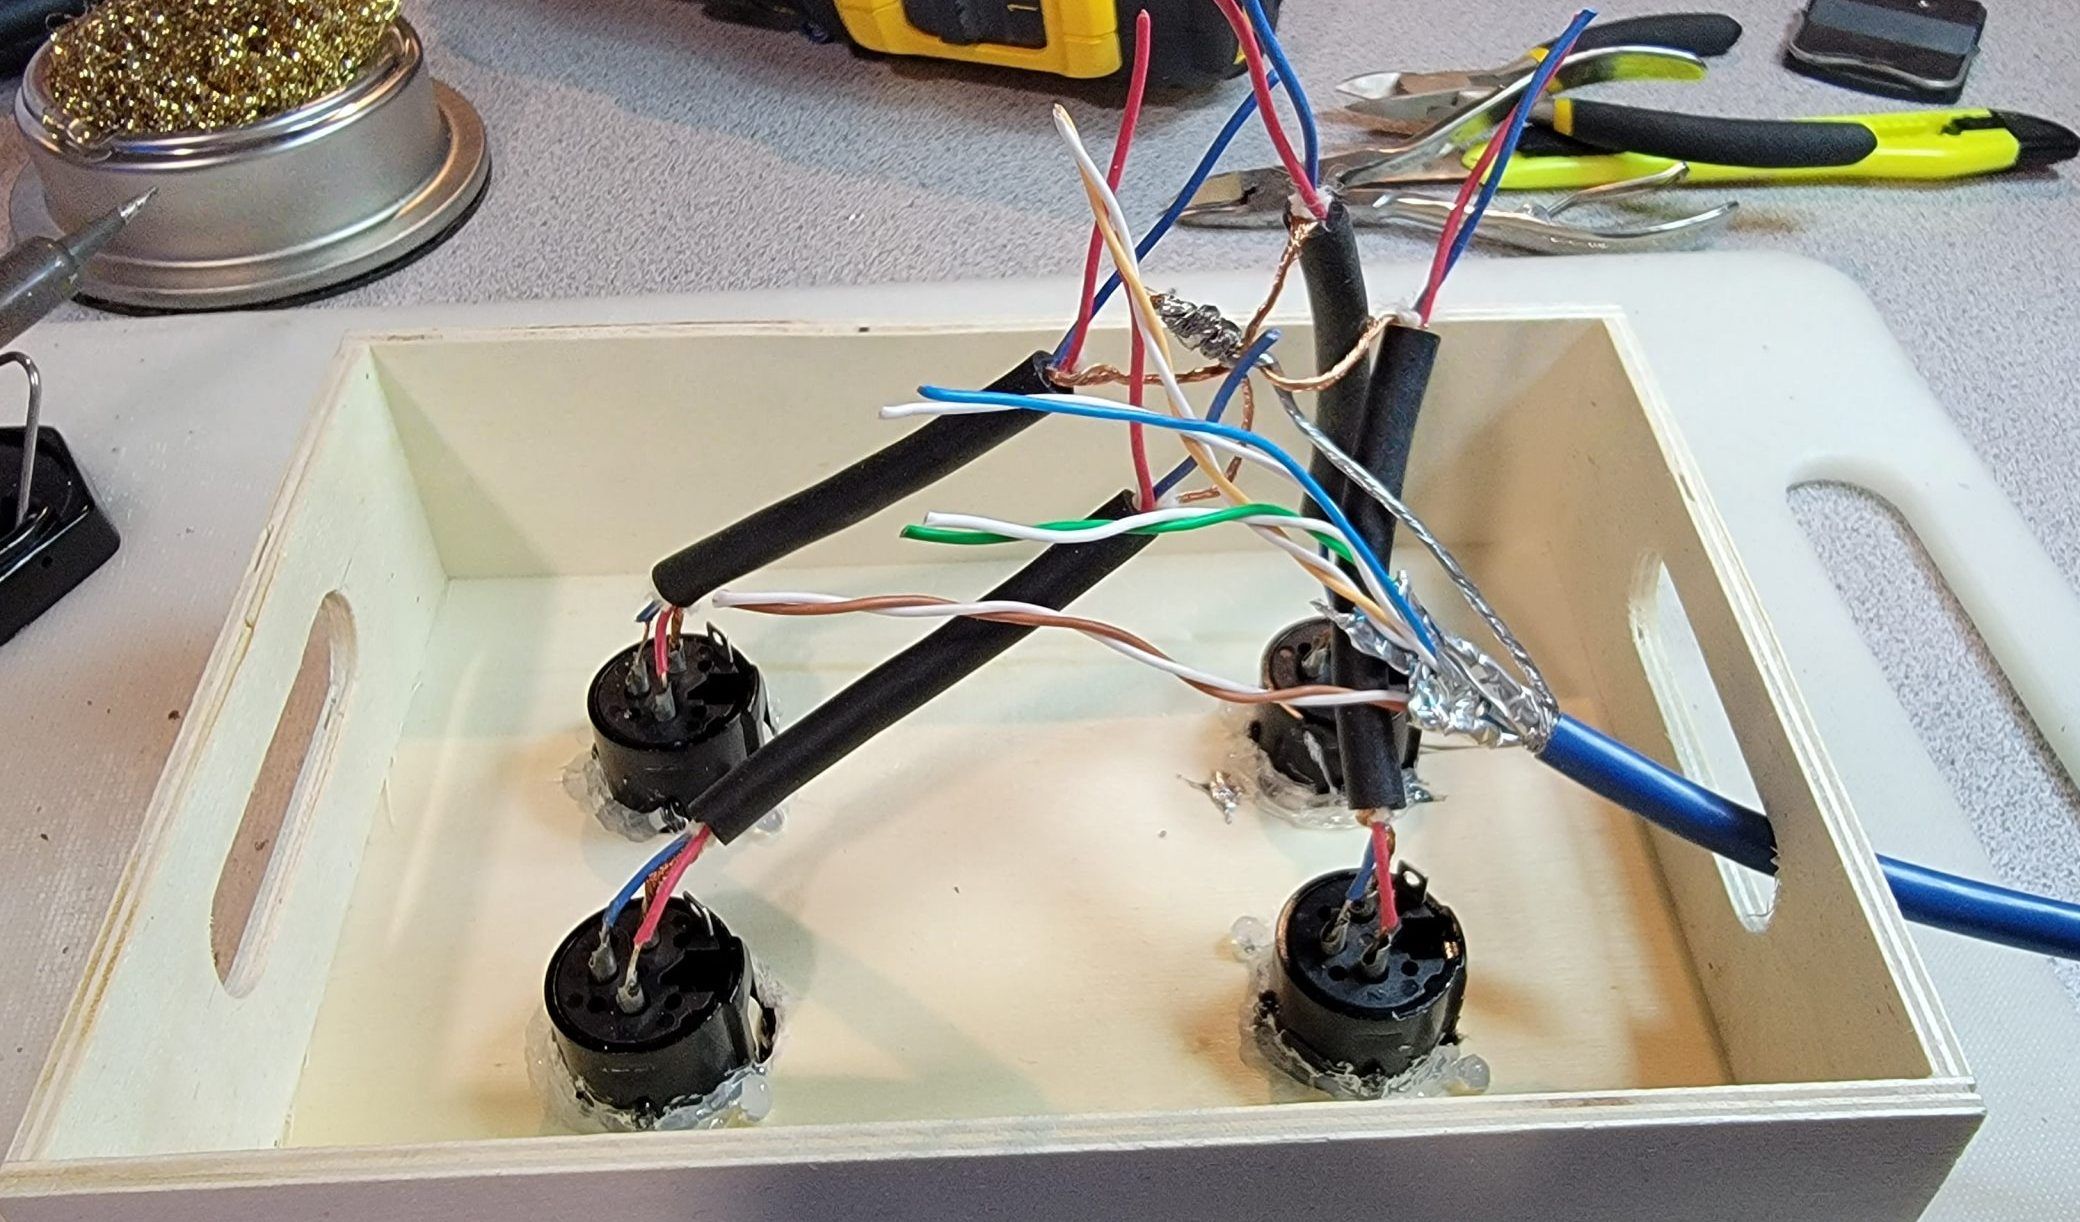
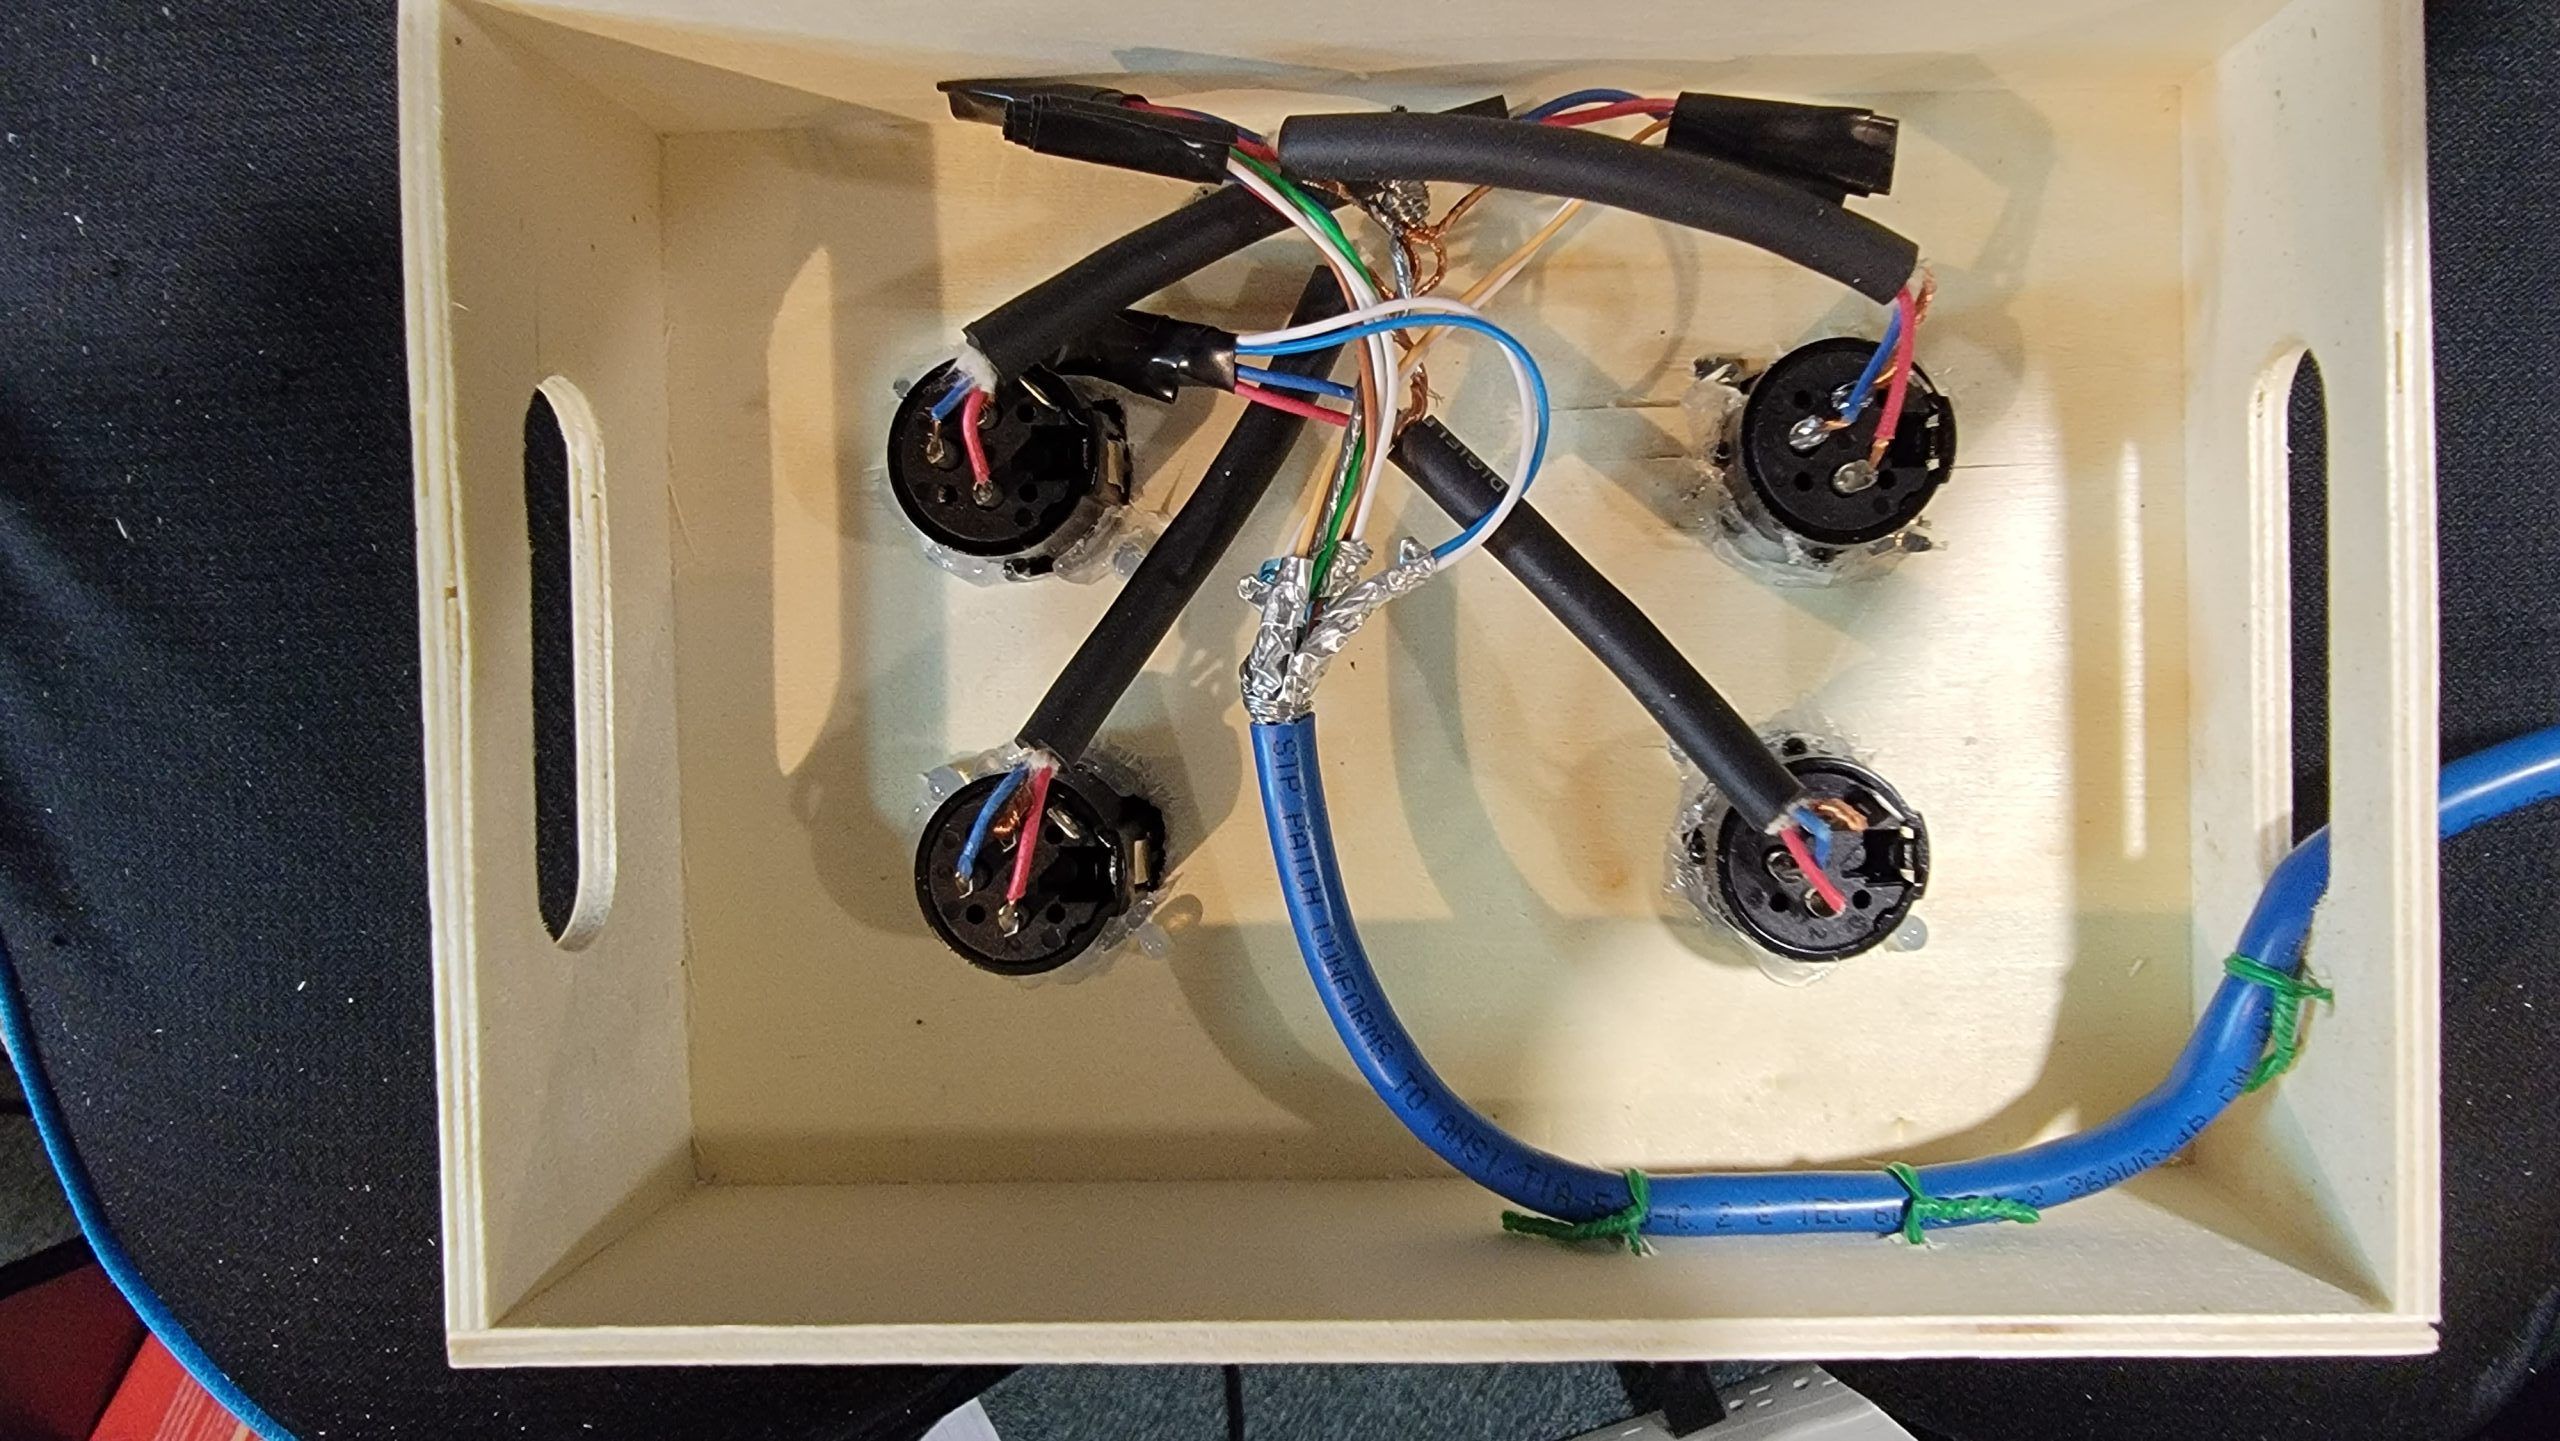
Started the wiring for that part:
Started the mixer side wires/jacks:
Addendum: 1/1/2023:
Happy New Year! I had a couple of hours so I completed most of other project to the point that it is functional now!
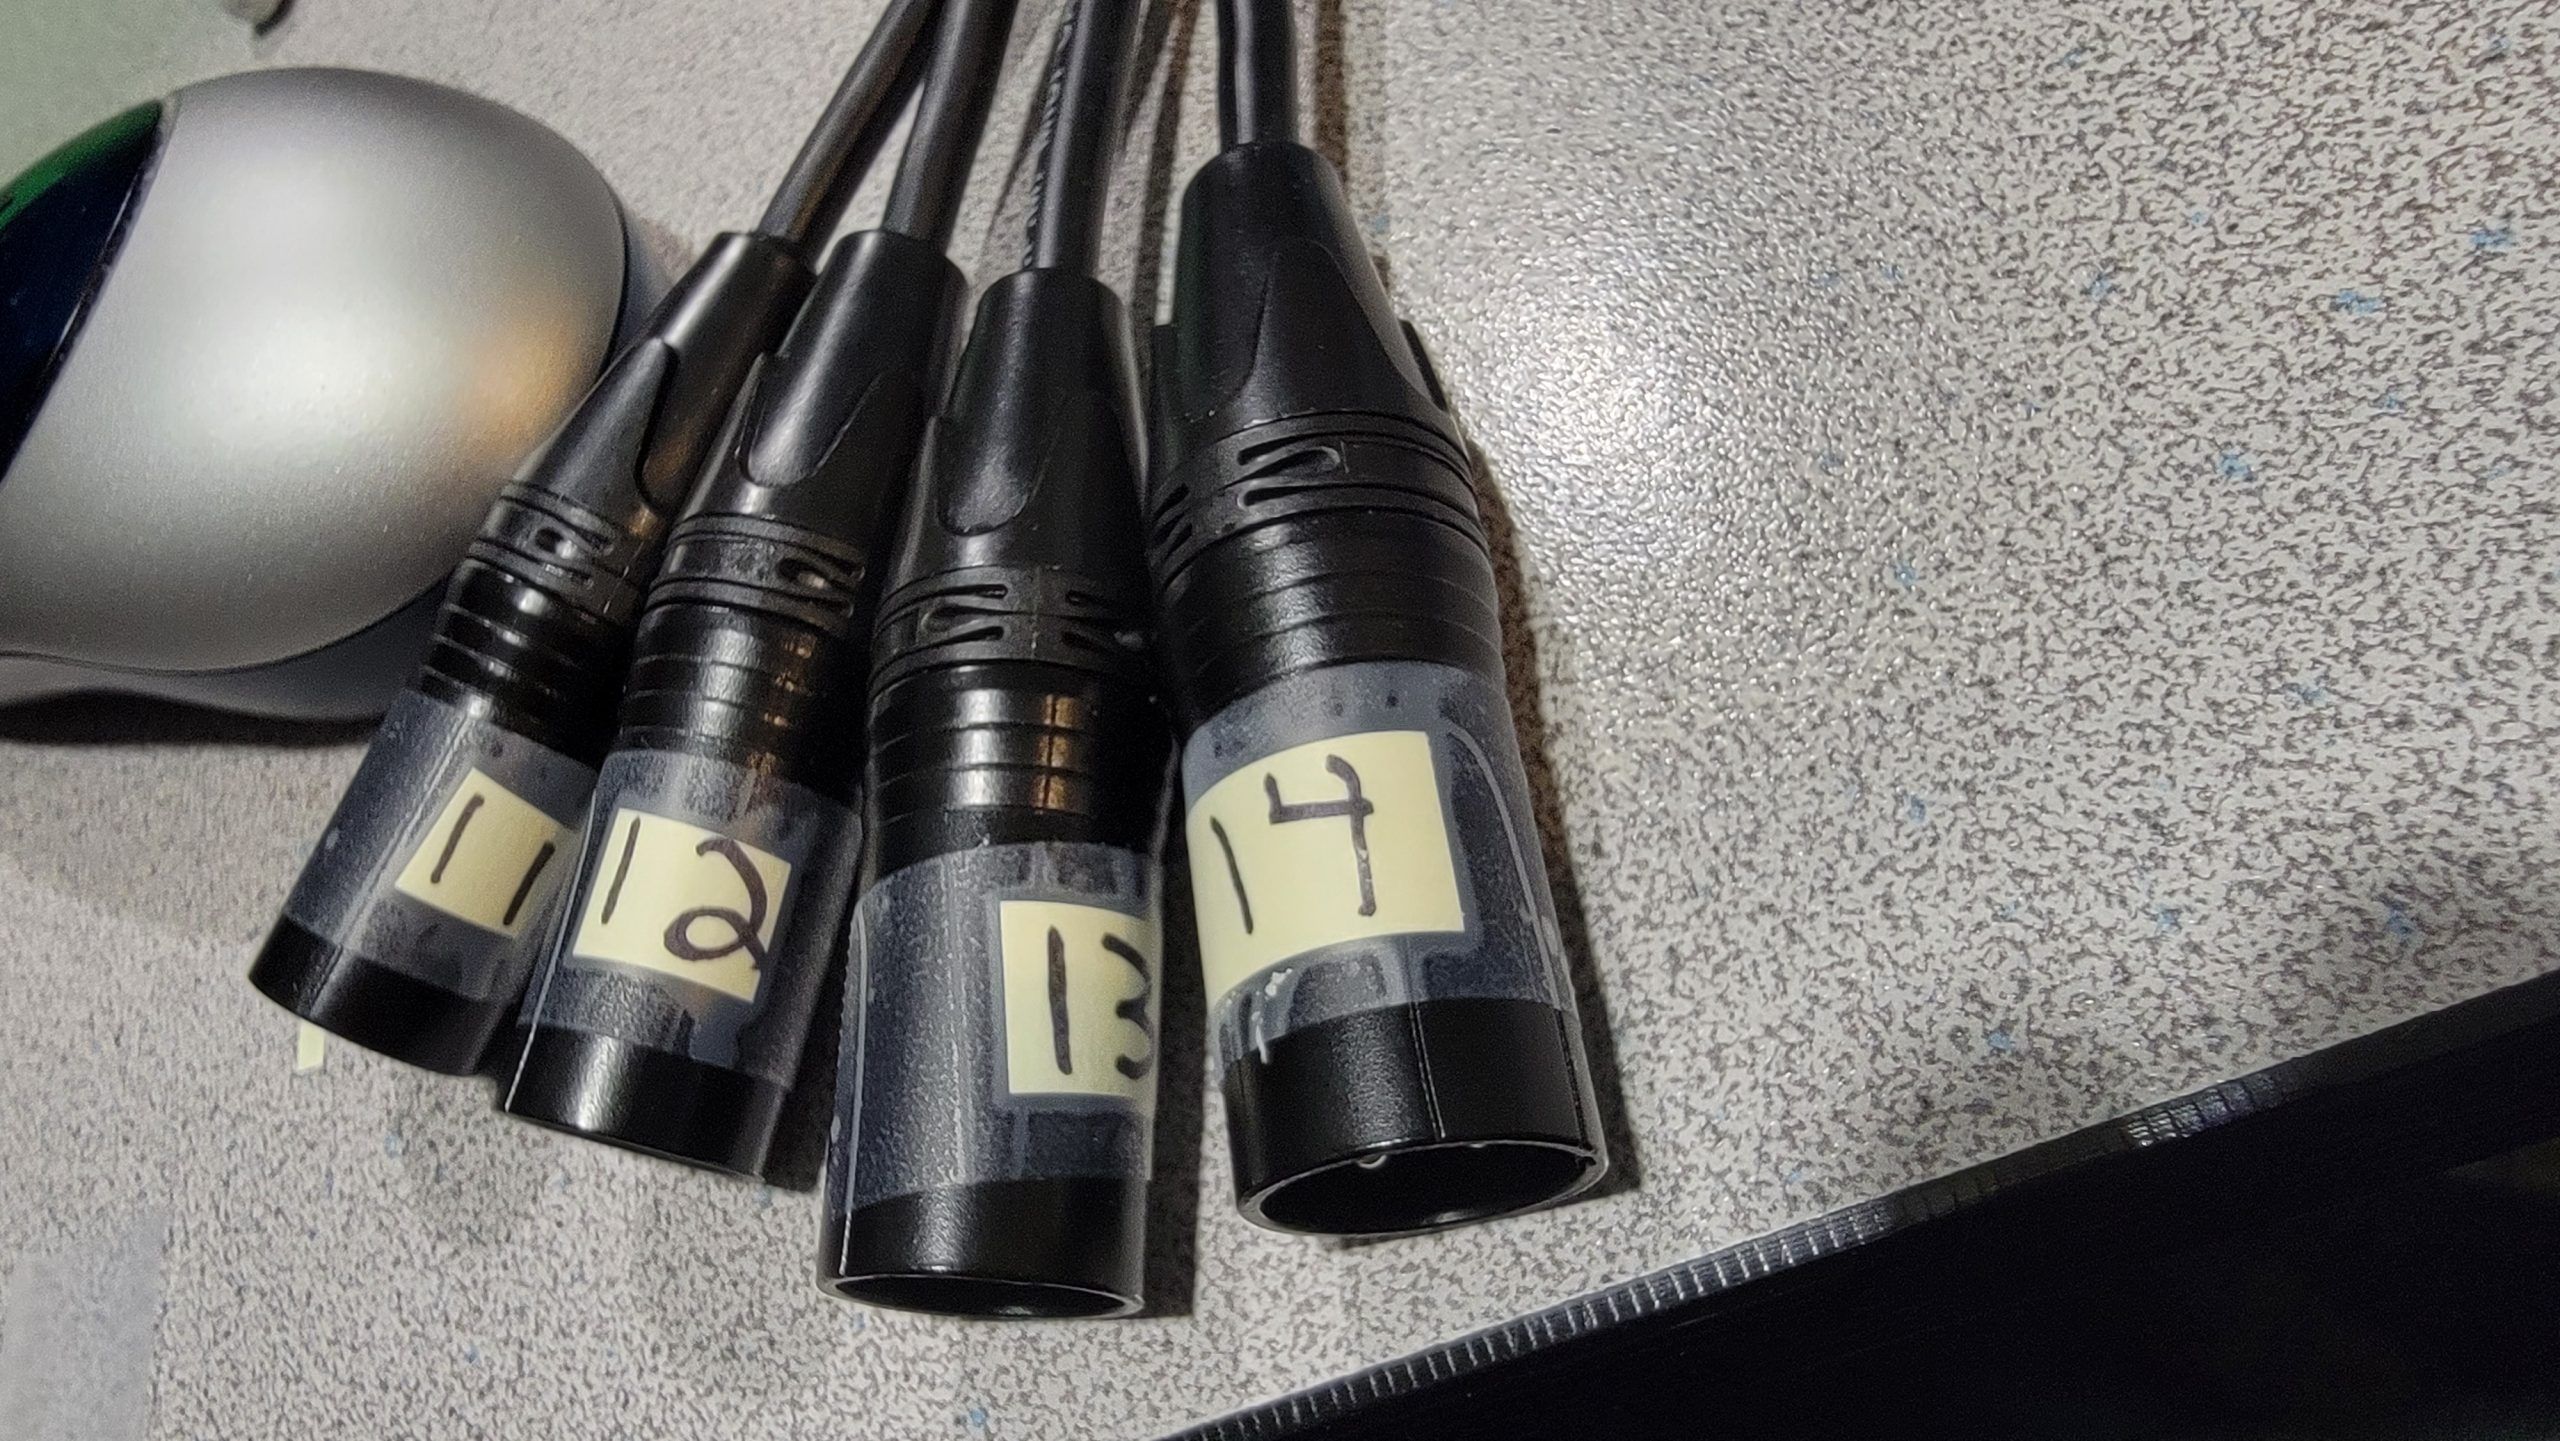
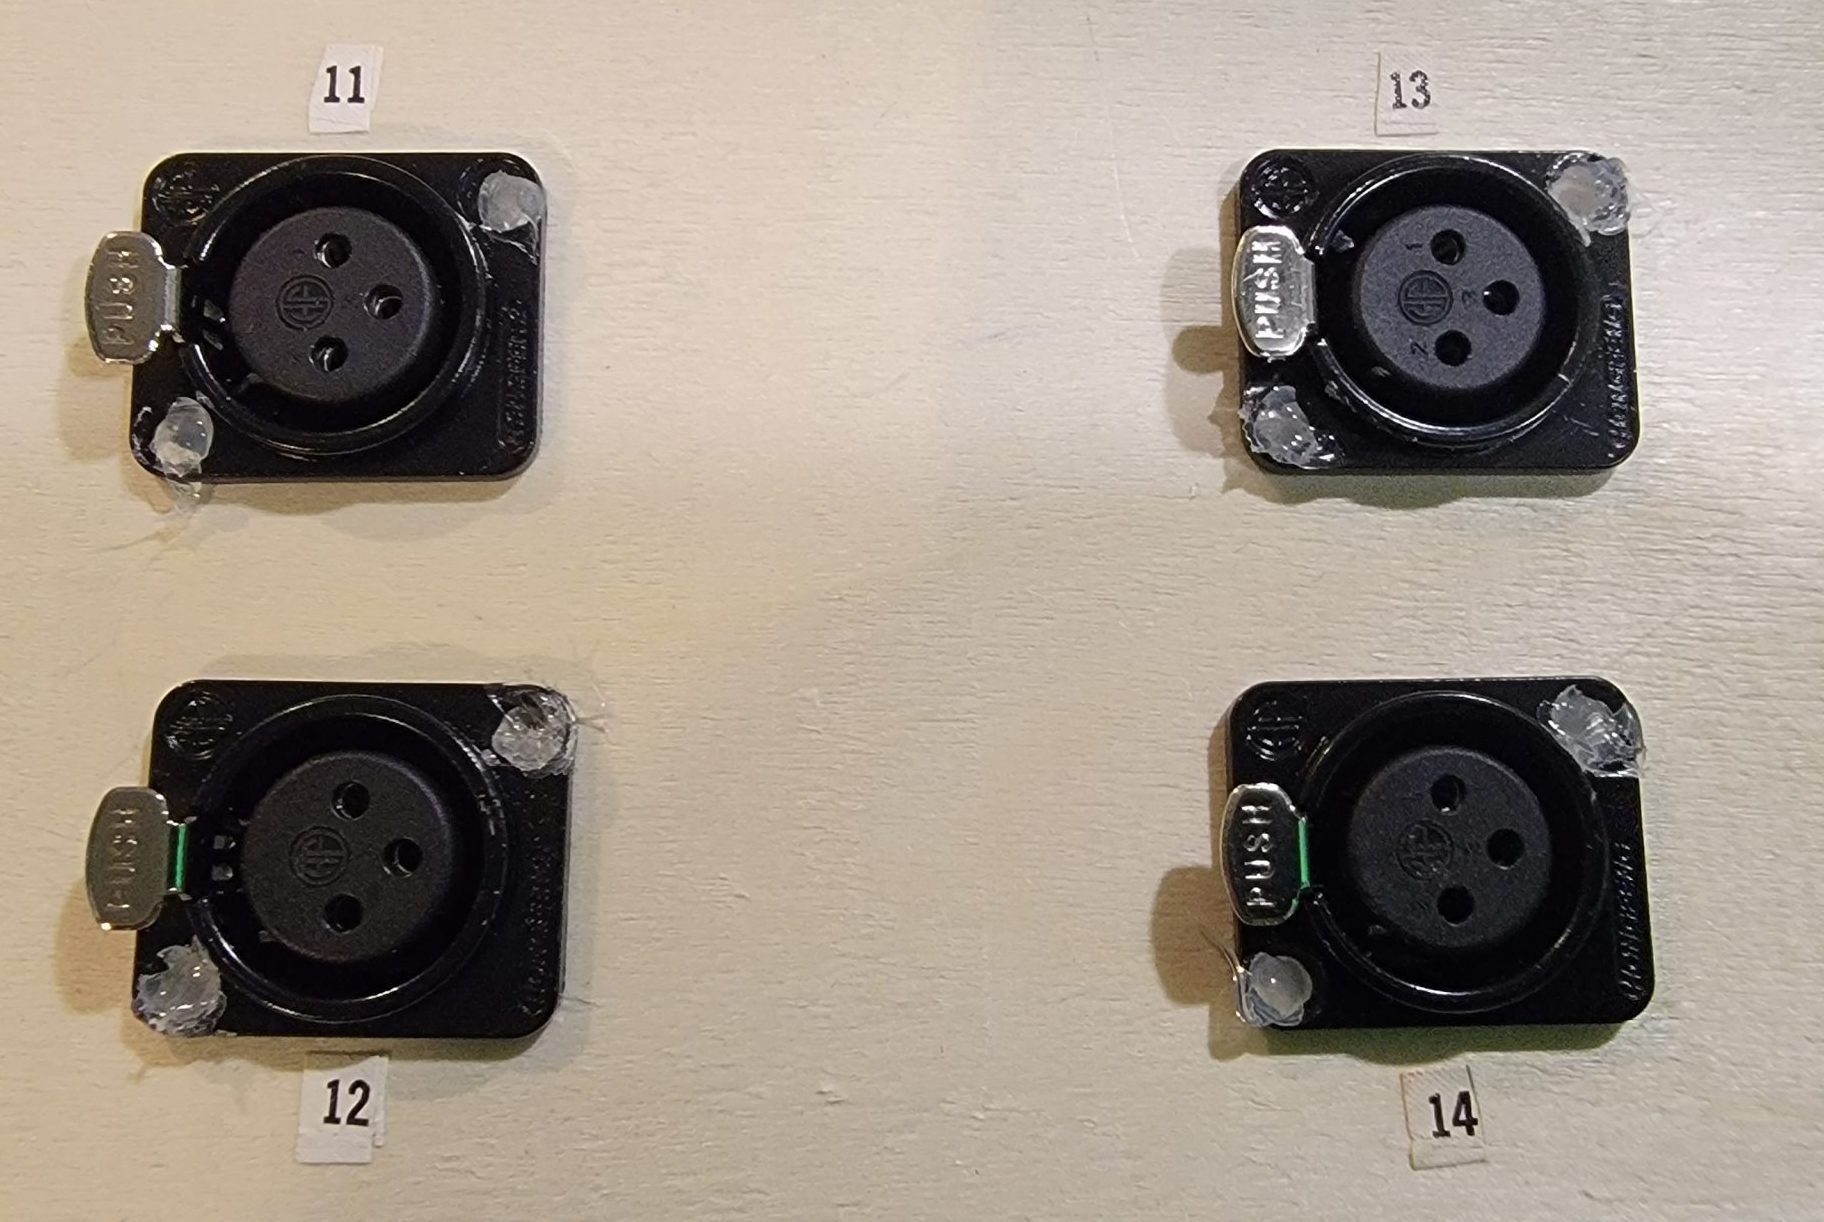
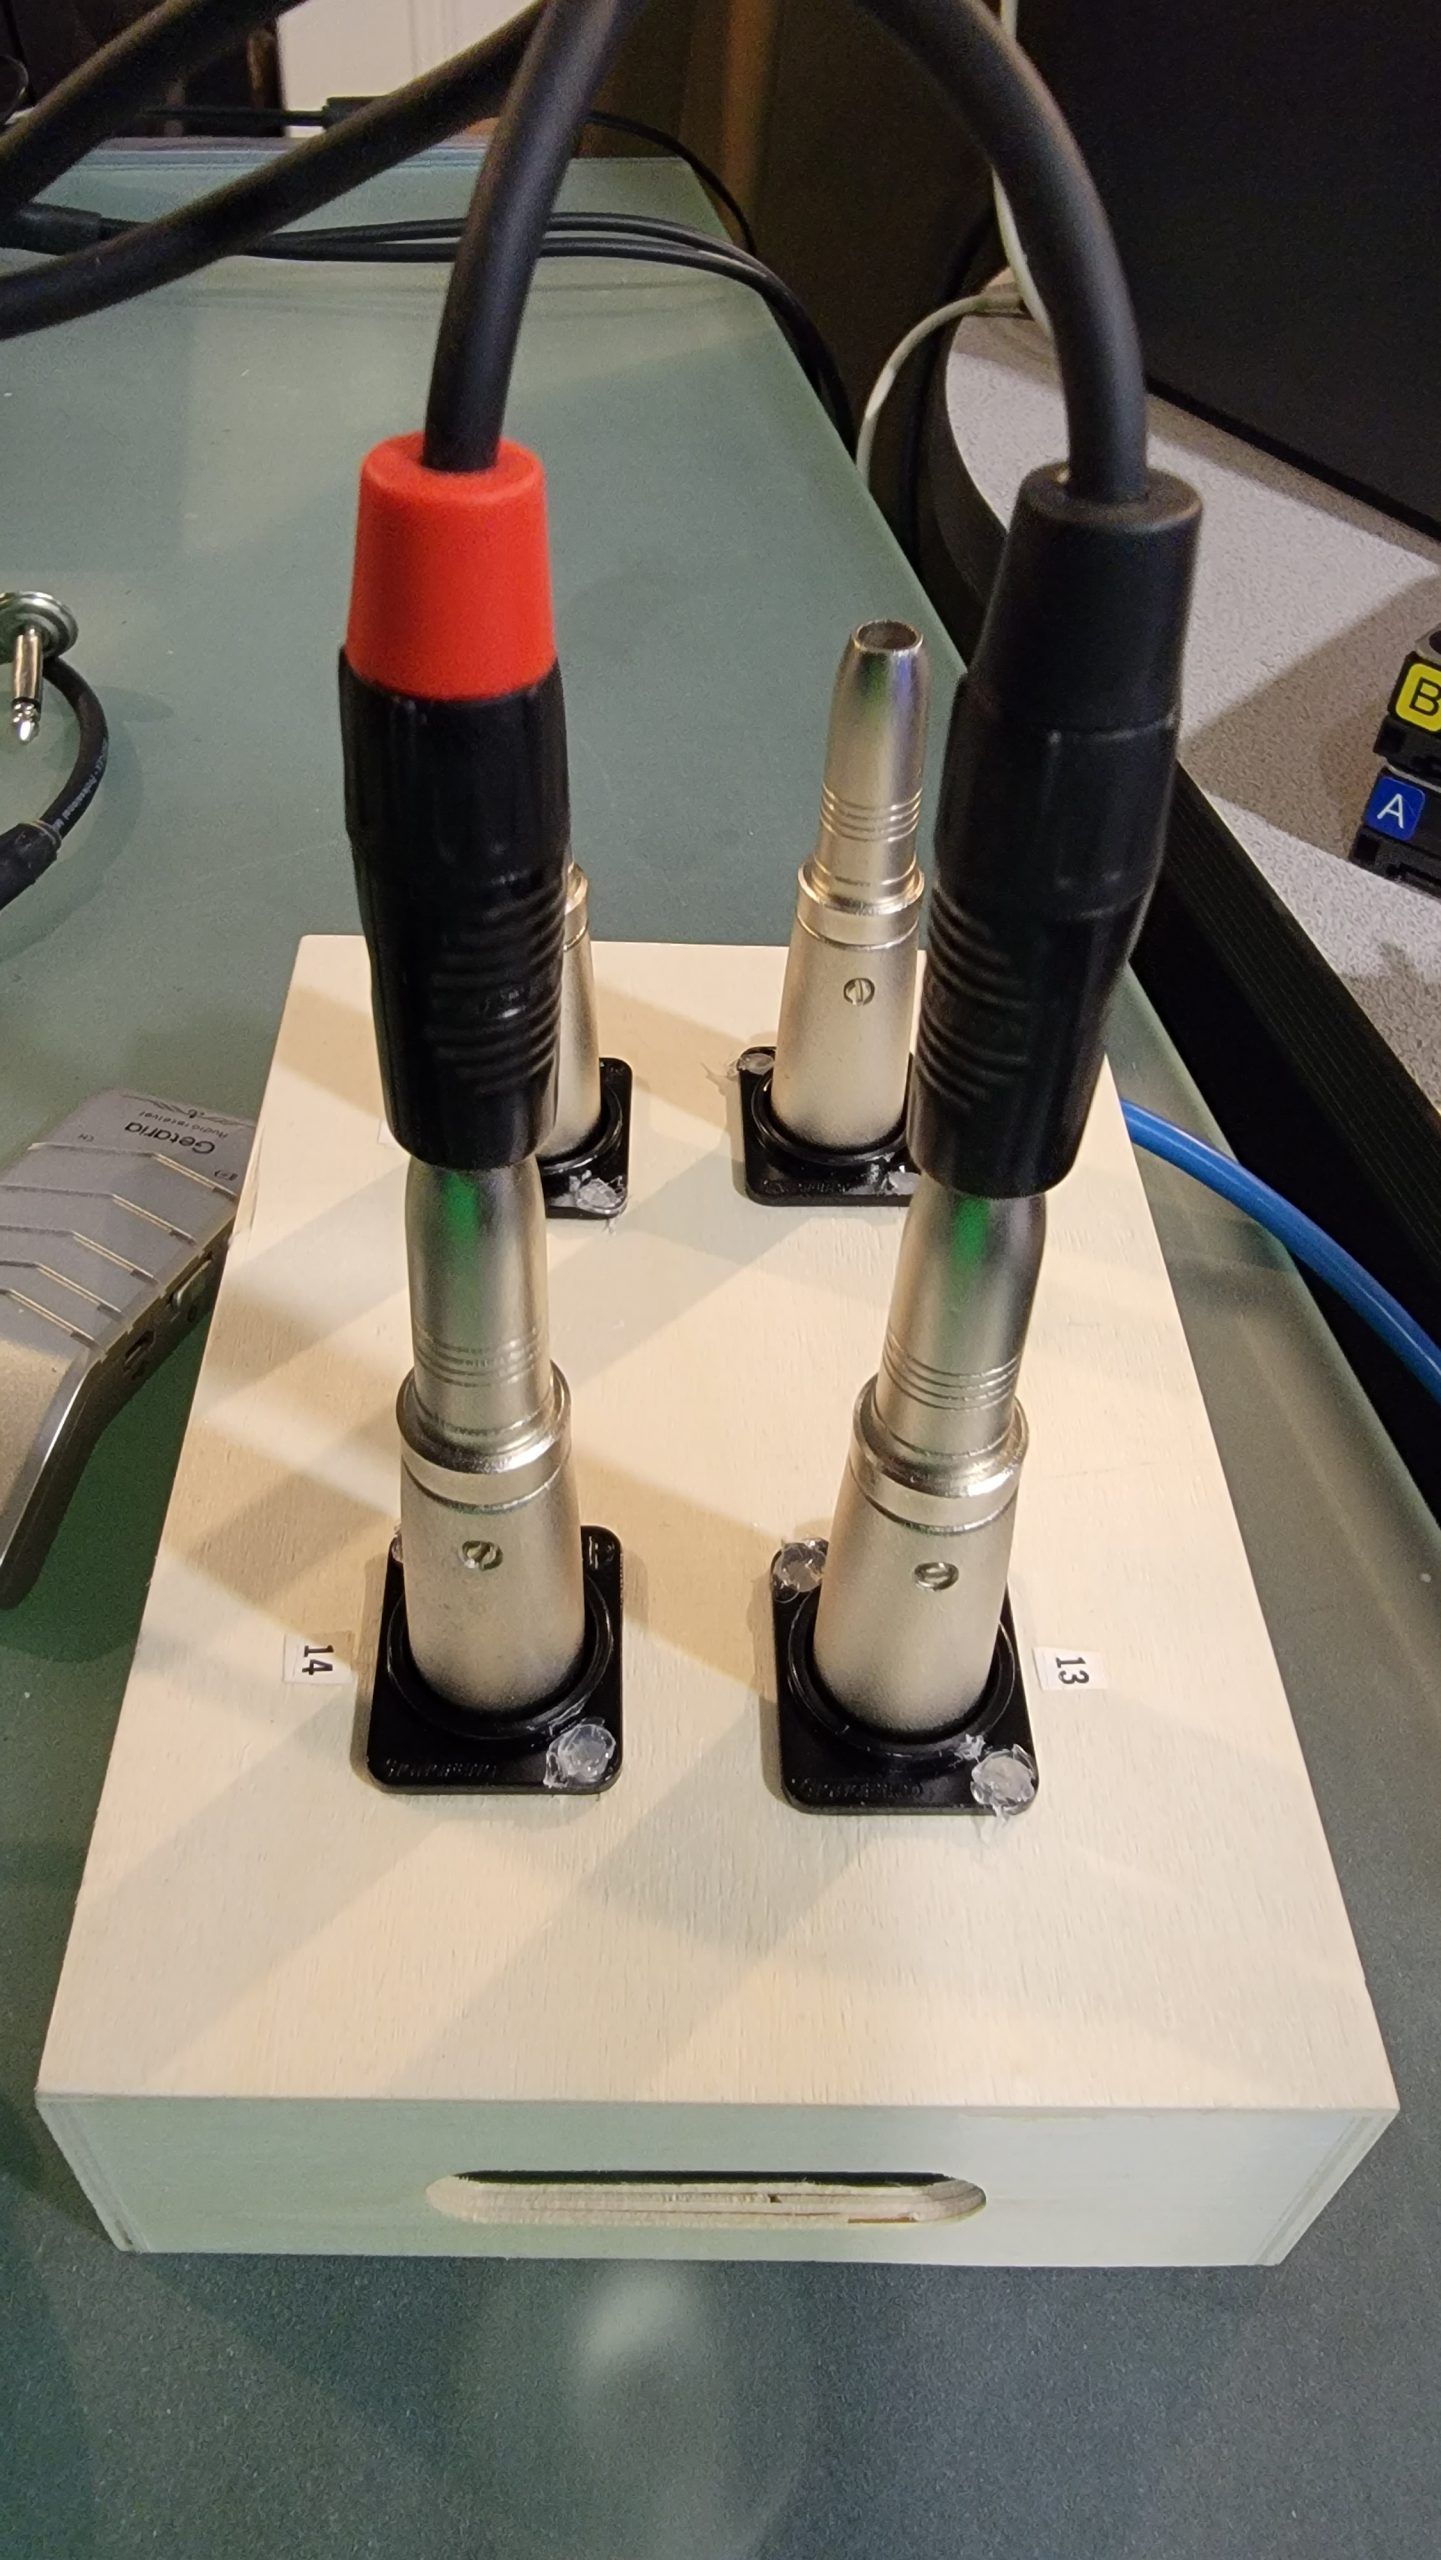
The XLR connectors for the mixer side are completed and labeled.
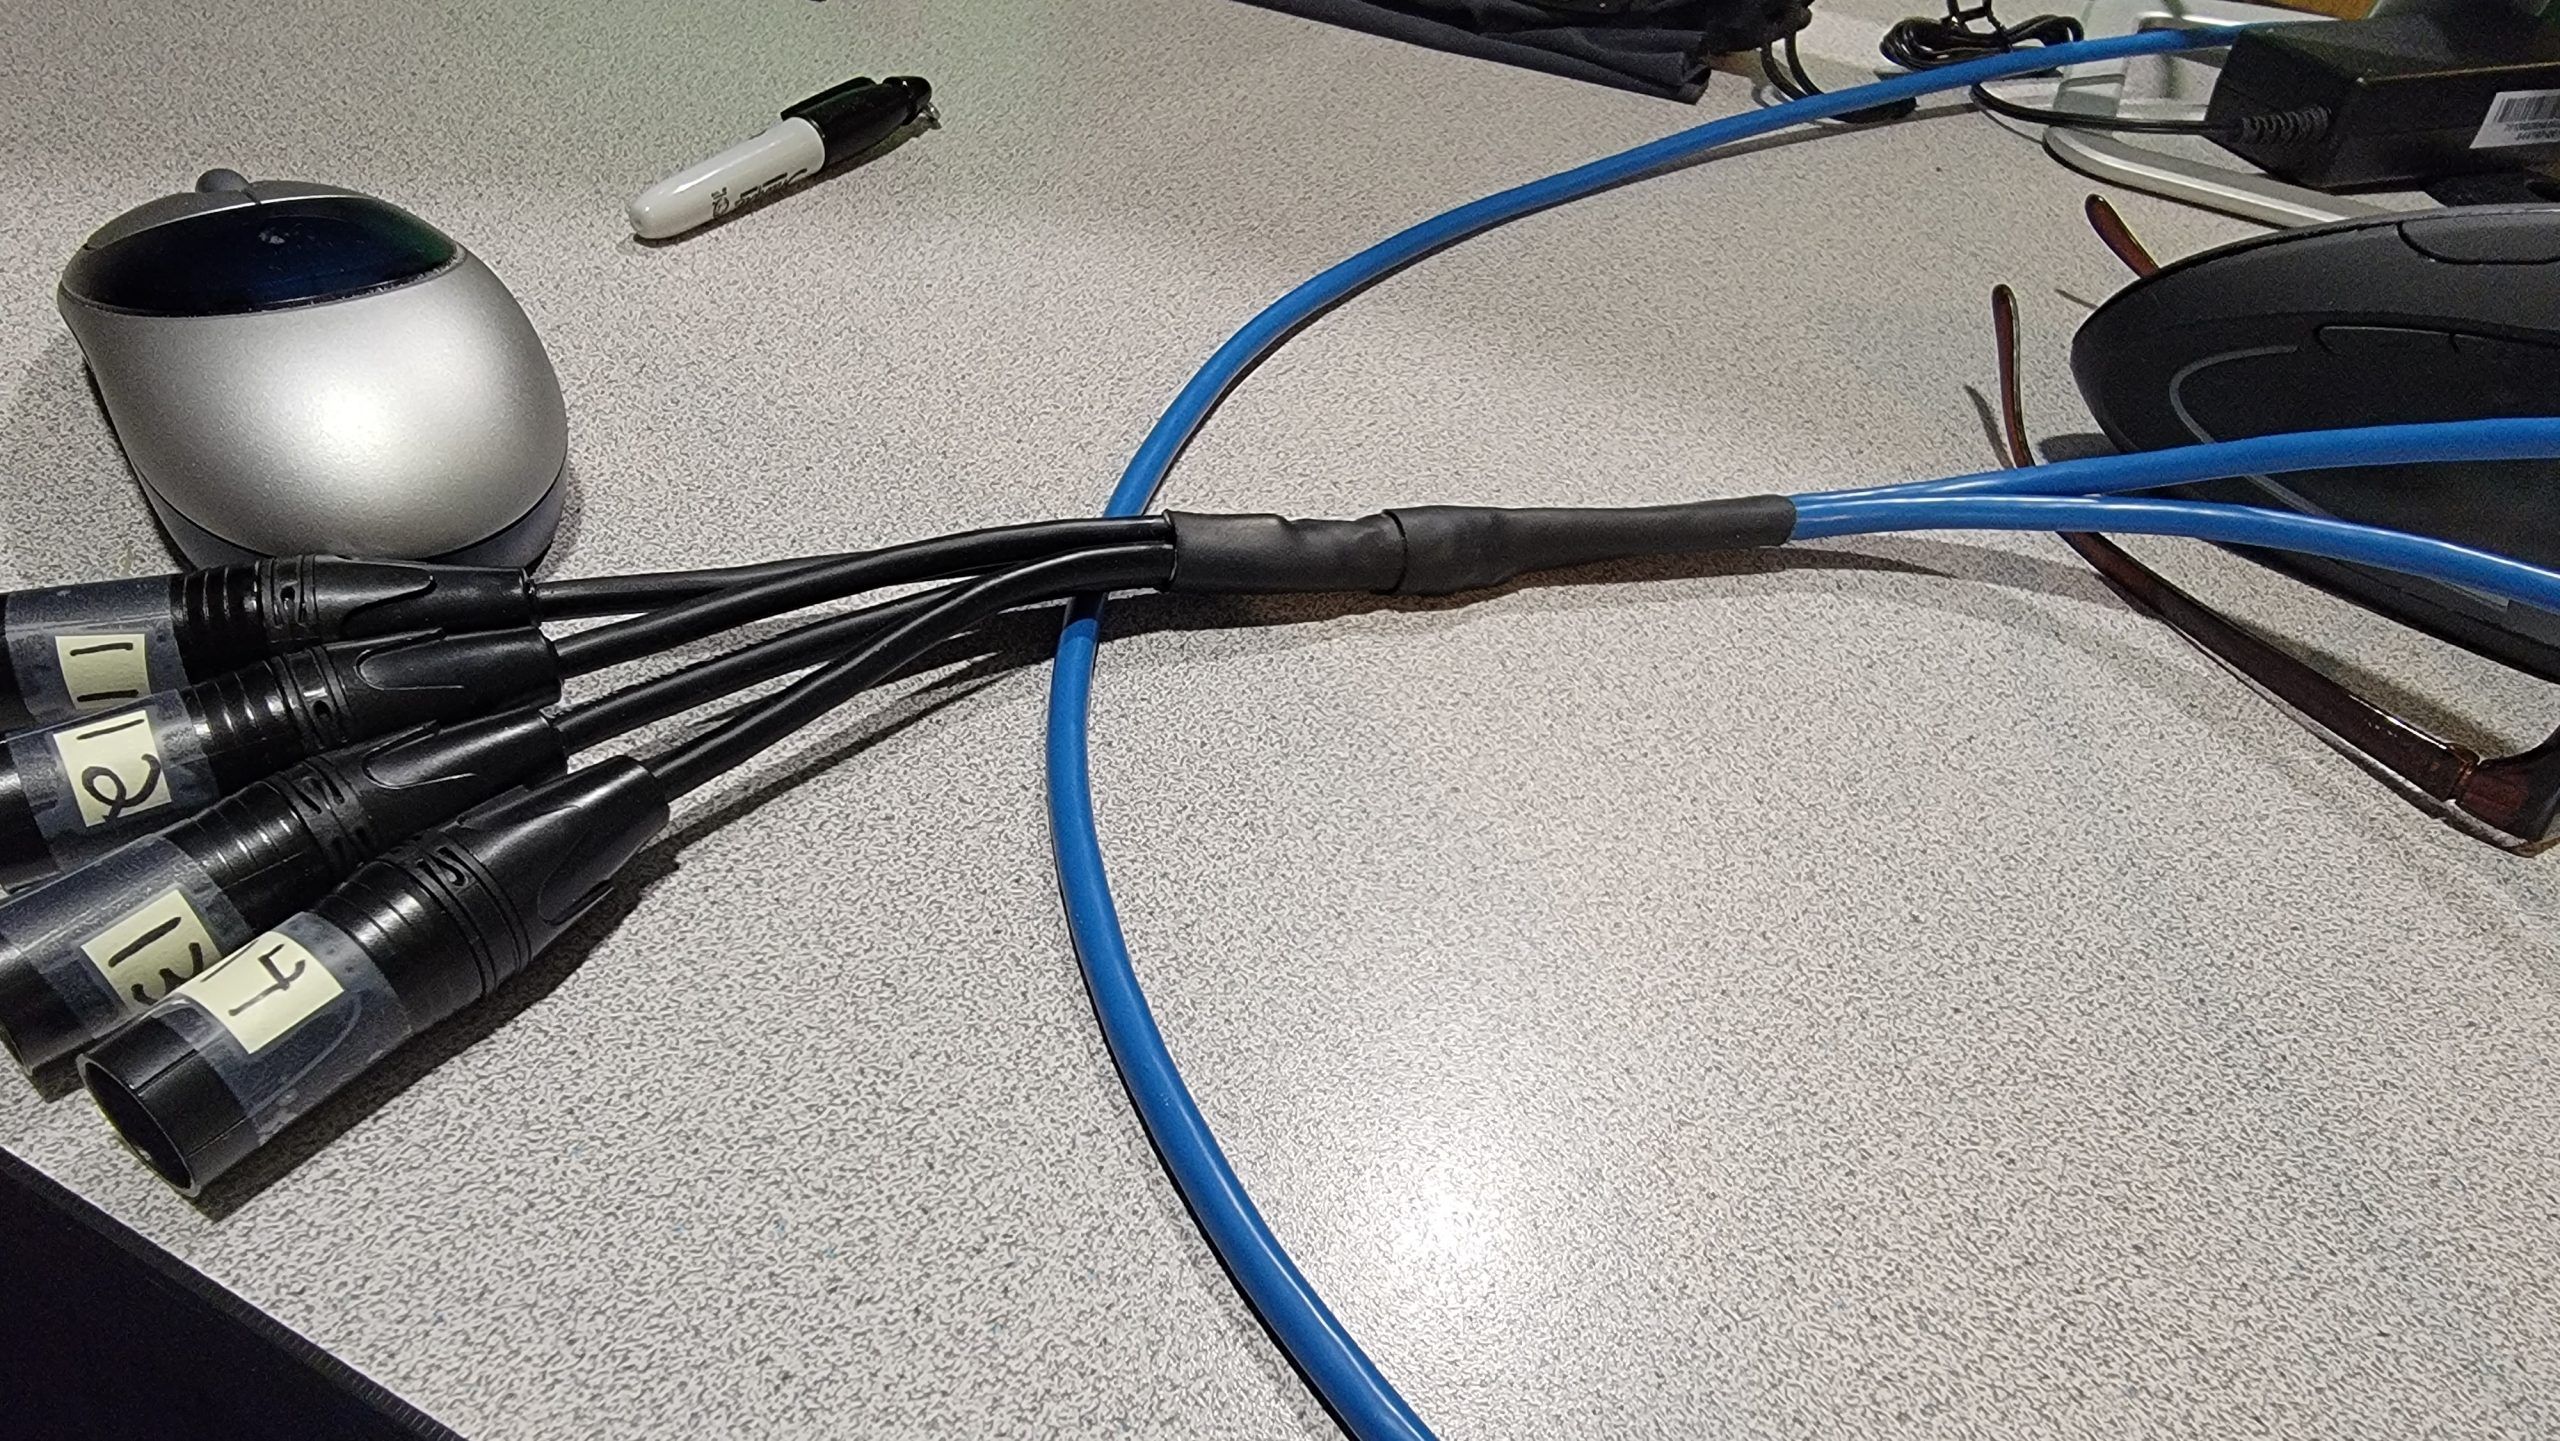
The wiring is all soldered and protected with shrink-tubing. You can see the split where one side goes to the remote box and then these 4 connectors will also be part of the 16 connectors at the side of the desk closer to me (this part yet to be completed).
Wiring on the input side is soldered, taped off and completed and identified.
On the underside where no one looks, I’ve soldered all connections, placed some tape over it for now (I will shrink-tube and and cover/seal the bottom at a later time).
At this time I had a functional remote input snake/box, so I tested it and it works perfectly. I also tested the 48v phantom power and that works 100% as well… I am very pleased with the results!
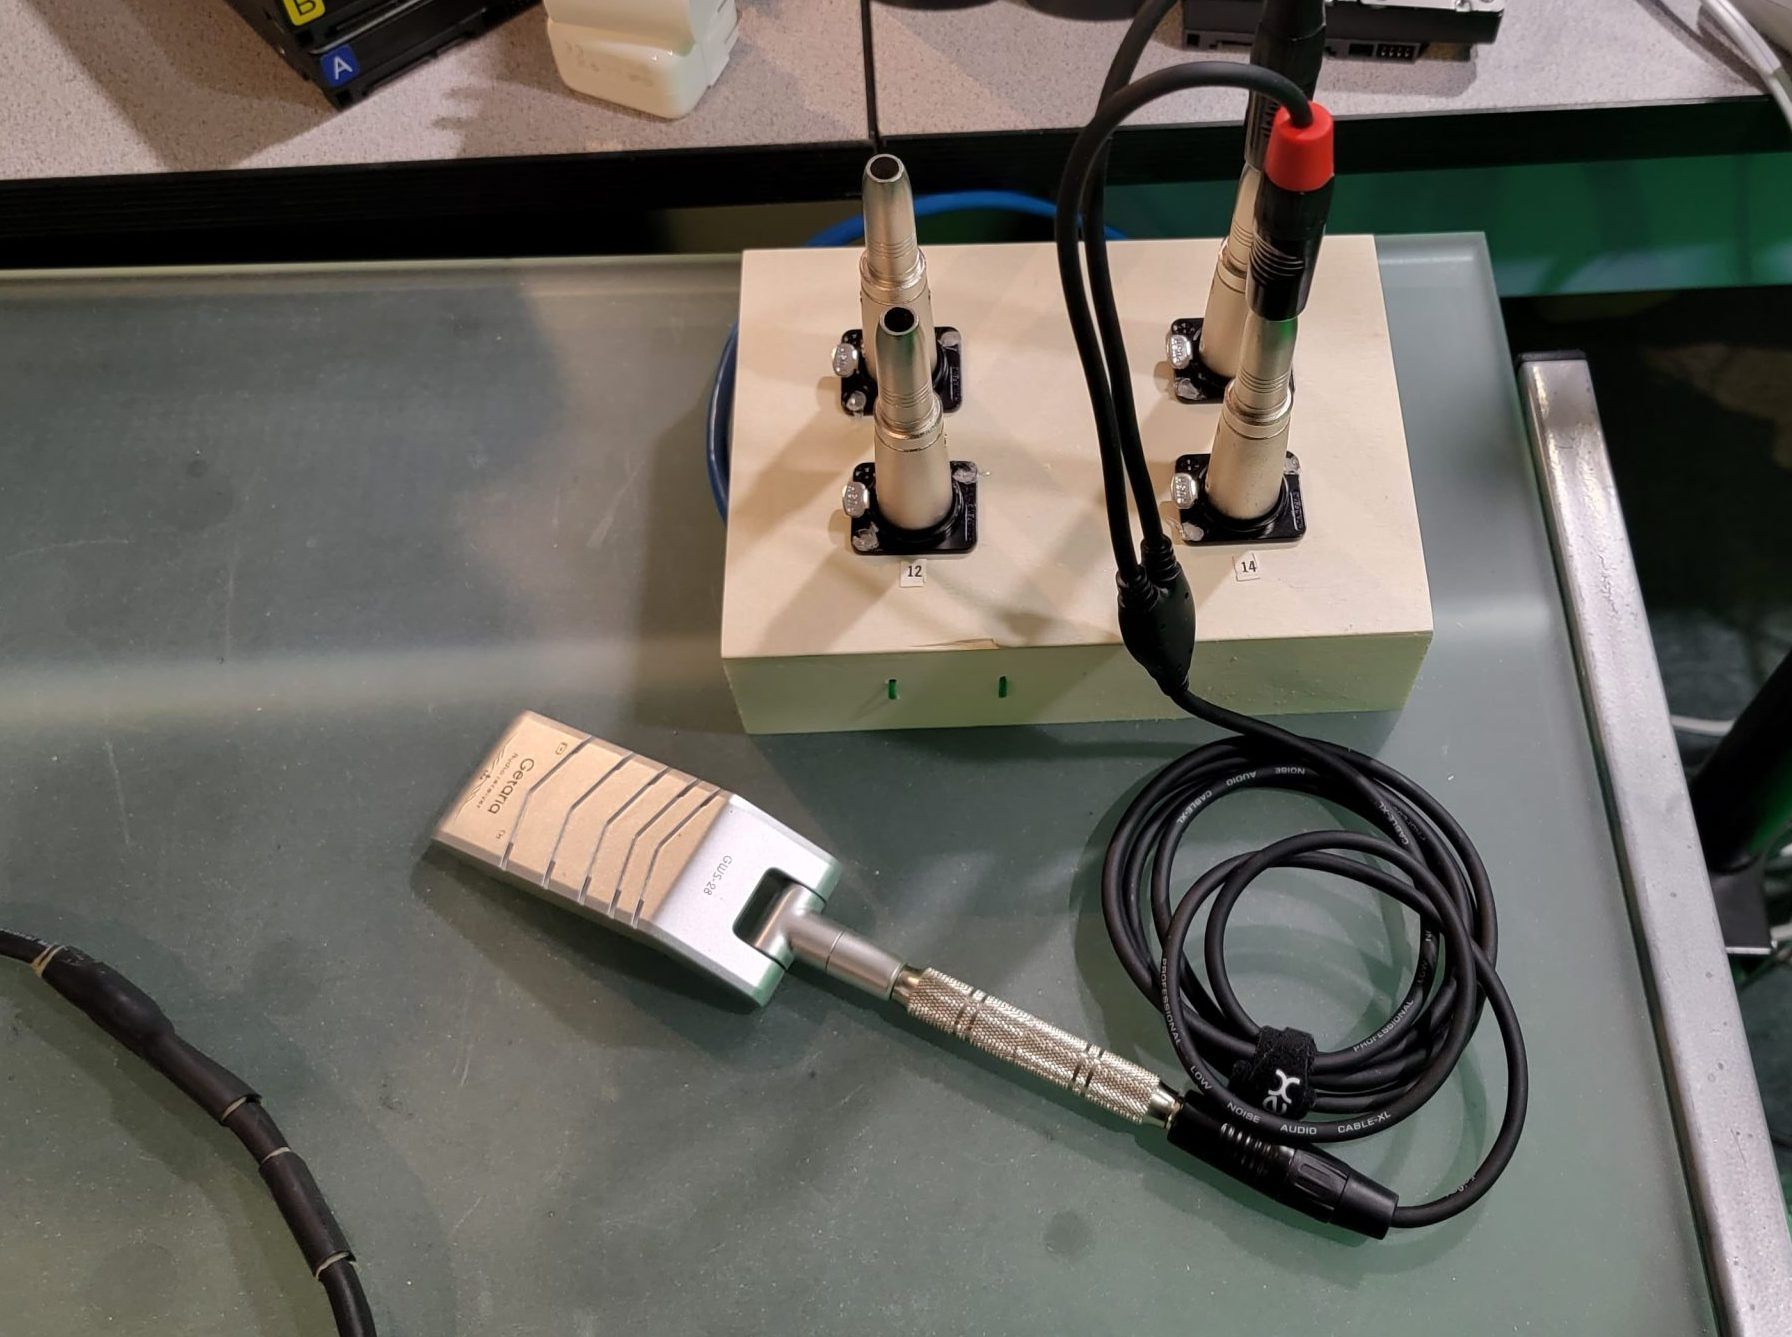
Here it sits on a small glass desk on the other side of my big main desk, within 4 feet of where I sit when recording videos.
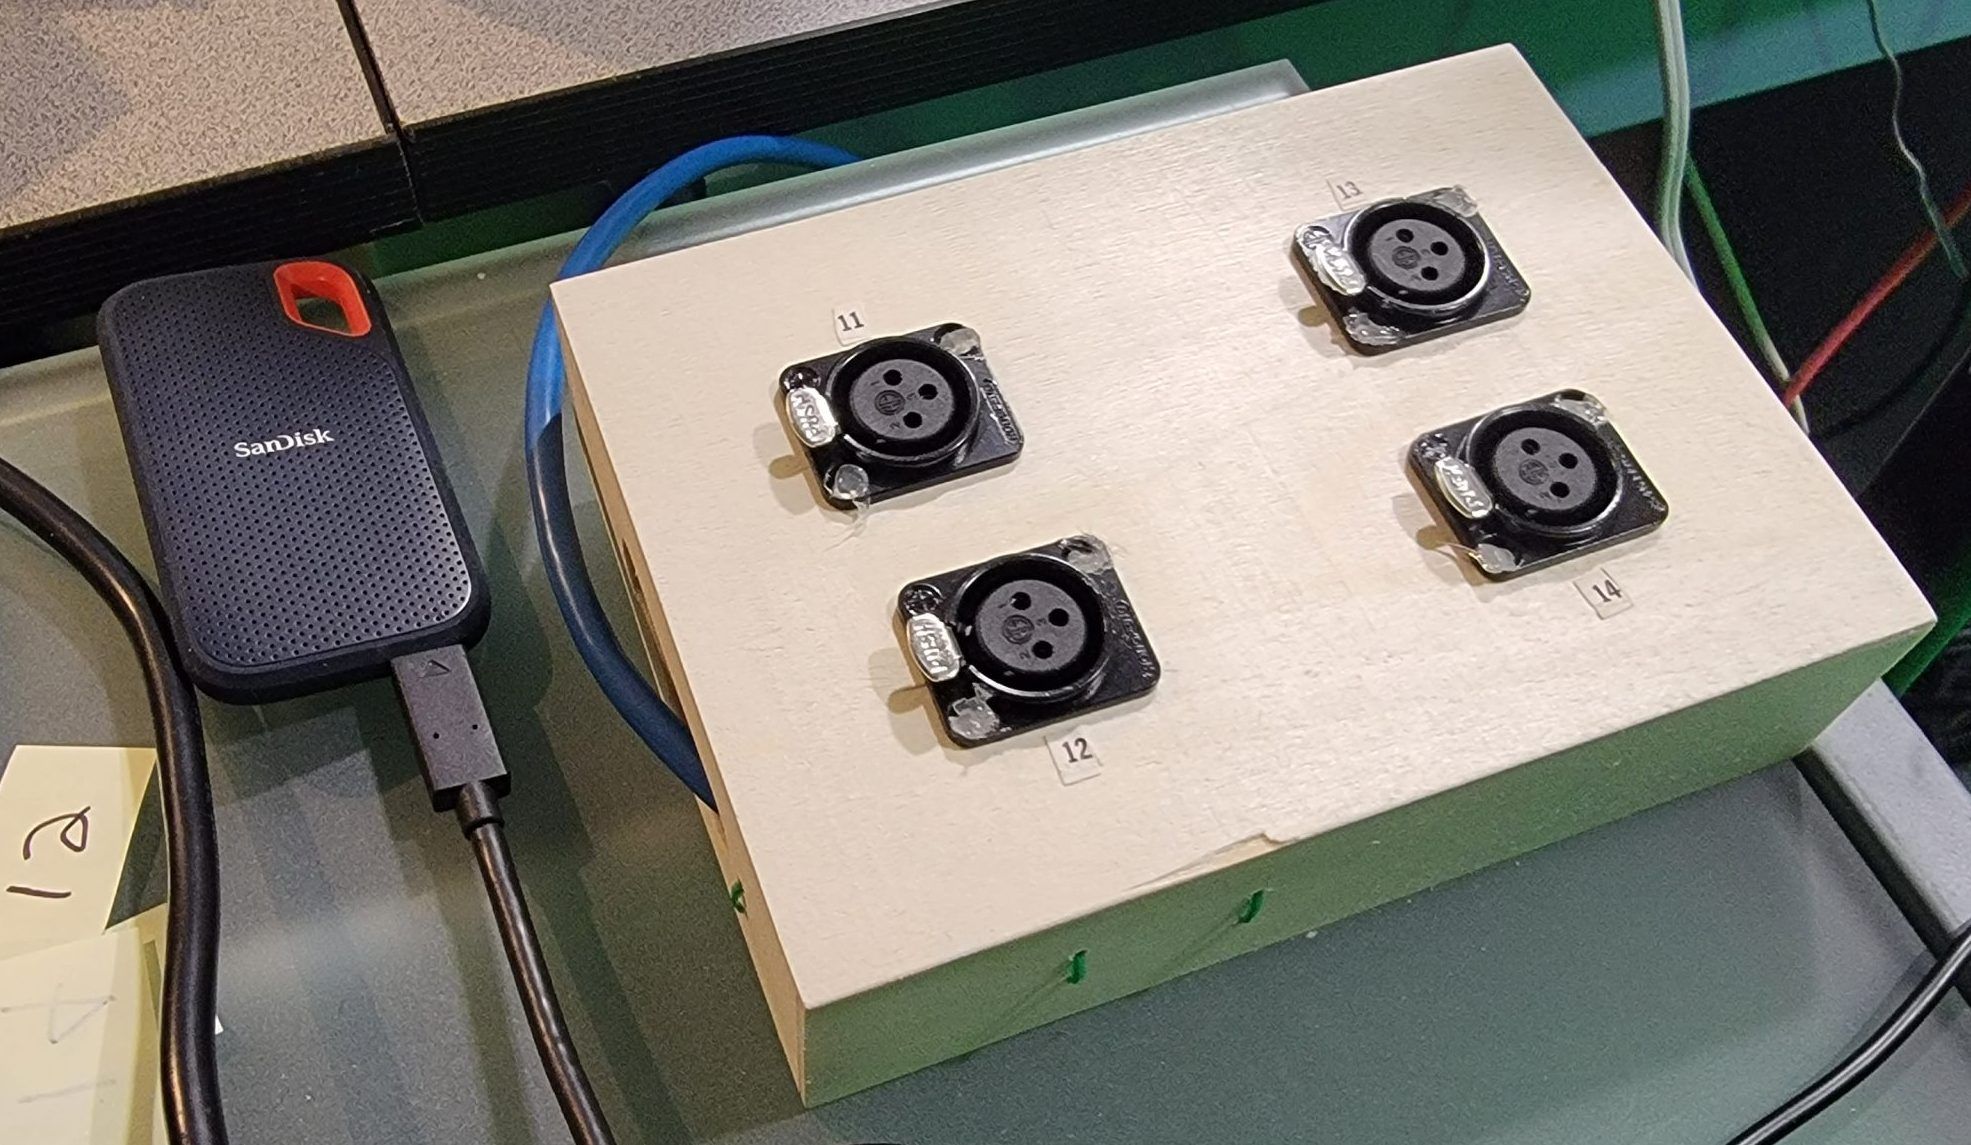
I was thinking of attaching it to the back side of my desk but this location is just so convenient, so for now this is where I am going to keep it.
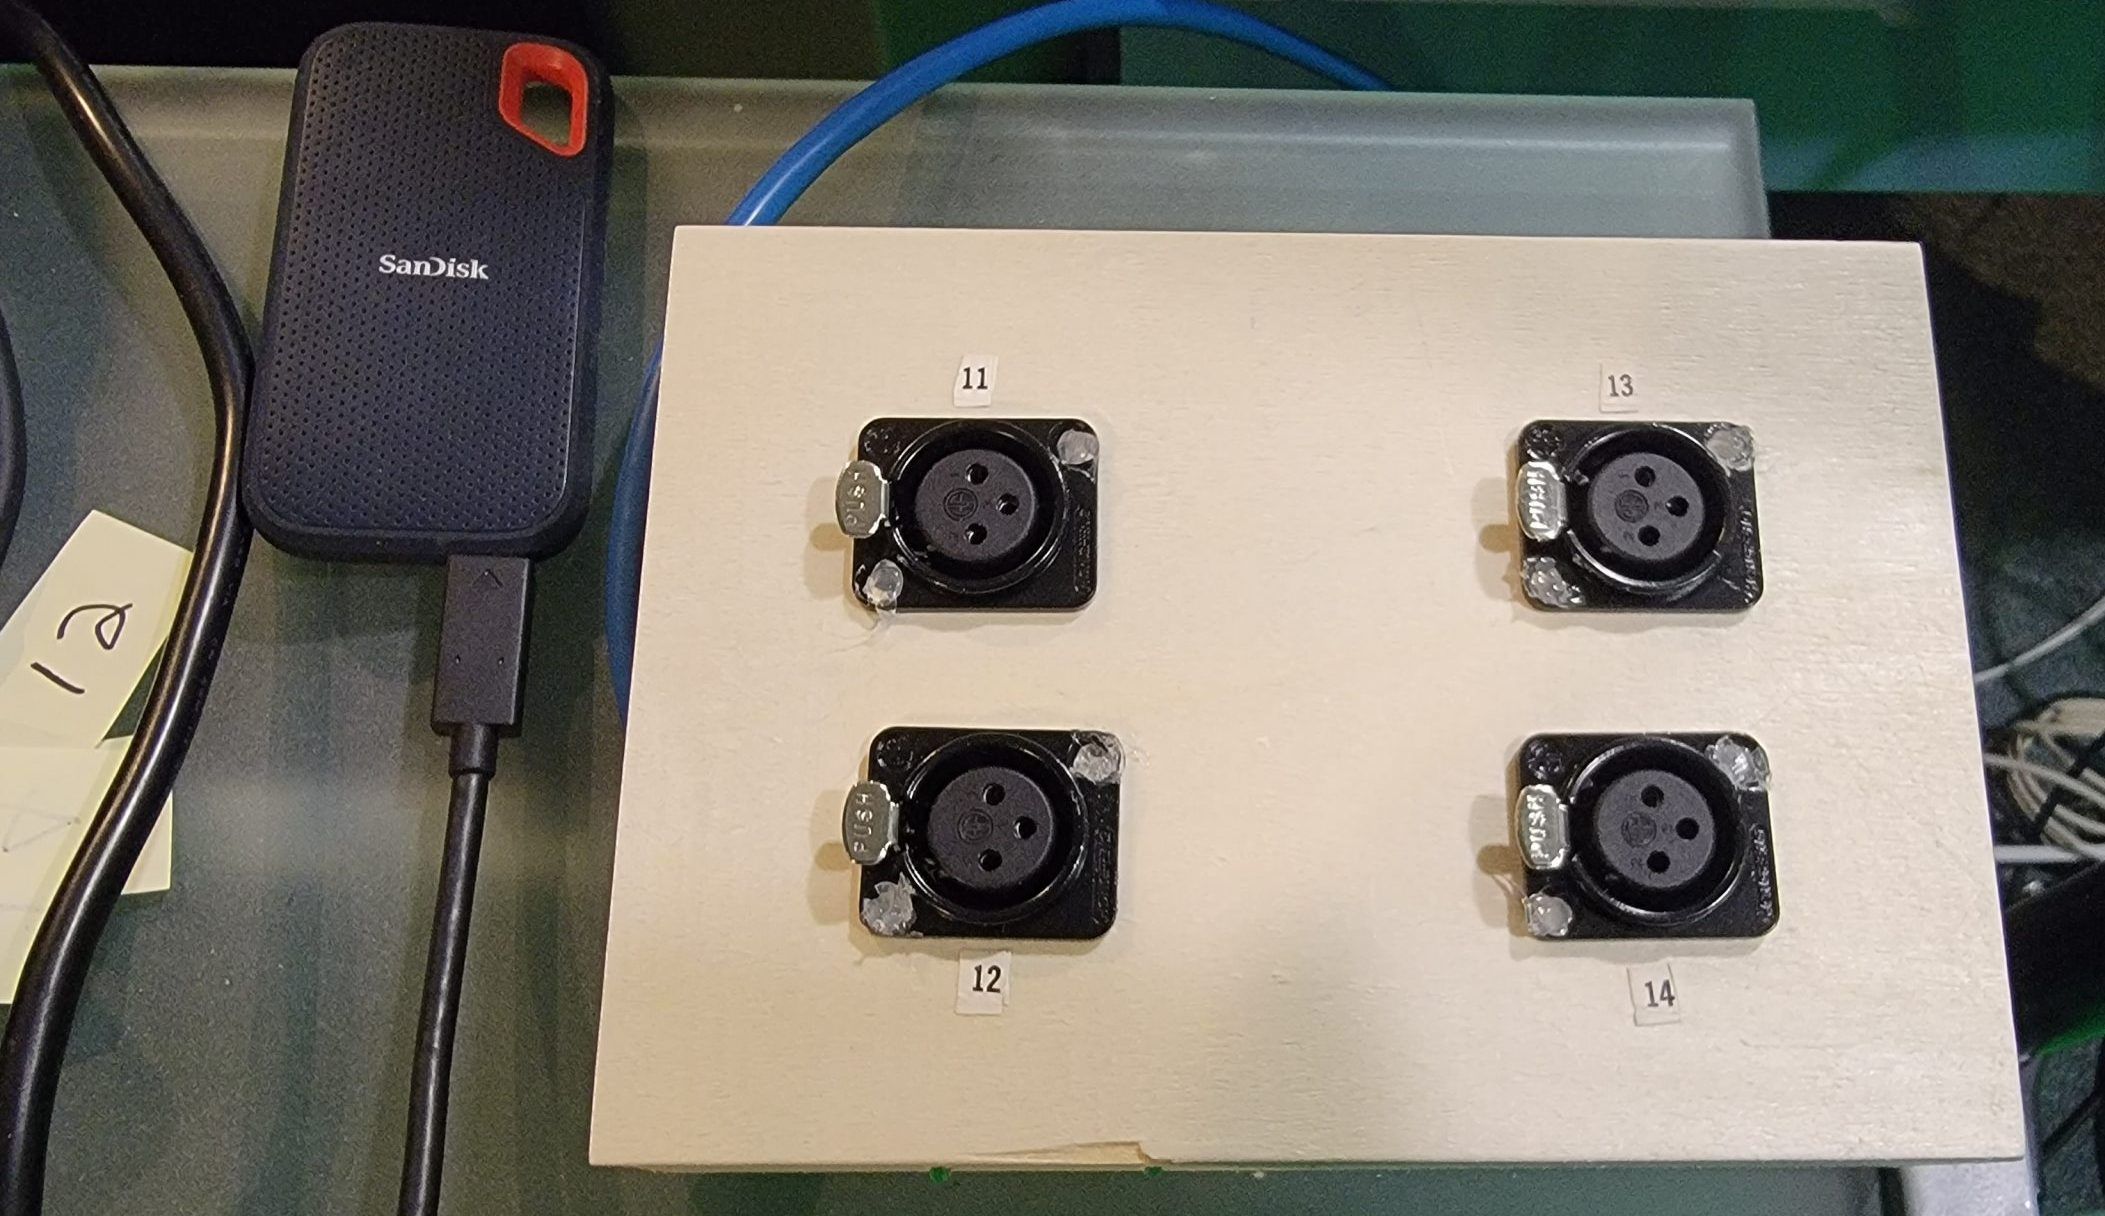
Now, if I wanted to, I would need to paint the box (it would look better), use some kind of better quality stickers as channel identifiers, but as it is now, it is very functional and ready for use.
Four down, sixteen to go… lol
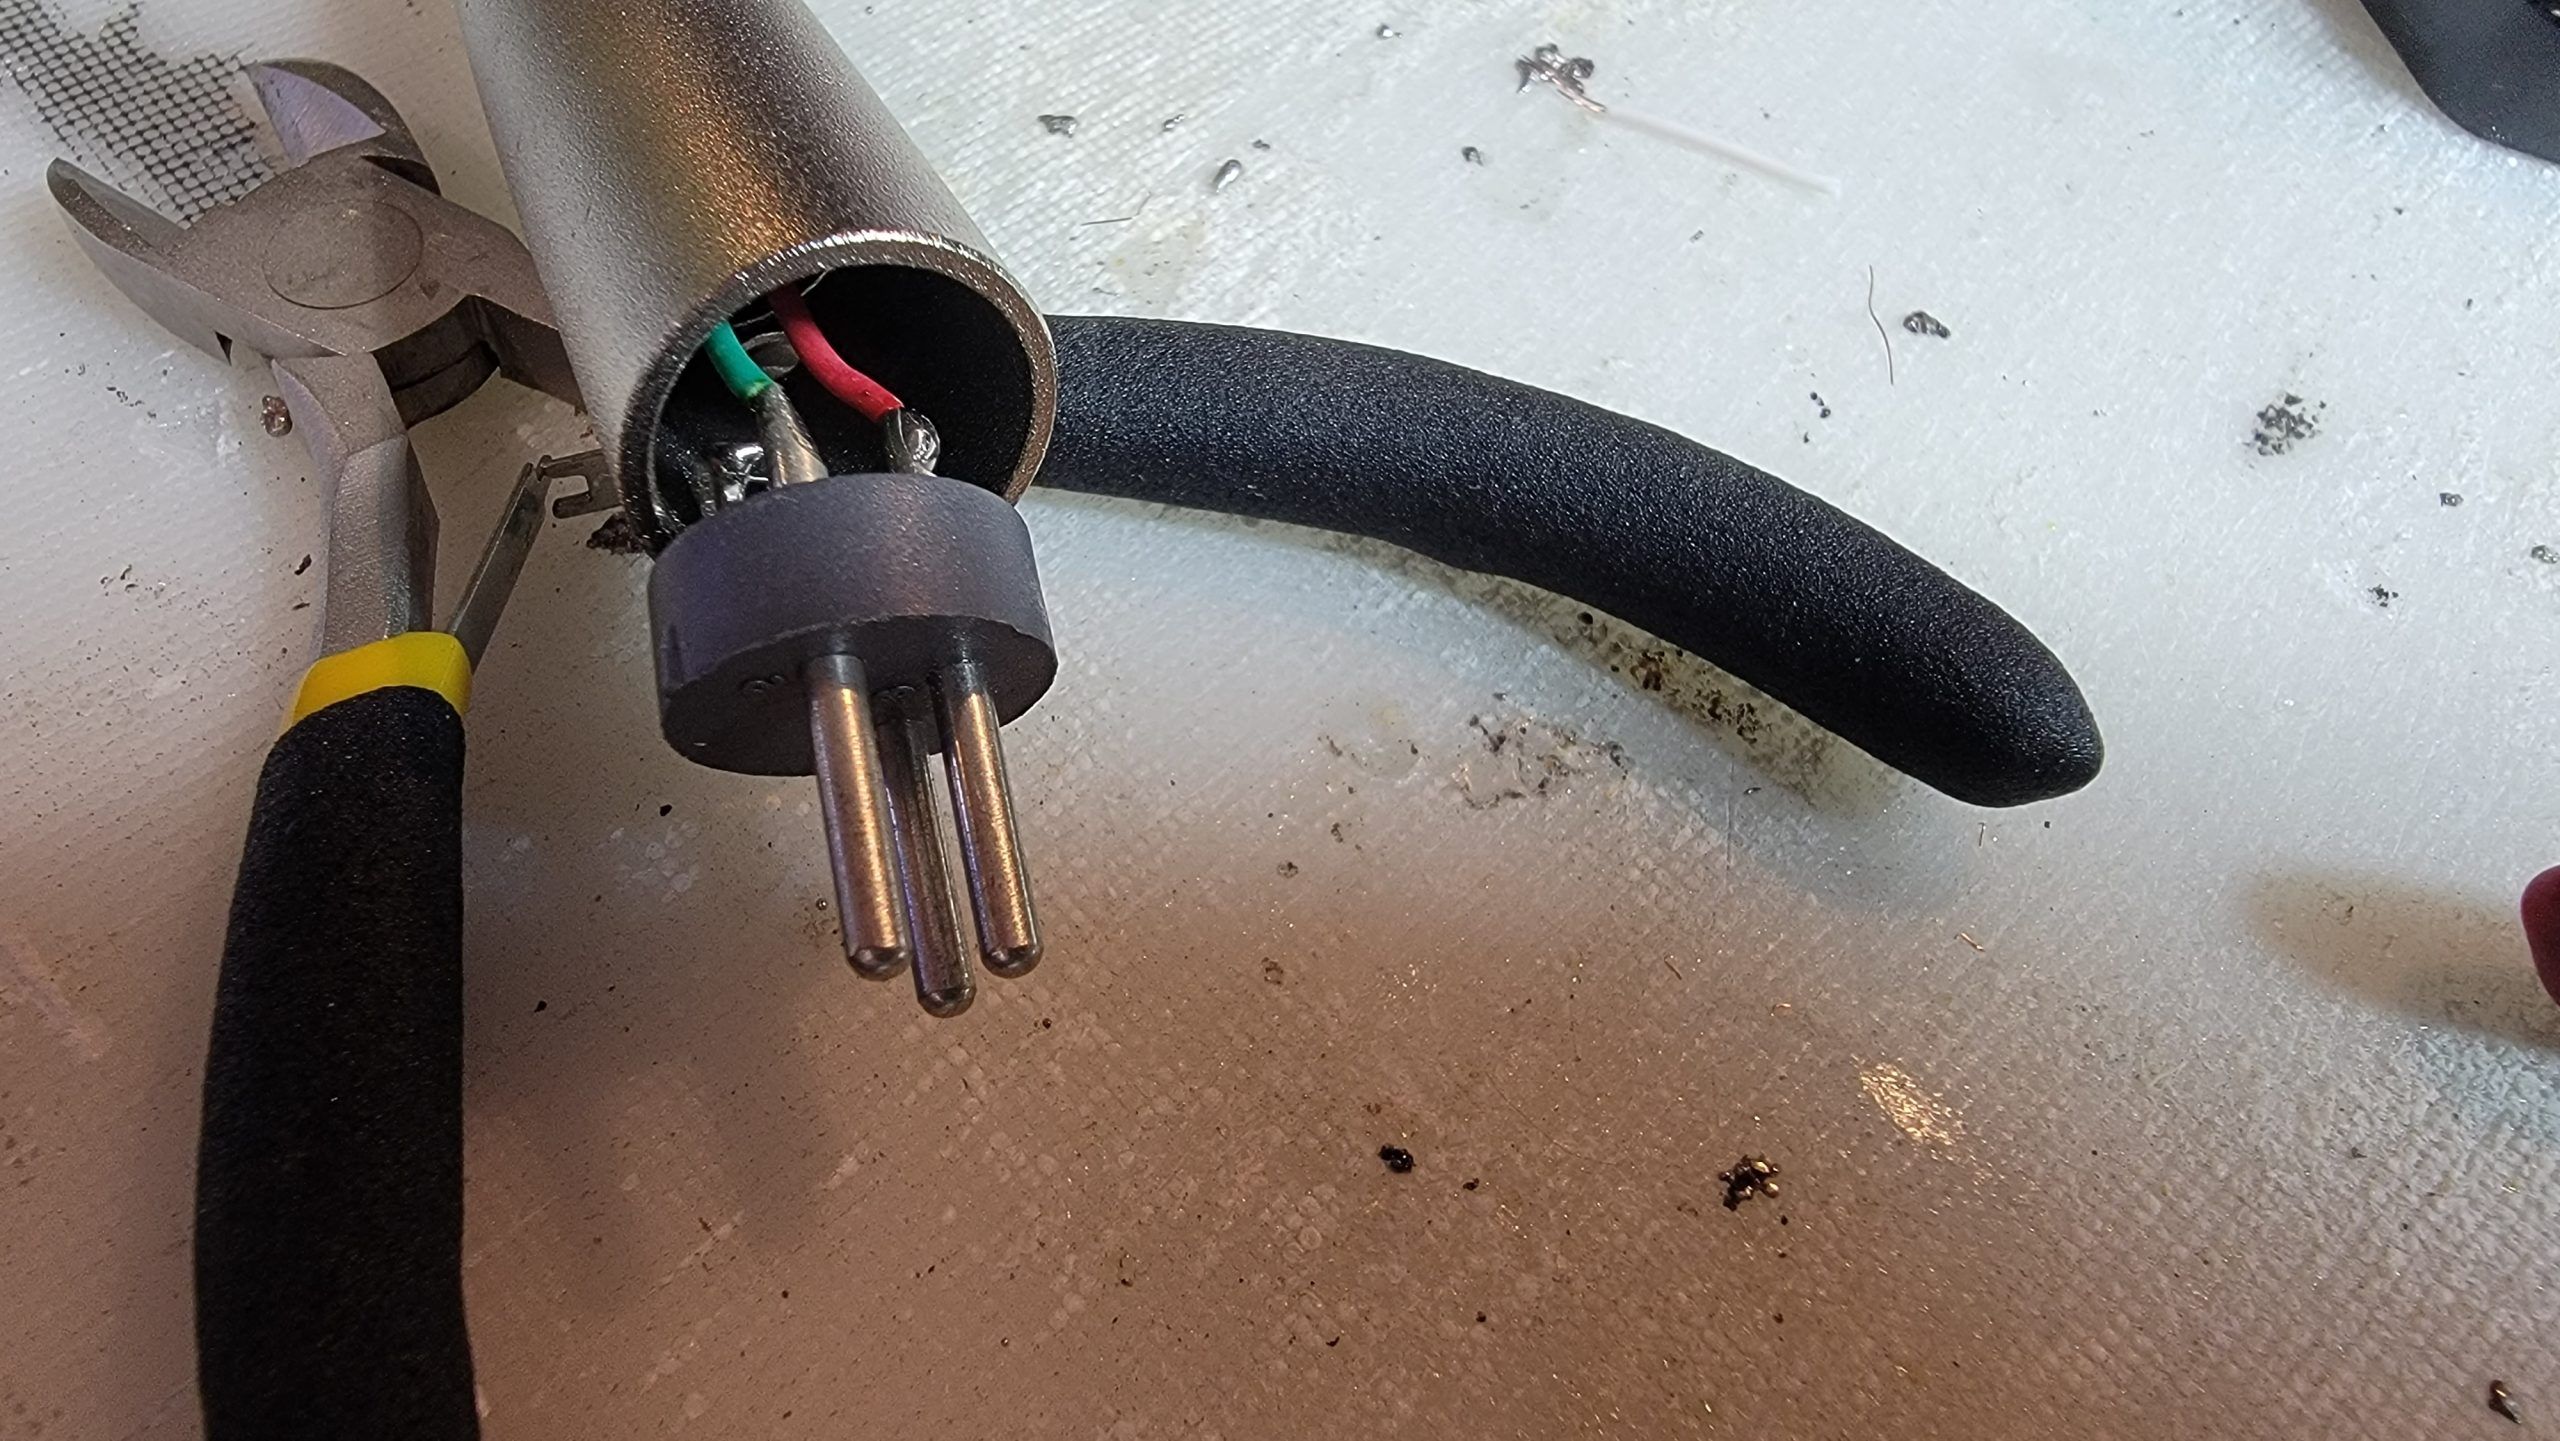
I needed to convert the plugs from XLR to 1/4″ phono. To do that I have those adapters, unfortunately, one of them broke and I need to resolder the internal wires. I took a good one apart and took a couple pics for documentation purposes.

Addendum: 1/2/2023:
Fixed the final adapter and we are ready to ROCK and ROLL!
In the future, I may want to do something a little more complex and a touch more professional… like having all 16 channels available to me in 2 locations, but that will likely come at a later date.
Enjoy!