February 1, 2019
The Multi-Camera Setup
Ah, the ramblings of a lunatic are about to tickle your thoughts in this post… ha-ha. This post is the first in a series of posts where I sort of place my thoughts to paper and then place them here and discuss my process on how to record and capture video. In a previous article, I talked about a simple way of recording yourself straight in to a budget camera or even a cellphone and how to get some pretty good results. With it, I did several videos, but I wanted better quality. I then moved to a higher model Sony Handycam, and the results were cleaner, richer looking but there were things that it was not able to do, such as being able to blur the background or give me precise all manual control.
In this article, I am diving off the deep end and telling you the story of how I went a little hardware crazy, with the hopes that it will help my video quality further improve
What started this push for me to go this direction were the experiences that I had with two small videos that I made. One was a totally experimental test video that I called “Christmas Bananas”, and the other was the resultant music video I made using those newly learned techniques with the song Guantanamera:
Ok, now that you have just seen Guantanamera, I want you to go back and look one more time… this time, pay attention to the camera movement, the panning, the zooming and B-roll punch-ins and punch-outs… though the quality is good, but it is not great.
Taking My Video To The Next Level
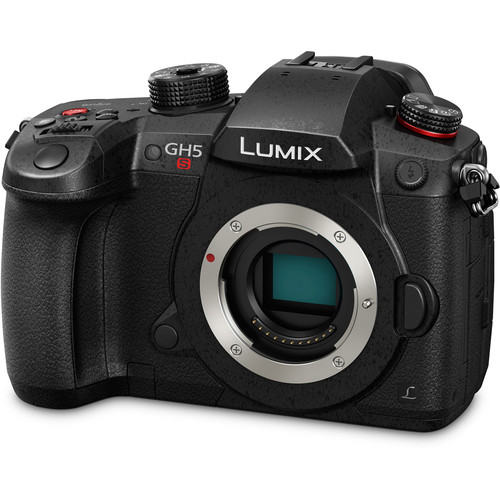
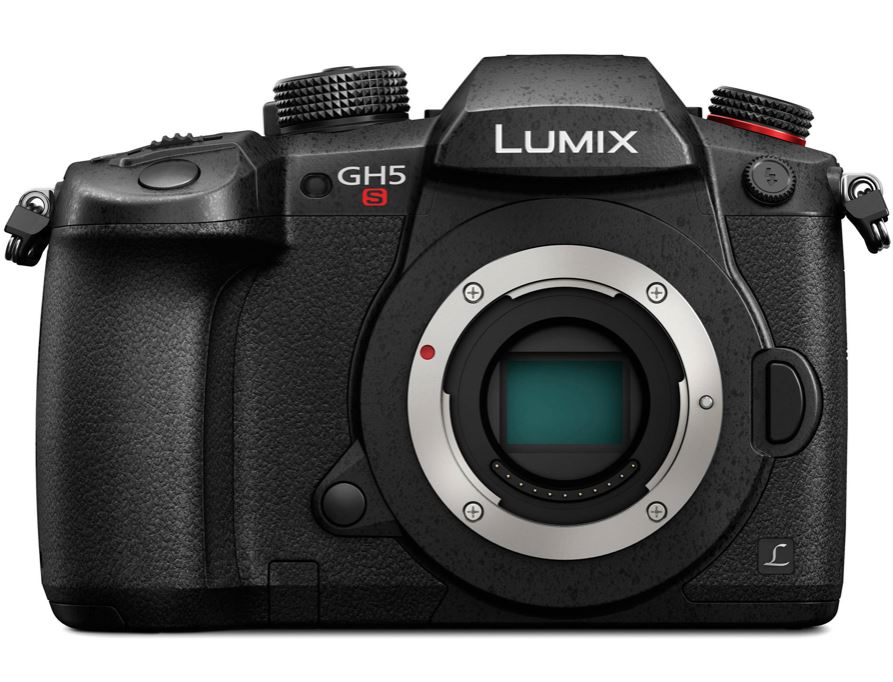
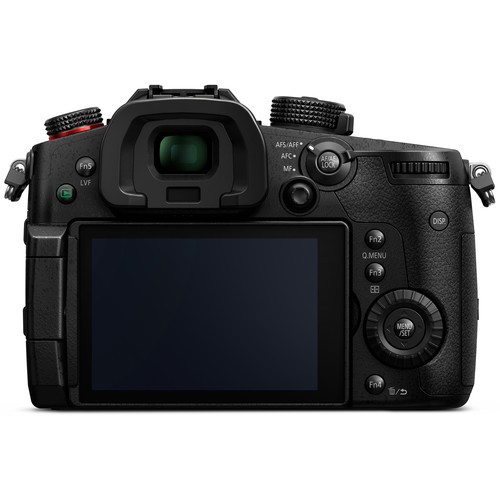
Last week, I finally took what I sincerely feel will be my last video camera purchase in a very long time and bought a Panasonic Lumix GH5s mirrorless camera. Several things brought me to this decision, mostly concerning this camera’s abilities:
- Full 4K 24p to 60p frame rates
- Various aspect ratios like 16:9, 17:9 and 4:3.. tons of video opportunities there!
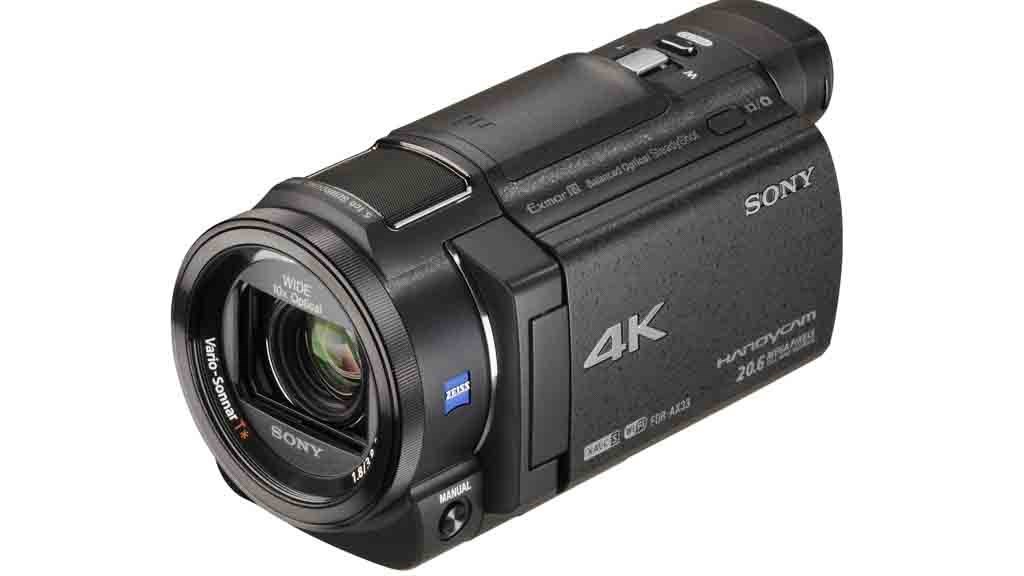
- Footage quality. With sampling qualities of 150MB/s. 200MB/s or even 400MB/s we are talking up to quadruple the amount of data that my Sony FDR-AX33 can output!
- Exchangeable lenses. With an affordable adapter, I can use any of my high-end Nikkor and Sigma lenses with this camera
- Unmatched low-light performance amongst any Micro 4/3rds sensor camera on the market in 2018/2019
- The countless amazing reviews on Google and on YouTube
- … a hundred other aspects/advantages, which I will pass on for the moment.
At this point, in my kit setup, I have absolutely zero room for excuses for not making much improved video (thanks to the two amazing cameras), and audio (thanks to the audio recording hardware like the sE Electronics SE4400a condenser mics and of course the fabulous Zoom F4). In fact, the only possible limitation I now have is the small amount of space I have in my basement, and that is not all that terrible. I have available for the video recording area, a 17X7X7 foot area (5.2X2.15X2.15 meters), dedicated just to make my videos in. Yes, that is tight and if I had a 40X20X15 foot area, this would be my idea of an incredible video and recording studio, but since I have no intention of converting my garage in to such a room, I will make do with what I have. I think I can survive… ha-ha.
So… now that I have two cameras that can give me quality 4K footage (one as main camera, the other for B-Roll), I have some decent low cost lighting (light is light… most people cannot tell that I am using a $120 el-cheapo kit instead of $6,000 worth of studio lights), I need only concentrate on 3 areas:
- Learn how to expertly grade and post process my video.
- Learn how to expertly post process my audio.
- Improve my playing and add songs that I want to record
With the camera, I bought a couple of very much needed accessories:
- Delkin 128gb V90 SDXC card
- AC power adapter for the GH5s
- Viltrox Micro 4/3rds to Nikon F-mount lens adapter
- The Lumix 25mm F/1.7
The 128gb card is an extremely fast card that permits me to record at the very highest 400MB/s levels, the AC power adapter removes the need for me to worry about battery levels, the Viltrox adapter is going to let me use any and all of my high-end Nikkor lenses (from 10mm to 200mm), on the GH5s, saving me money in the process and that 25mm Lumix lens is going to cover me in situations outside the basement studio when I do need autofocus. When not using the Lumix lens, this setup is 100% all manual focus, which is OK, since my camera goes in one spot, I sit in one spot and don’t move around much anyways… so it is the perfect setup for me to use my high end Nikkor and Sigma glass.
What is important, though, is the attention to details, and there are several to take care of. For example, on the video side:
- Proper lighting setup and angles (I use anywhere from one to six light sources).
- Camera angle and position
- Camera focus accuracy
- White Balance
- Set proper camera settings for best quality
- On the audio side, we have:
- Proper microphone position when recording acoustic accordion
- Proper gain staging the volume for best effect
- Using the right choice of recording be it Stereo, Blumlein, Side-Mic technique, and so on.
After we have some raw audio and video files, I like to work on the audio files, to make sure it all sounds good before exporting it to one main high quality audio file. Then I work on the video files (main and B-roll footage), to make sure it all looks good according to the mood I want to set.
Is That All?
Not quite. Next, I sync the optimized audio from the Zoom F4 to the audio captured by the main camera mics in my main video editing software. Once this is done, I may have a near complete song, however, here is when I start to add the effects like titles, endings, fade-ins, fade-outs, panning, zooming, punch-ins and punch-outs, green-screening as well as adding in the B-roll camera footage on top of it all at this stage.
Most of the time, before I even begin to record, I have a good idea of what I want to do, the setup and the kind of story I want to tell, so by the time I have all the audio and video saved, this is where I usually slow down, really think my way through and look at how I can make the story that is in my head kind of match the video. This is, after all, where it all comes together and normally takes me the most time and is the 2nd last part of the process.
The last part is usually pretty simple… I export the final file to the format suitable for the source, like my TV and a different file for YouTube, and upload it to the appropriate destination. Normally, I make 2 outputs, one that is of the best quality and that is for viewing on my TV and a format that suits my online format like for YouTube.
This all sounds rather simple, and in theory, it is… however, it is a long process, taking several hours per section, and don’t even consider moving forward if you made a mistake in the audio or video capturing stage, as you have to do it over and over, until you get it right!
This is where people that leave out all video and just make music files have it so easy… I can play a whole song and make (let’s hypothetically say), 3 mistakes in there. If creating just audio, you “fix” the 3 mistakes in the area of the music by punching in and punching out, replacing the audio where the mistake is and you are done… but if you are capturing video, you have to do a complete retake of the entire song 3 times and hope you don’t make other mistakes along the way because the video doesn’t lie and if you made a mistake and the sound doesn’t match the video… it shows!
February 3, 2019
I spent the weekend just playing around with the camera and lenses… and OMG the quality blows my socks off! I cannot believe how clear, sharp and amazing the video that comes out of this camera is, and that is before I even learn how to pull the best out of what the GH5s video camera can do! I am so excited to try making a video recording that I think that next weekend I will just record ANYTHING to see if I can make a proper video out of the results. Hey, I think I promised somewhere a 2nd country song, so that just might be what I do later on as my next mini project!
One of the big things that is said around the internet is how difficult it is to blur out the background, but let me tell you that this is simply not true. The three lenses that I played with first were the Panasonic HH025 Lumix G lens that is rated at a 25mm and F/1.7 aperture. The second is my Sigma 50mm F/1.4 full frame lens and the third was a Sigma 30mm F/1.4, both on a Viltrox SpeedBooster adapter.
Now, in all honesty, the Sigma 50mm with speedbooster combo out-blurs the 25mm F/1.7 lens or the Sigma 30mm, but here is a low quality, straight from the camera video of how nicely the 25mm lens blurs the background at F/1.7. Don’t mind the shakiness, I was hand-holding the camera, and this is something that never happens in my videos as the camera is tripod mounted when I make them:
Now, if I use the full-frame Sigma 50mm F/1.4 at a full open aperture, it blurs a lot more and from in front of the camera, even just moving forward and back a foot or two causes visible blurriness on my face, and I cannot even yet imagine the amount of blur I could get if I used my 85mm F/1.4, or the king of bokeh in my lens kit, the Nikkor 135mm F/2! Knowing this, I likely never will use as shallow a depth of field as this, but it already gave me an idea for a video I want to try to make in the springtime outside. The Sigma 30mm gives results in between the 50mm and the Lumix 25mm lens. Then there is of course my Nikkor 24-70 F/2.8 which is also just an amazing lens, and I should try that one out too at a later date. So many choices, so little time!
Where Are The MultiCams?
Right here… these are the cameras that are part of my kit:
For the A-Roll, the Panasonic Lumix GH5s:

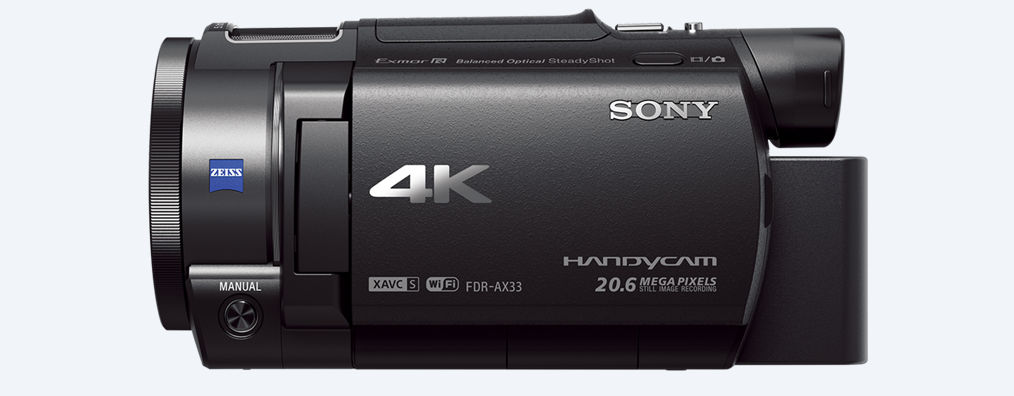
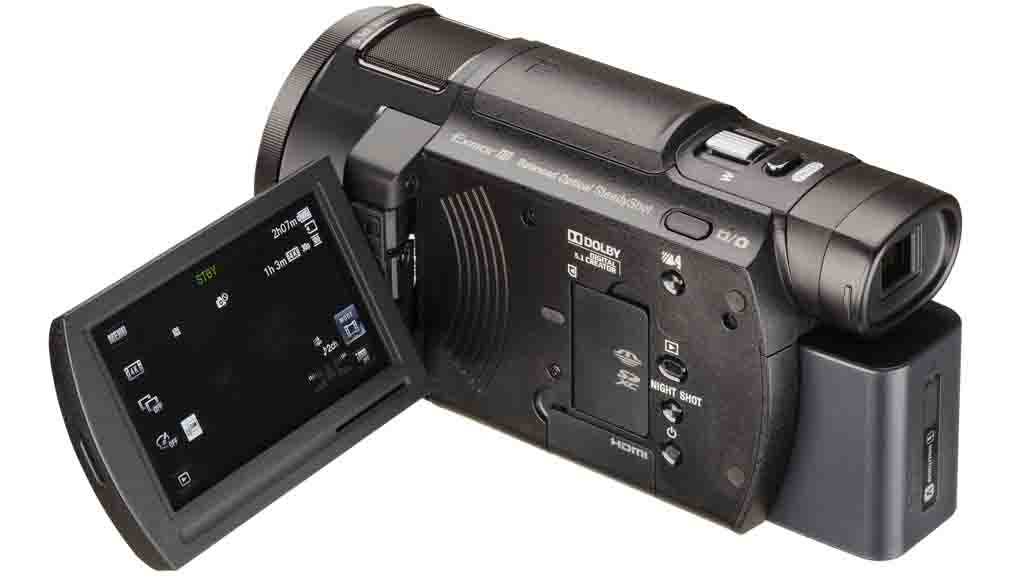
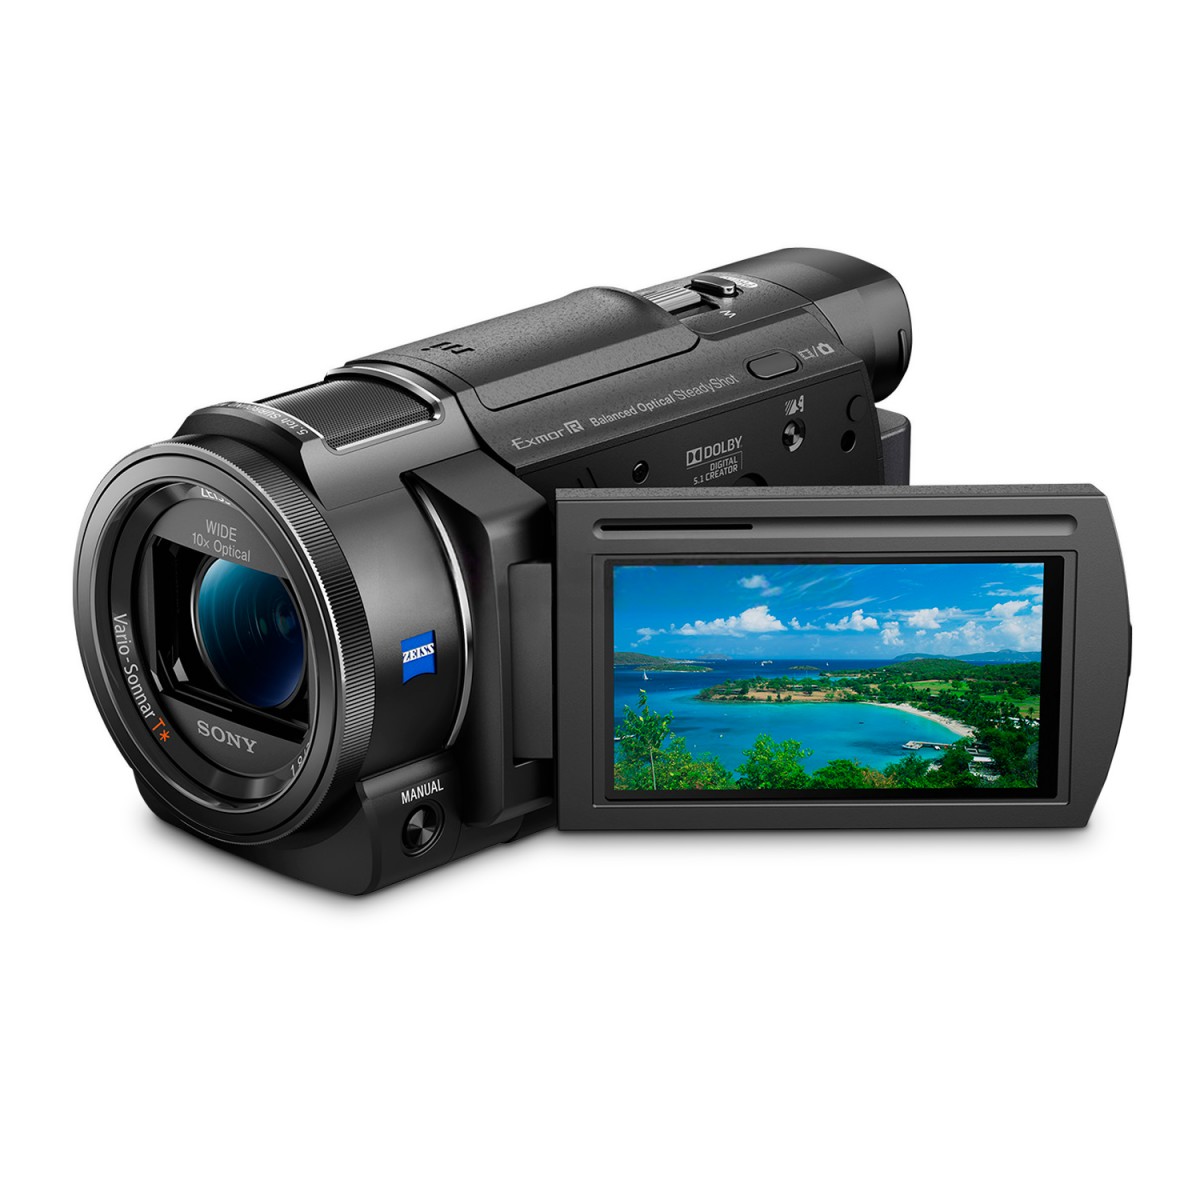
My B-Roll camera, the Sony FDR-AX33:
With these two cameras, my hopes are that I take my videos to the next level. Now… I am not so naive to think that equipment without knowledge will ever give me good videos, but I am also committed to practicing and learning about how to make the best videos I can, and that includes not only video processing and grading, but learning how to make each video tell a small story… at least that is the goal.
There is a lot of theory here, a lot of promise, but in the next post, I plan to show some results of this setup a little, and finally, I want to make a post of where I actually make a video, but that is coming soon, so stay tuned!