June18, 2019
Well, a couple of days ago the battery in the 8X gave up the ghost, and unfortunately also likely took out the Power Assembly IC circuit board of the 8x, but that IC board is a story for another time… this is about the battery.
I could get a new factory original (about $399Cdn plus taxes), or I could get the newer longer lasting one that was advertised in various places on the internet.
I had initially made the choice to send out an email to the one place in the USA that provides this battery to make the purchase, but their chosen methods of payment were either not secure or were filled with extra charges, plus it seems that whomever answered my email has a touch of “feeble mindedness”, in that after I told them that their chosen form of payment was not secure “for either you or me” (and I provided a link for proof), they took offence to some imaginary comment in their heads that I called them a scammer (basically, they “lost their shit”… lol)… wow… well, ok, whatever, I’d never want to deal with that kind of unstable personality in the first place. Who knows what else they may say… or do.
If anything, I have to thank this person’s lack of mental acuity as a form of saving me some serious money in convincing me to NOT to use their services, since right at that point I had the choice of getting it elsewhere or consider even making my own battery pack. I decided to go the DIY way… and while there, maybe even make a small improvement in the process!
First, credit should be given to the man (Dubi Rainis), who did all the initial hard work and then posted his efforts on YouTube.
From that video, people with even minimal “DIY savvy” could pretty easily make their own battery, as he was not only nice enough to show proof that he made a great upgrade, but provided plans, schematics and evidence of his success and even pictures of what batteries to use.
He then made two models… one that he markets as the 250gr pack, uses smaller, lower capacity batteries and the DR600, which offers about 10-12 hours of playing time using 4500mAh batteries, and more interestingly, he discusses how he tested the results using a set of 6000mAh batteries, that gave as much as 18 hours of playtime! Now, at the time of this post, there are no batteries from him that come with the 6000mAh batteries, he markets and sells packs with only the 4500mAh and lower mAh batteries.
He is (as of this date) NOT selling the models with the longest lasting/highest mAh batteries. I am thankful that he takes the time to mention that the possibility is there. That said, I could have saved another $20-$30 by going to 4500mAh batteries had I wished, and further reduced the costs.
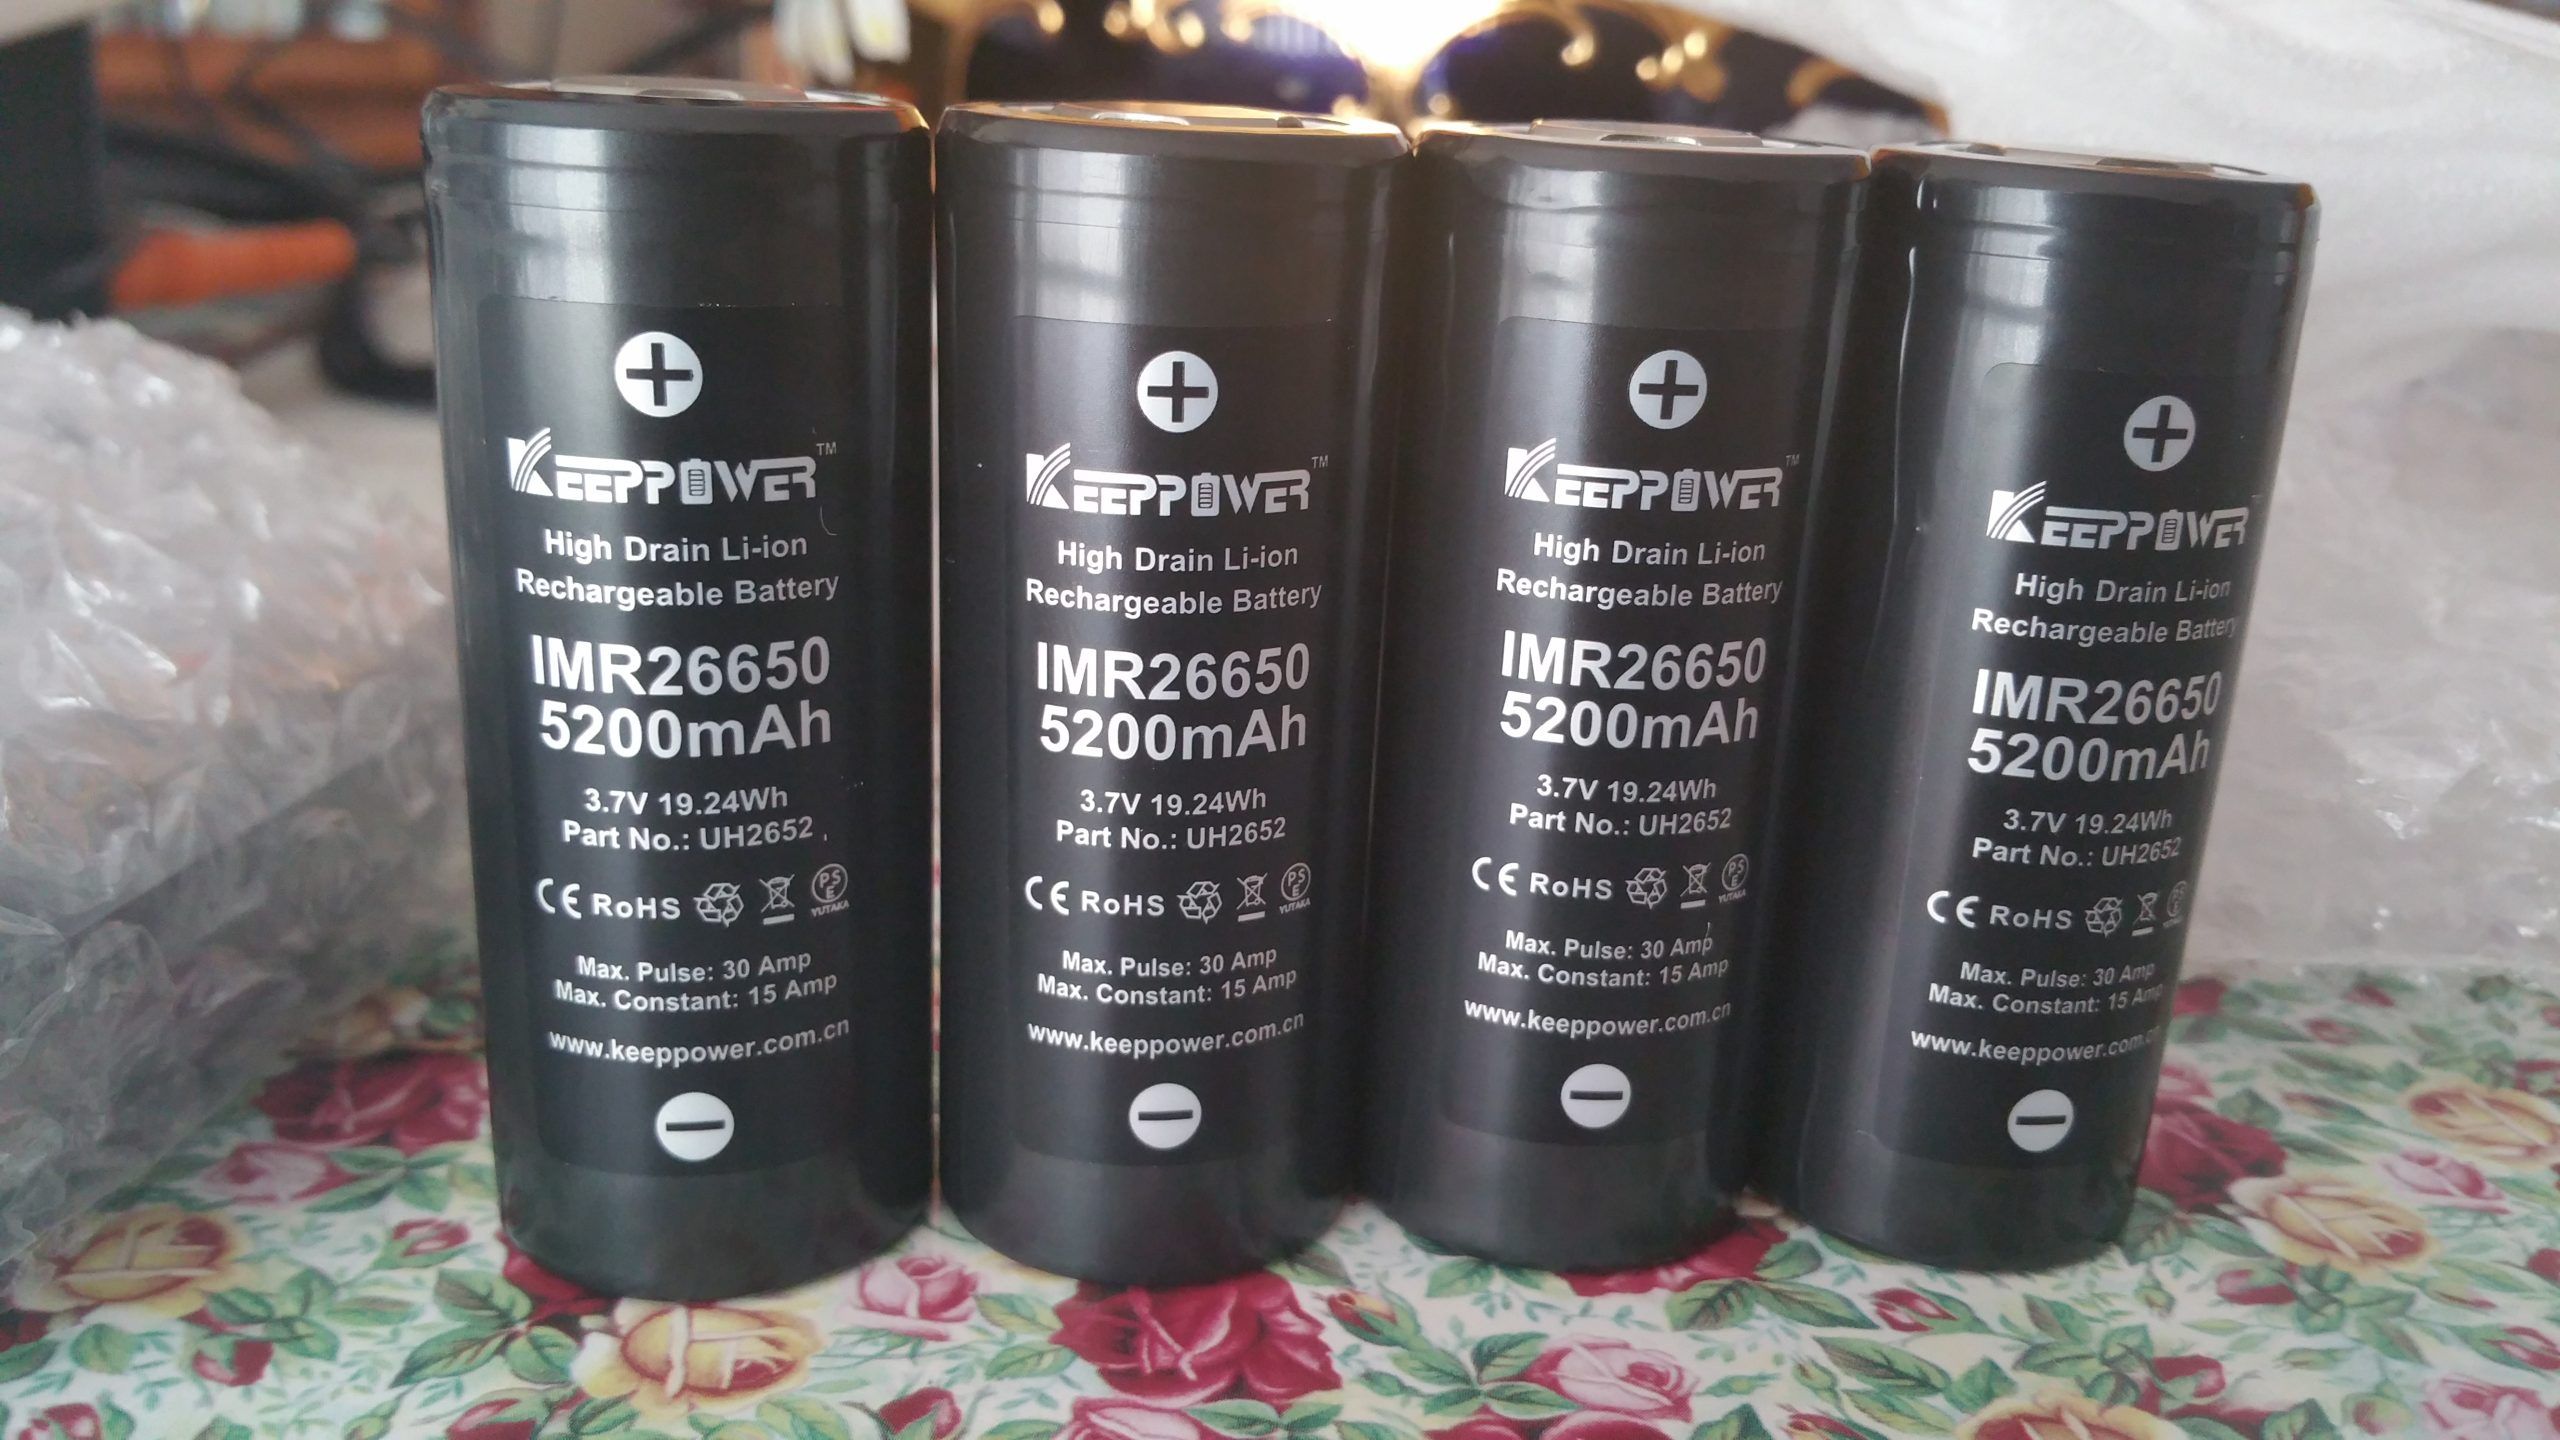
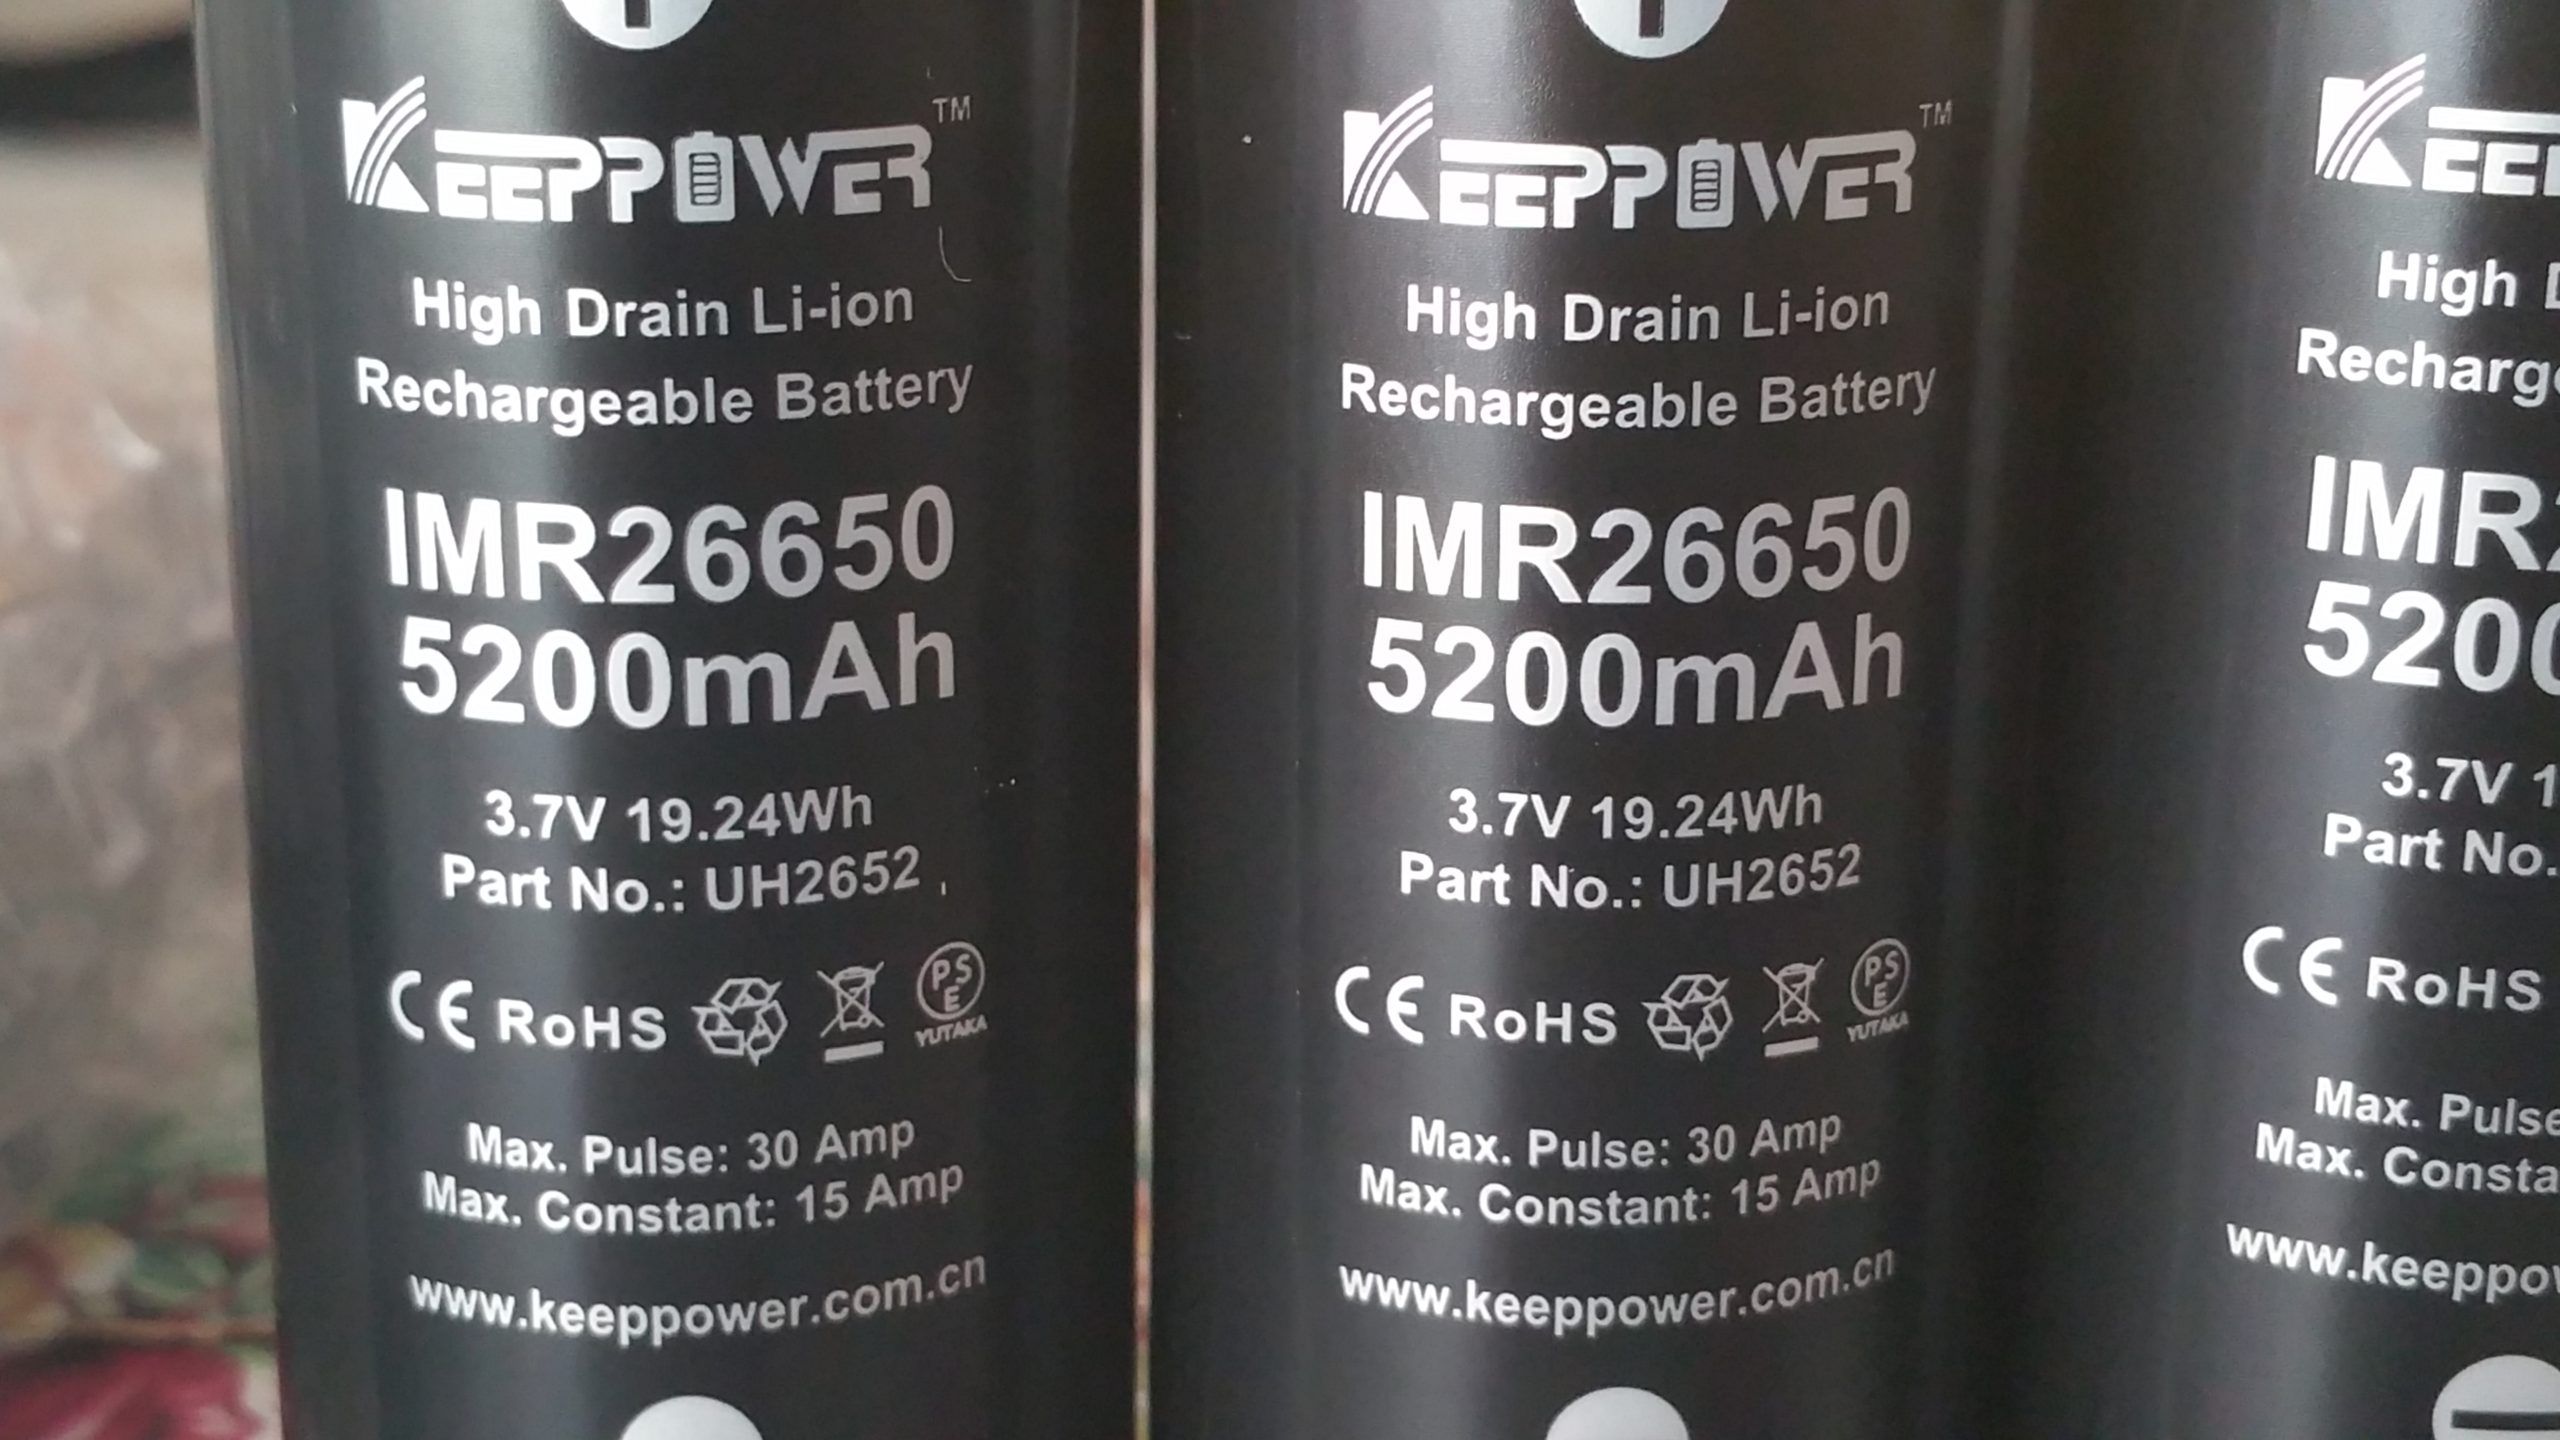
I did some quick research, and the 6000mAh batteries were discontinued for whatever reasons (usually when that happens, it is for safety or stability reasons), but a 5200mAh version is available from various places and is the highest “true” capacity available from the manufacturer. What I mean by “true” is that there are other companies out there that make similar batteries with 6000mAh ratings, but when their batteries are tested, show lower storage capacities, sometimes as low as 2800-4000mAh levels.
Keeppower seems to be a fairly reputable company and their batteries are normally within plus or minus 5% of it’s rating, as tested by several 3rd party companies and people who have the proper test equipment.
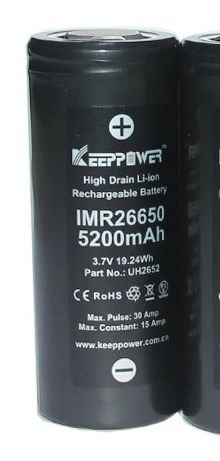
I found the 5200mAh batteries for a very good price on a popular Asian website for online shopping and for a set of 8 batteries (only need 7, but what the heck, they come in packs of 4), and paid under $105CAN (shipping included) for all 8.
Now, just for comparison, the DR600 battery pack sells for $280US + $28US shipping fee +4.5% PayPal fees which comes out to $321.86 US or roughly $445CAN (per the rates I looked up today), which quite honestly is crazy overpriced for 7 batteries, a thermistor, a T-fuse and shrink-wrap!
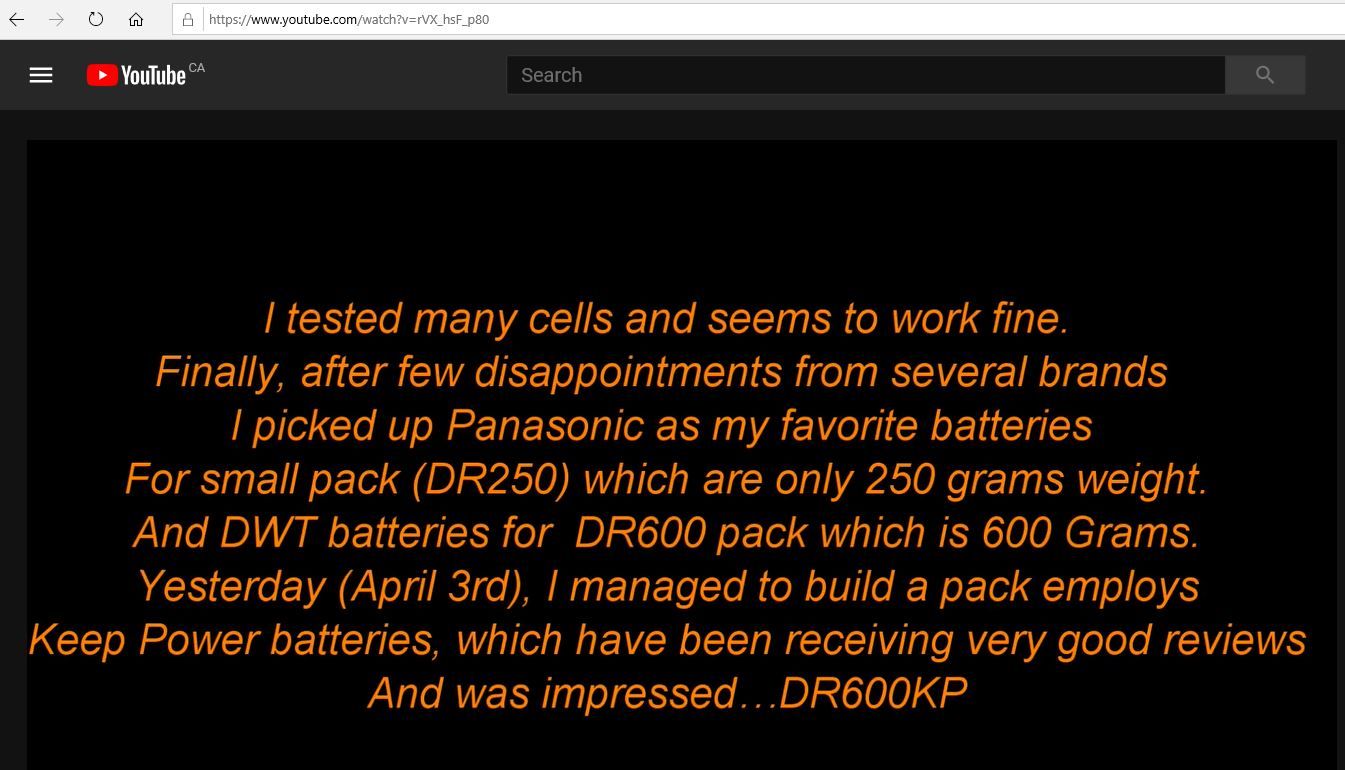
Now… the improvements. In the video Rainis clearly states that in the DR600, he uses DWT batteries:
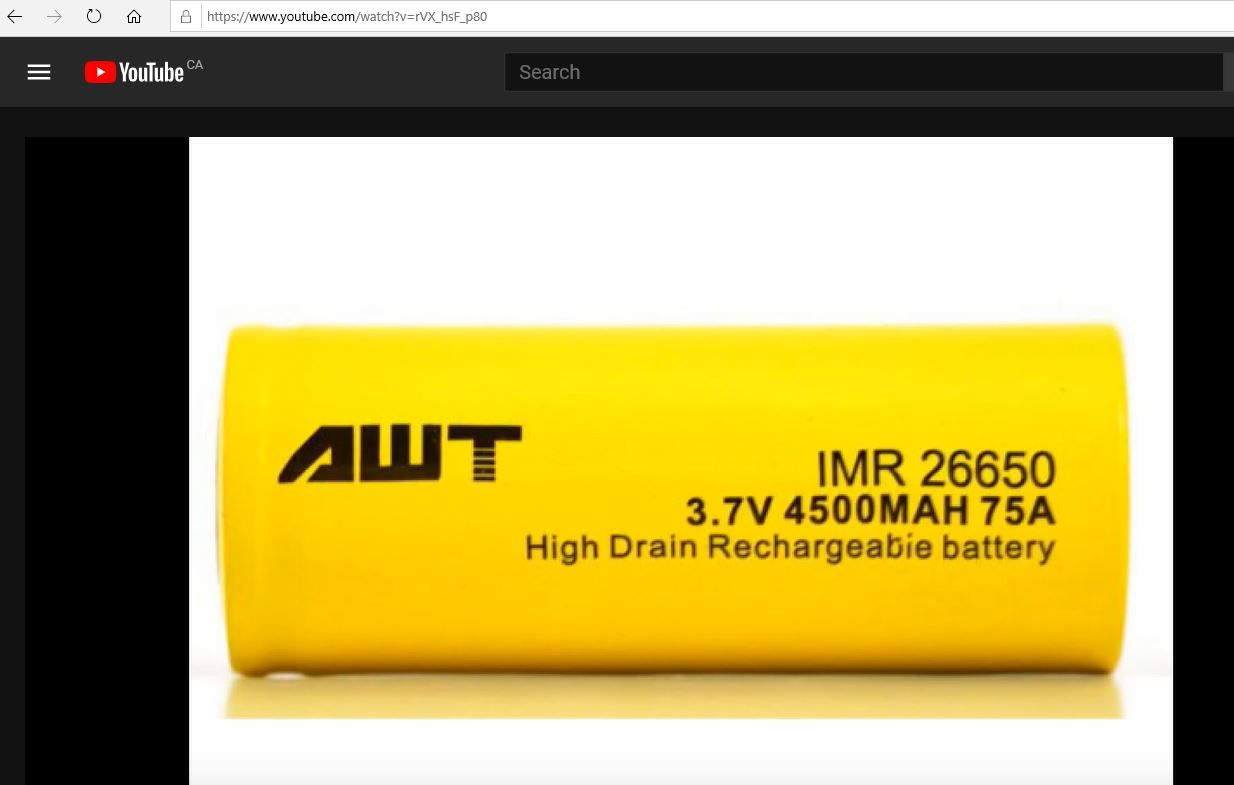
He then clearly shows the DWT batteries and their capacity is clearly shown as 4500mAh:
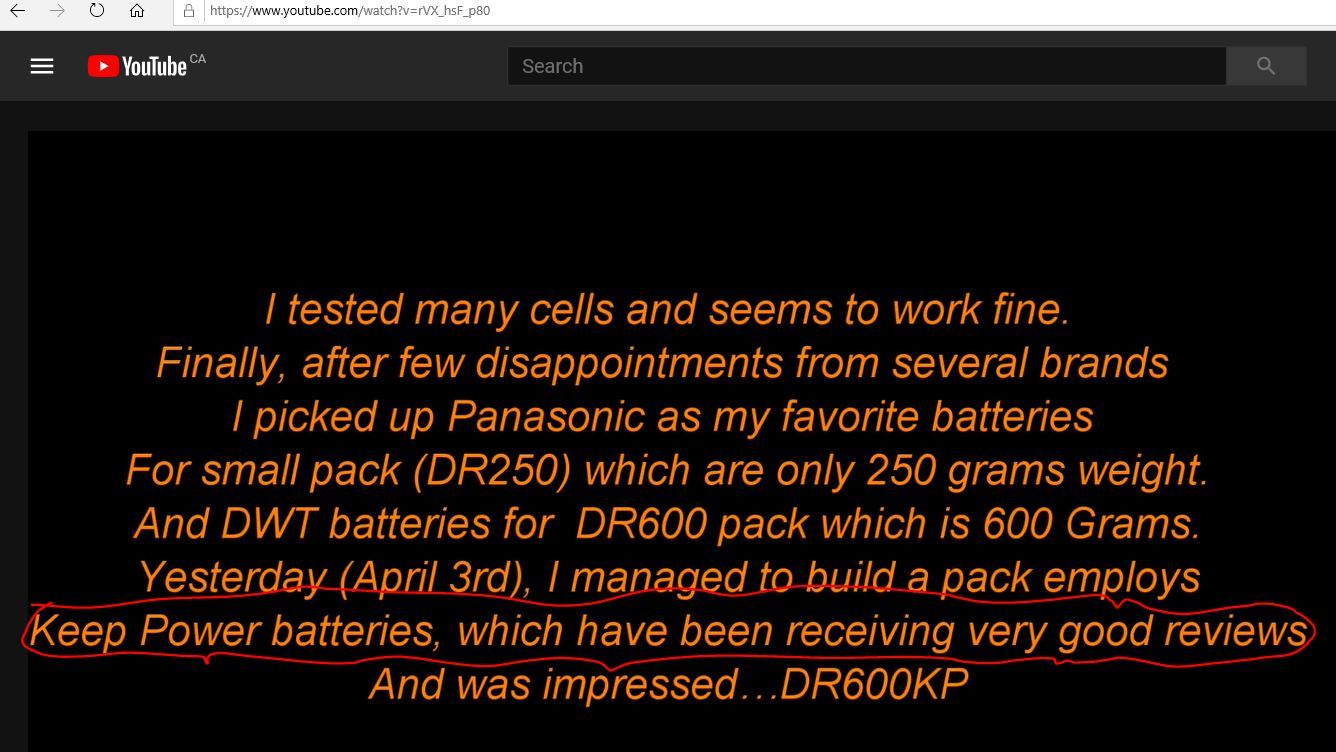
He then goes on to say that he had great success with Keeppower batteries (but NOT that he sells his packs with the 6000mAh batteries, just that he has been testing them!):
Later on in the video, he says that he got his ~18 hour rating with 6000mAh batteries, which as I mentioned earlier in this article, are no longer available.
Another perk is that if I assemble myself, total costs will drop to about 1/4 the price of the completed unit and have increased capacity and playing duration to boot. A double win!
A minor interesting fact that is not commonly known… to power the FR-8X continually in demo mode at a volume of 35%-40% (more on this later), consumes about 335mAh per hour of battery power. At full volume this goes up to potentially as much as 450mAh and if additional complexity in the sounds (layering, multiple effects, etc…) is used, that can goes up to around 550mAh at full loads.
Using these approximate battery consumption figures, and the fact that Mr. Rainis said that he gets 18 hours with 6000mAh at 50% volume (334mAh/hour), and 10-12 hours with 4500mAh batteries (roughly 375mAh/hour). A 5200mAh battery at the 350mAh discharge rate should easily be in the range of around 15 hours of continual use… a nice 30% to 50% increase in playing time over the available options!
Now, if I can get 12 hours out of them under my very ordinary usage, I will be more than satisfied, but I bet you that I will get close or over that 15 hour duration. I will be sure to do some tests once it is all together.
As of this date, I’ve ordered the 5200mAh batteries and am doing the research for the 2 other parts (T-fuse and thermistor), after that, using the schematic in the video, assembly should be pretty straight forward. It’s going to be a few weeks before the batteries arrive so I have lots of time:
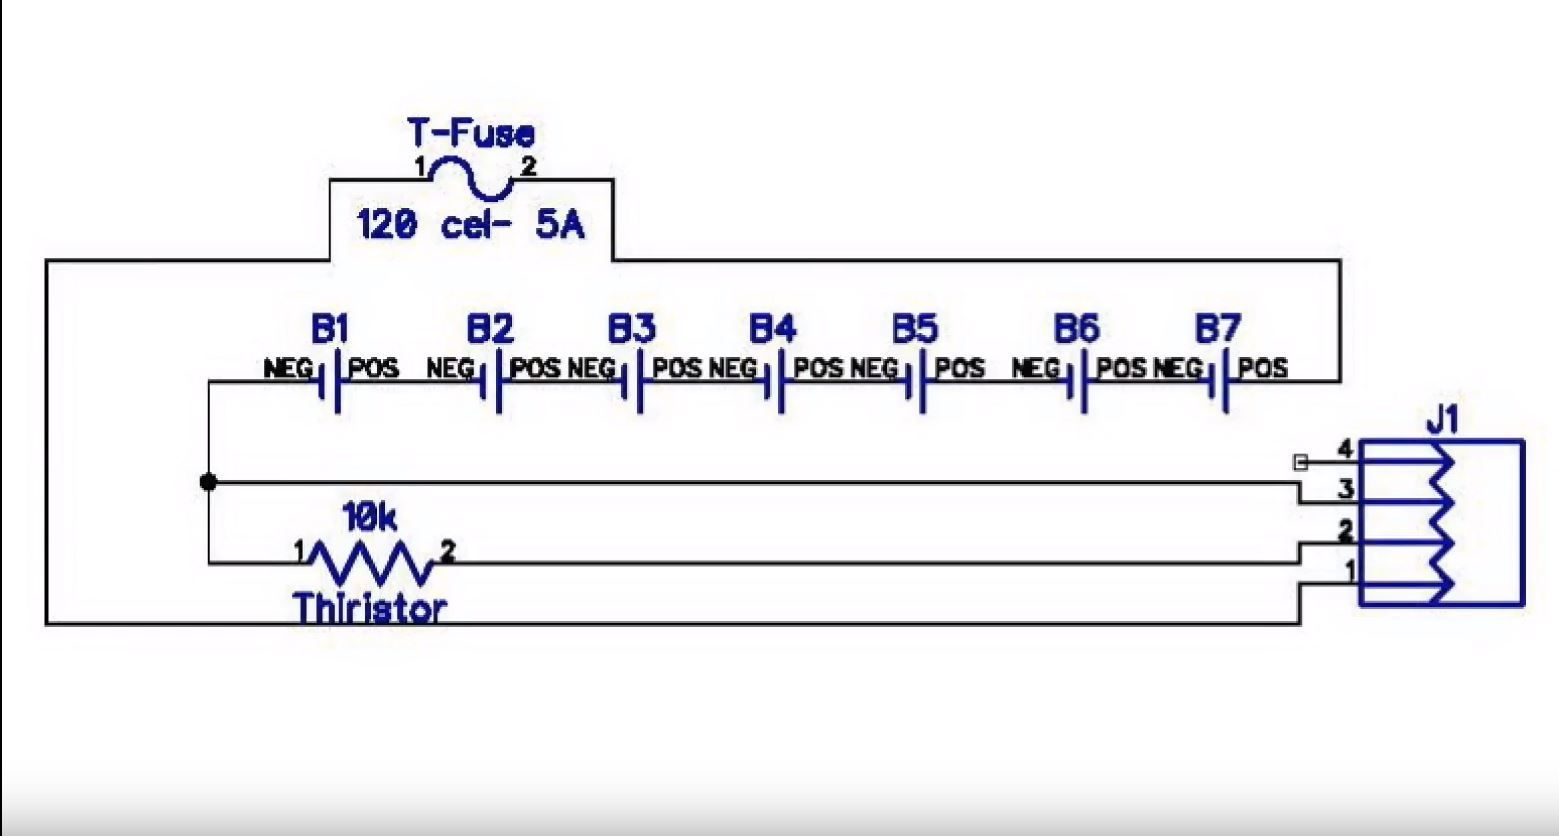
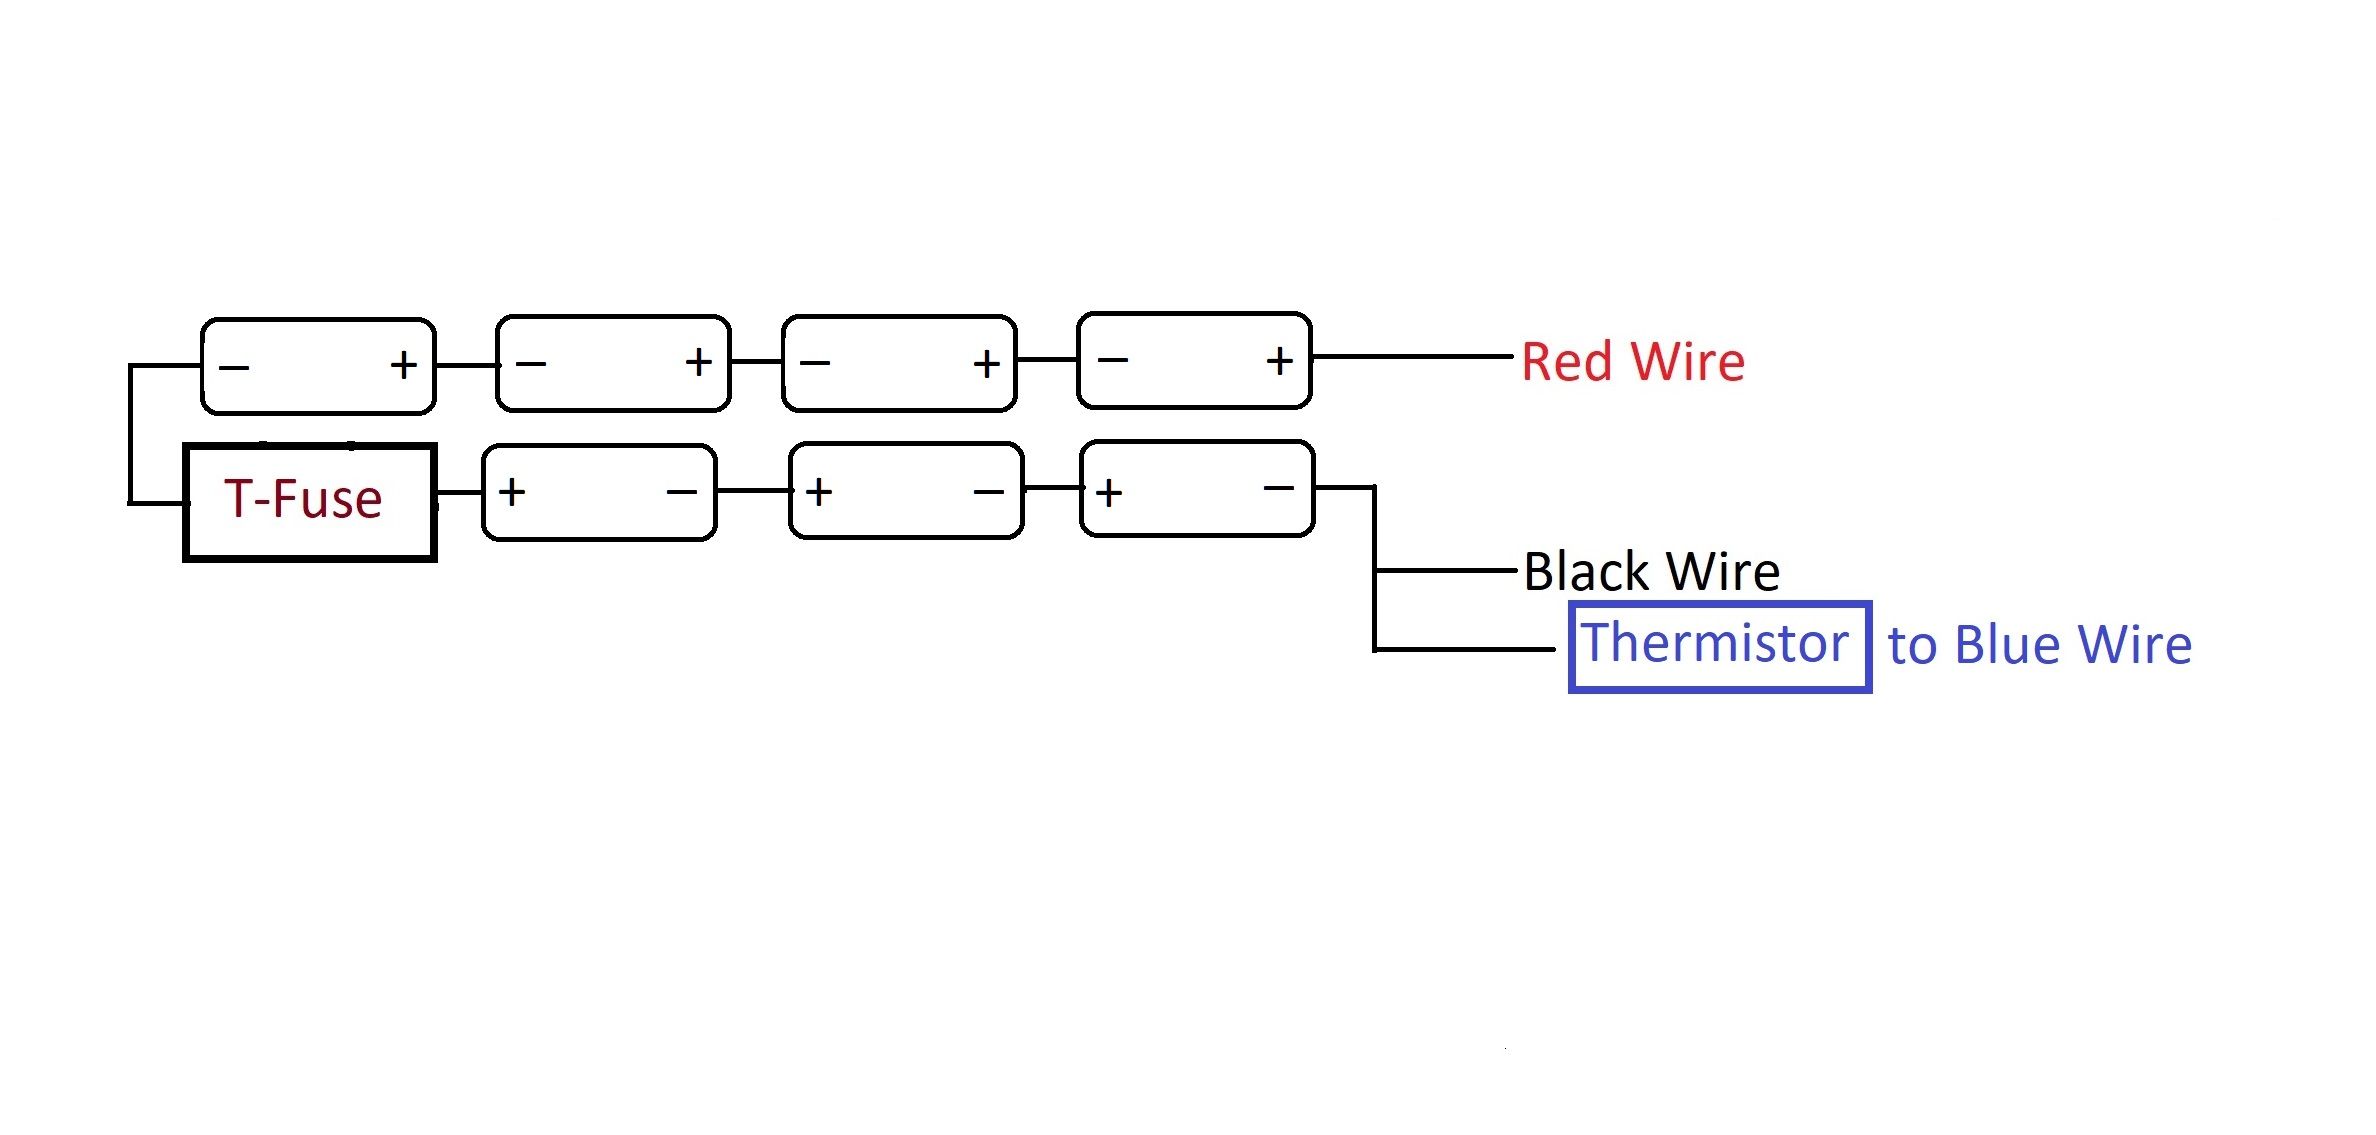
How I am choosing to wire my setup:
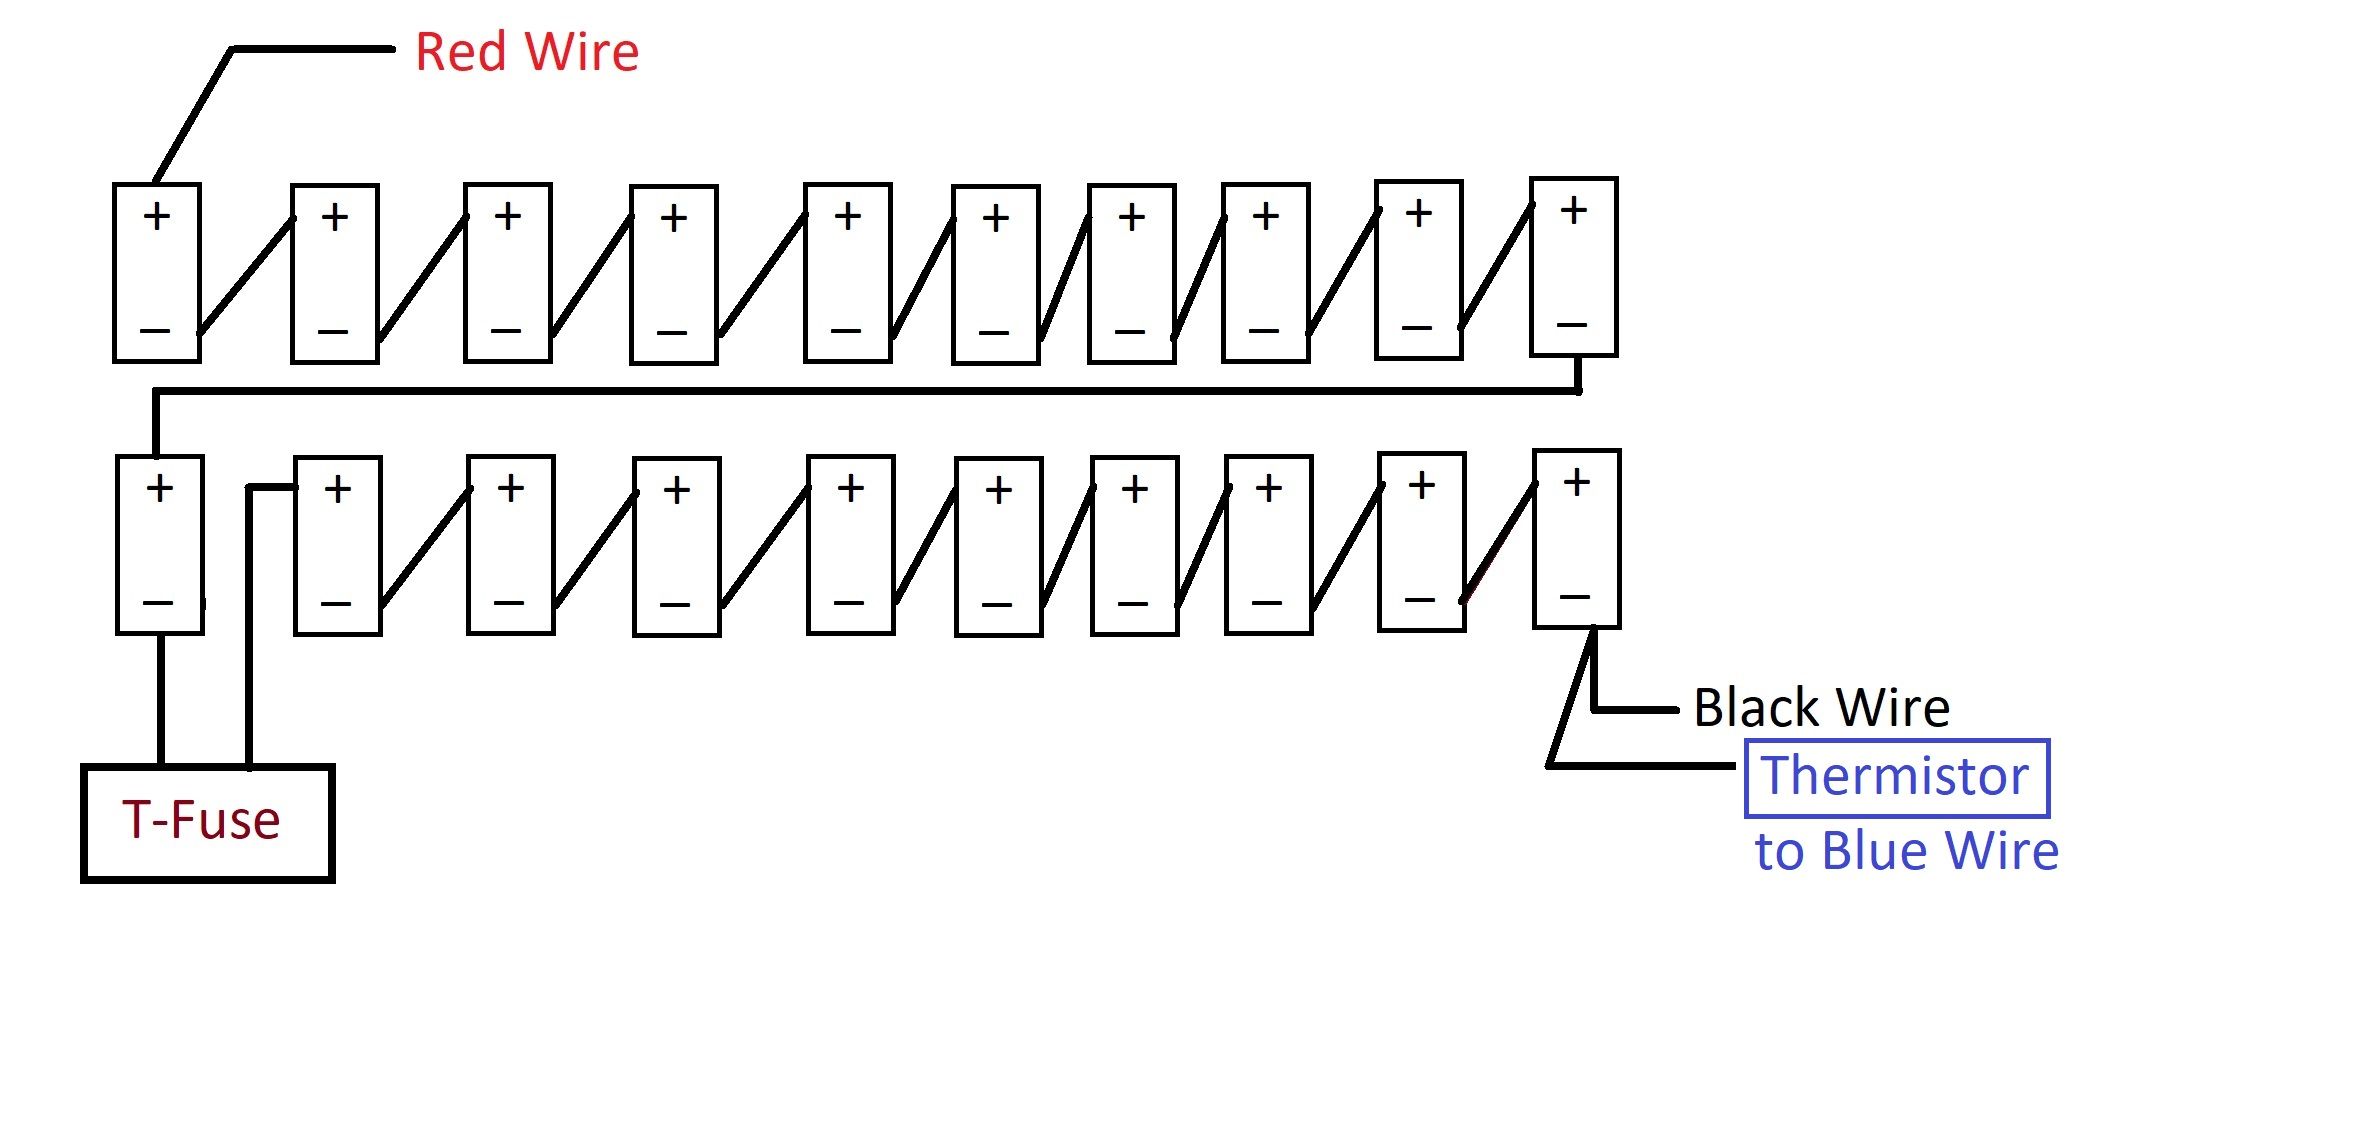
How it is setup by Roland:
Addendum June 23, 2019
Today I received an email that the batteries shipped… now I just need to wait the 1-2 months before they land here at my door! 🙂
Addendum June 30, 2019
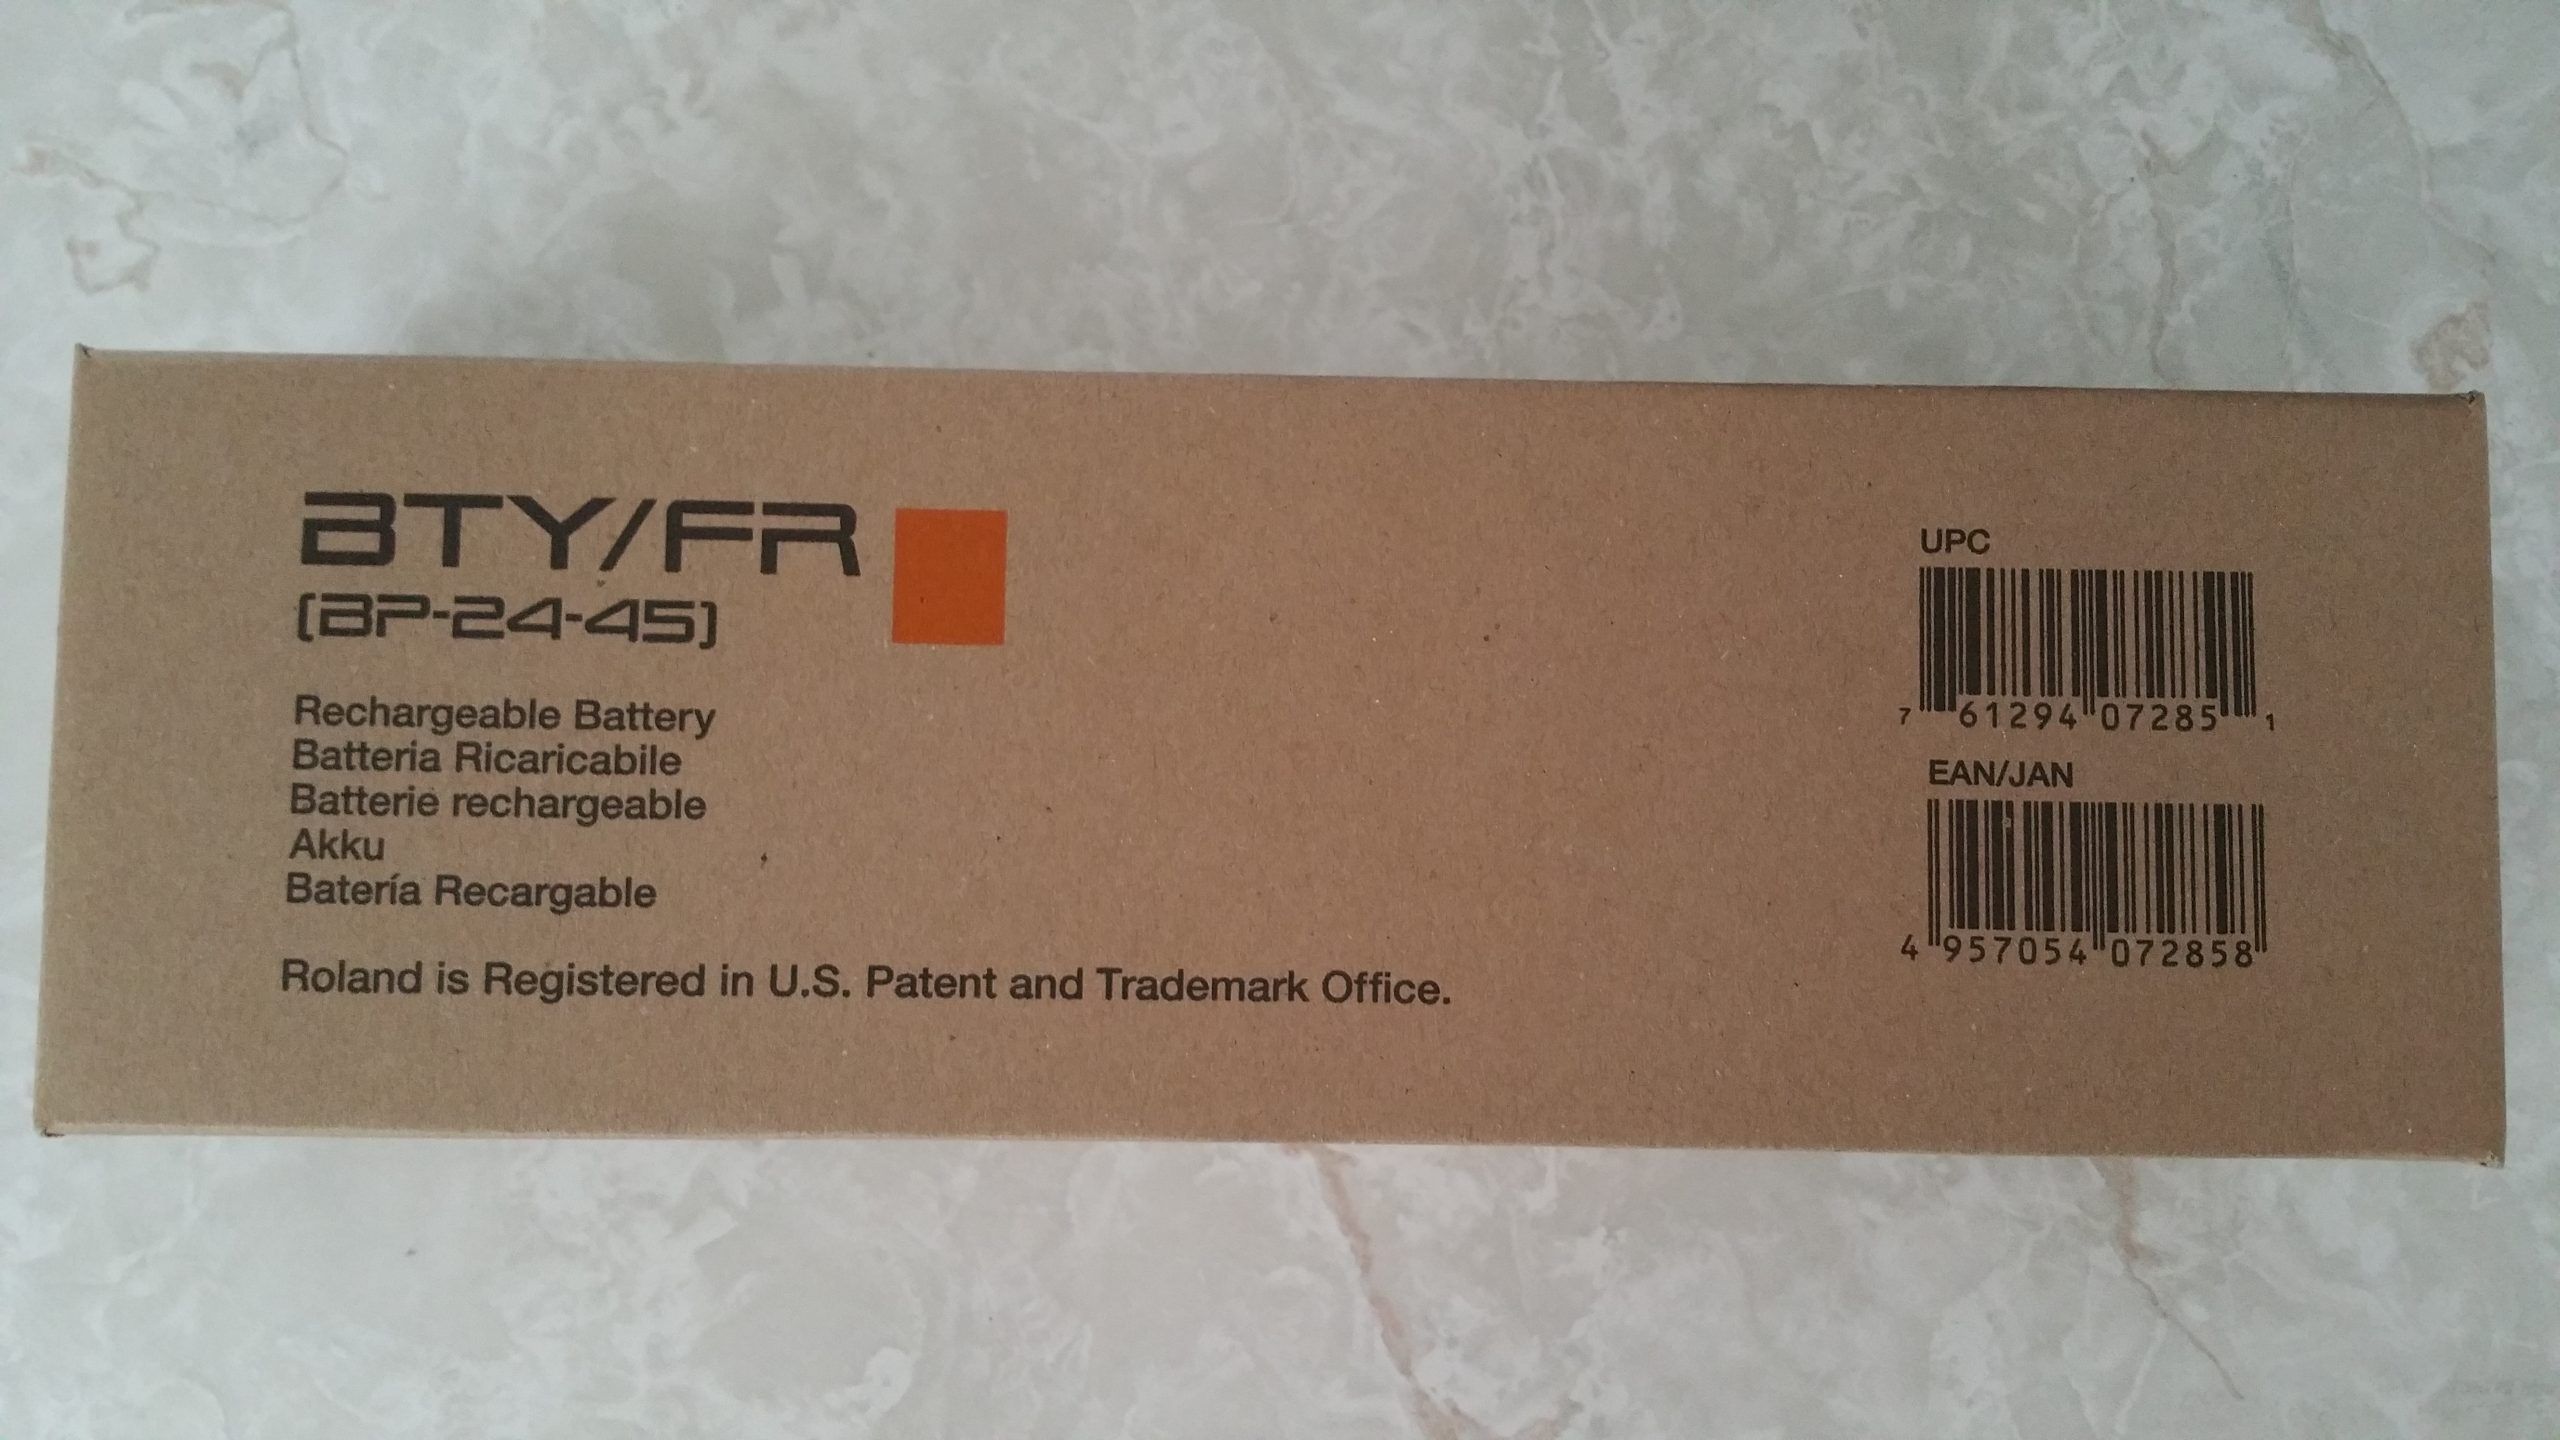
Today I ordered a Roland OEM battery just to be safe, that way I can rip open the old one and see what makes it tick as well as giving me another option in the future to play around with. I hate not having a battery, so now I am going to have 2 after I make my own!
Addendum July 6, 2019
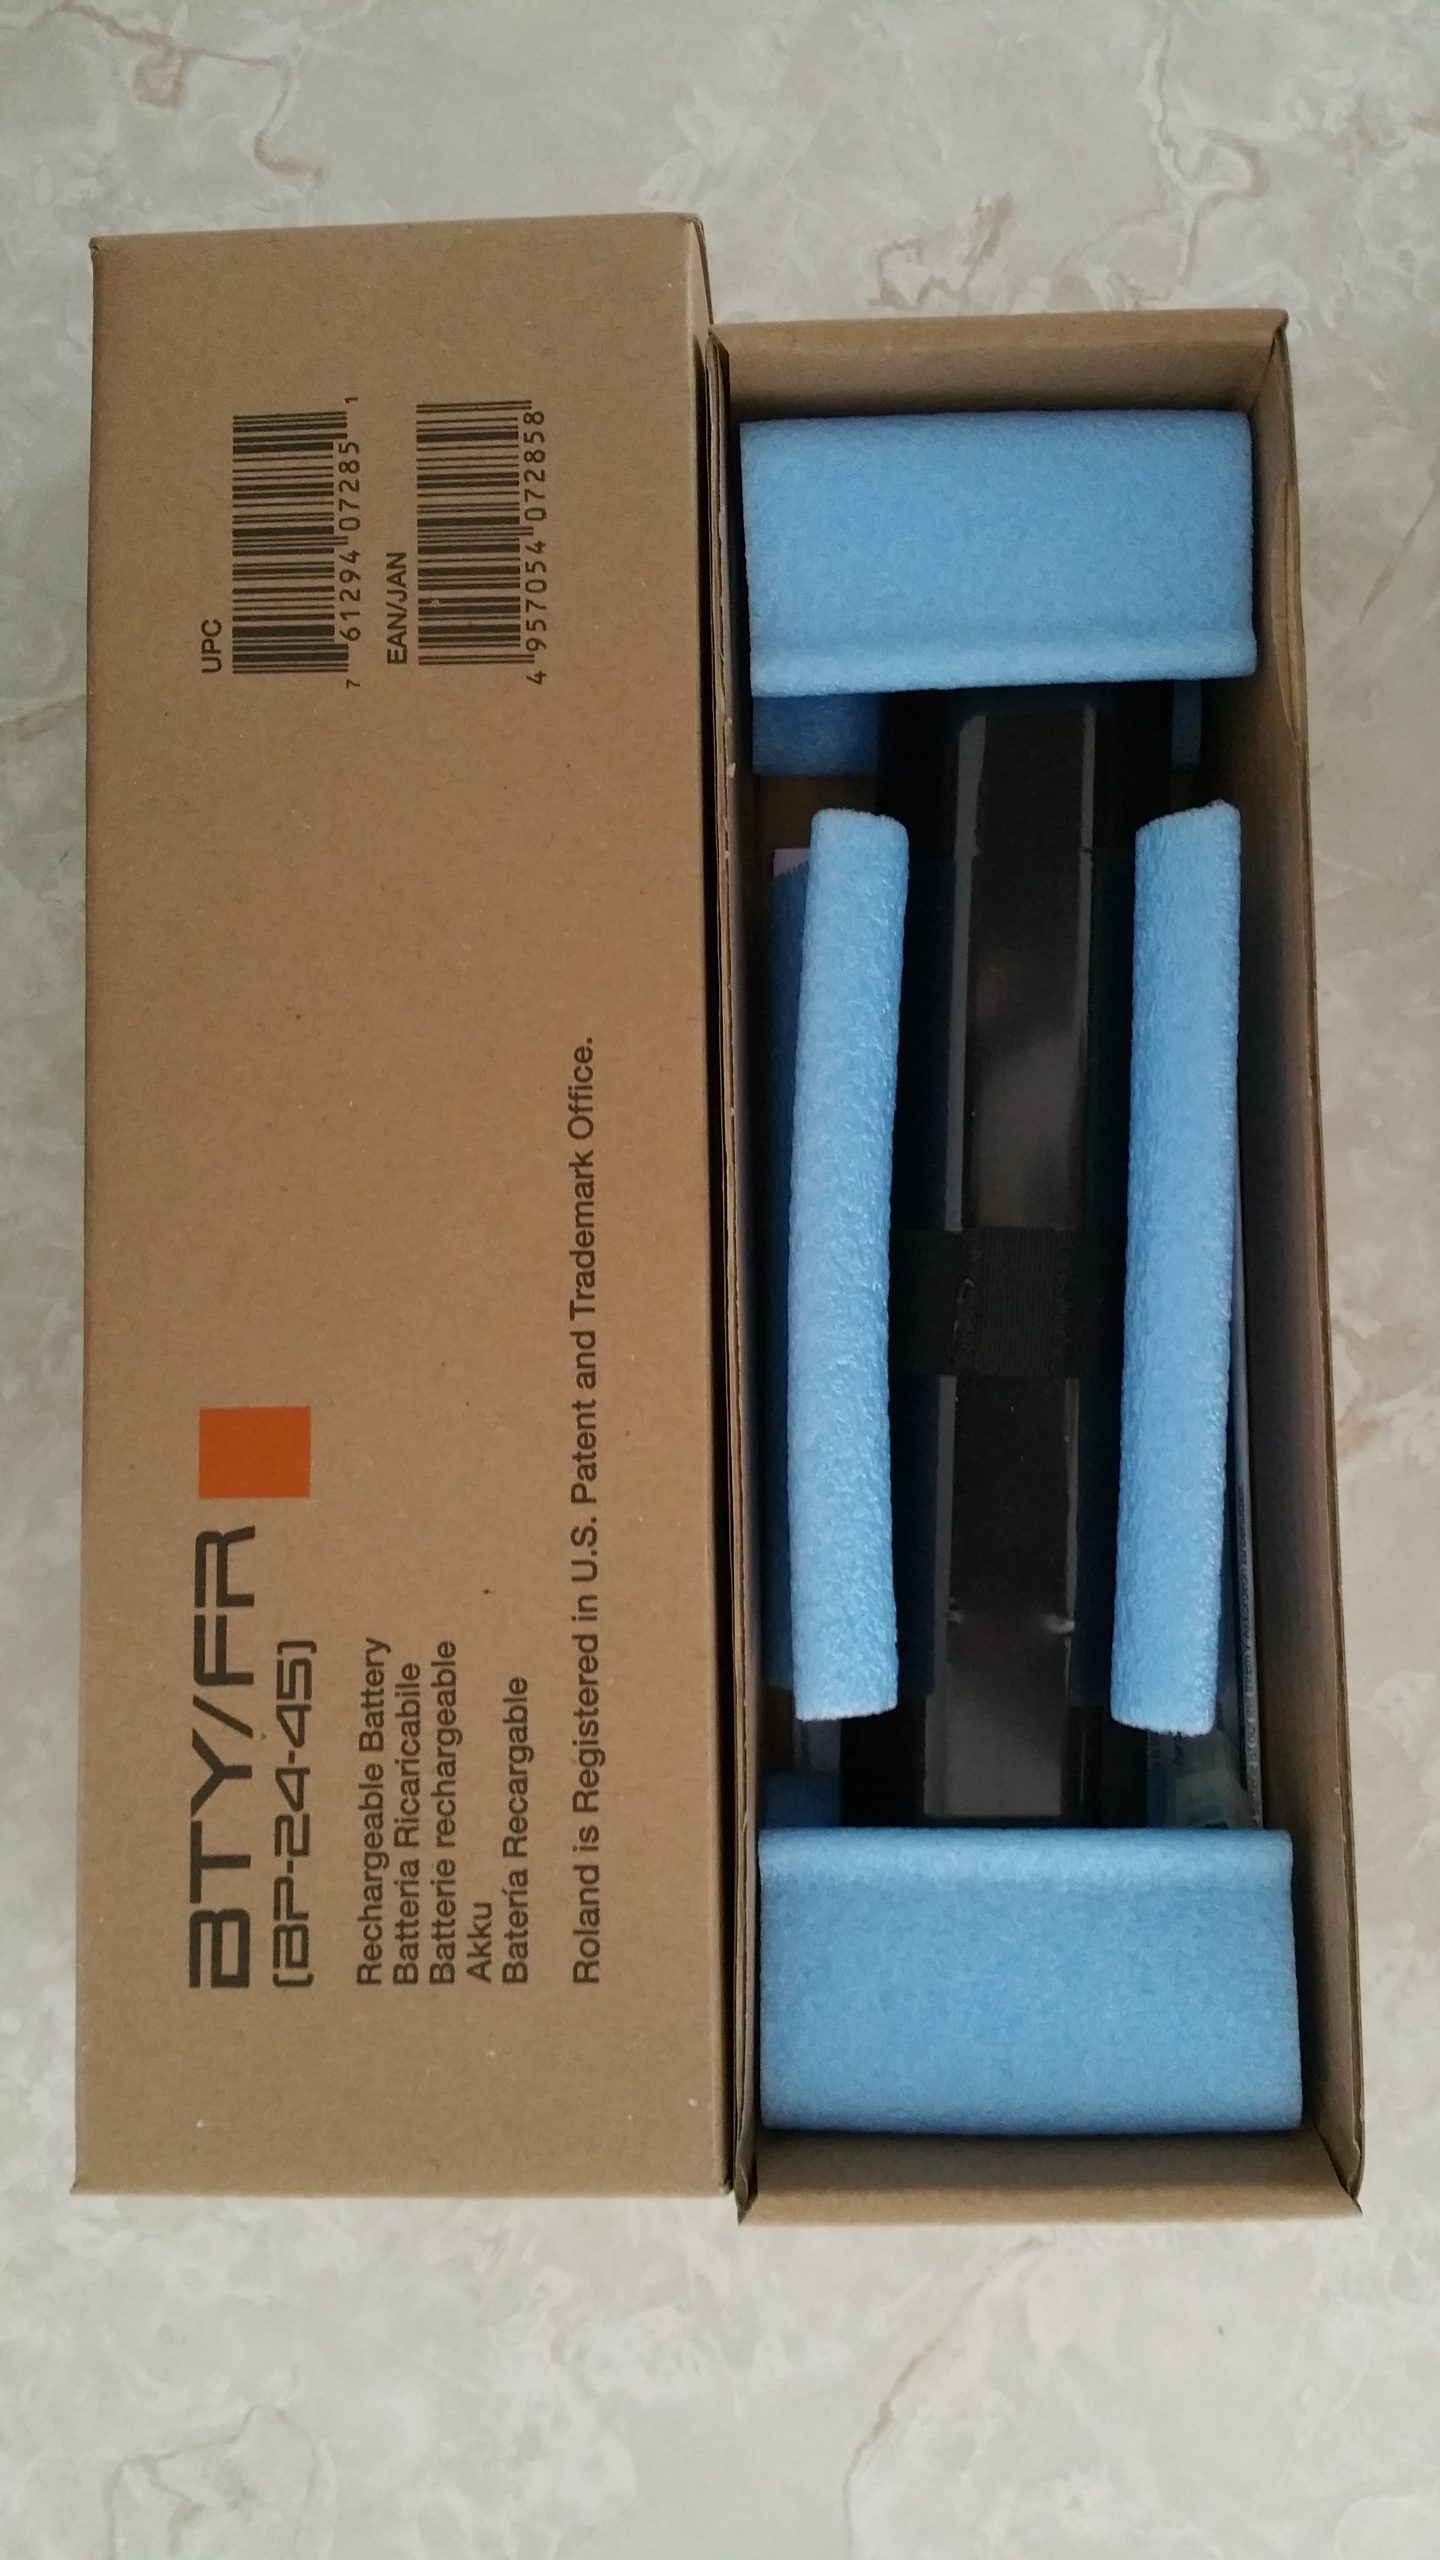
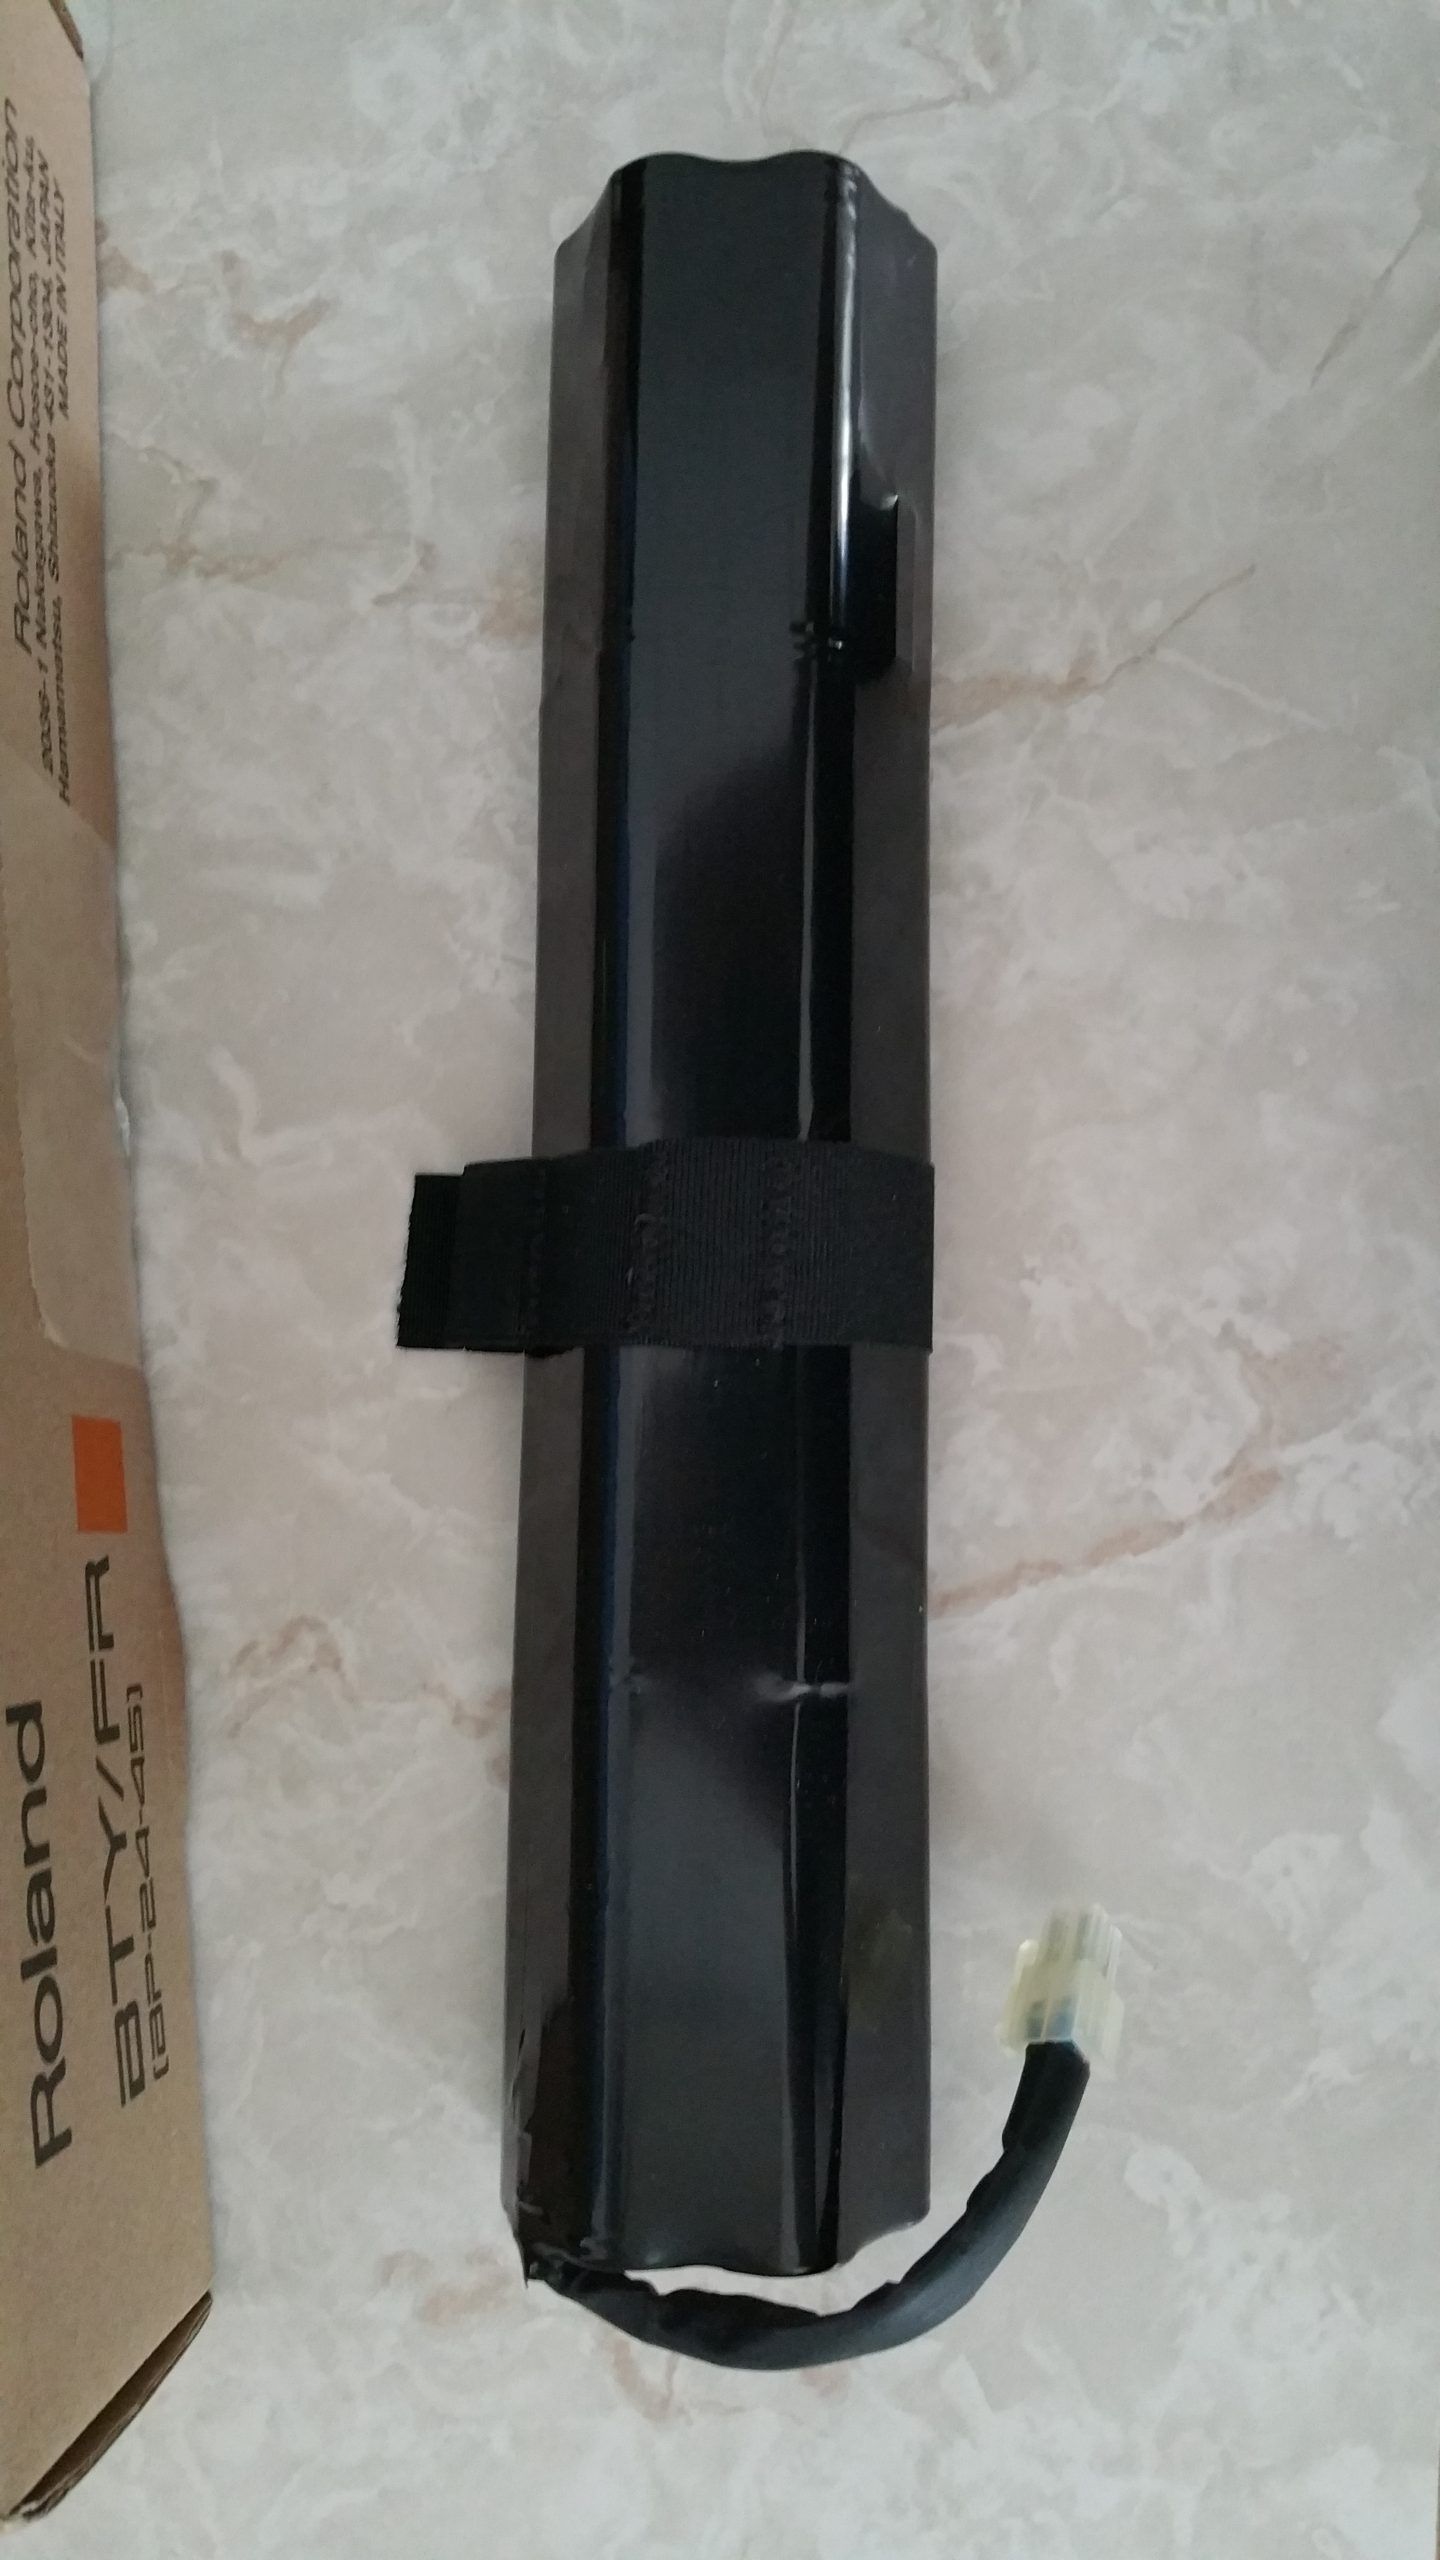
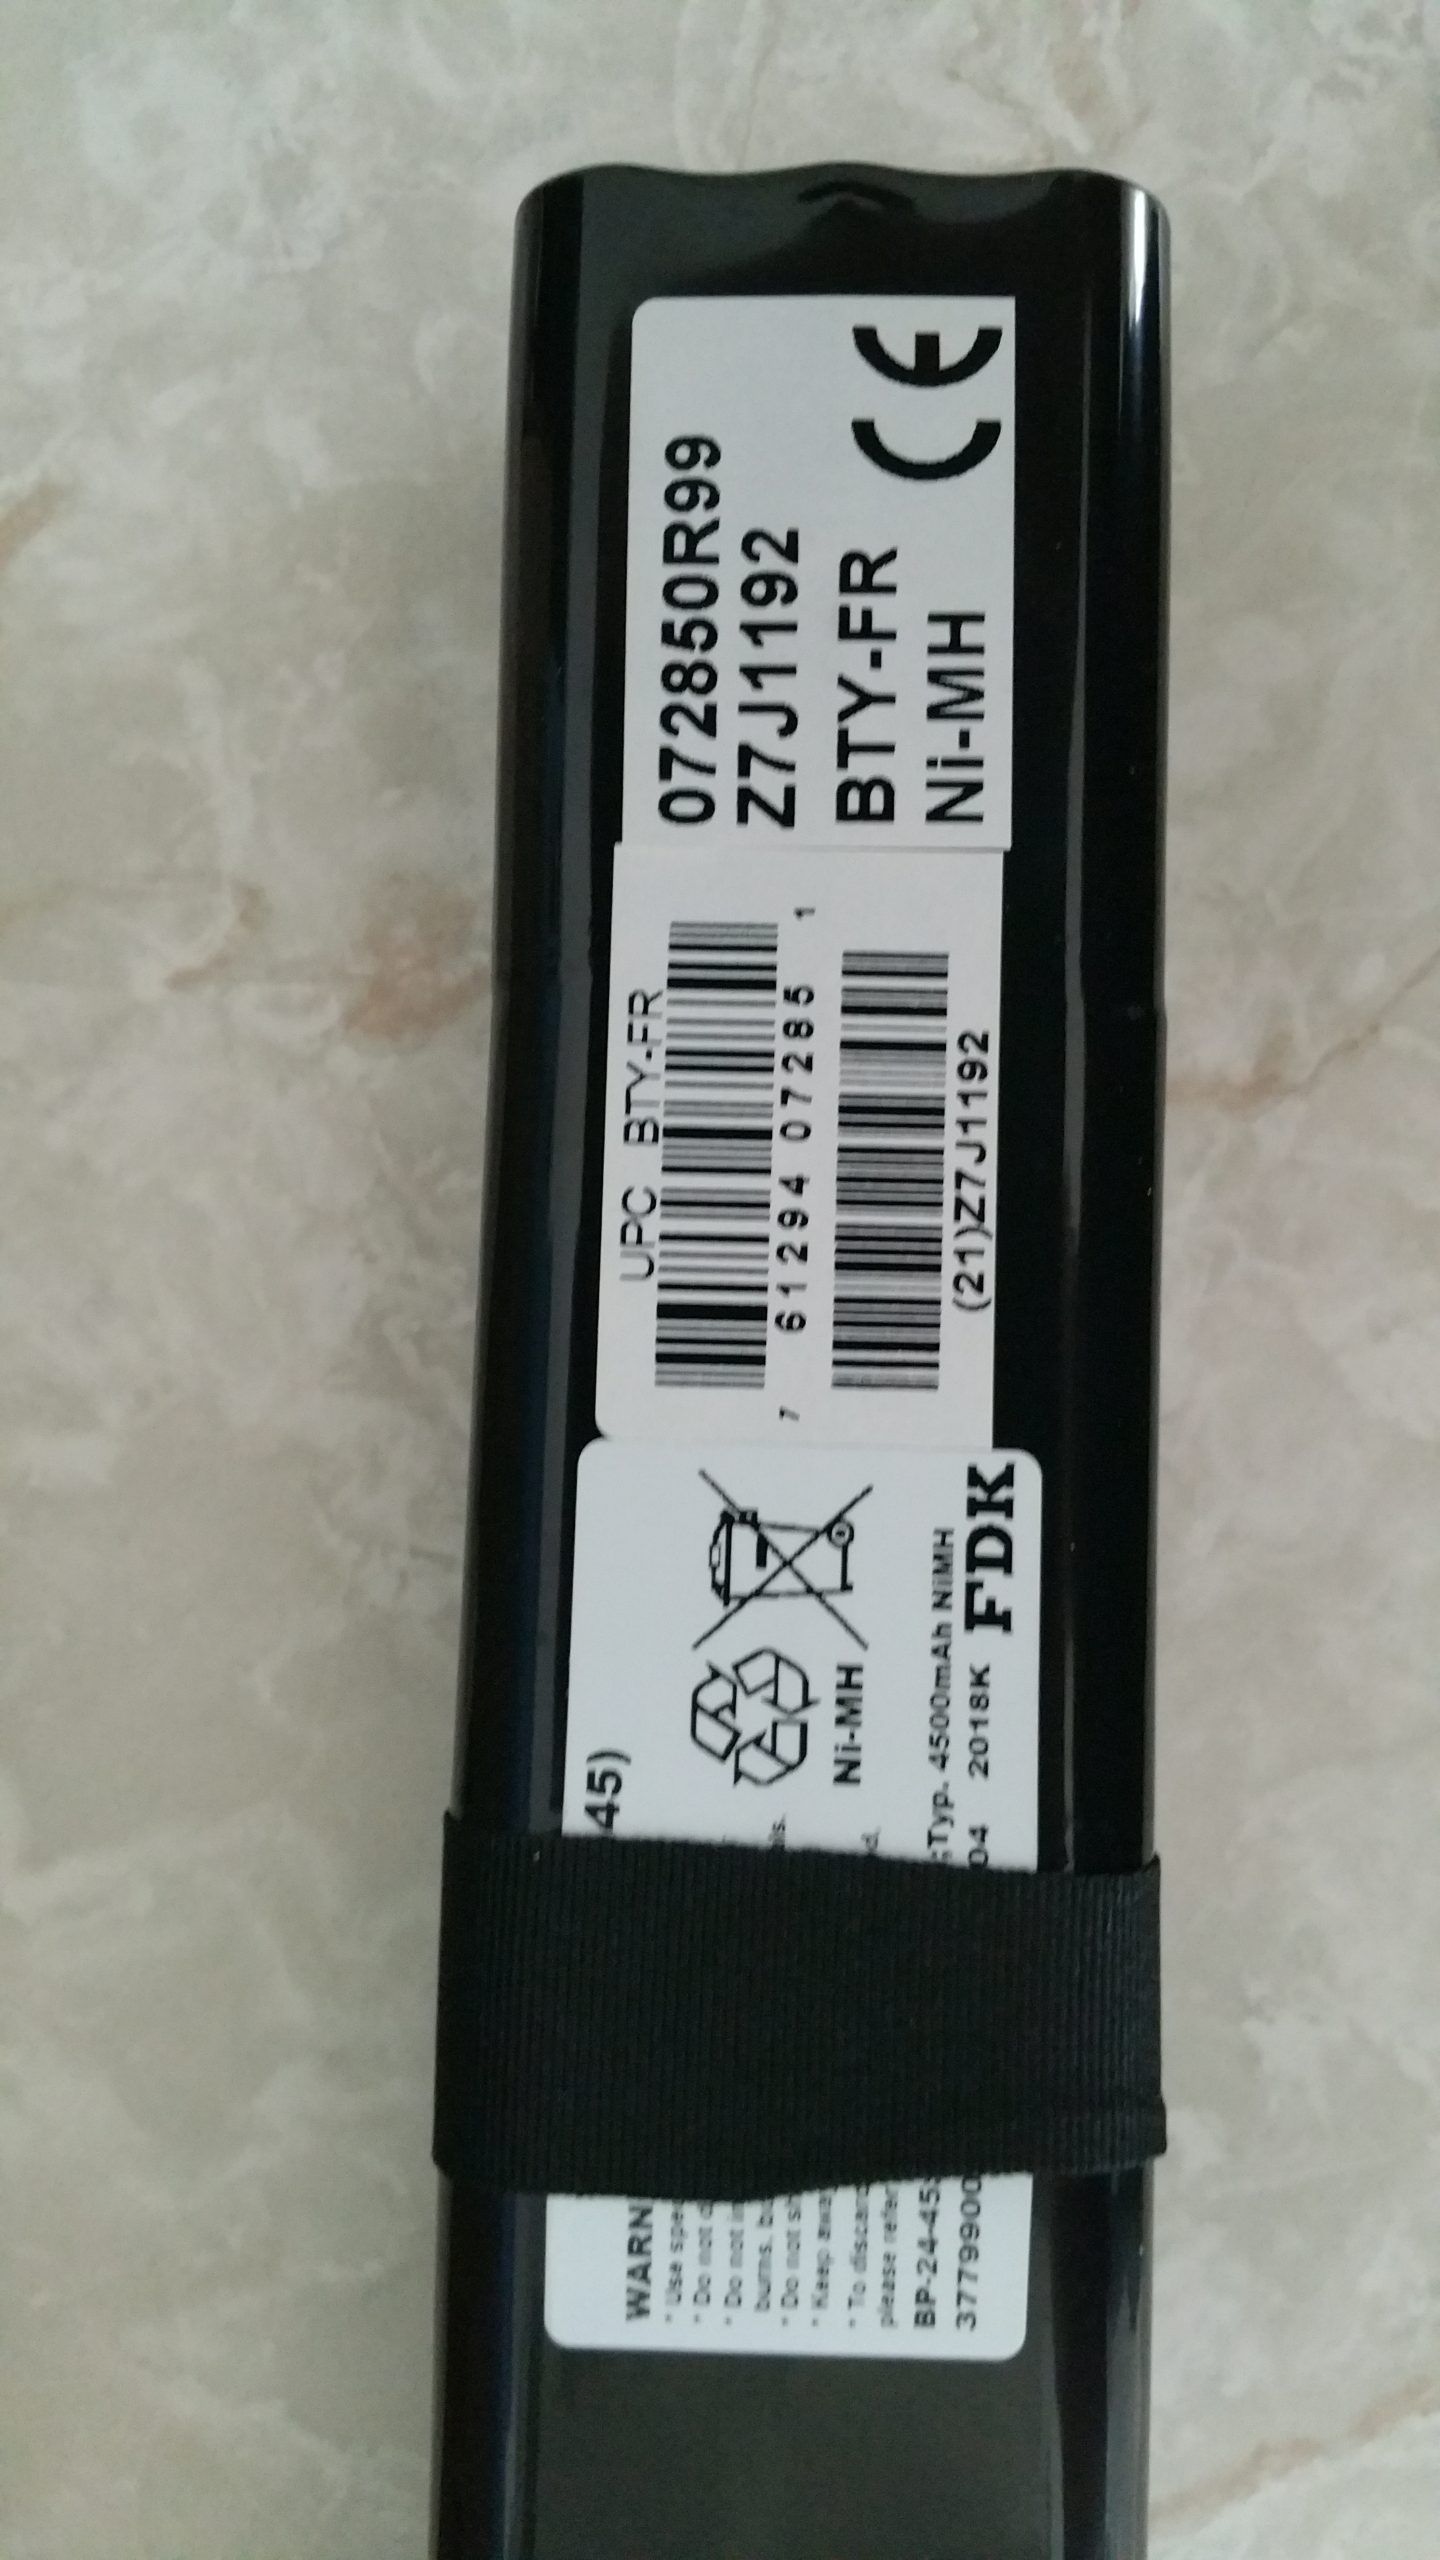
All excited this morning! I received a call that the factory original battery came in, so I went to pick it up. The woman at the cash looked at it and was all confused… “Sir, I know this is a battery, but it’s incredibly expensive, what is it for?” I told her “believe it or not, it is for a digital accordion”. Blank stare… “ok, what will your form of payment be?” Yeah, I saw that coming… haha!
Getting the battery home, I install it and test it… accordion starts up perfectly and shows a good charge. I turn it off and start the charge cycle so that the battery gets a full charge. Less than an hour later, the light goes out and turning it on, the screen tells me that the charge was completed successfully… first time I see that since the original battery started misbehaving!
Now that I have a reliable battery in her, I am not concerned about how long it takes for the Keeppower cells take to arrive, I am good to start playing again!
Addendum July 13
Just received an email that the batteries came in to the country… oh so close!

I wish they had mentioned WHERE in Canada the batteries were!
Addendum July 17, 2019
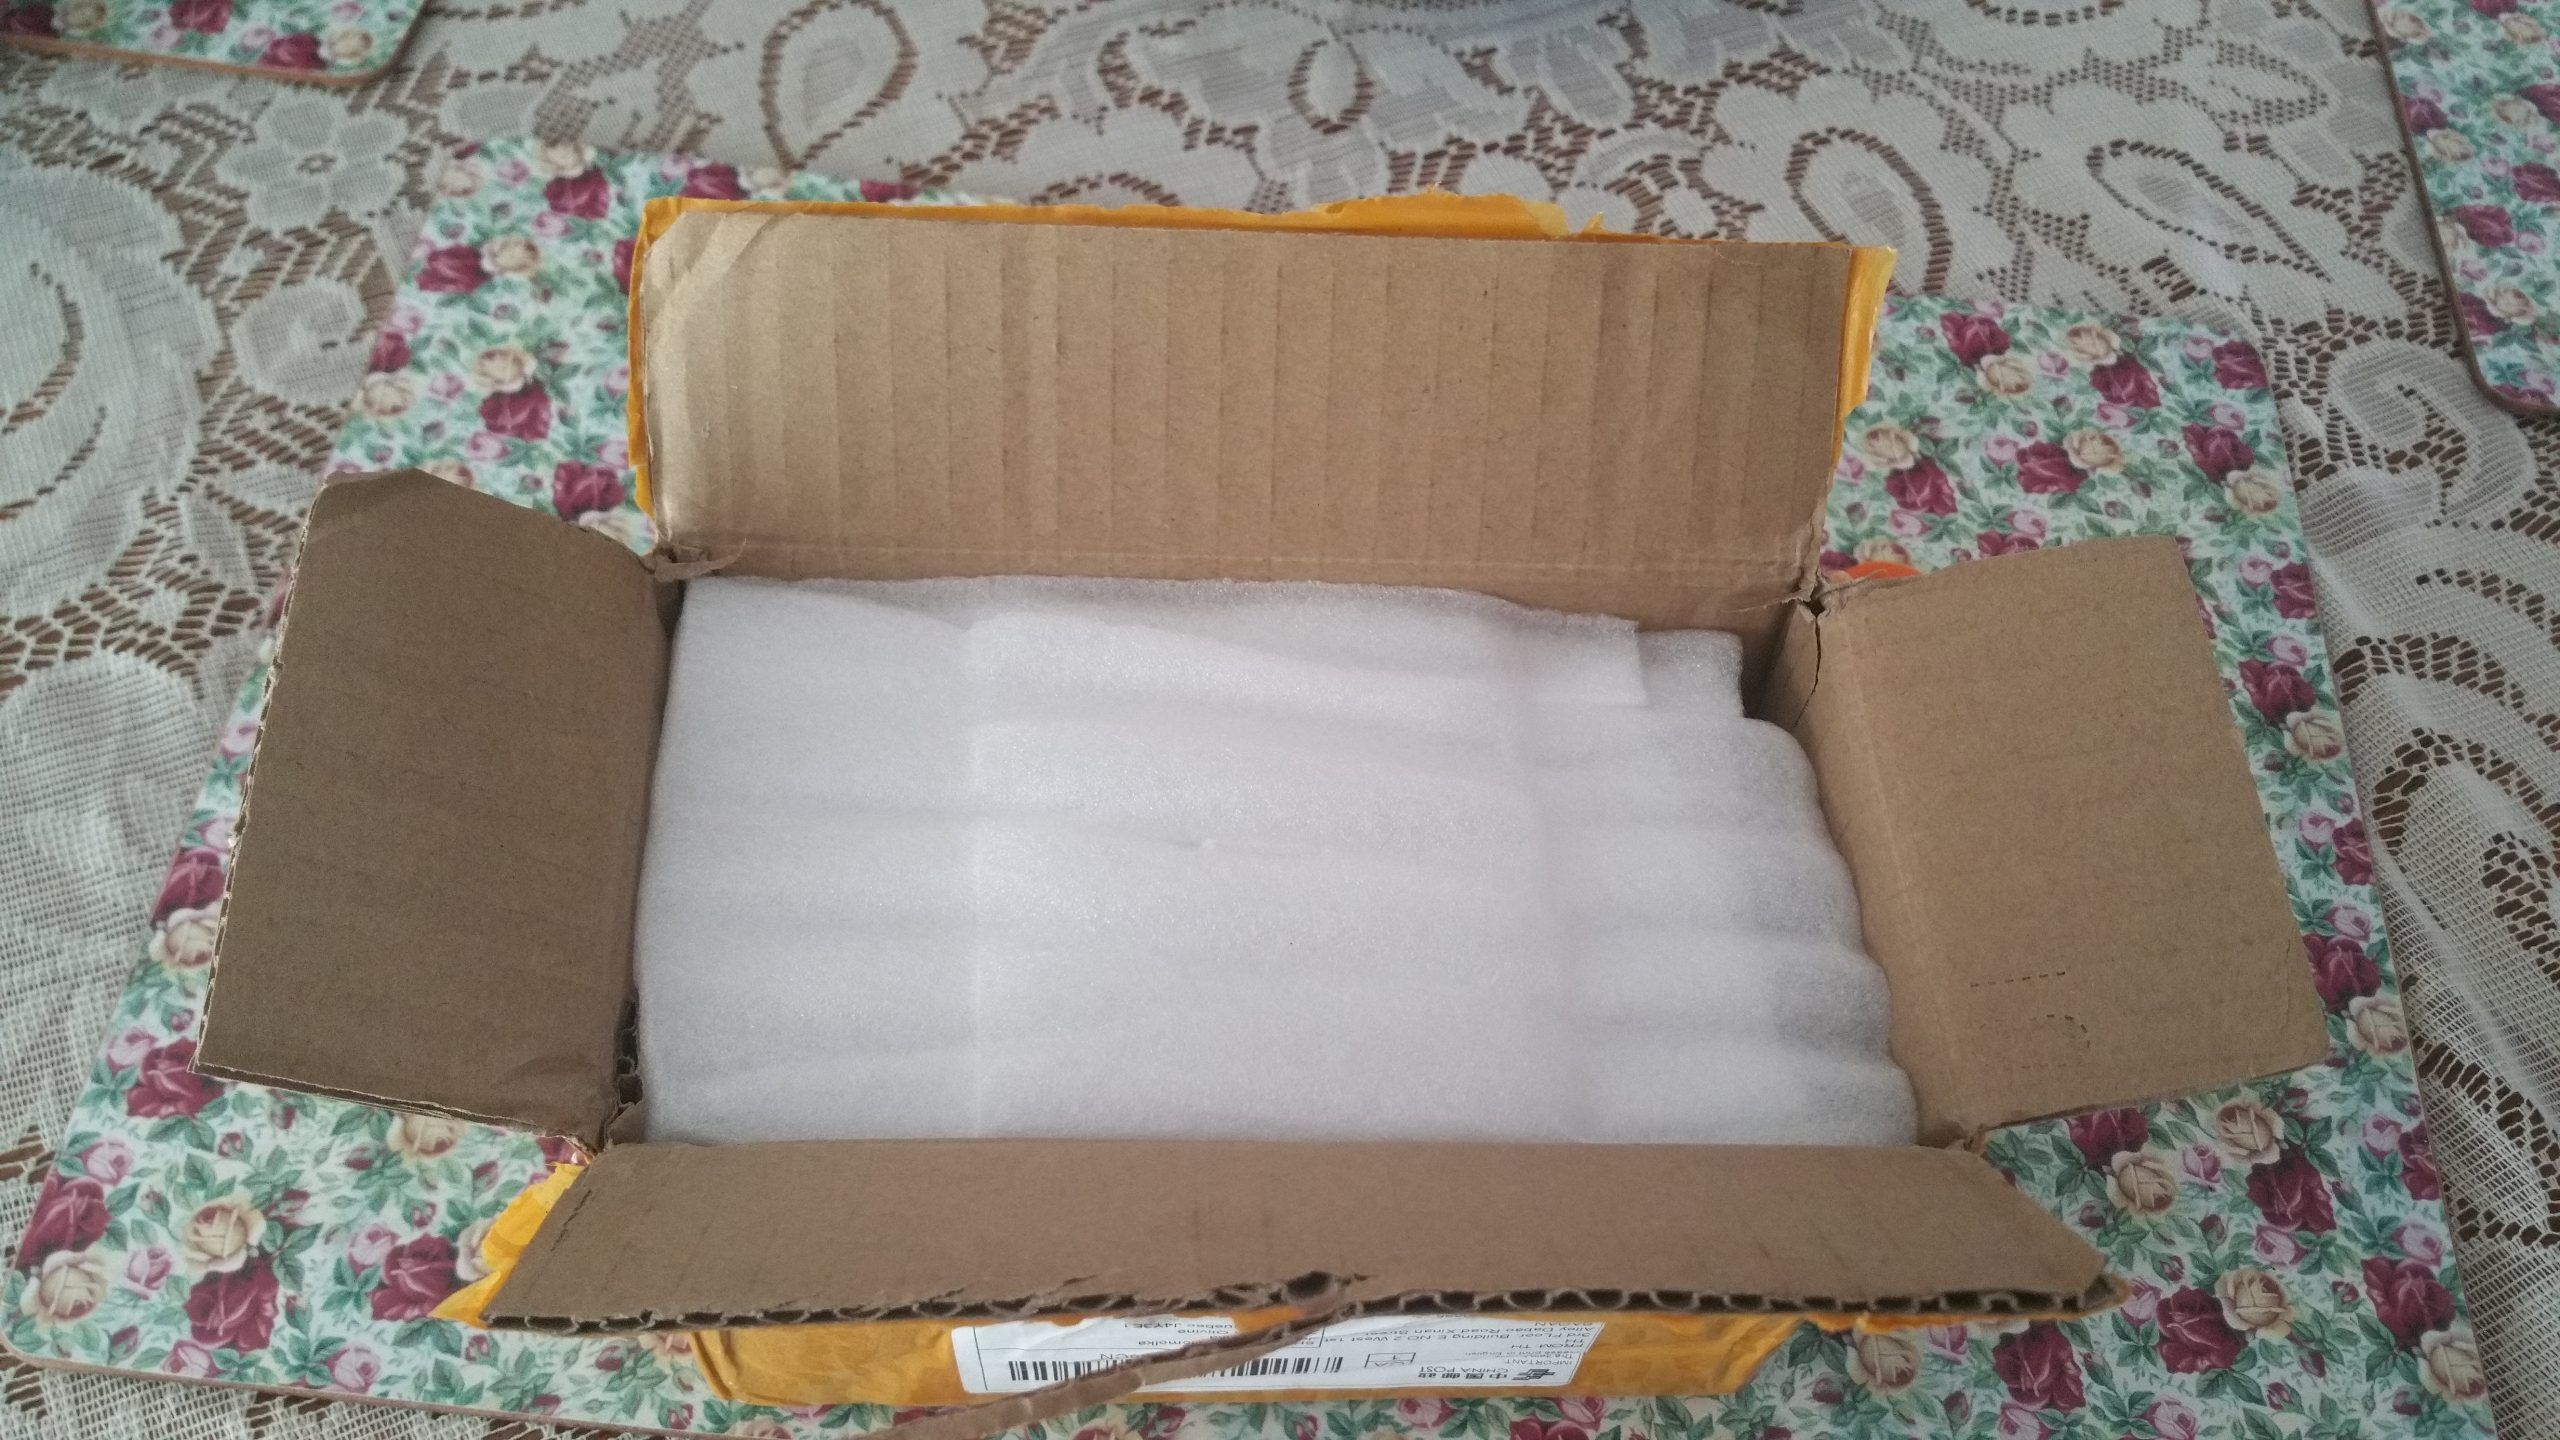
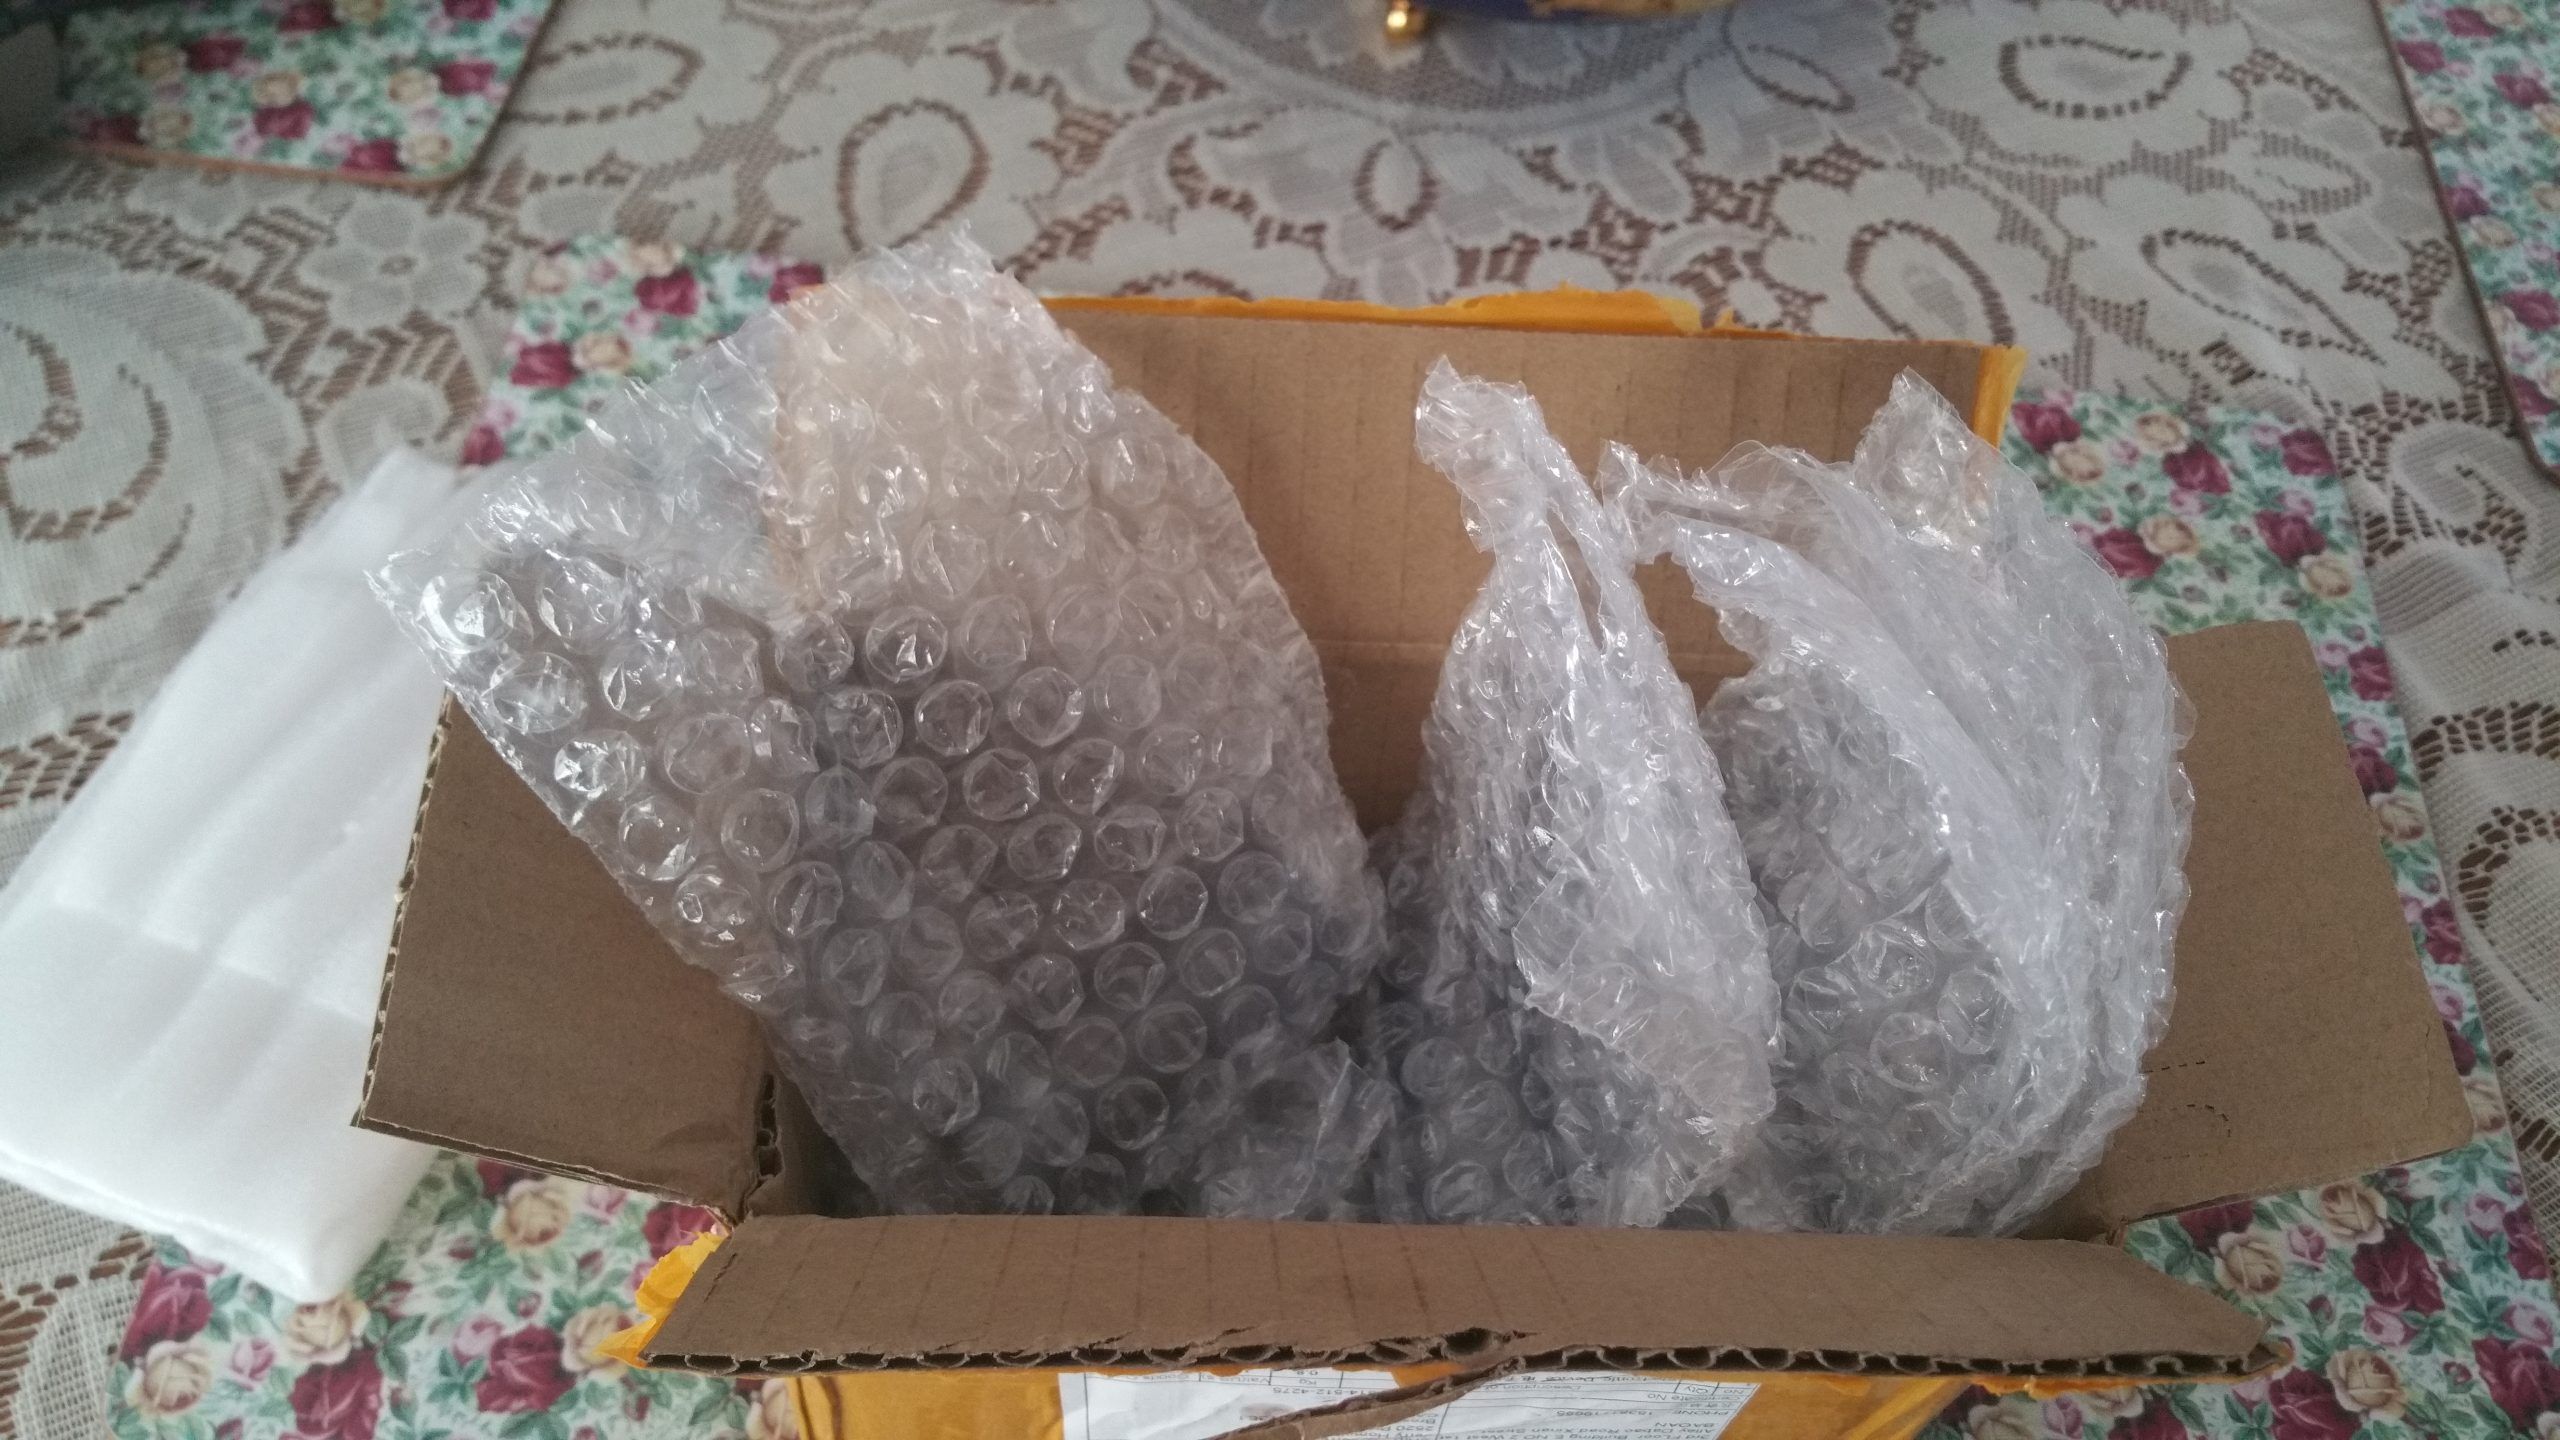
It took a mere 1 month and 2 days to receive the batteries, and here I was planning more like along the lines of 2 months… and yet today when I looked in the mailbox, I had a nice small box tucked in there crushing a few of the bills:
Well, I kind of got caught now because as of today I have not yet done my due diligence in getting more info on the few remaining parts… but the weekend is not far away, so hopefully I will be able to get the few missing pieces of the puzzle!
More to come later once the parts arrive and as my studies progress!
Addendum July 25, 2019
So, now my options are to research if the current electrical parts in the old battery can be transferred/reused, or do I need parts specific to this new project. I am not an electrical engineer, but I am not stupid and I can learn new things, especially for small projects like this.
I had the same attitude back when I started with my car. I had to learn how to do my own oil changes and spark plugs and before I sold that car, I was able to take out the engine, tear it down to the last nut and bolt and reassemble it and have it working BETTER than before. If I can do that, I can do this. I can learn the details of what is needed to make this project a small DIY success. My biggest challenge, like always…is time.
Opening the Old Battery
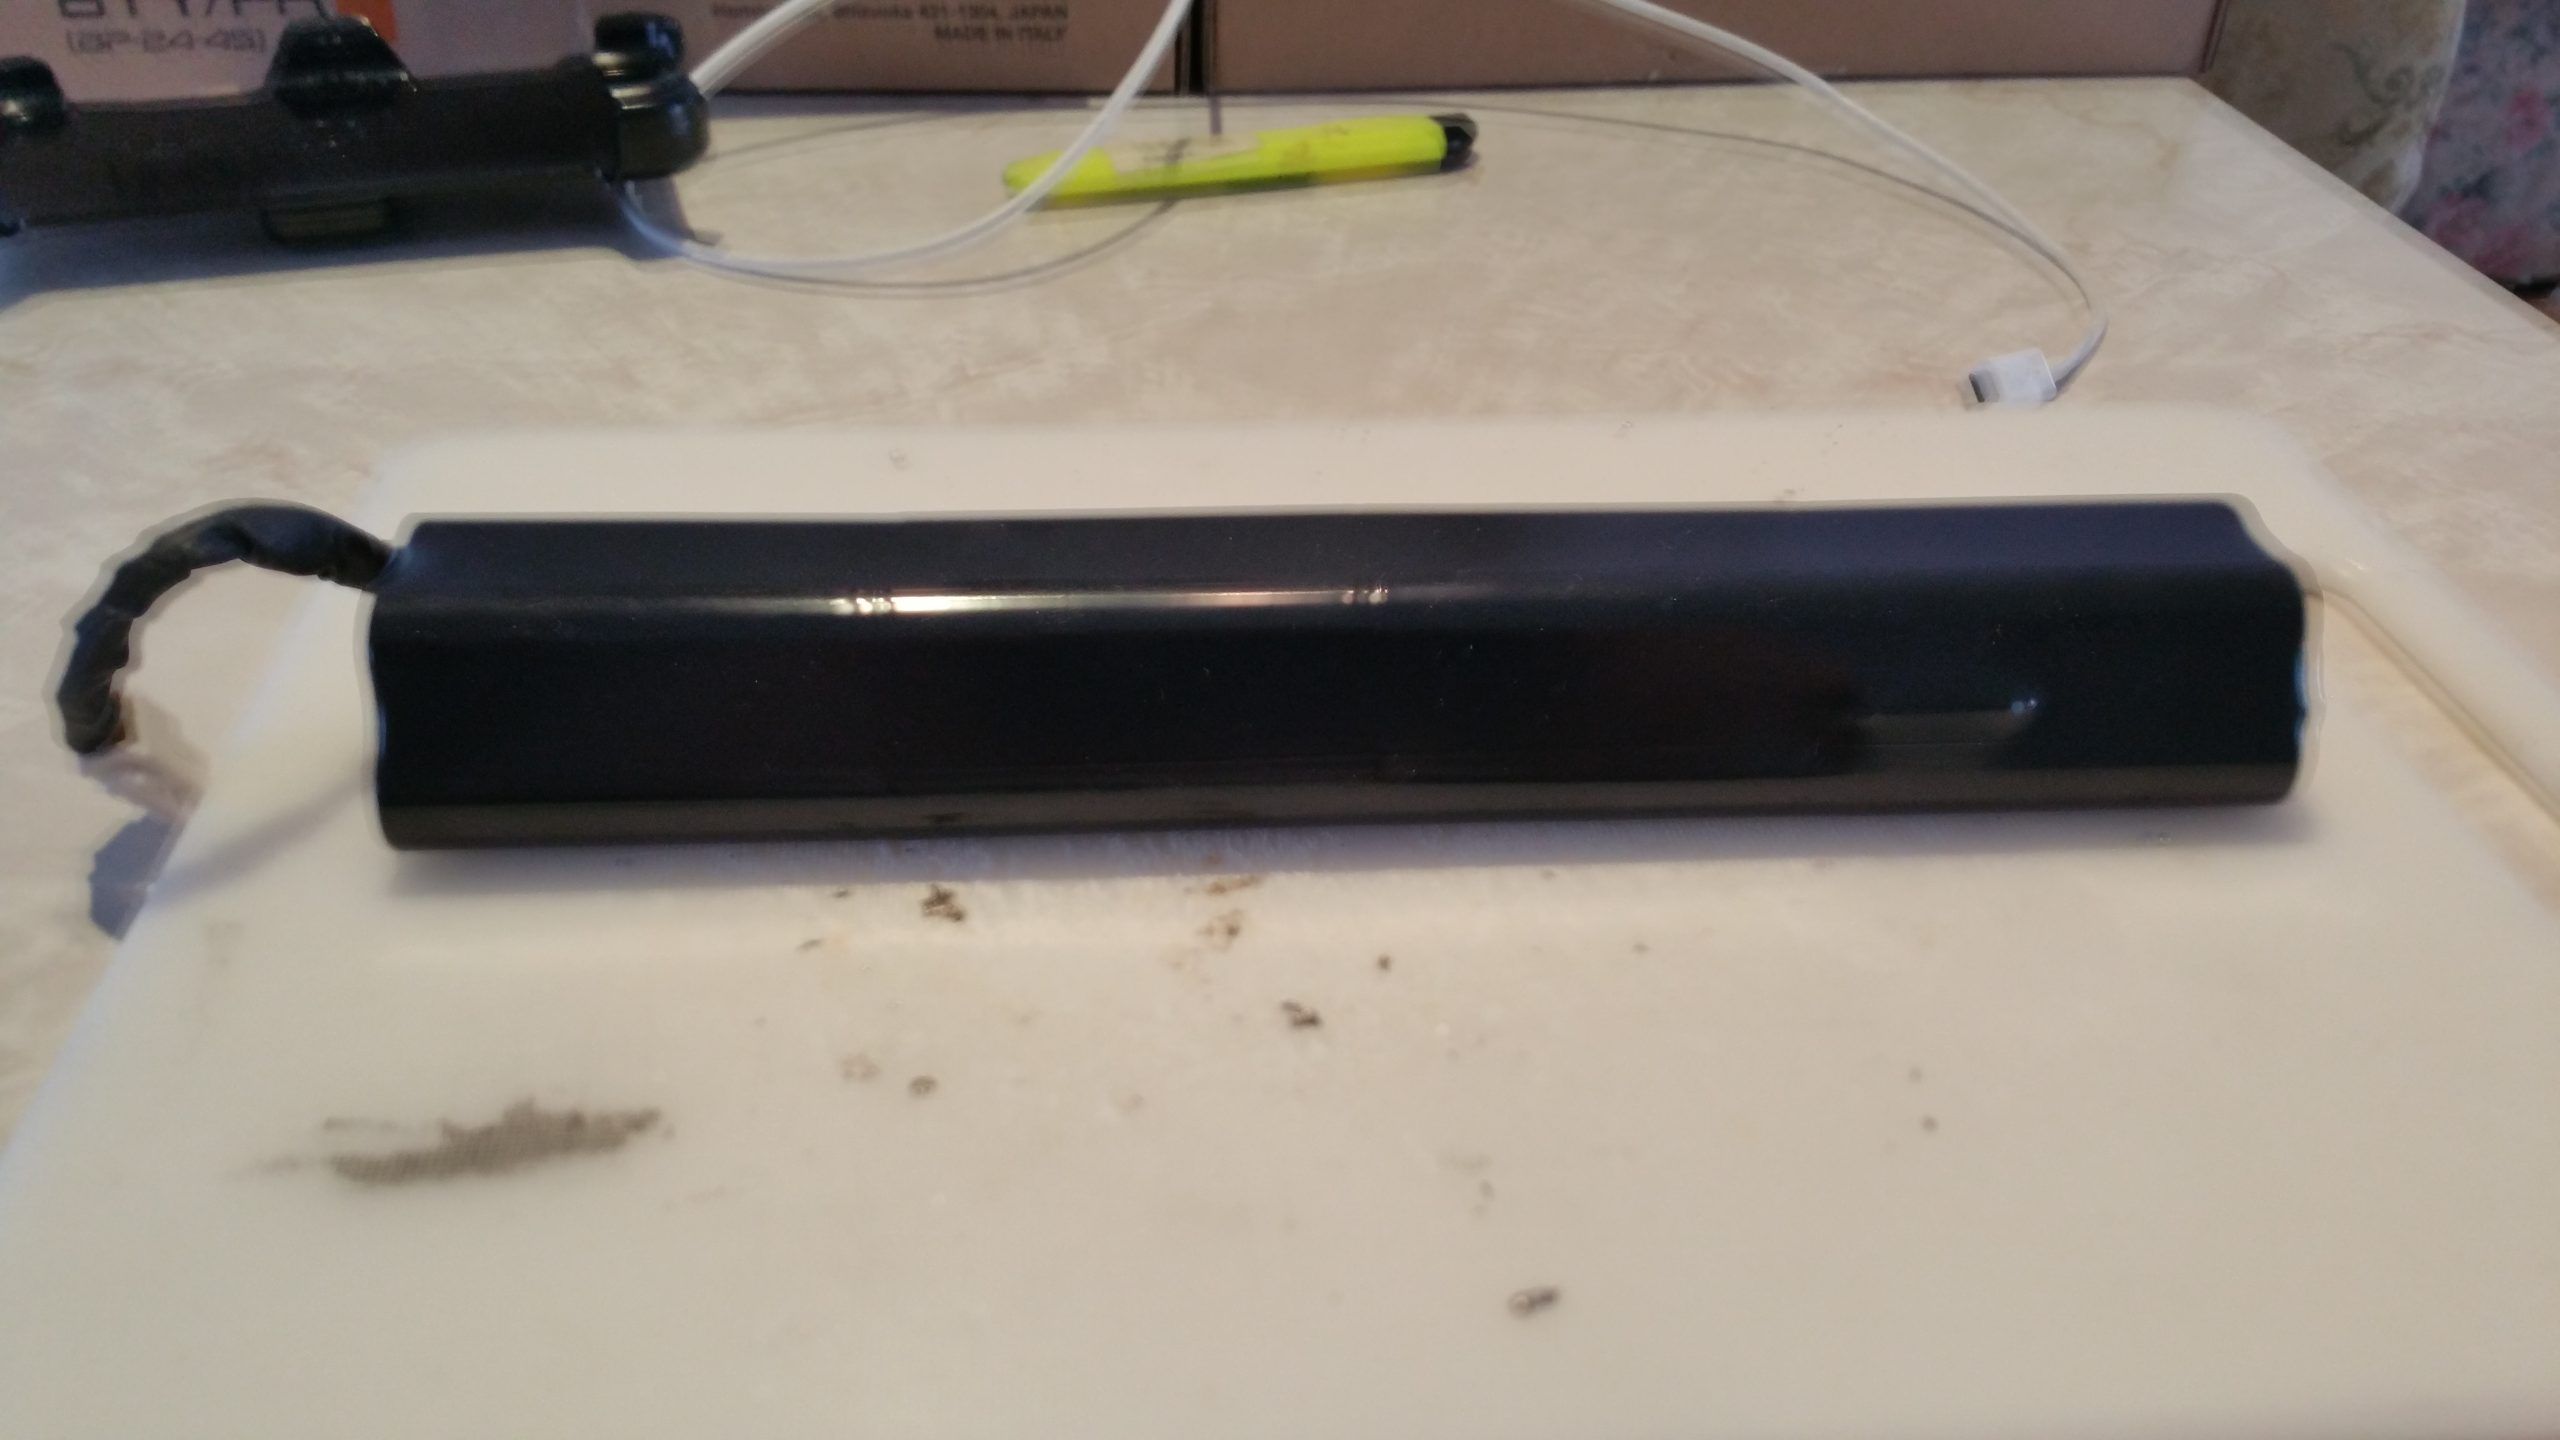
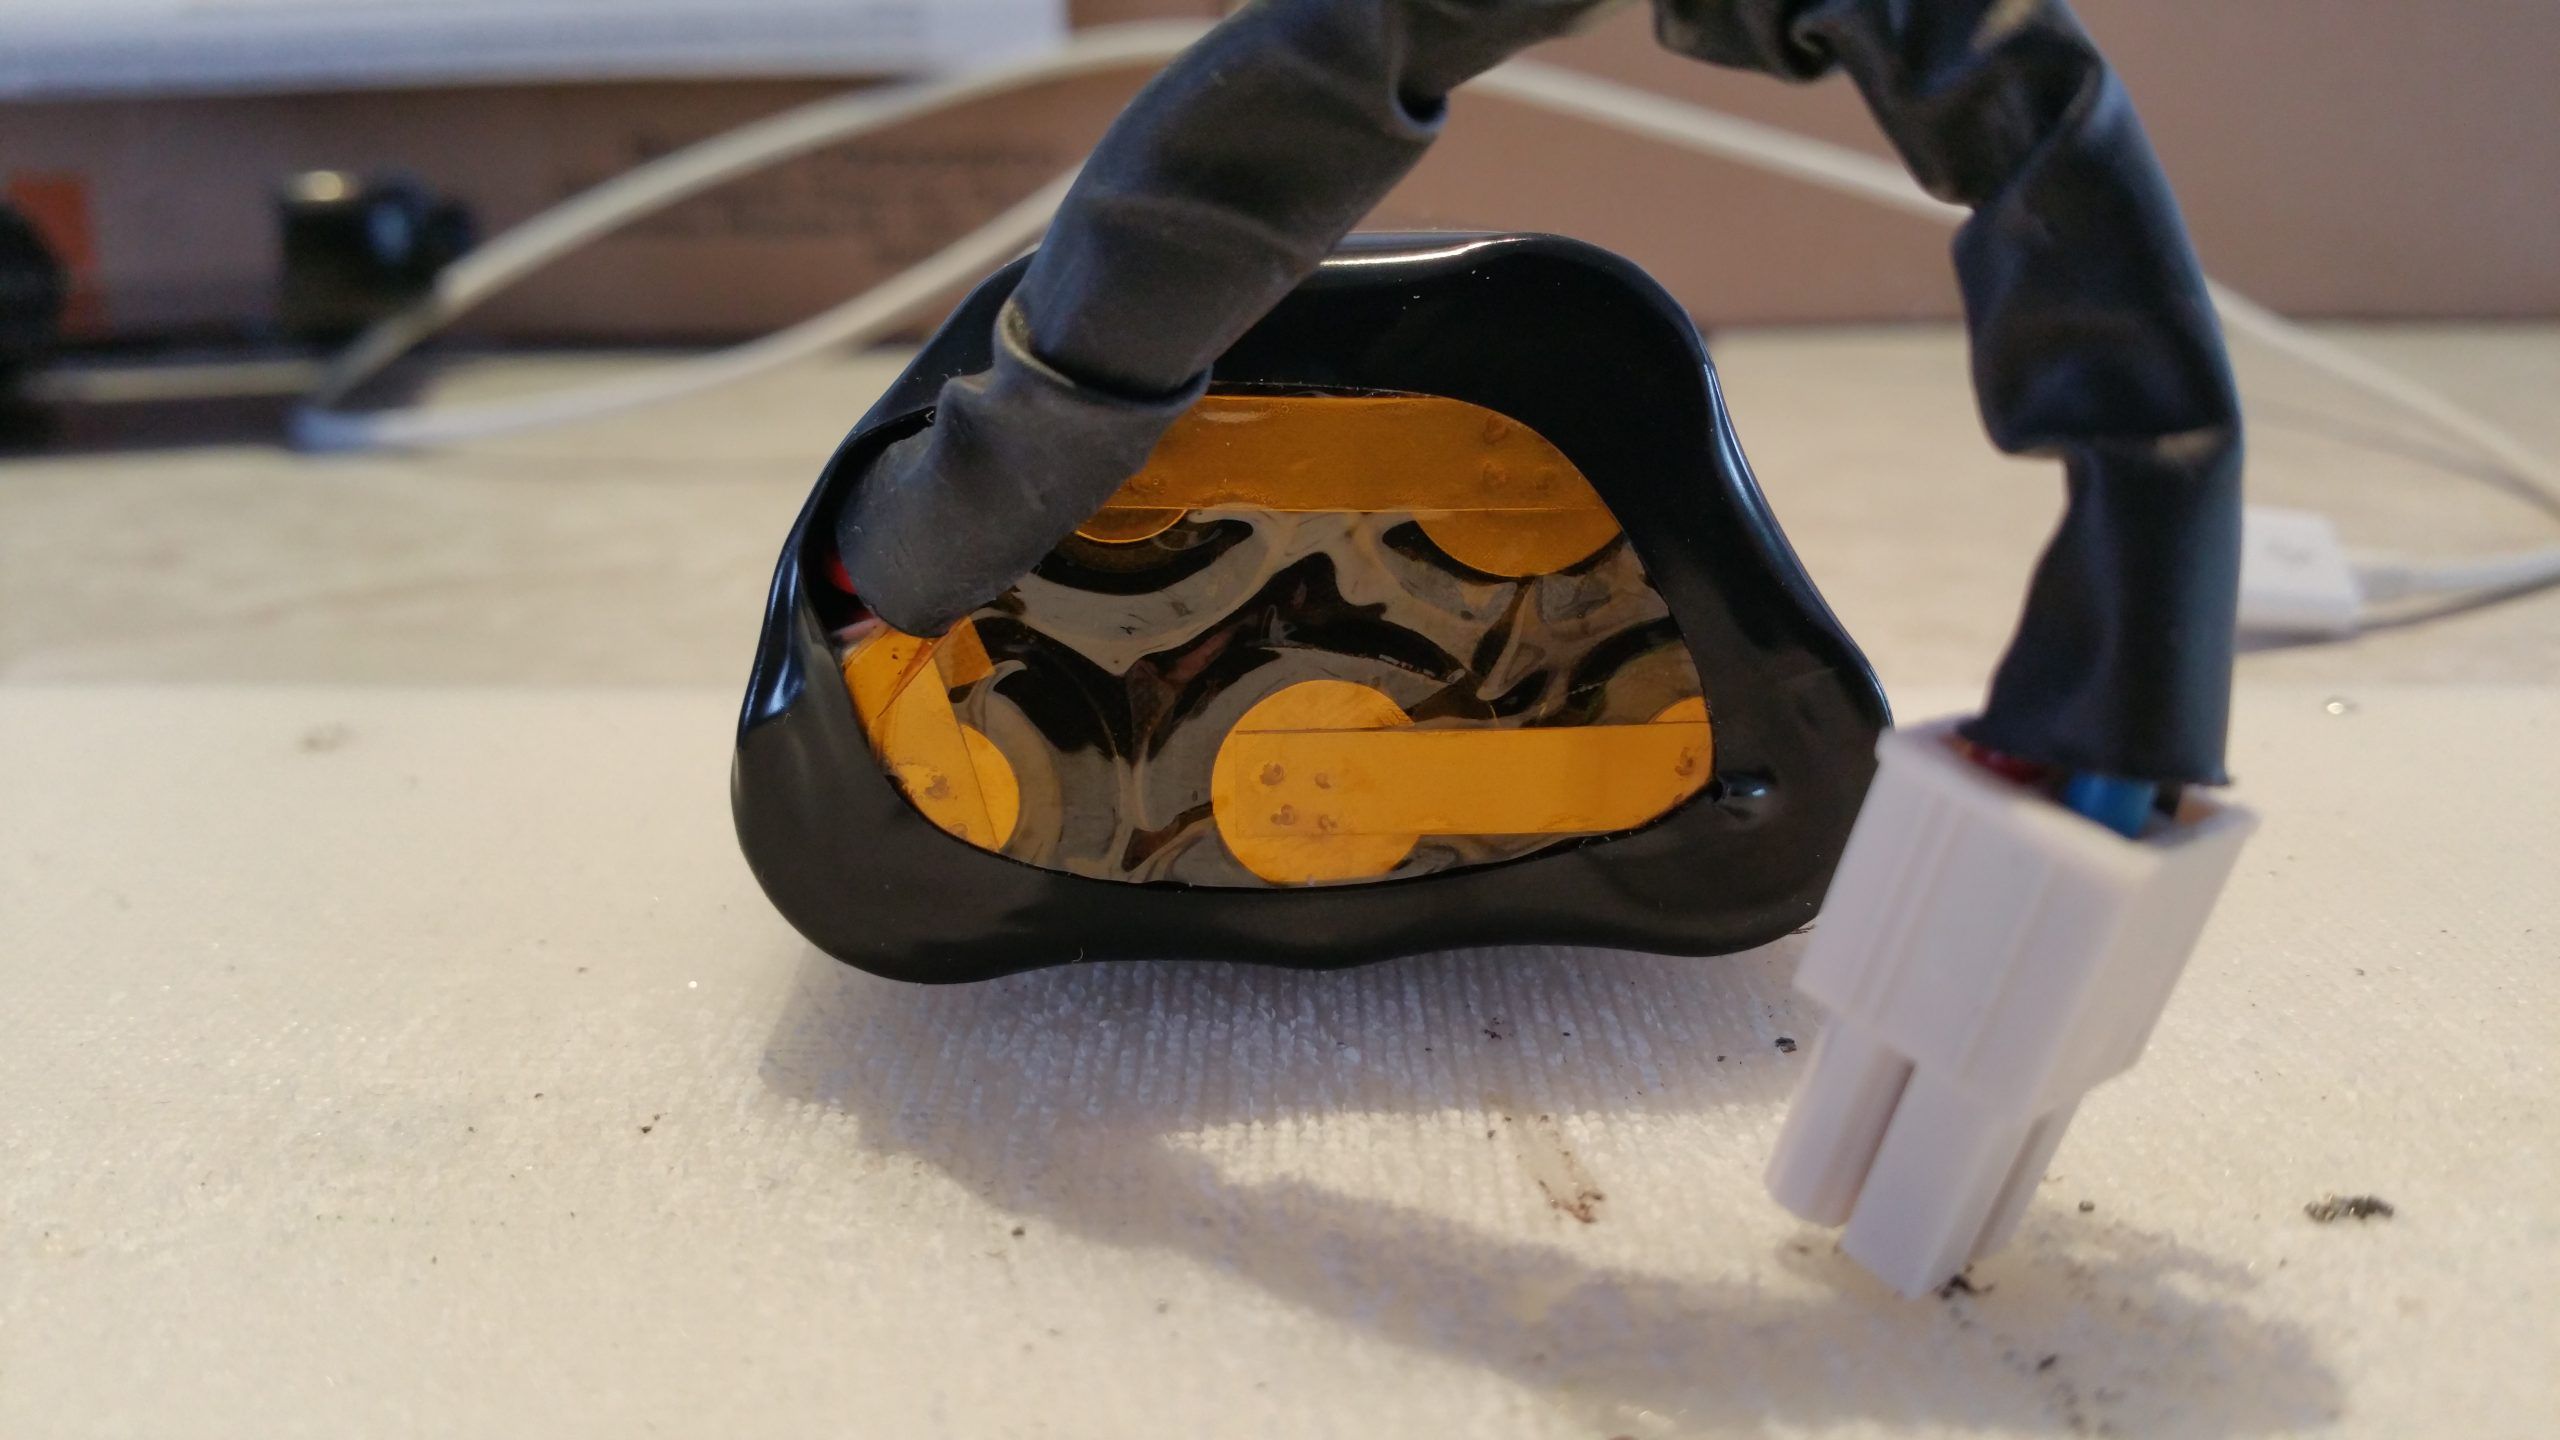
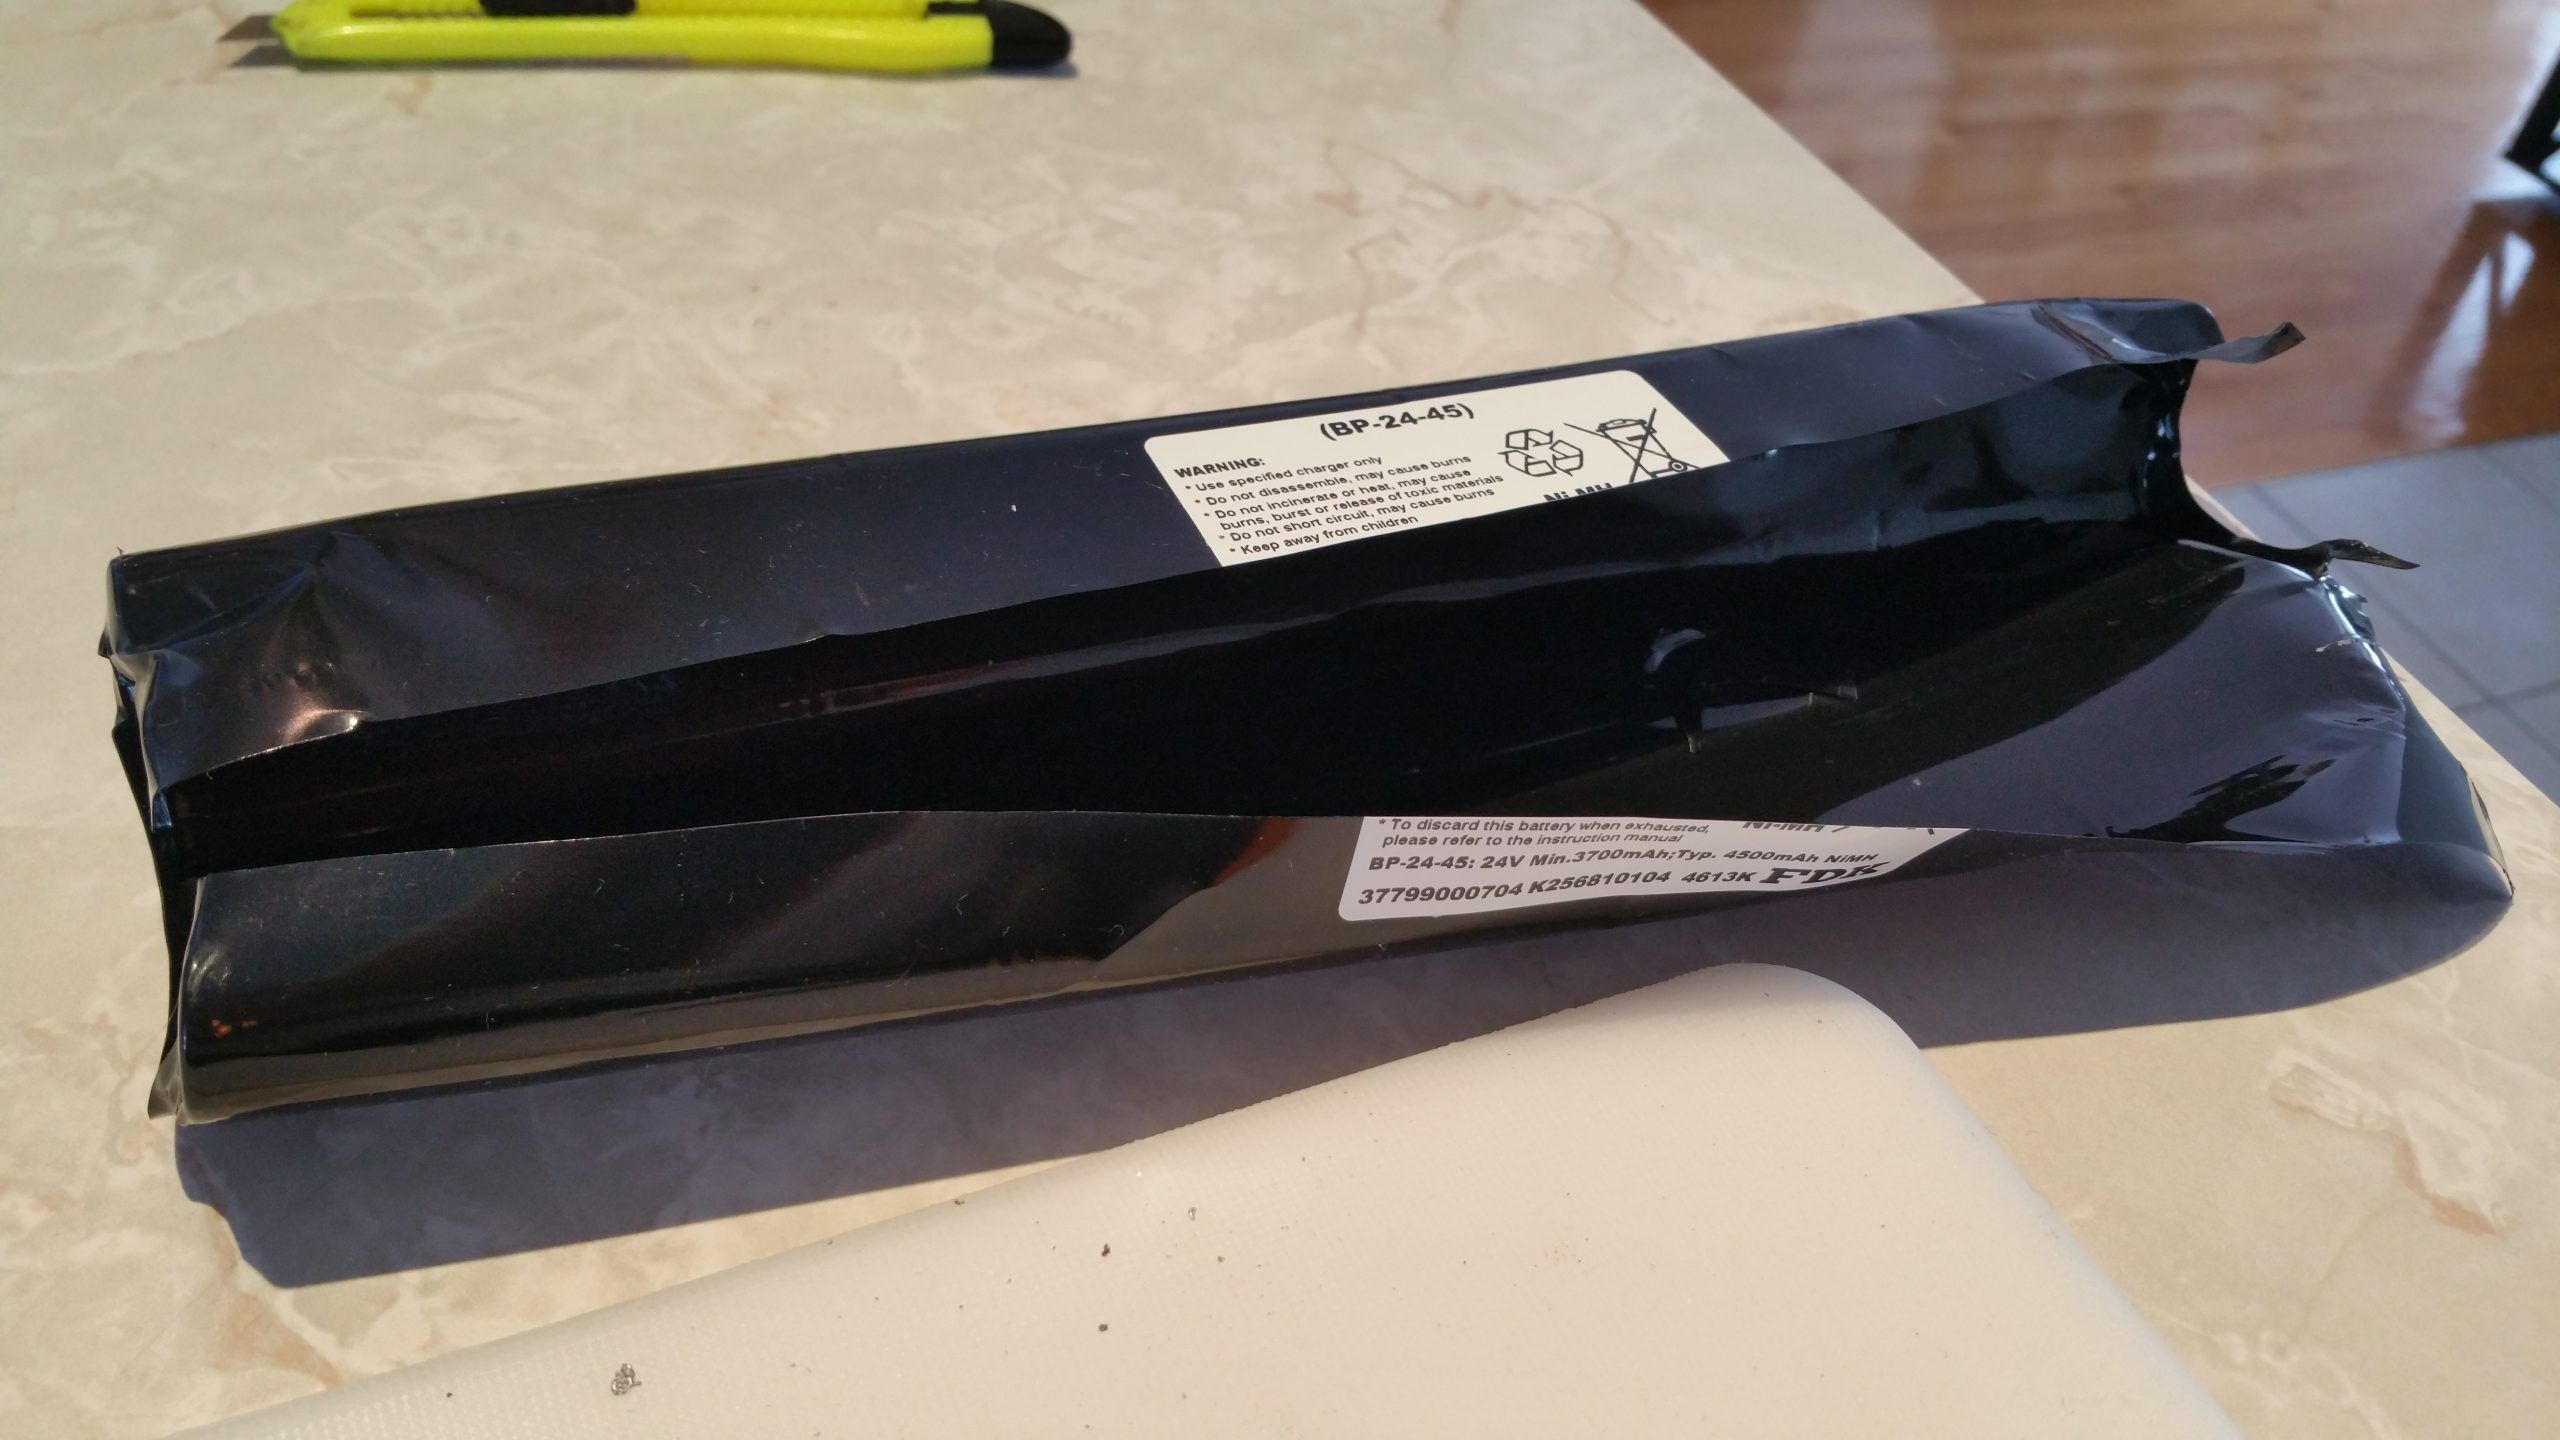
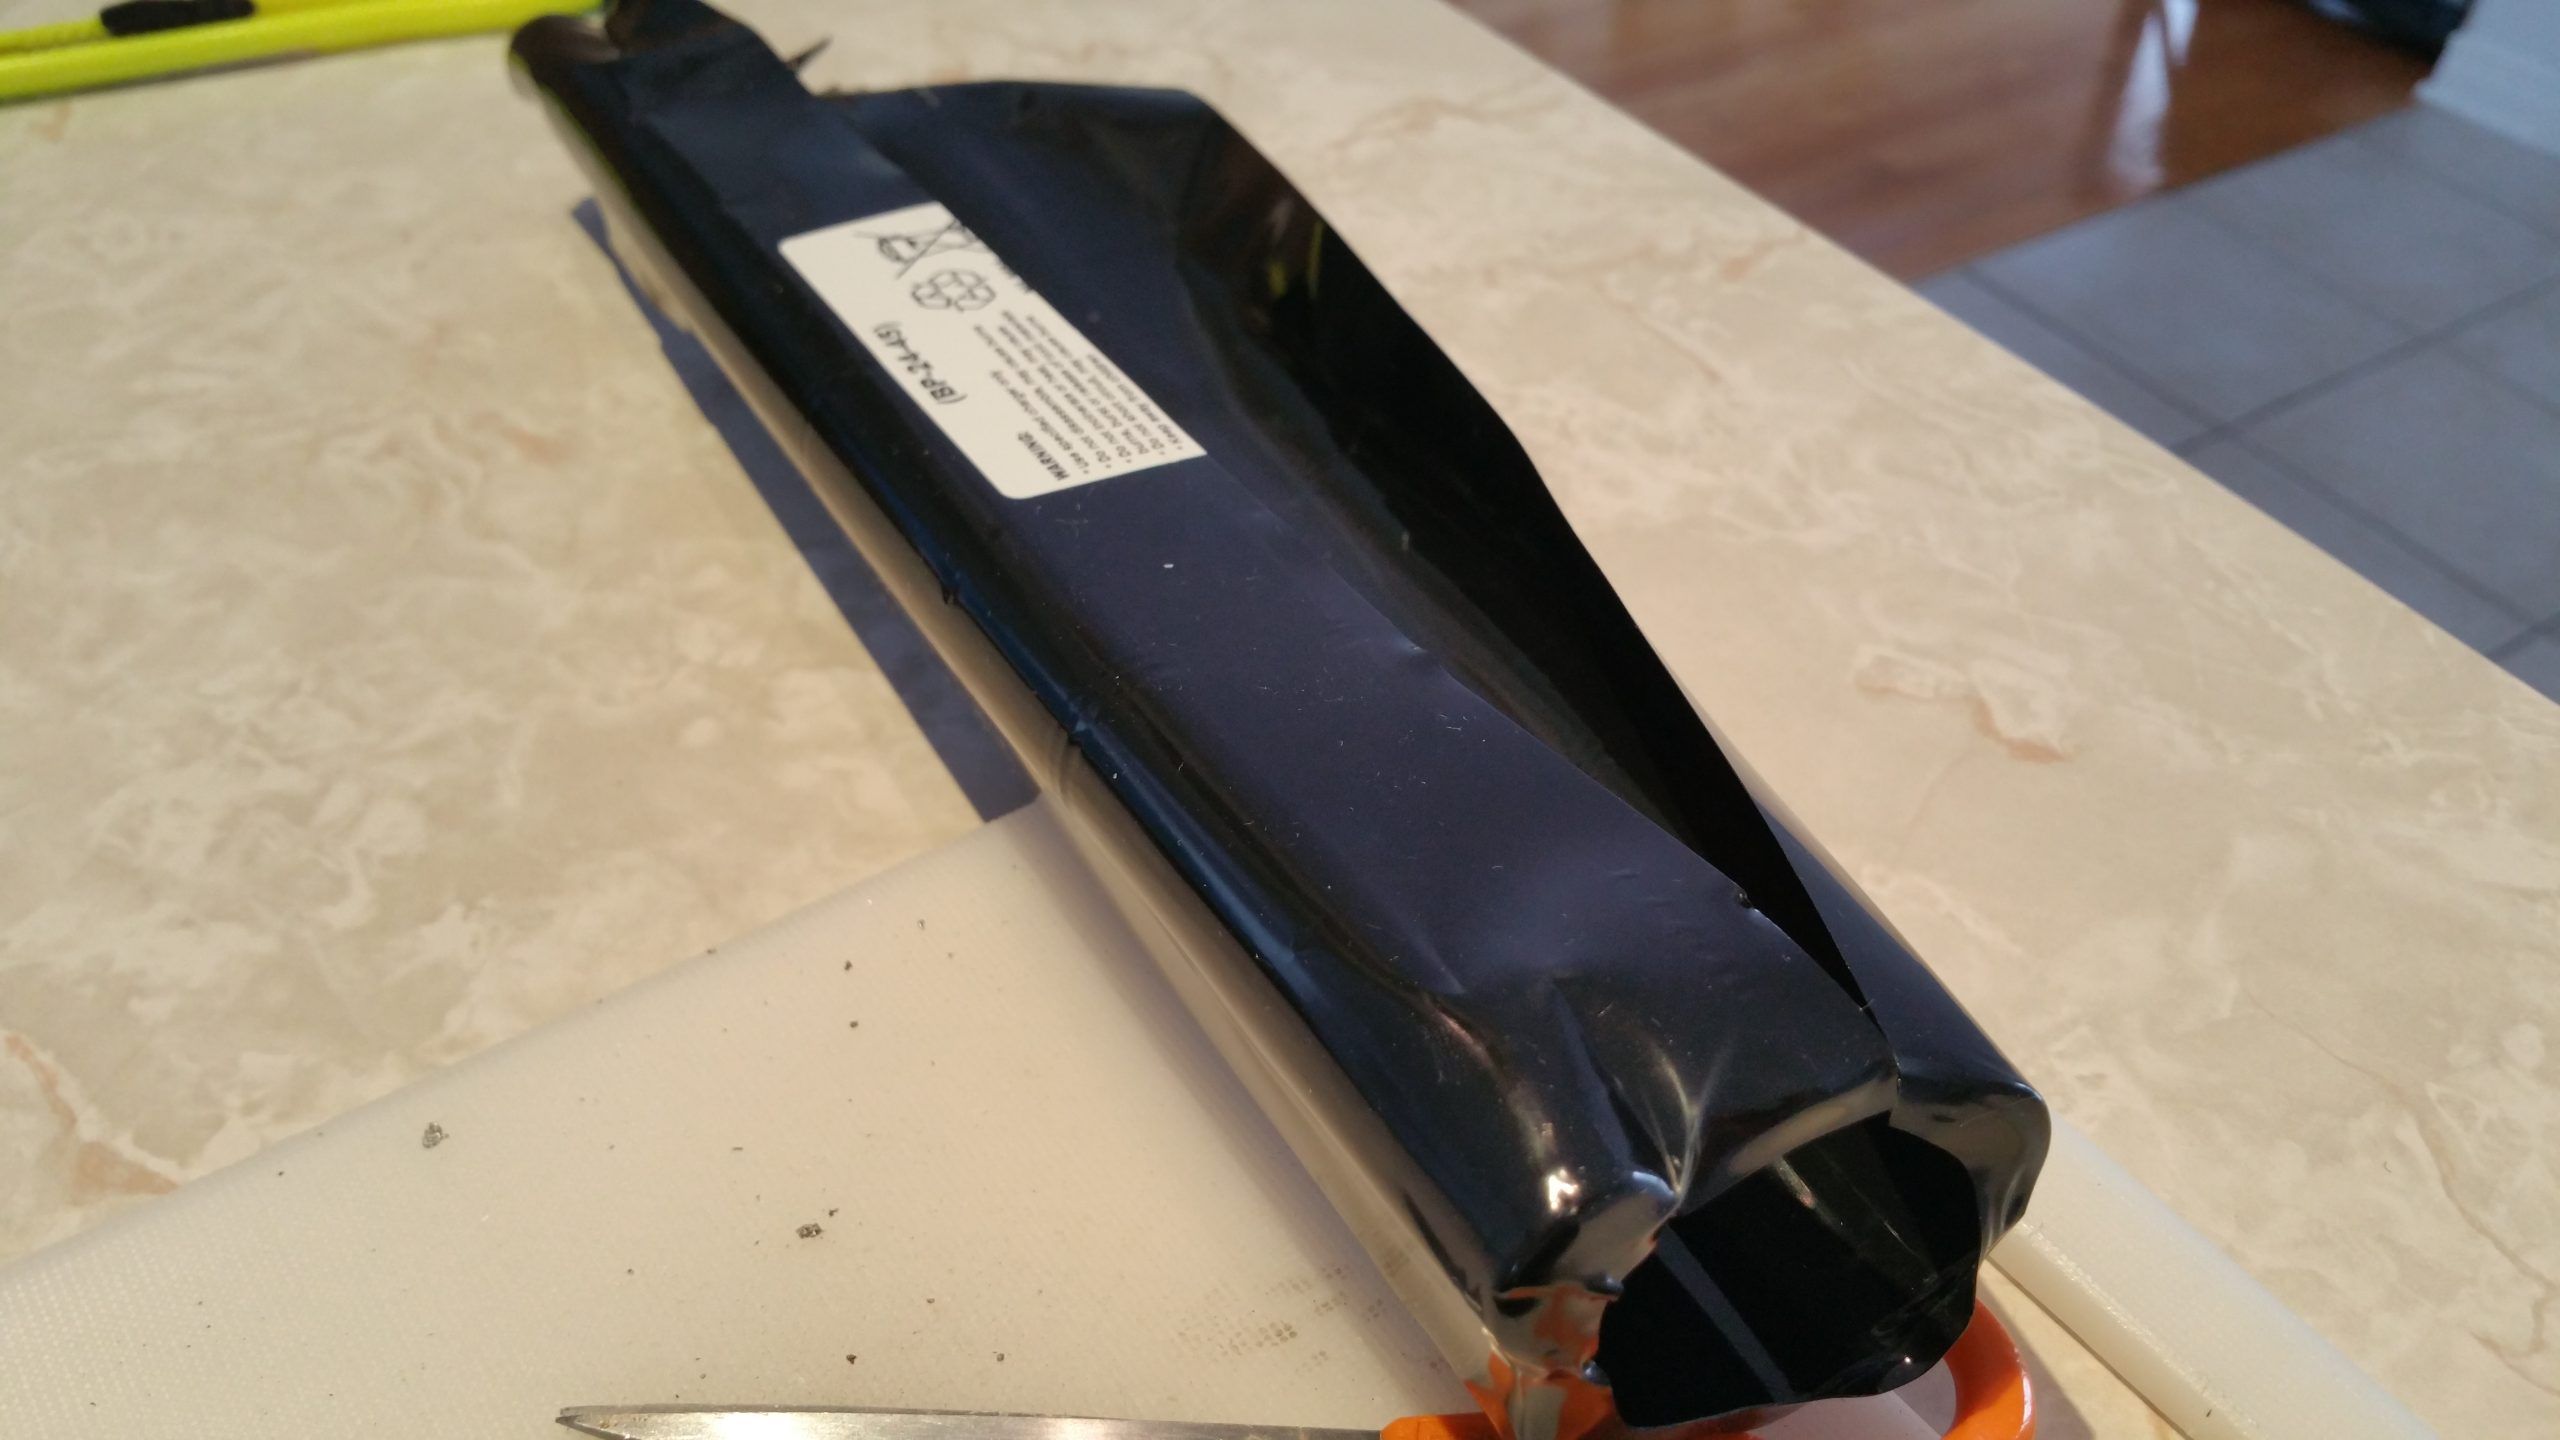
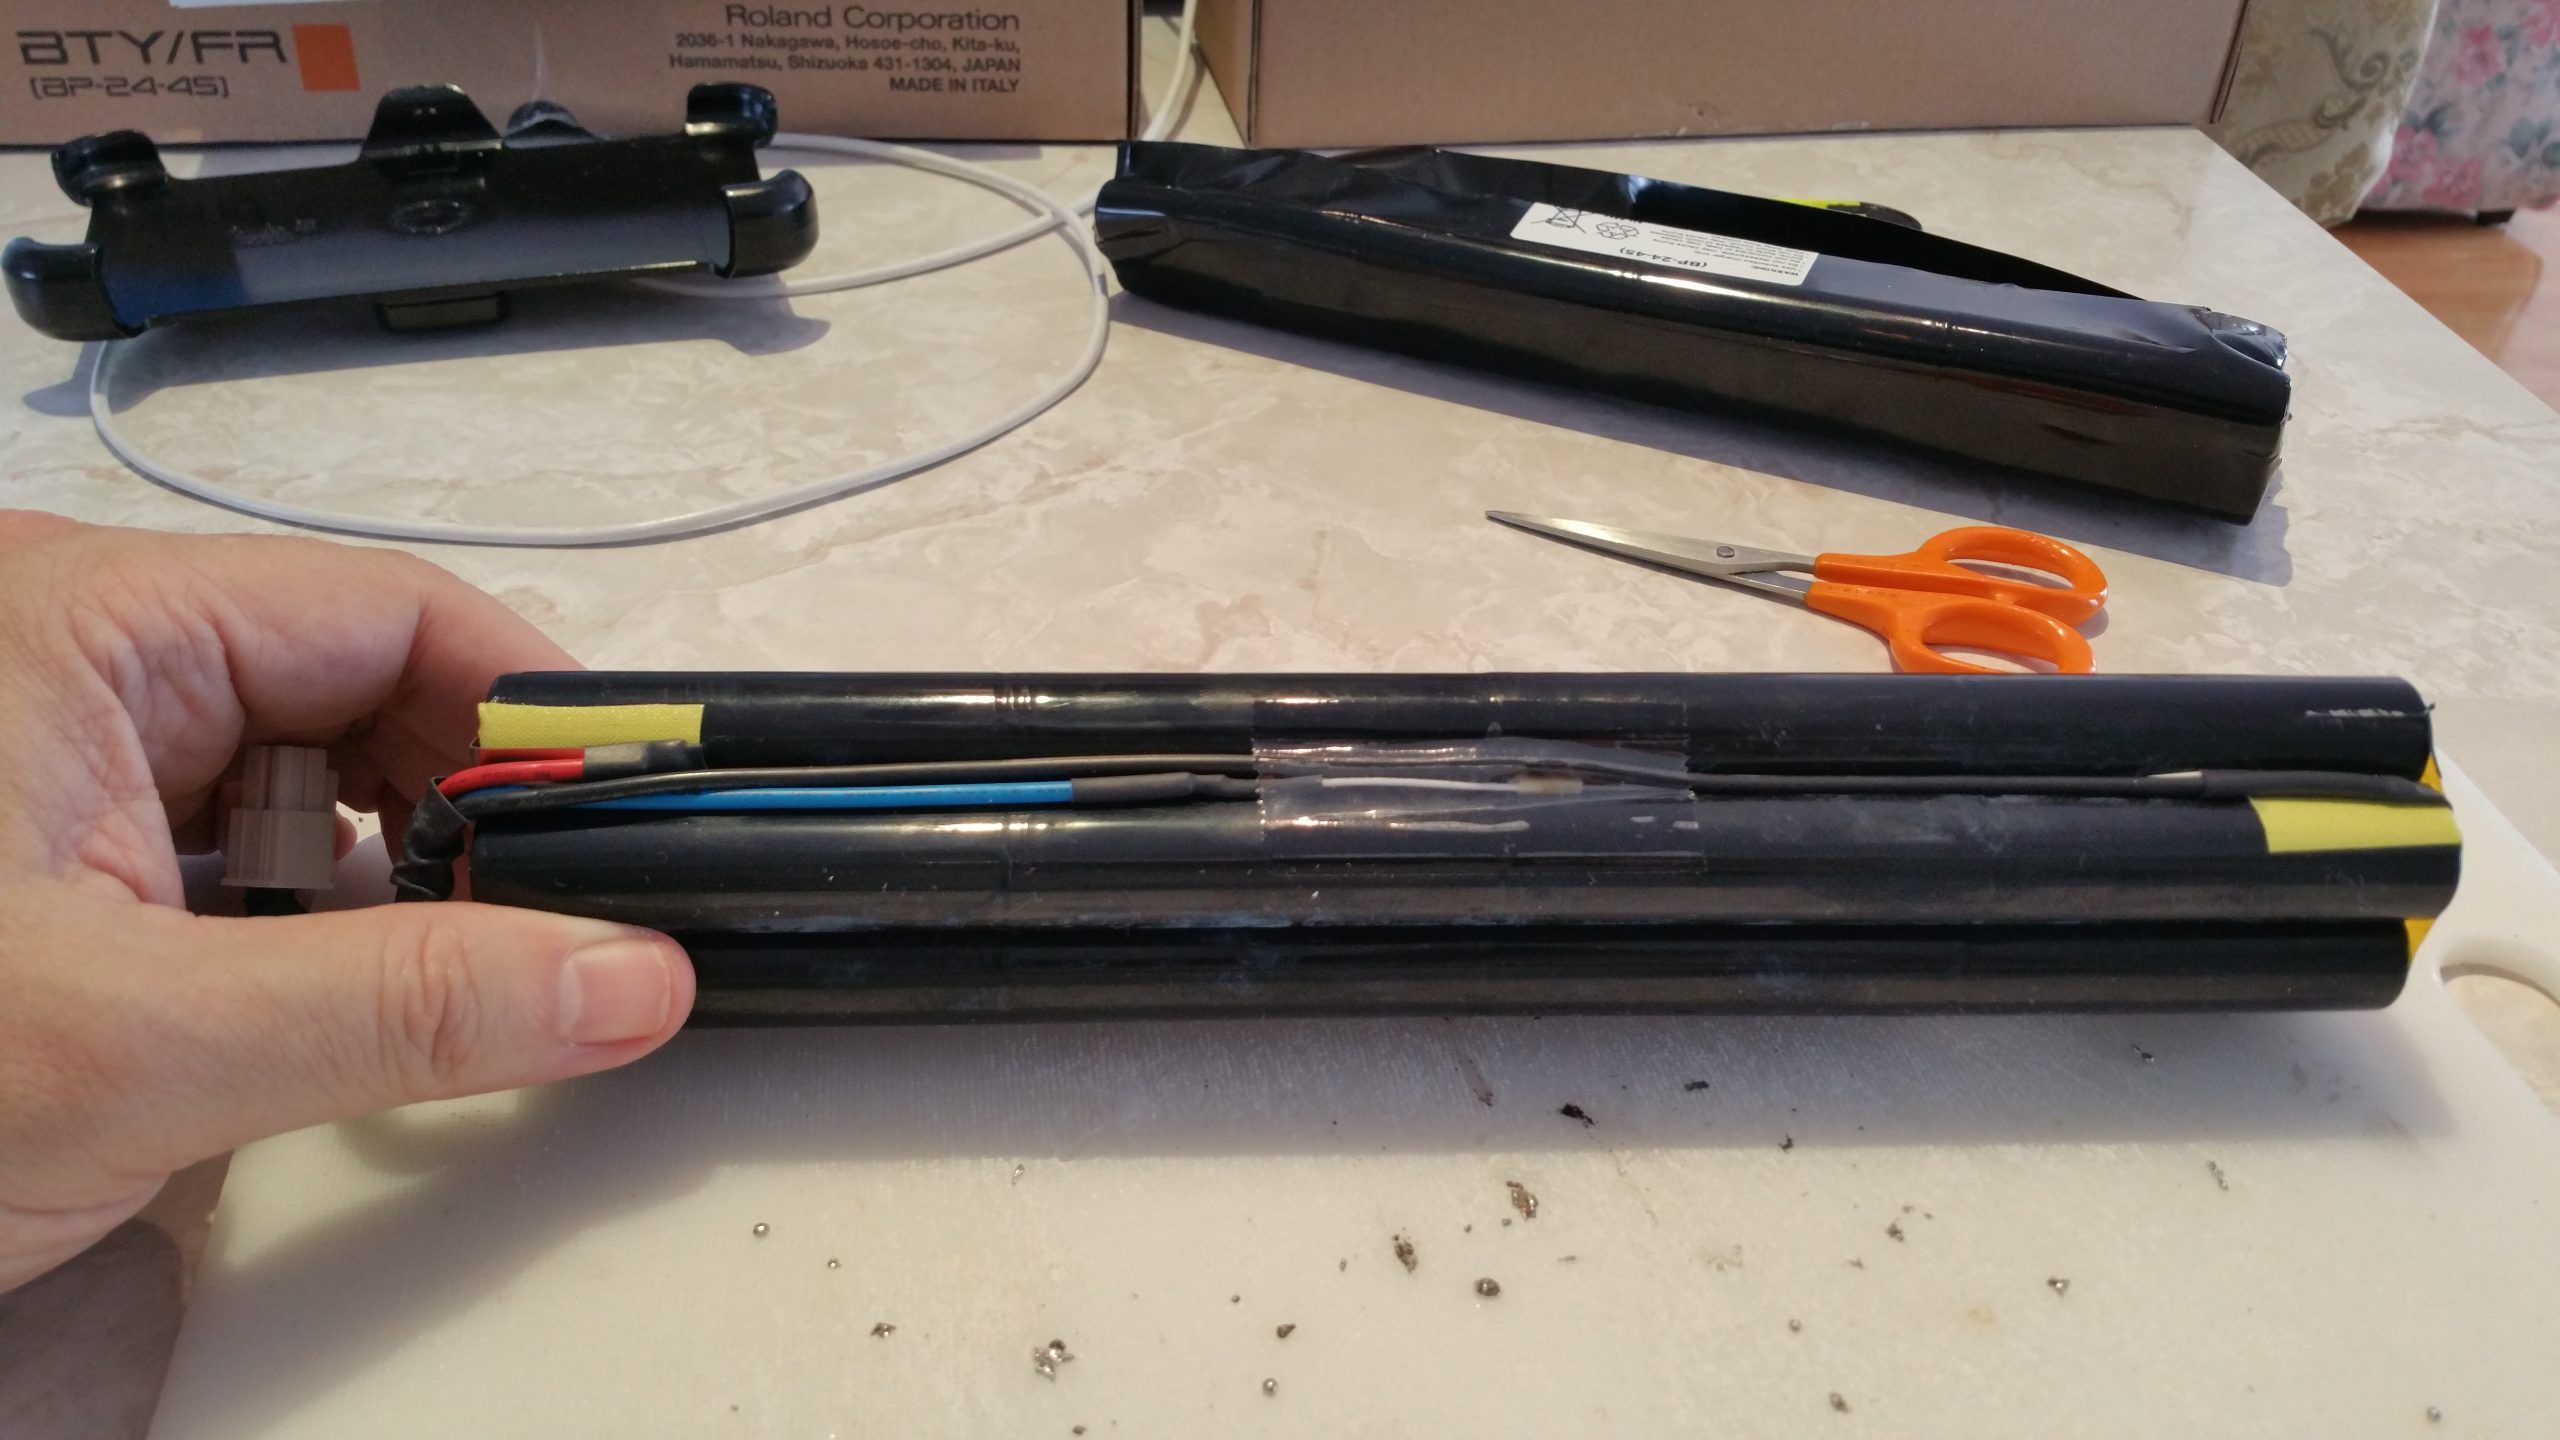
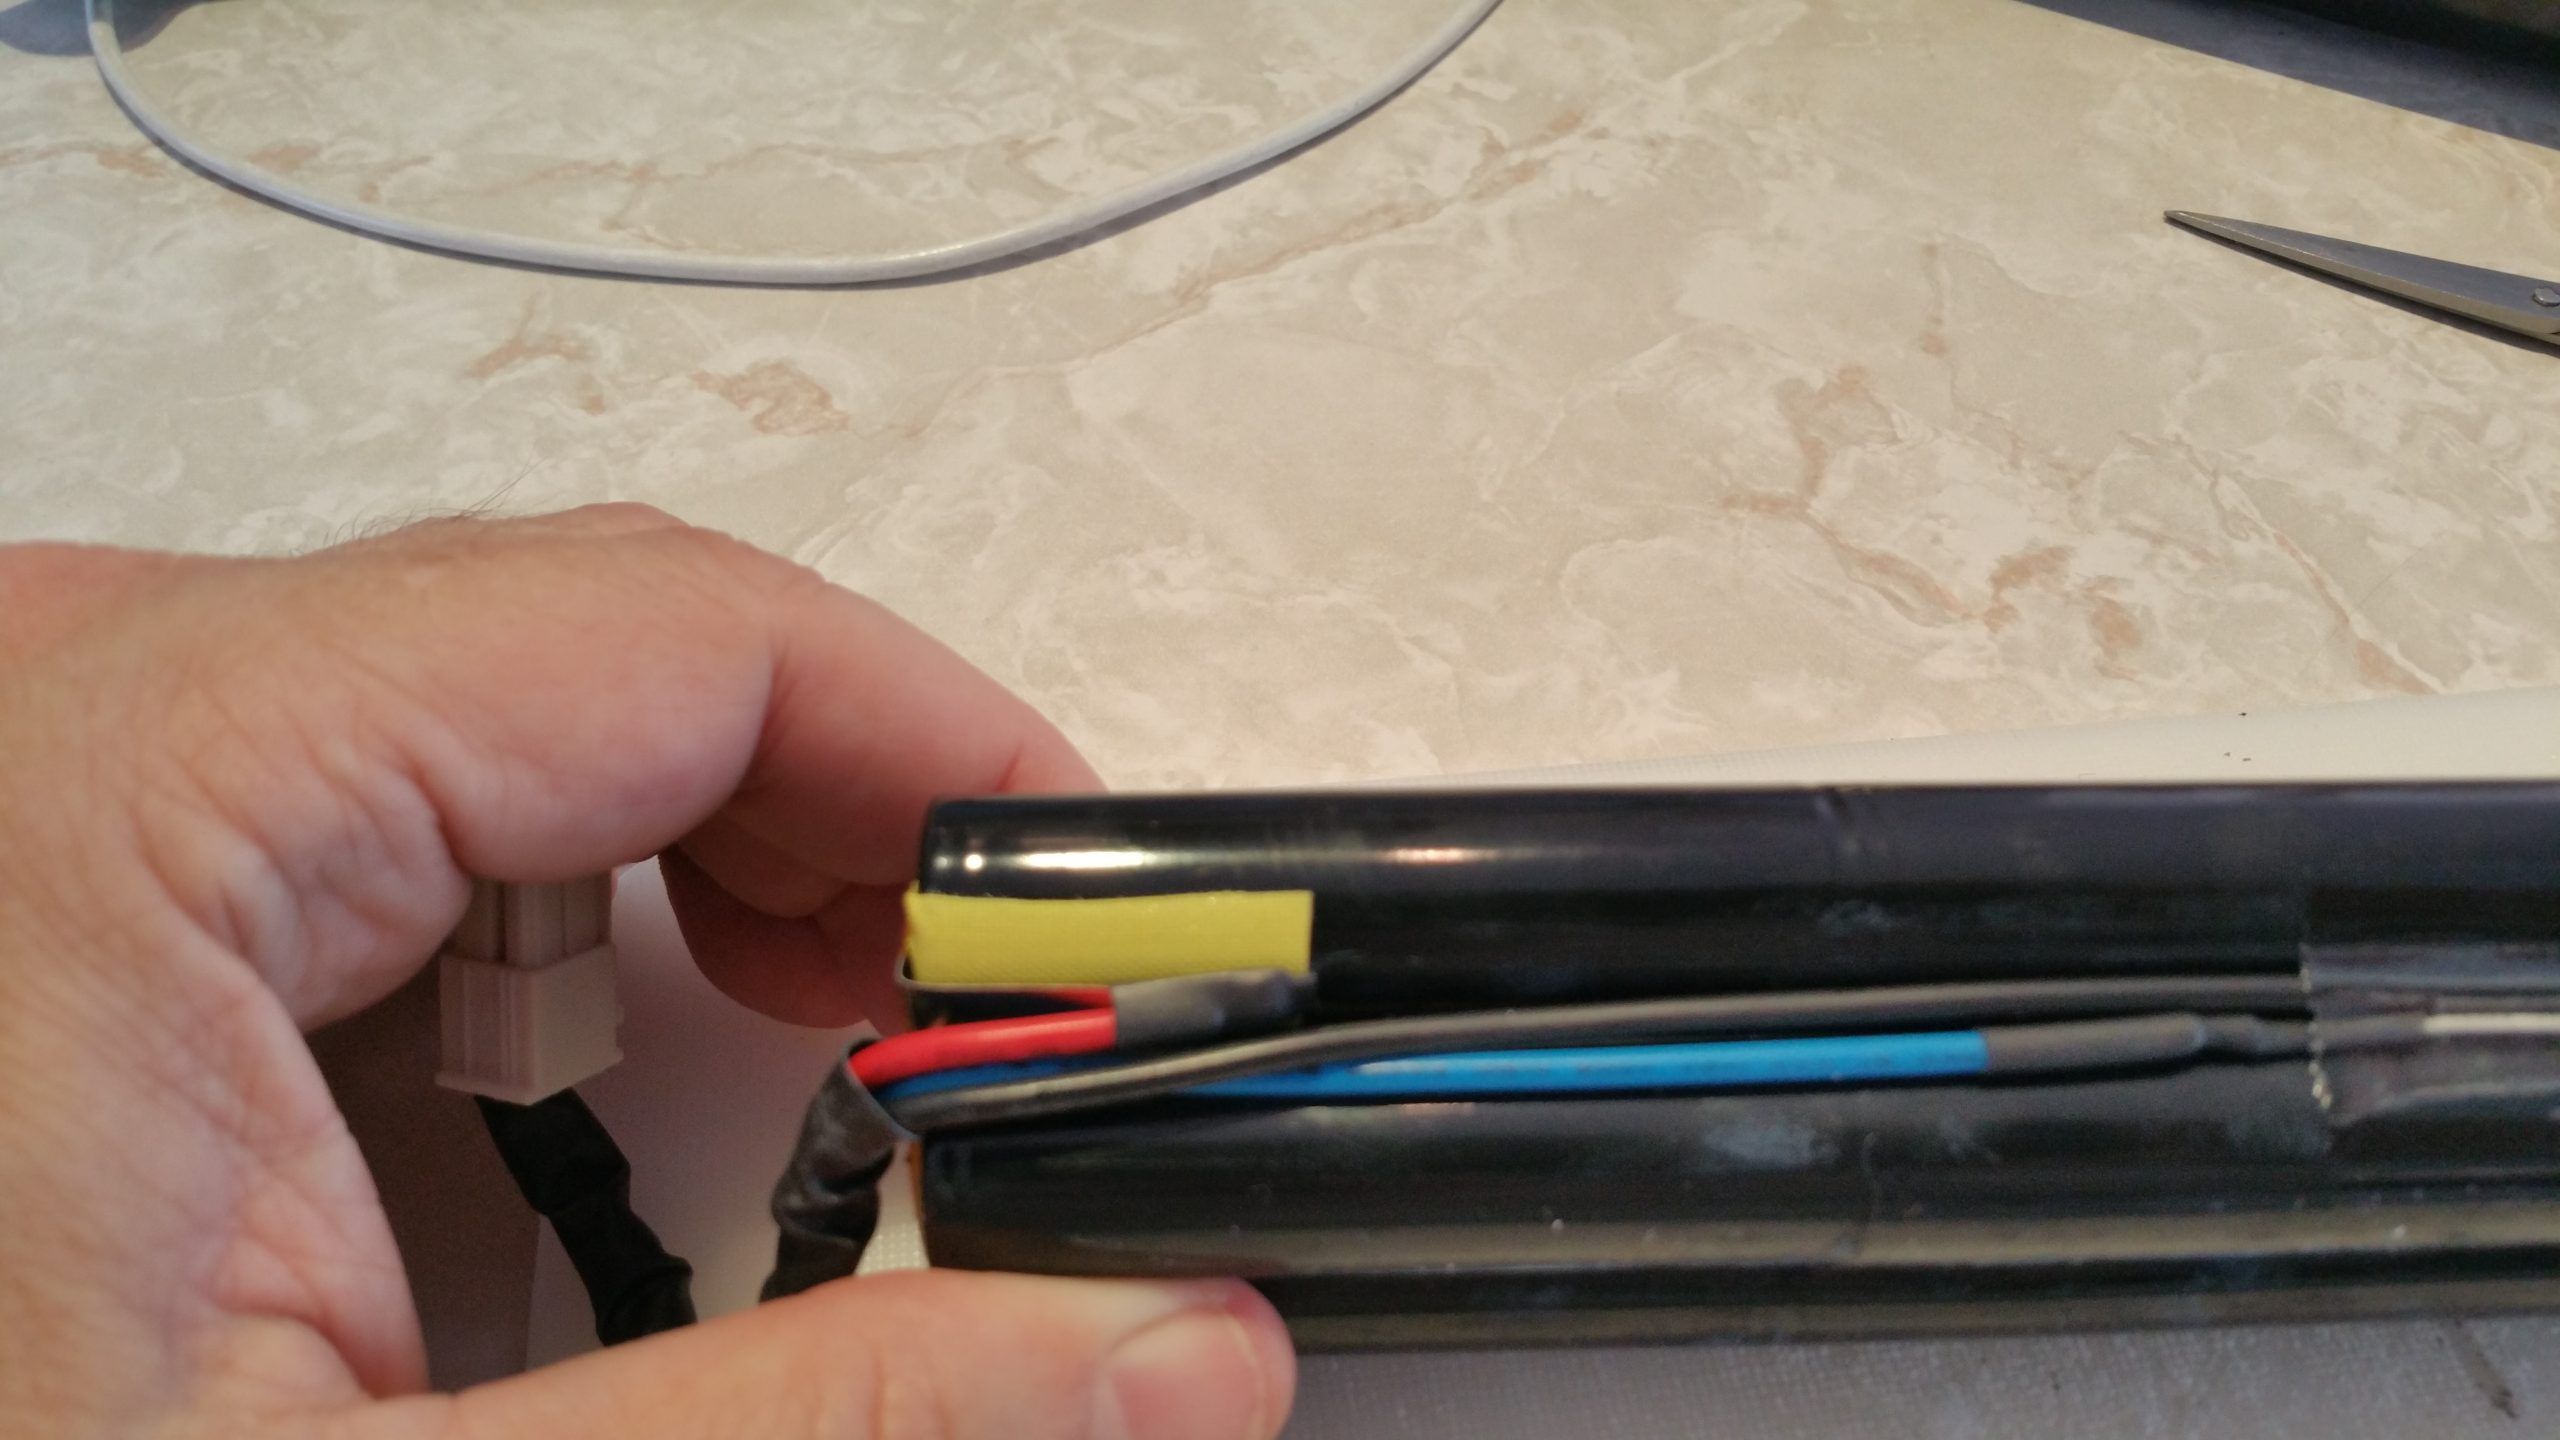
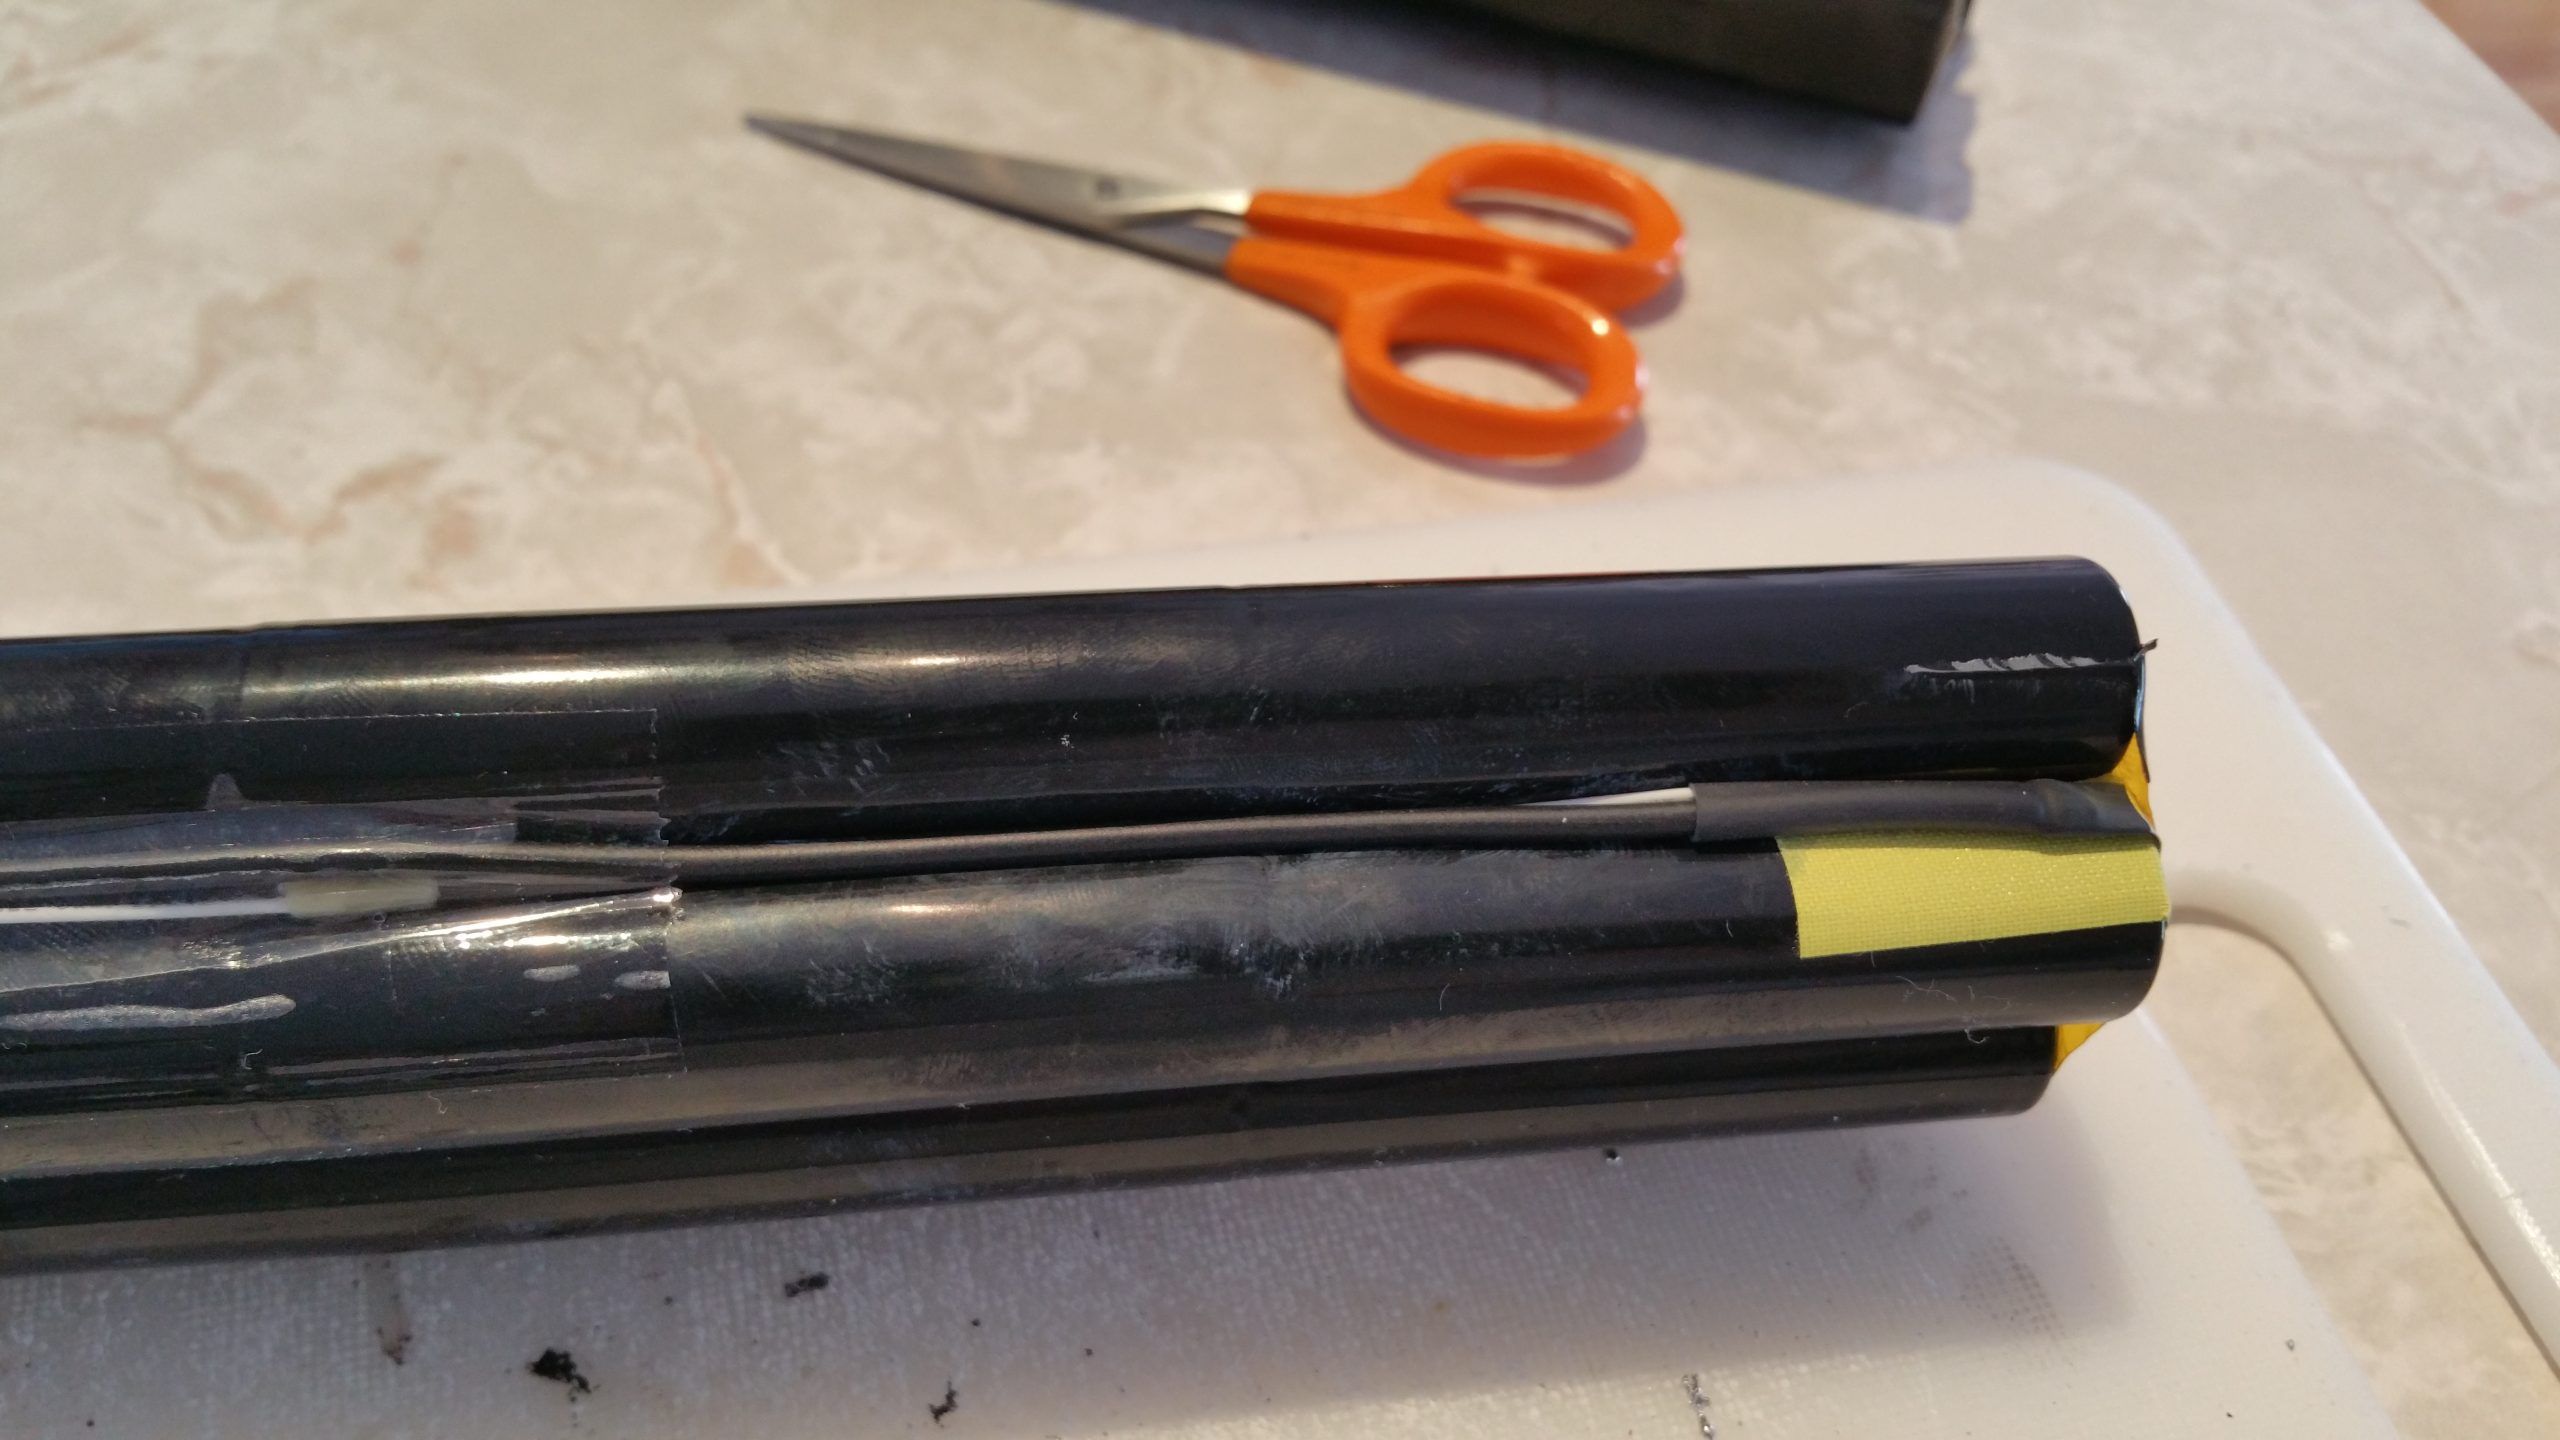
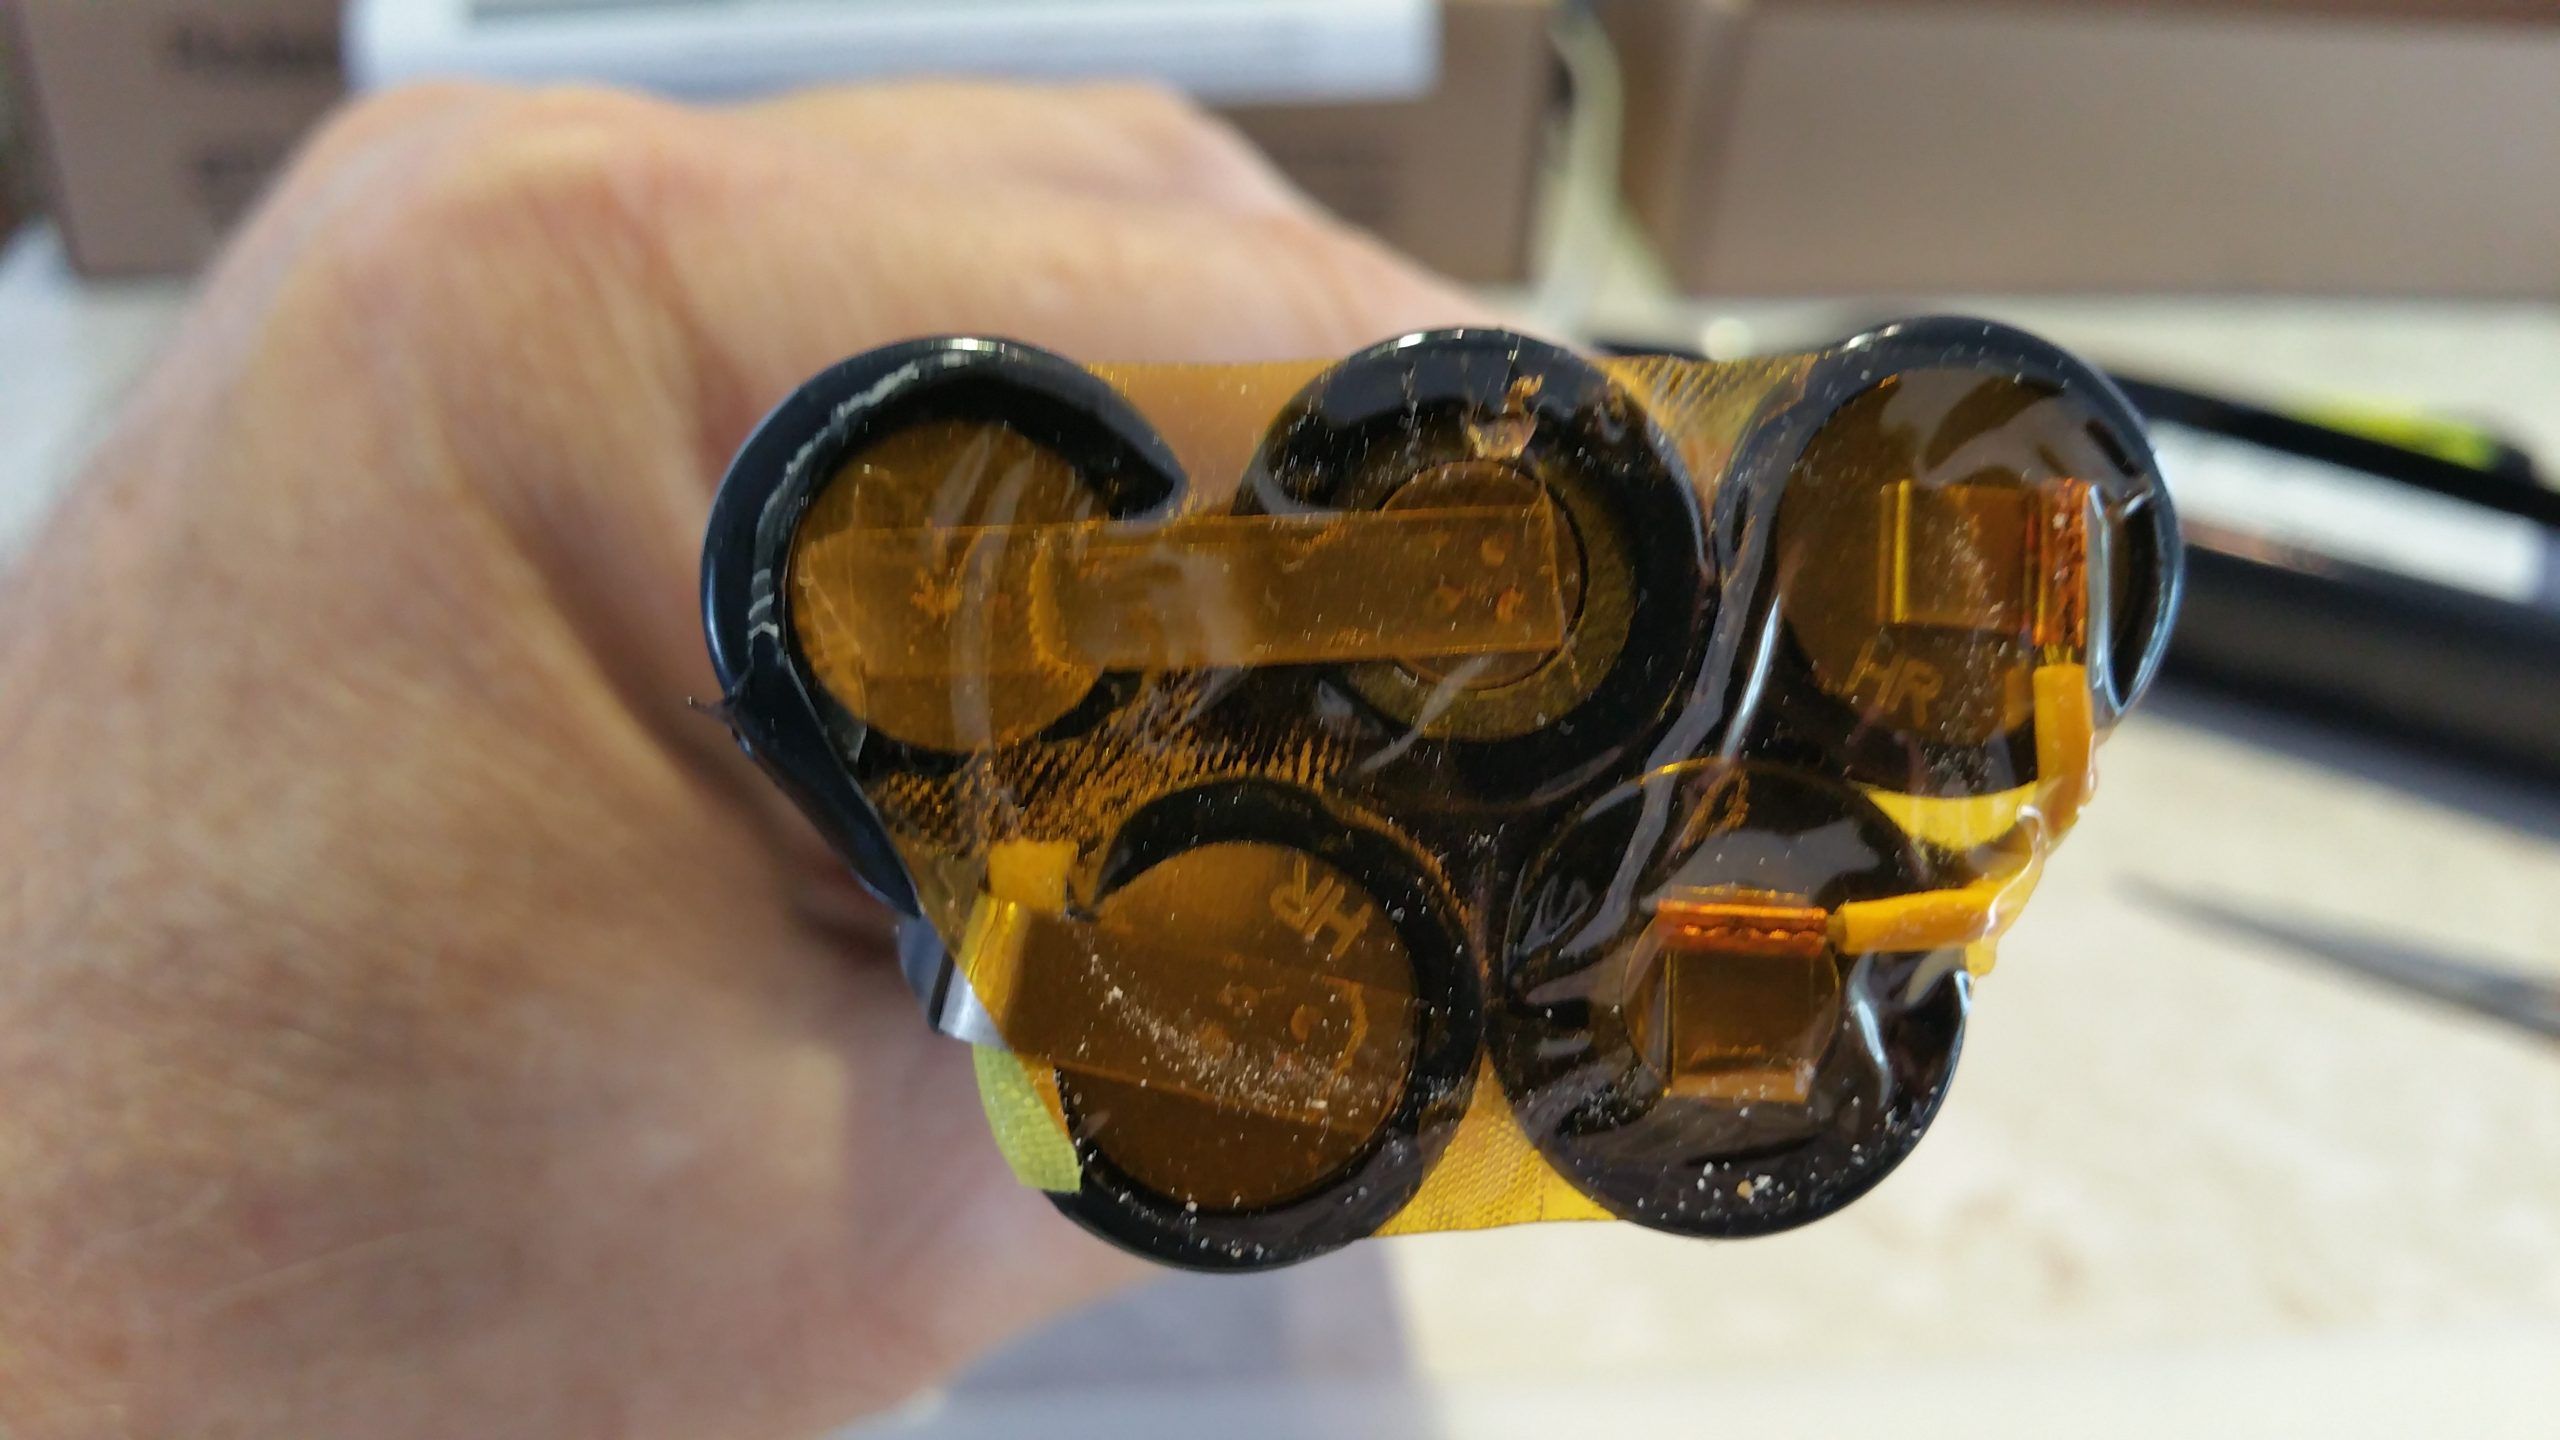
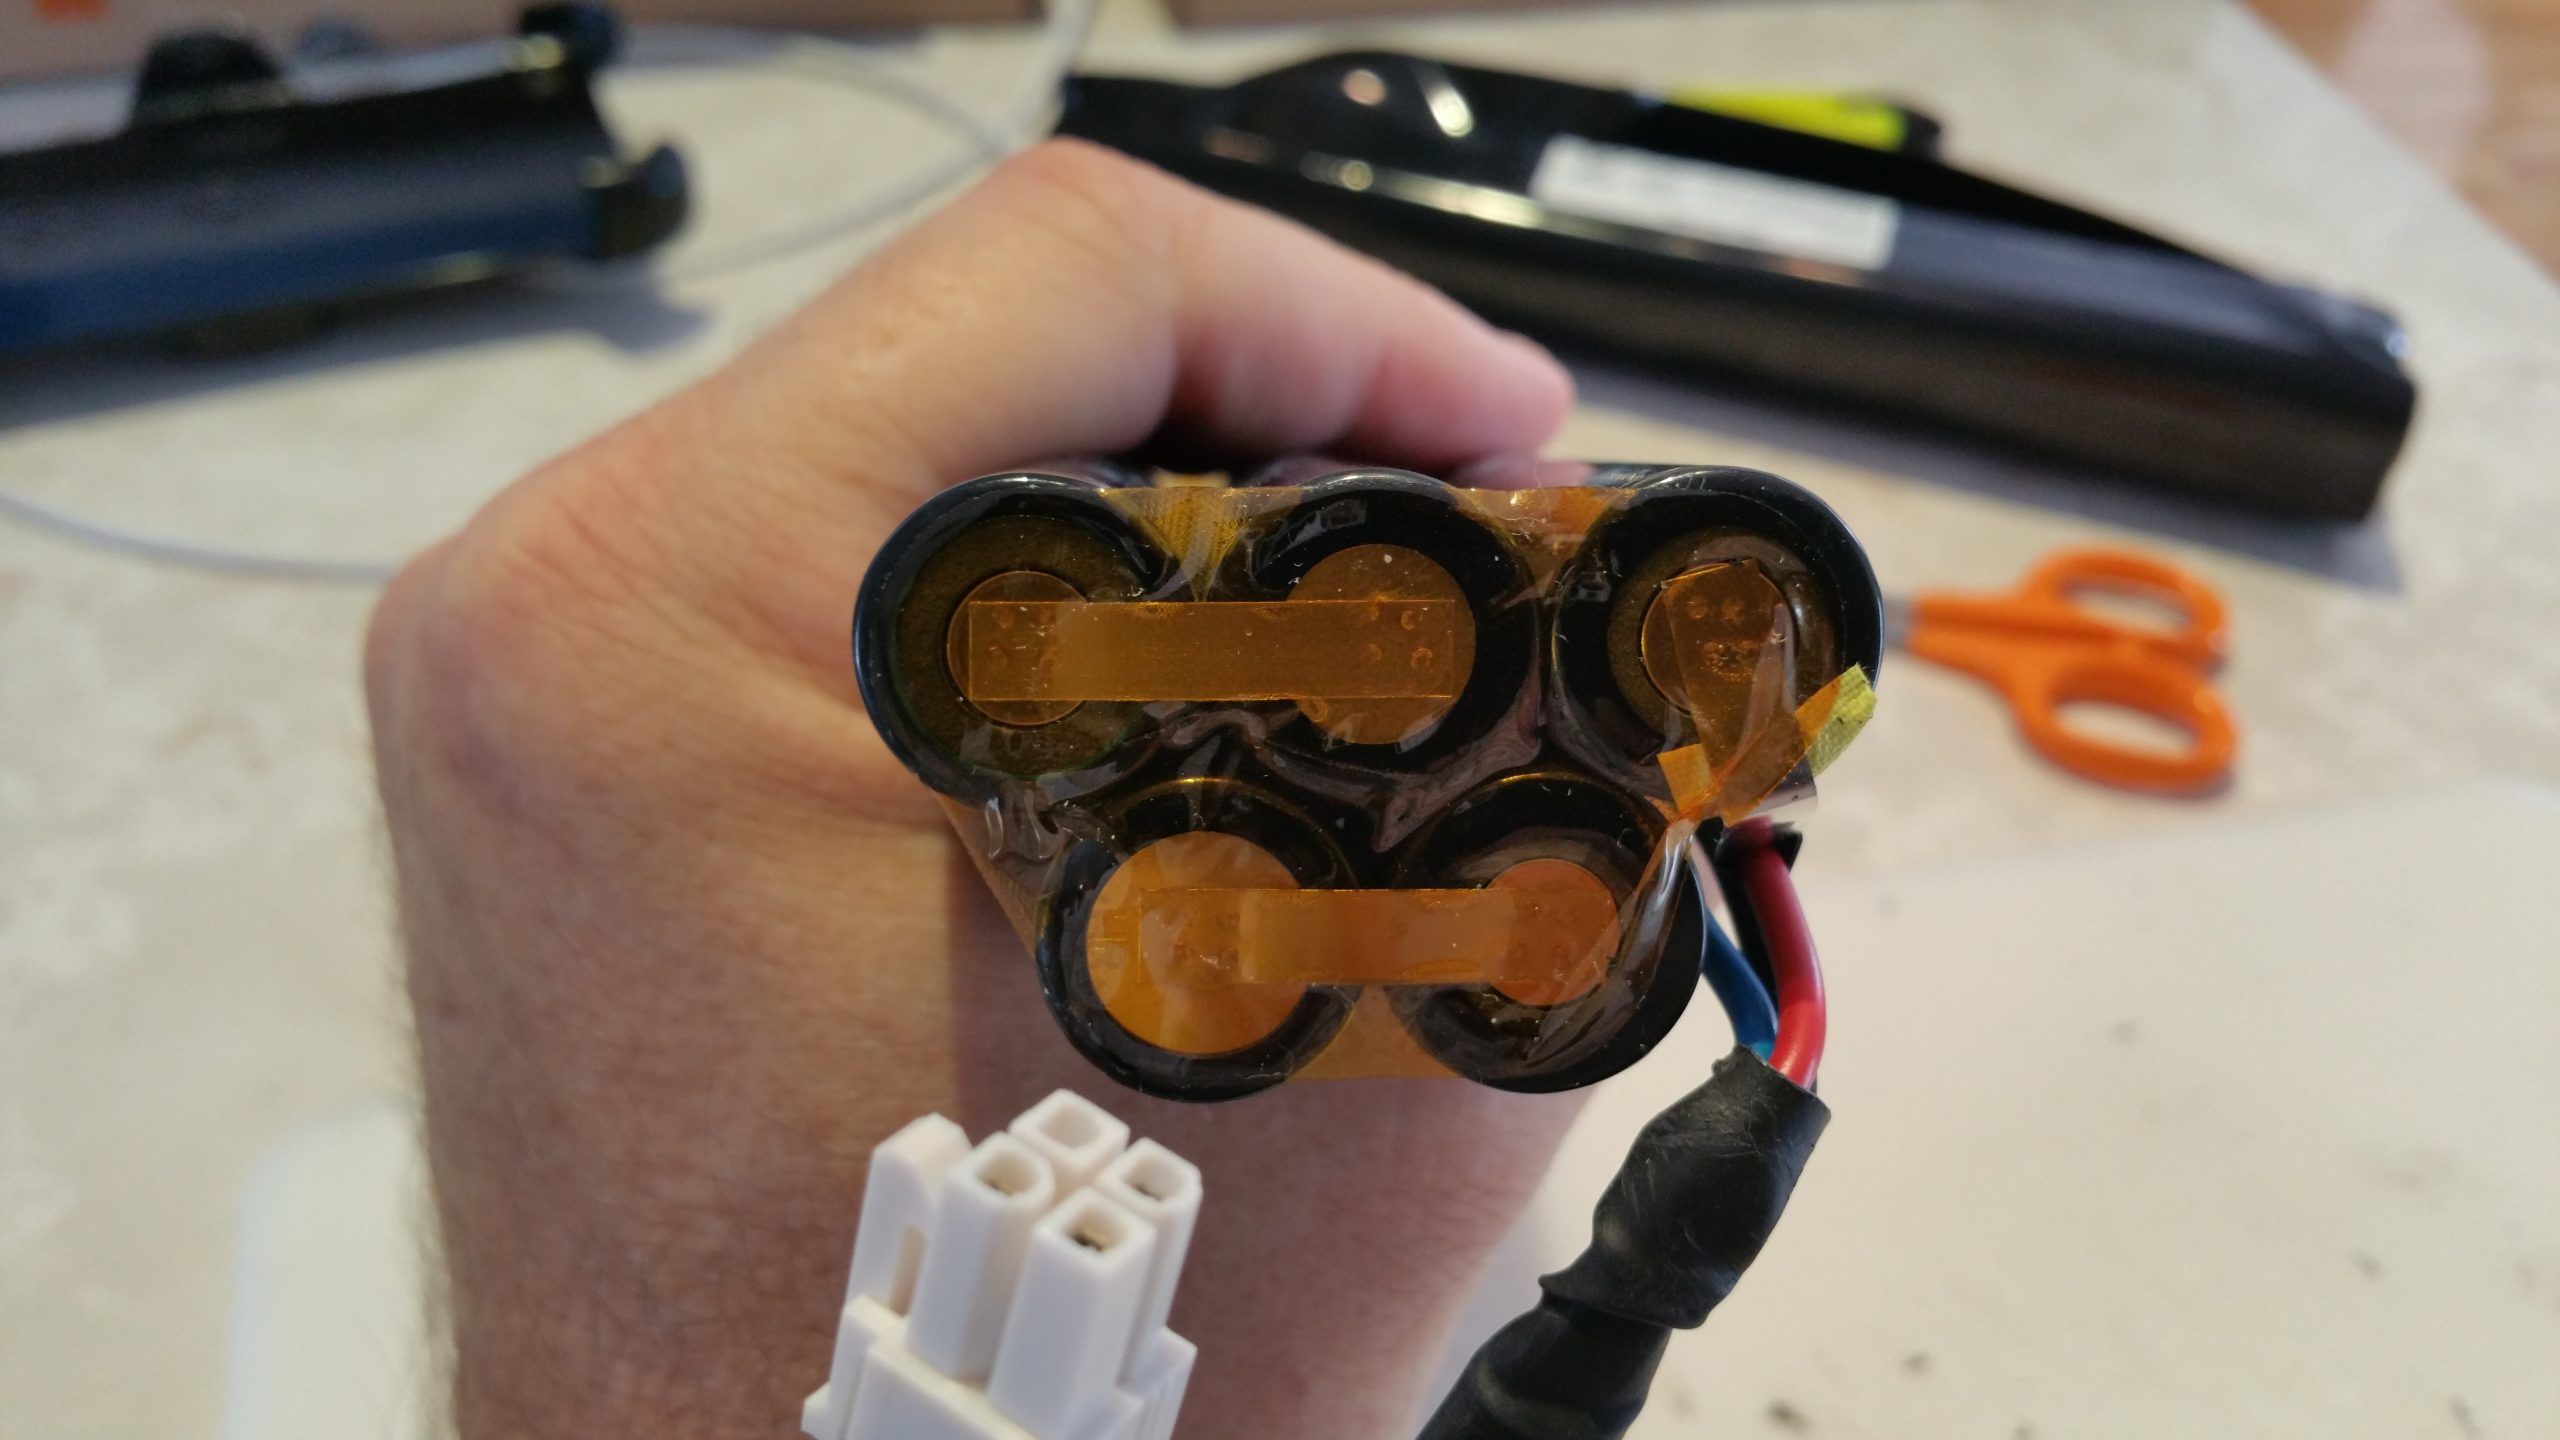
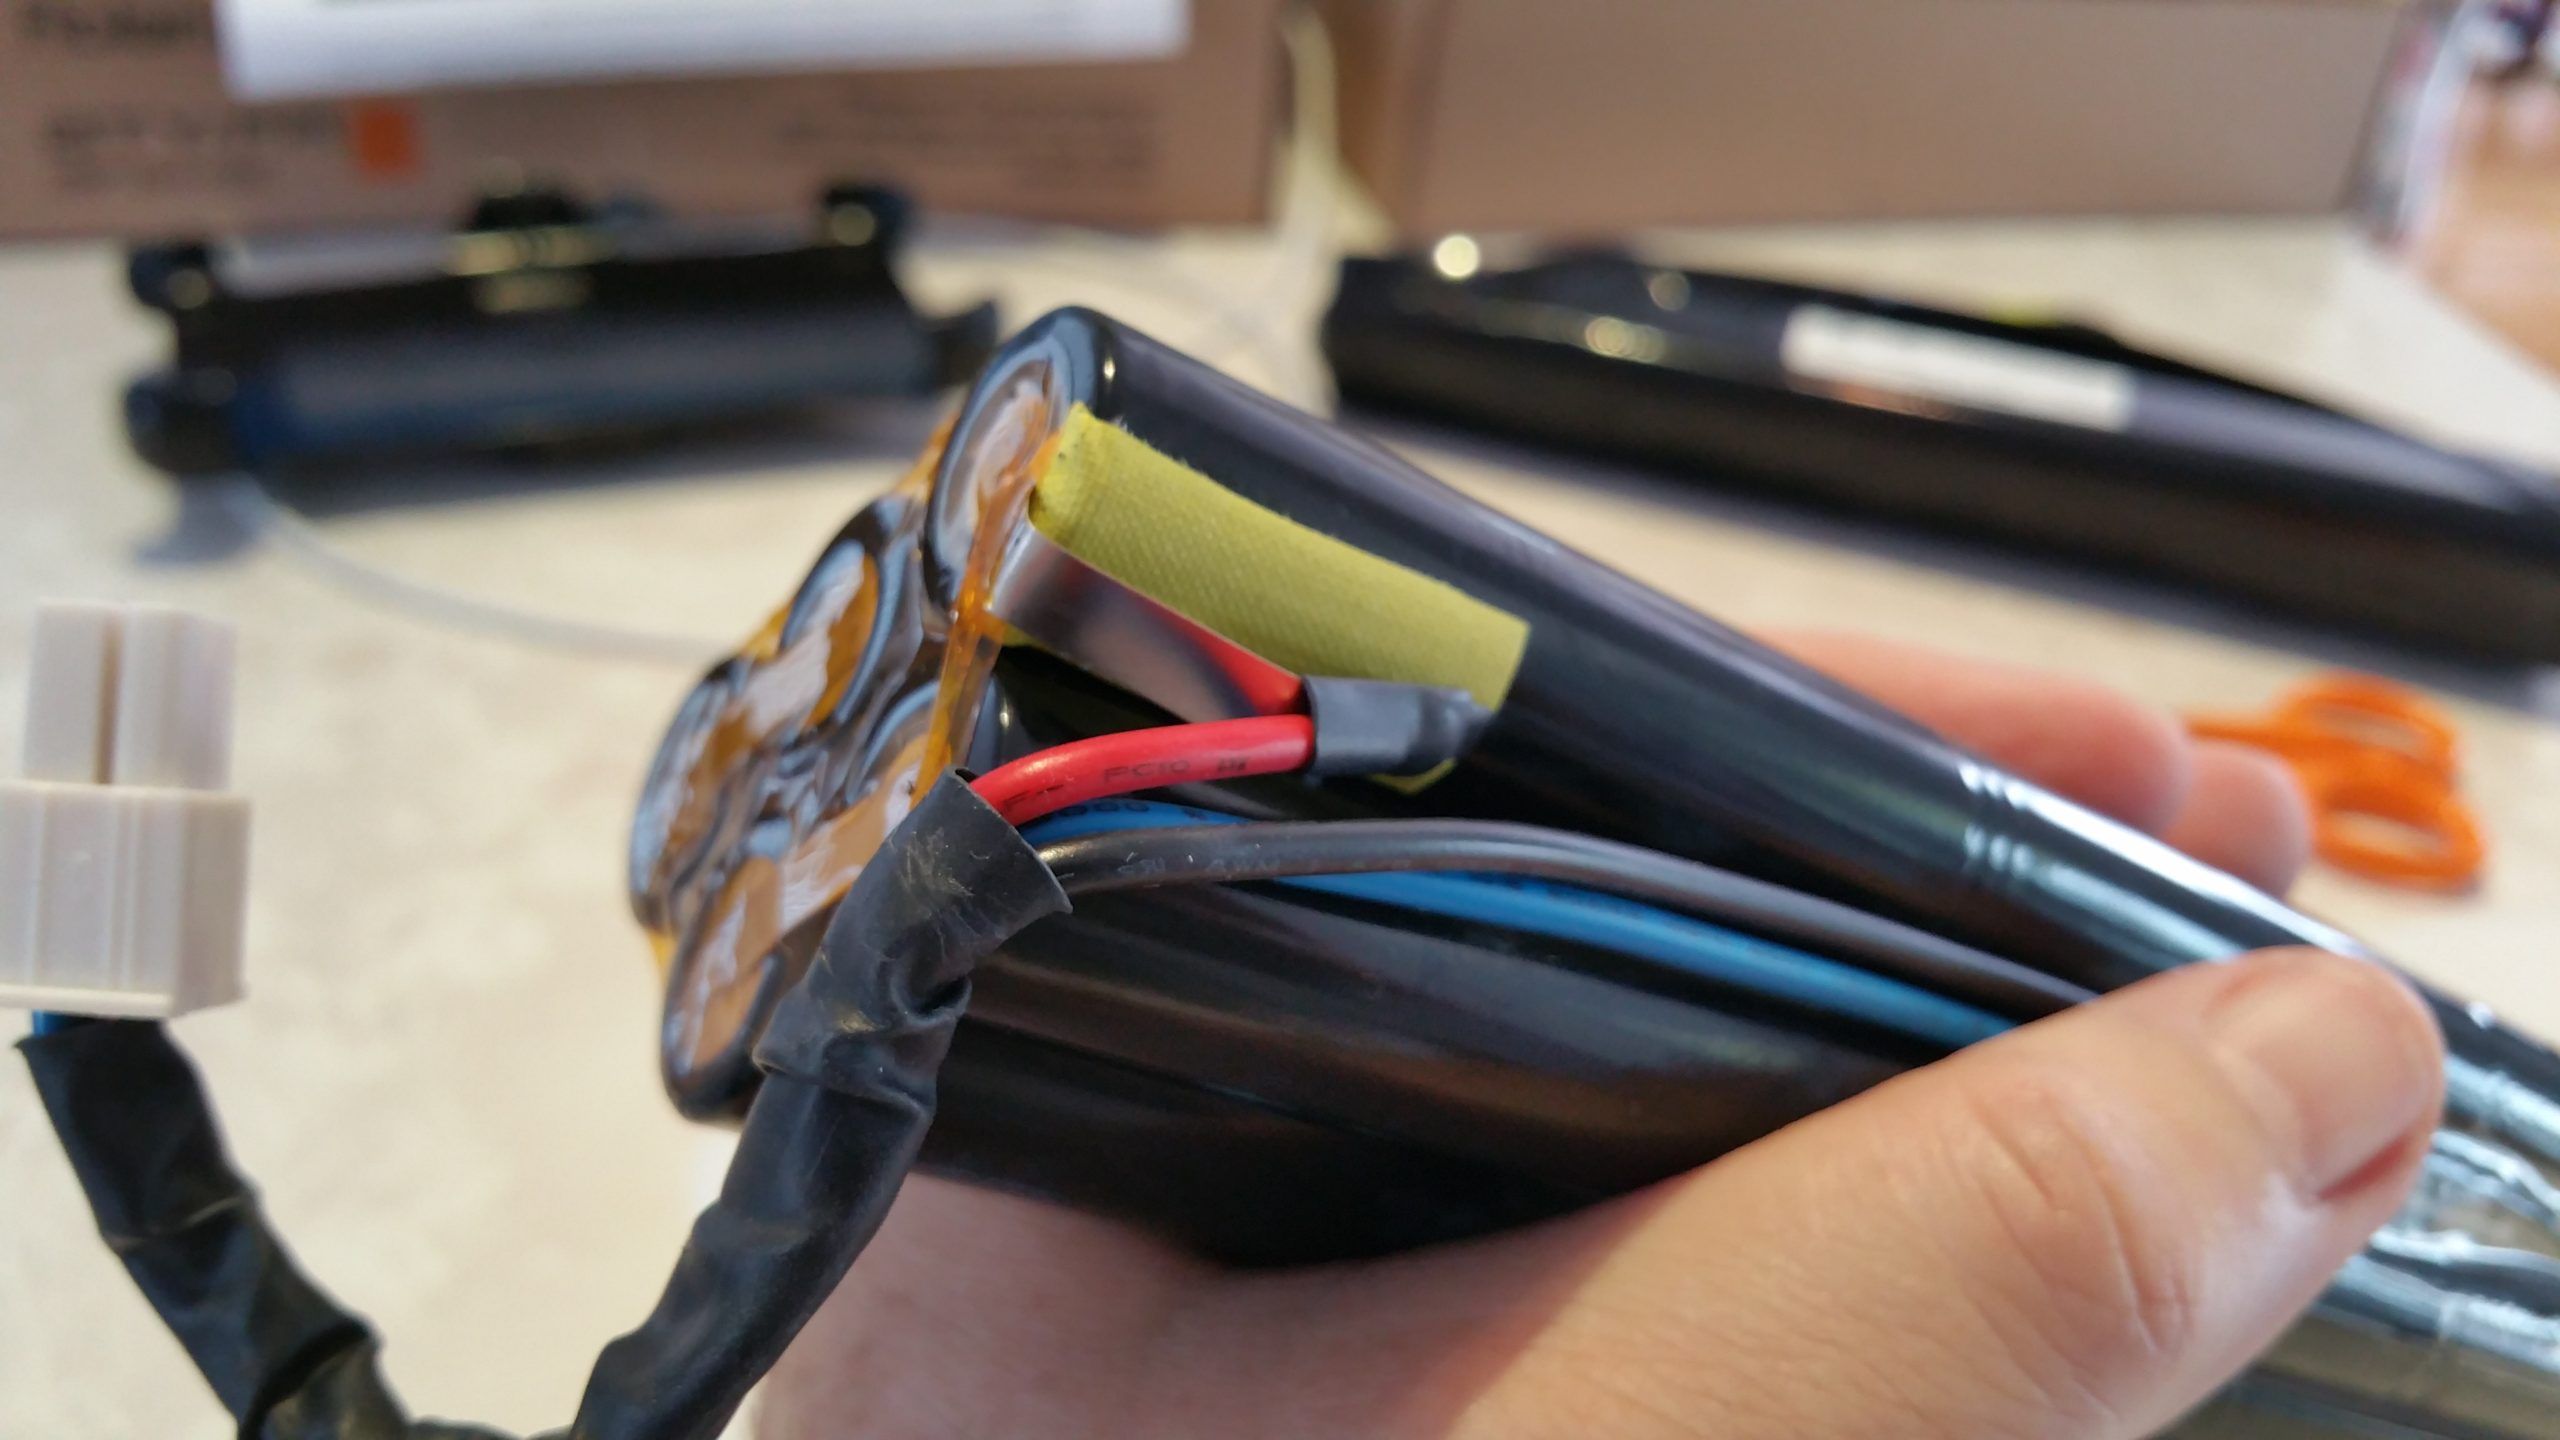
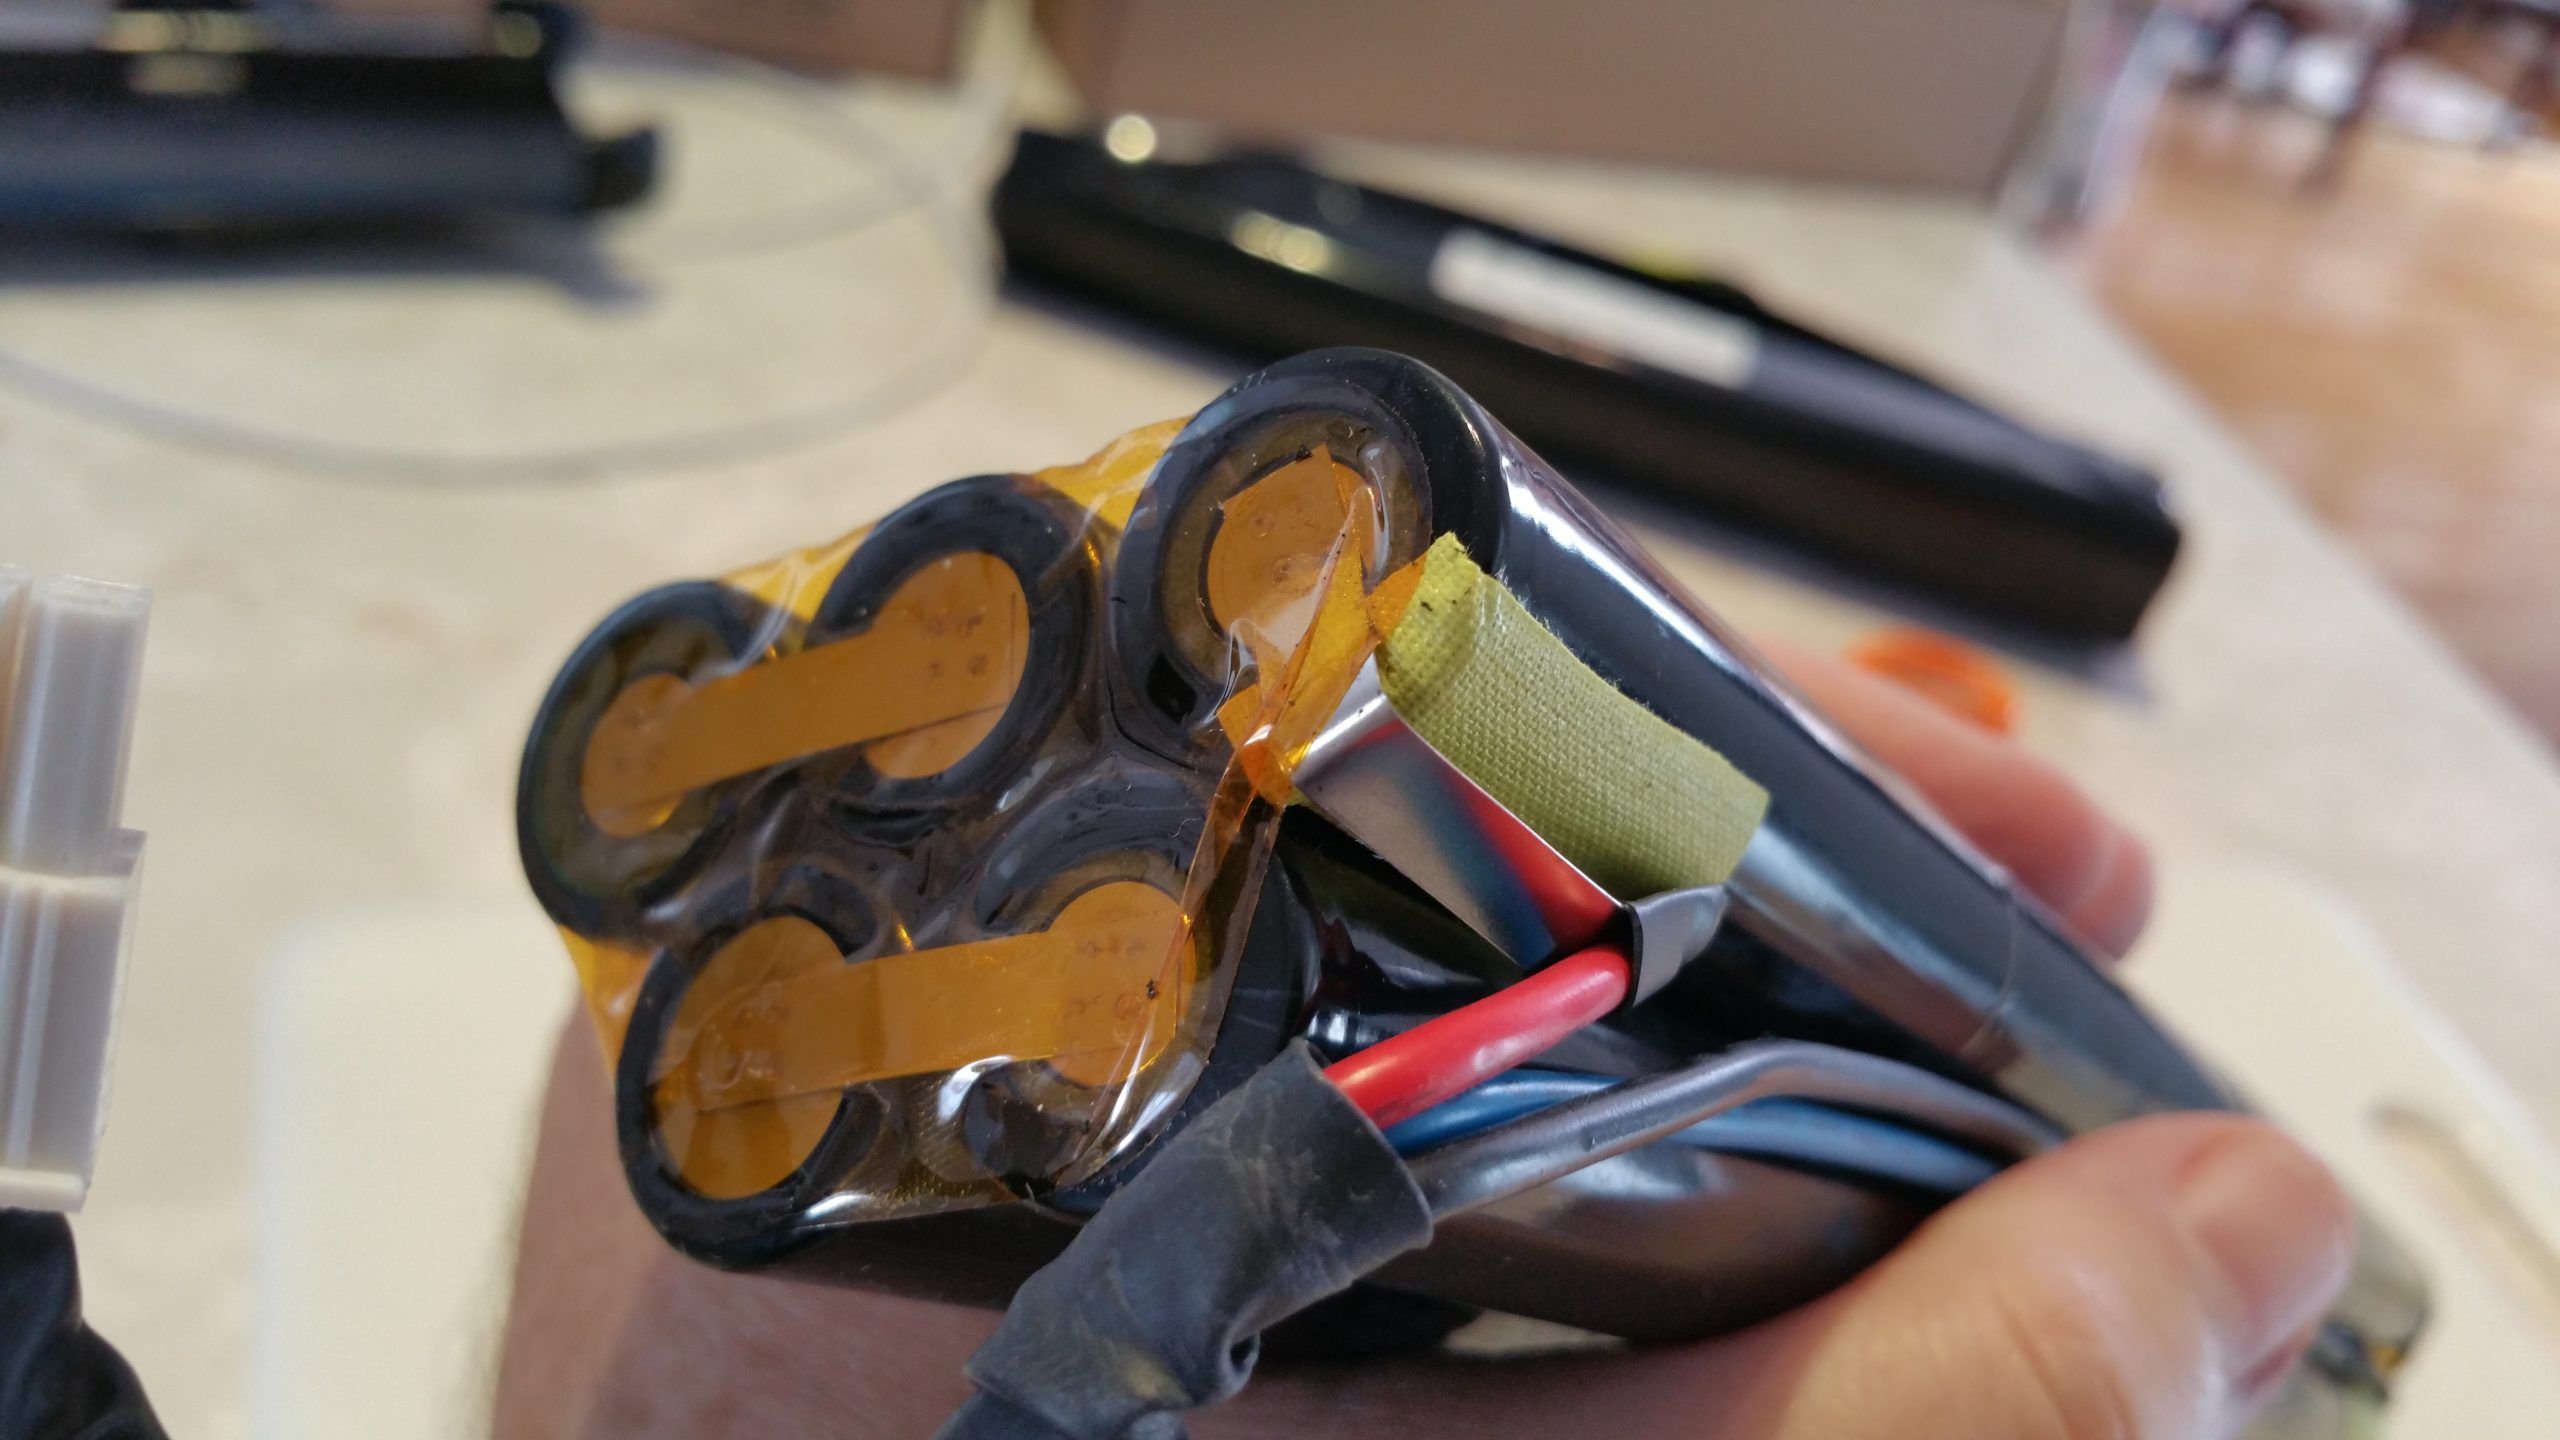
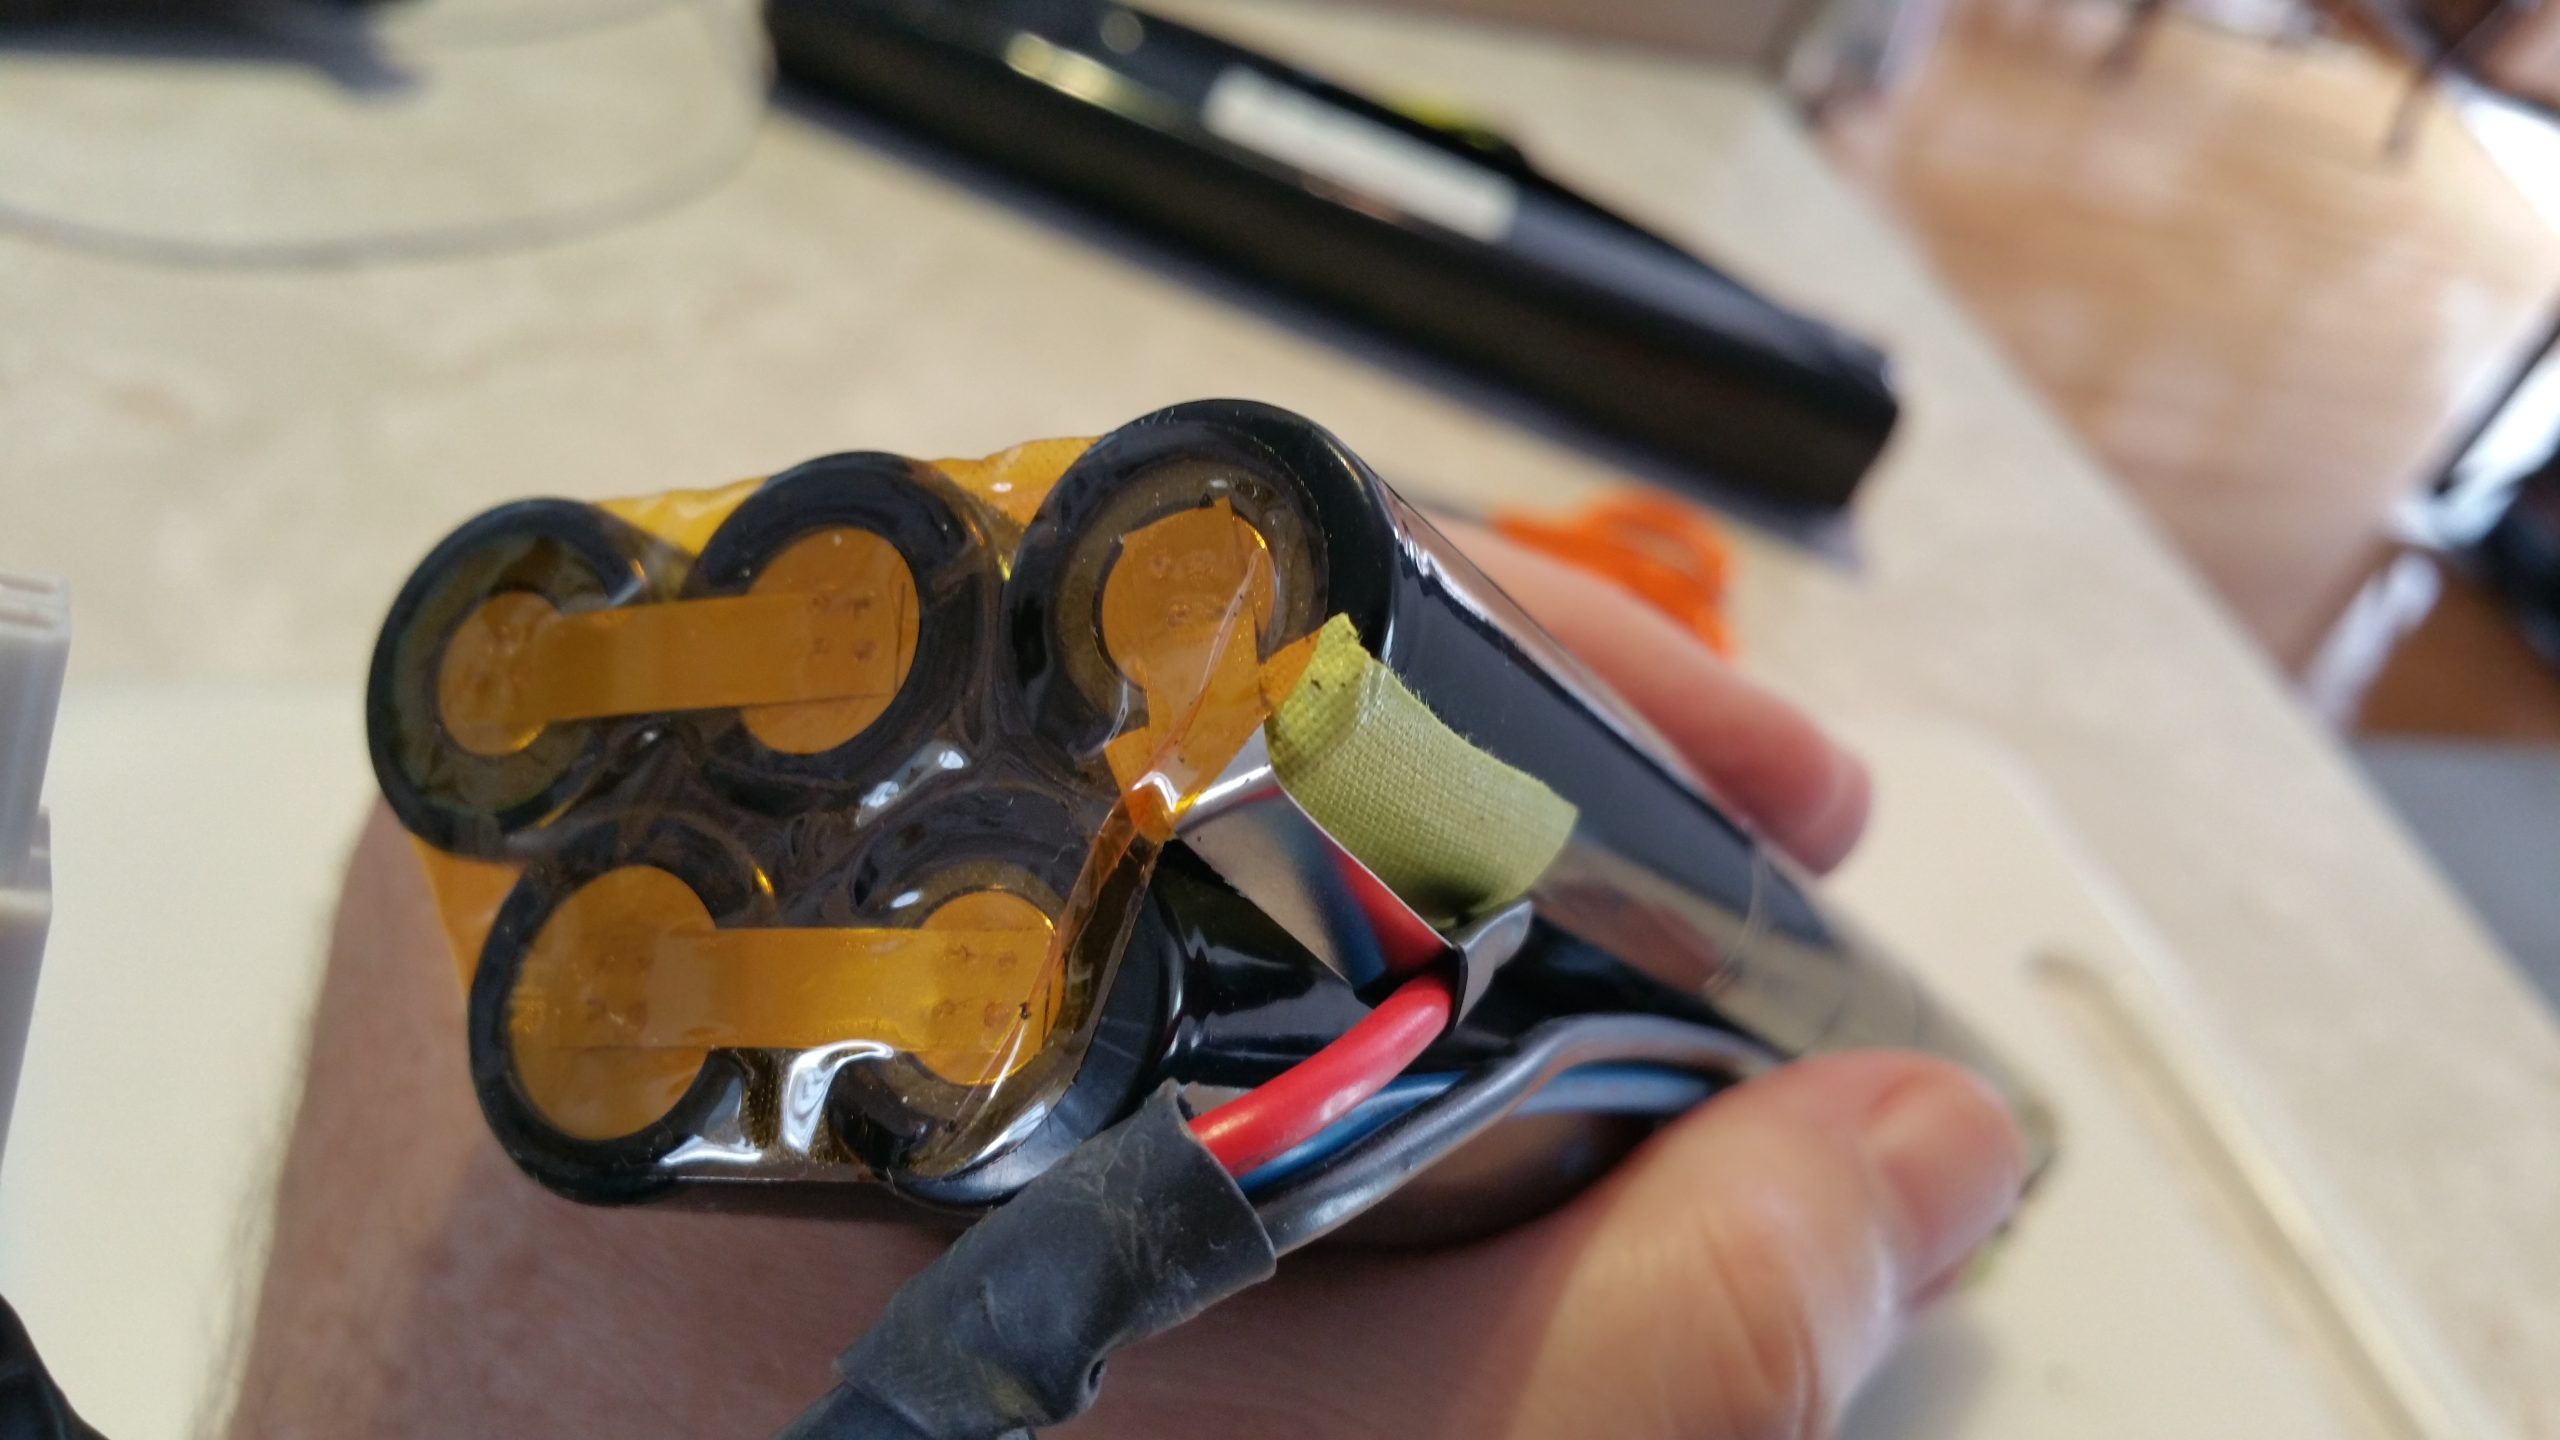
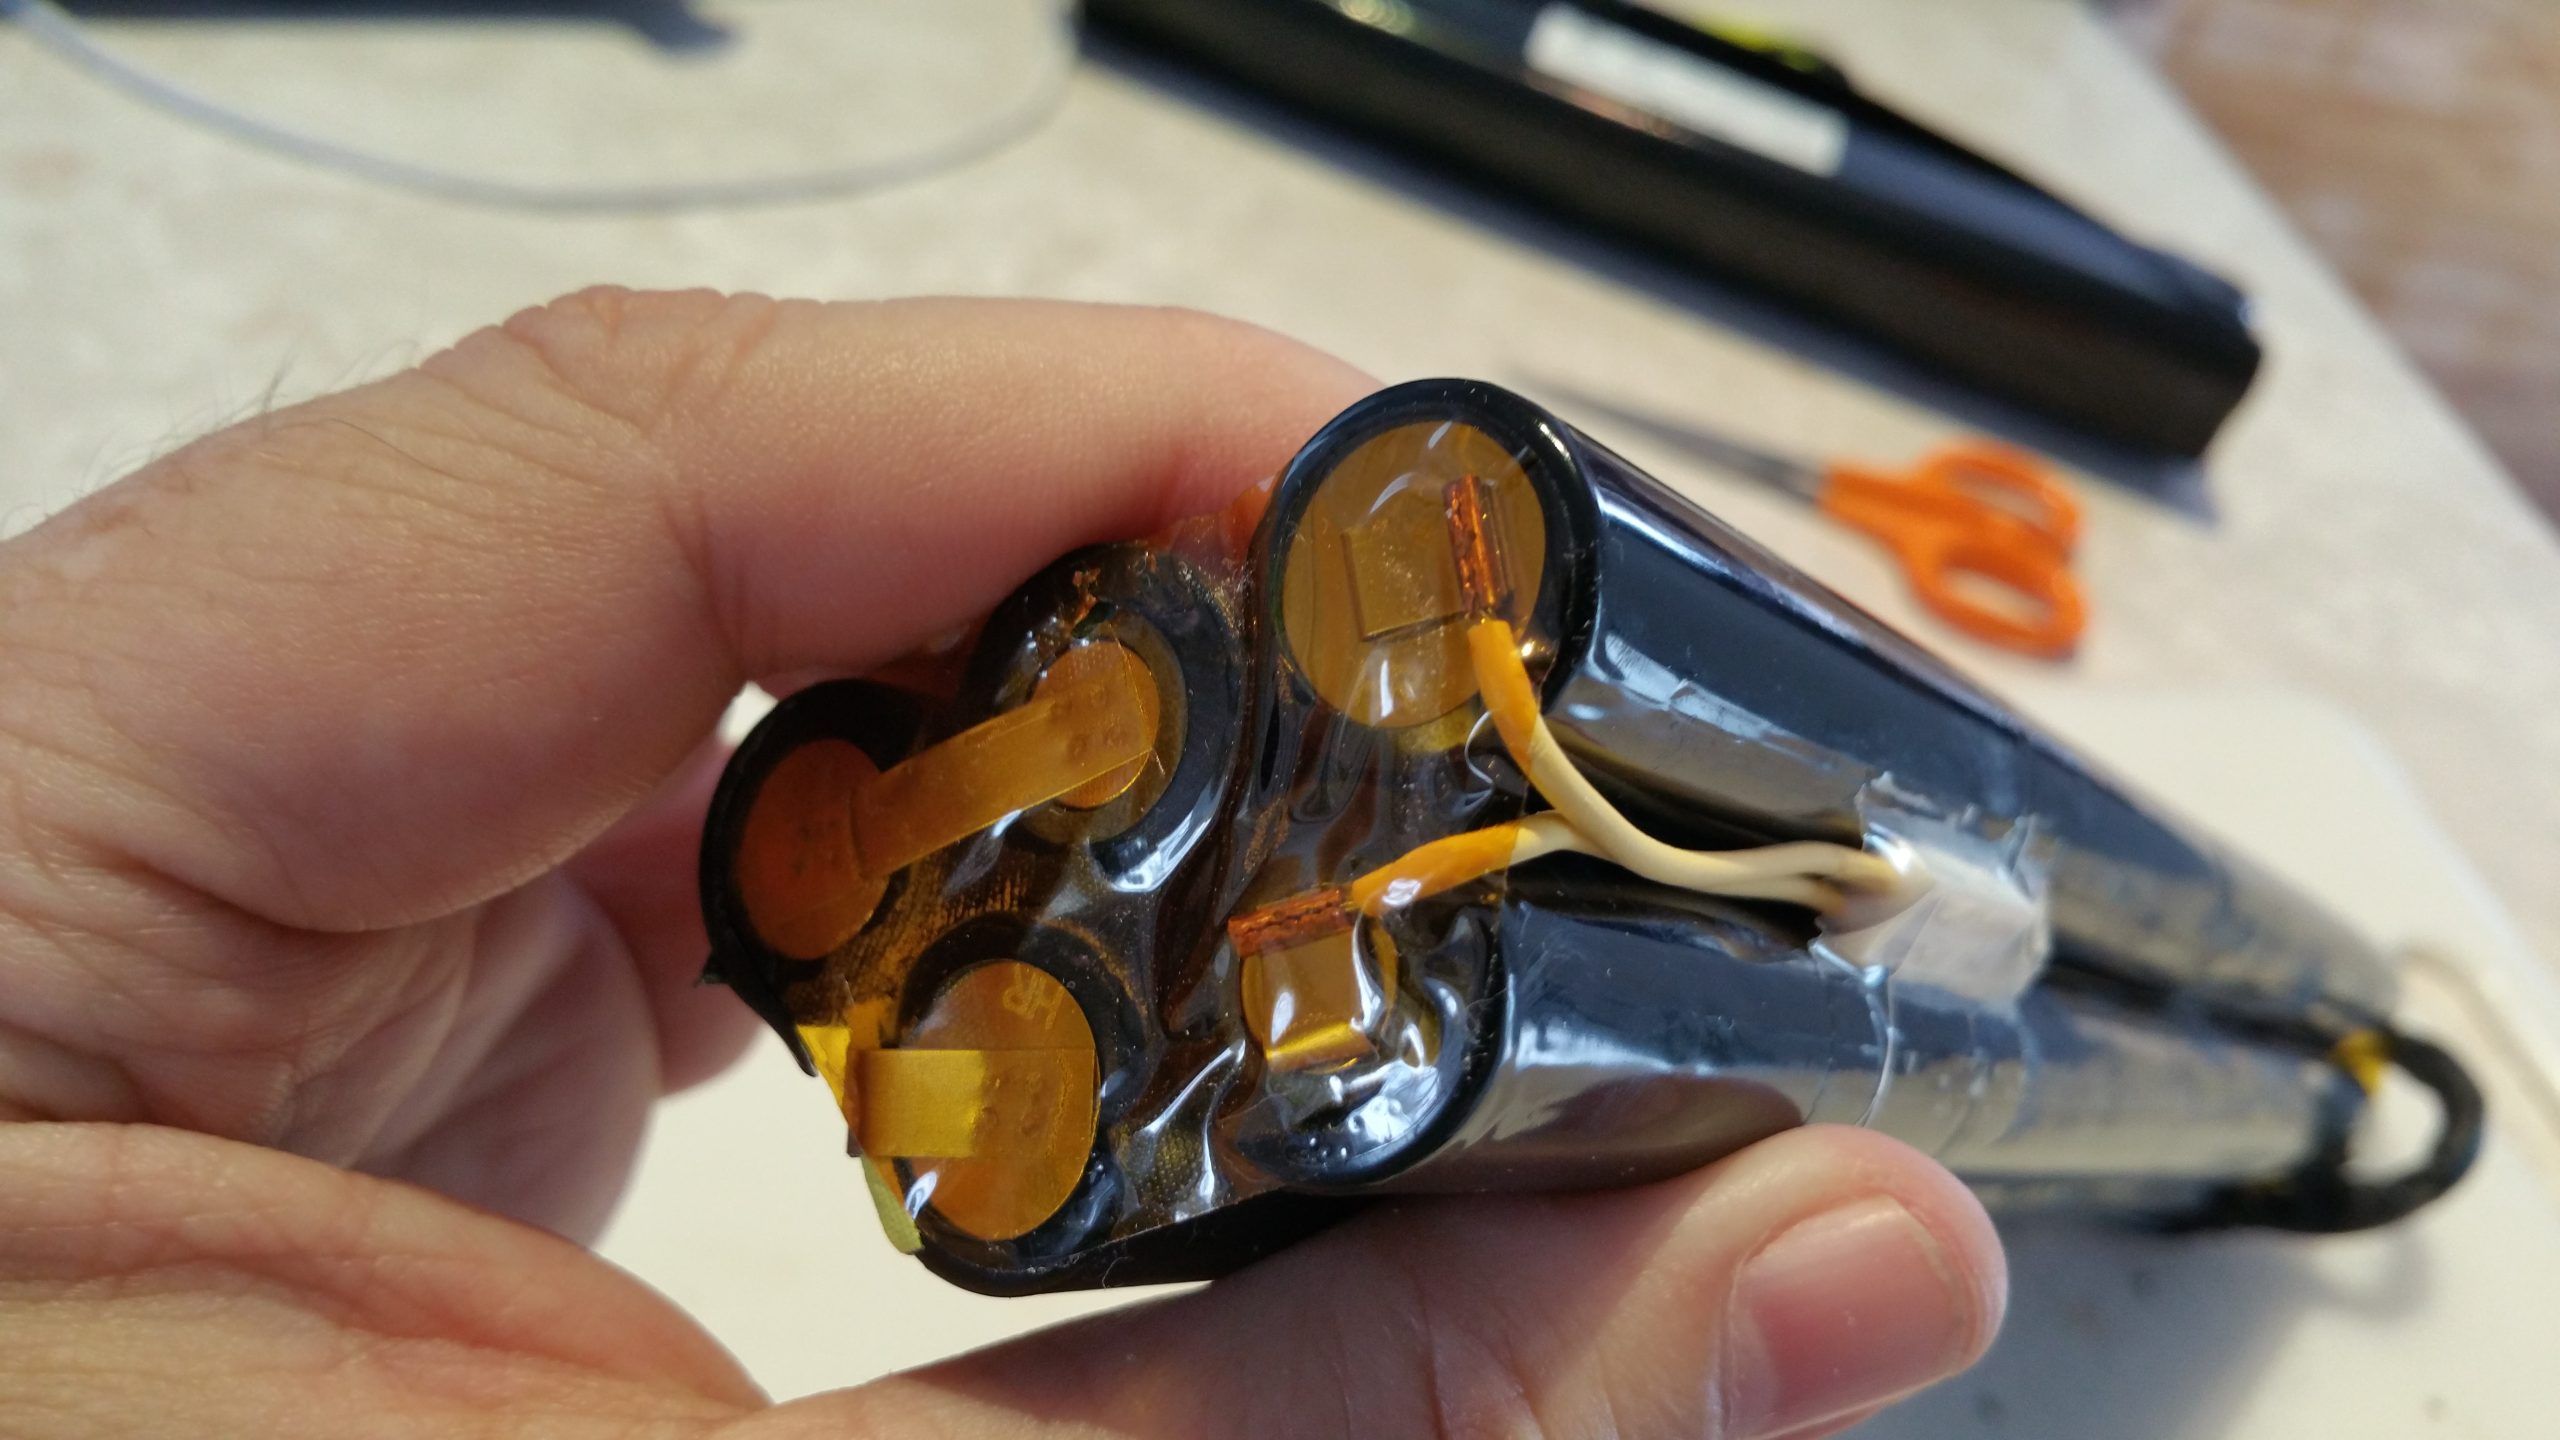
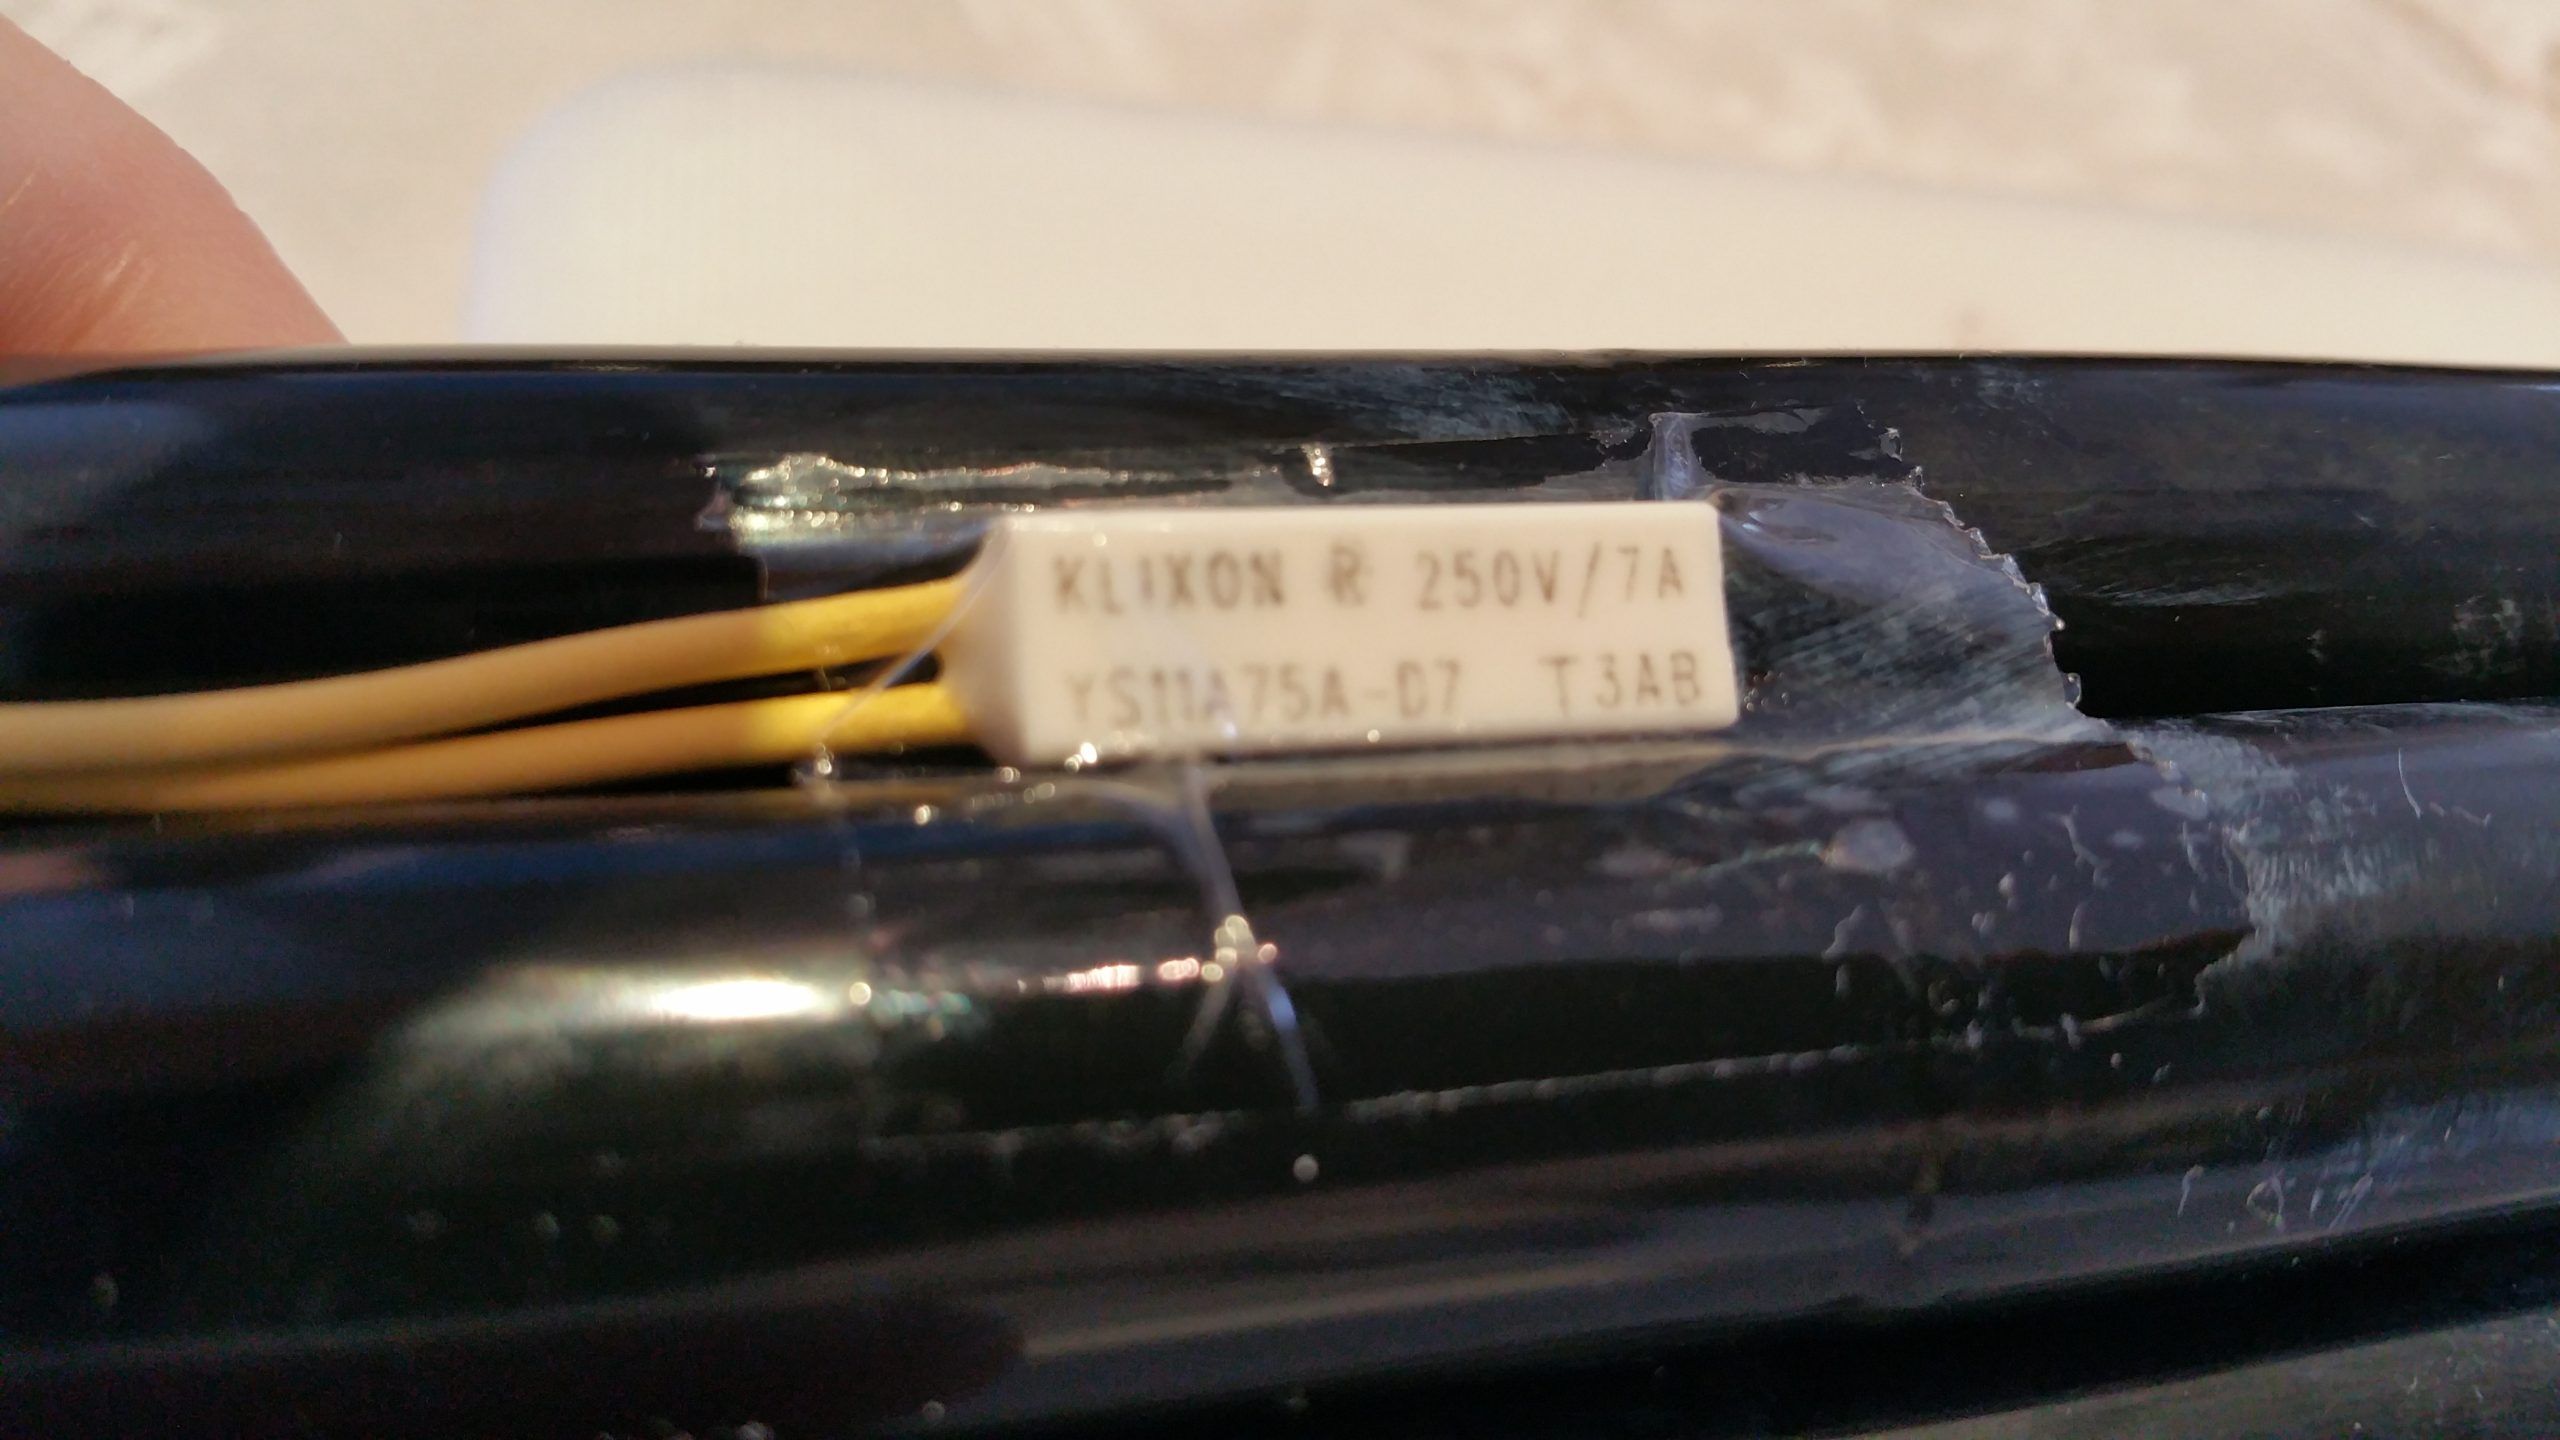
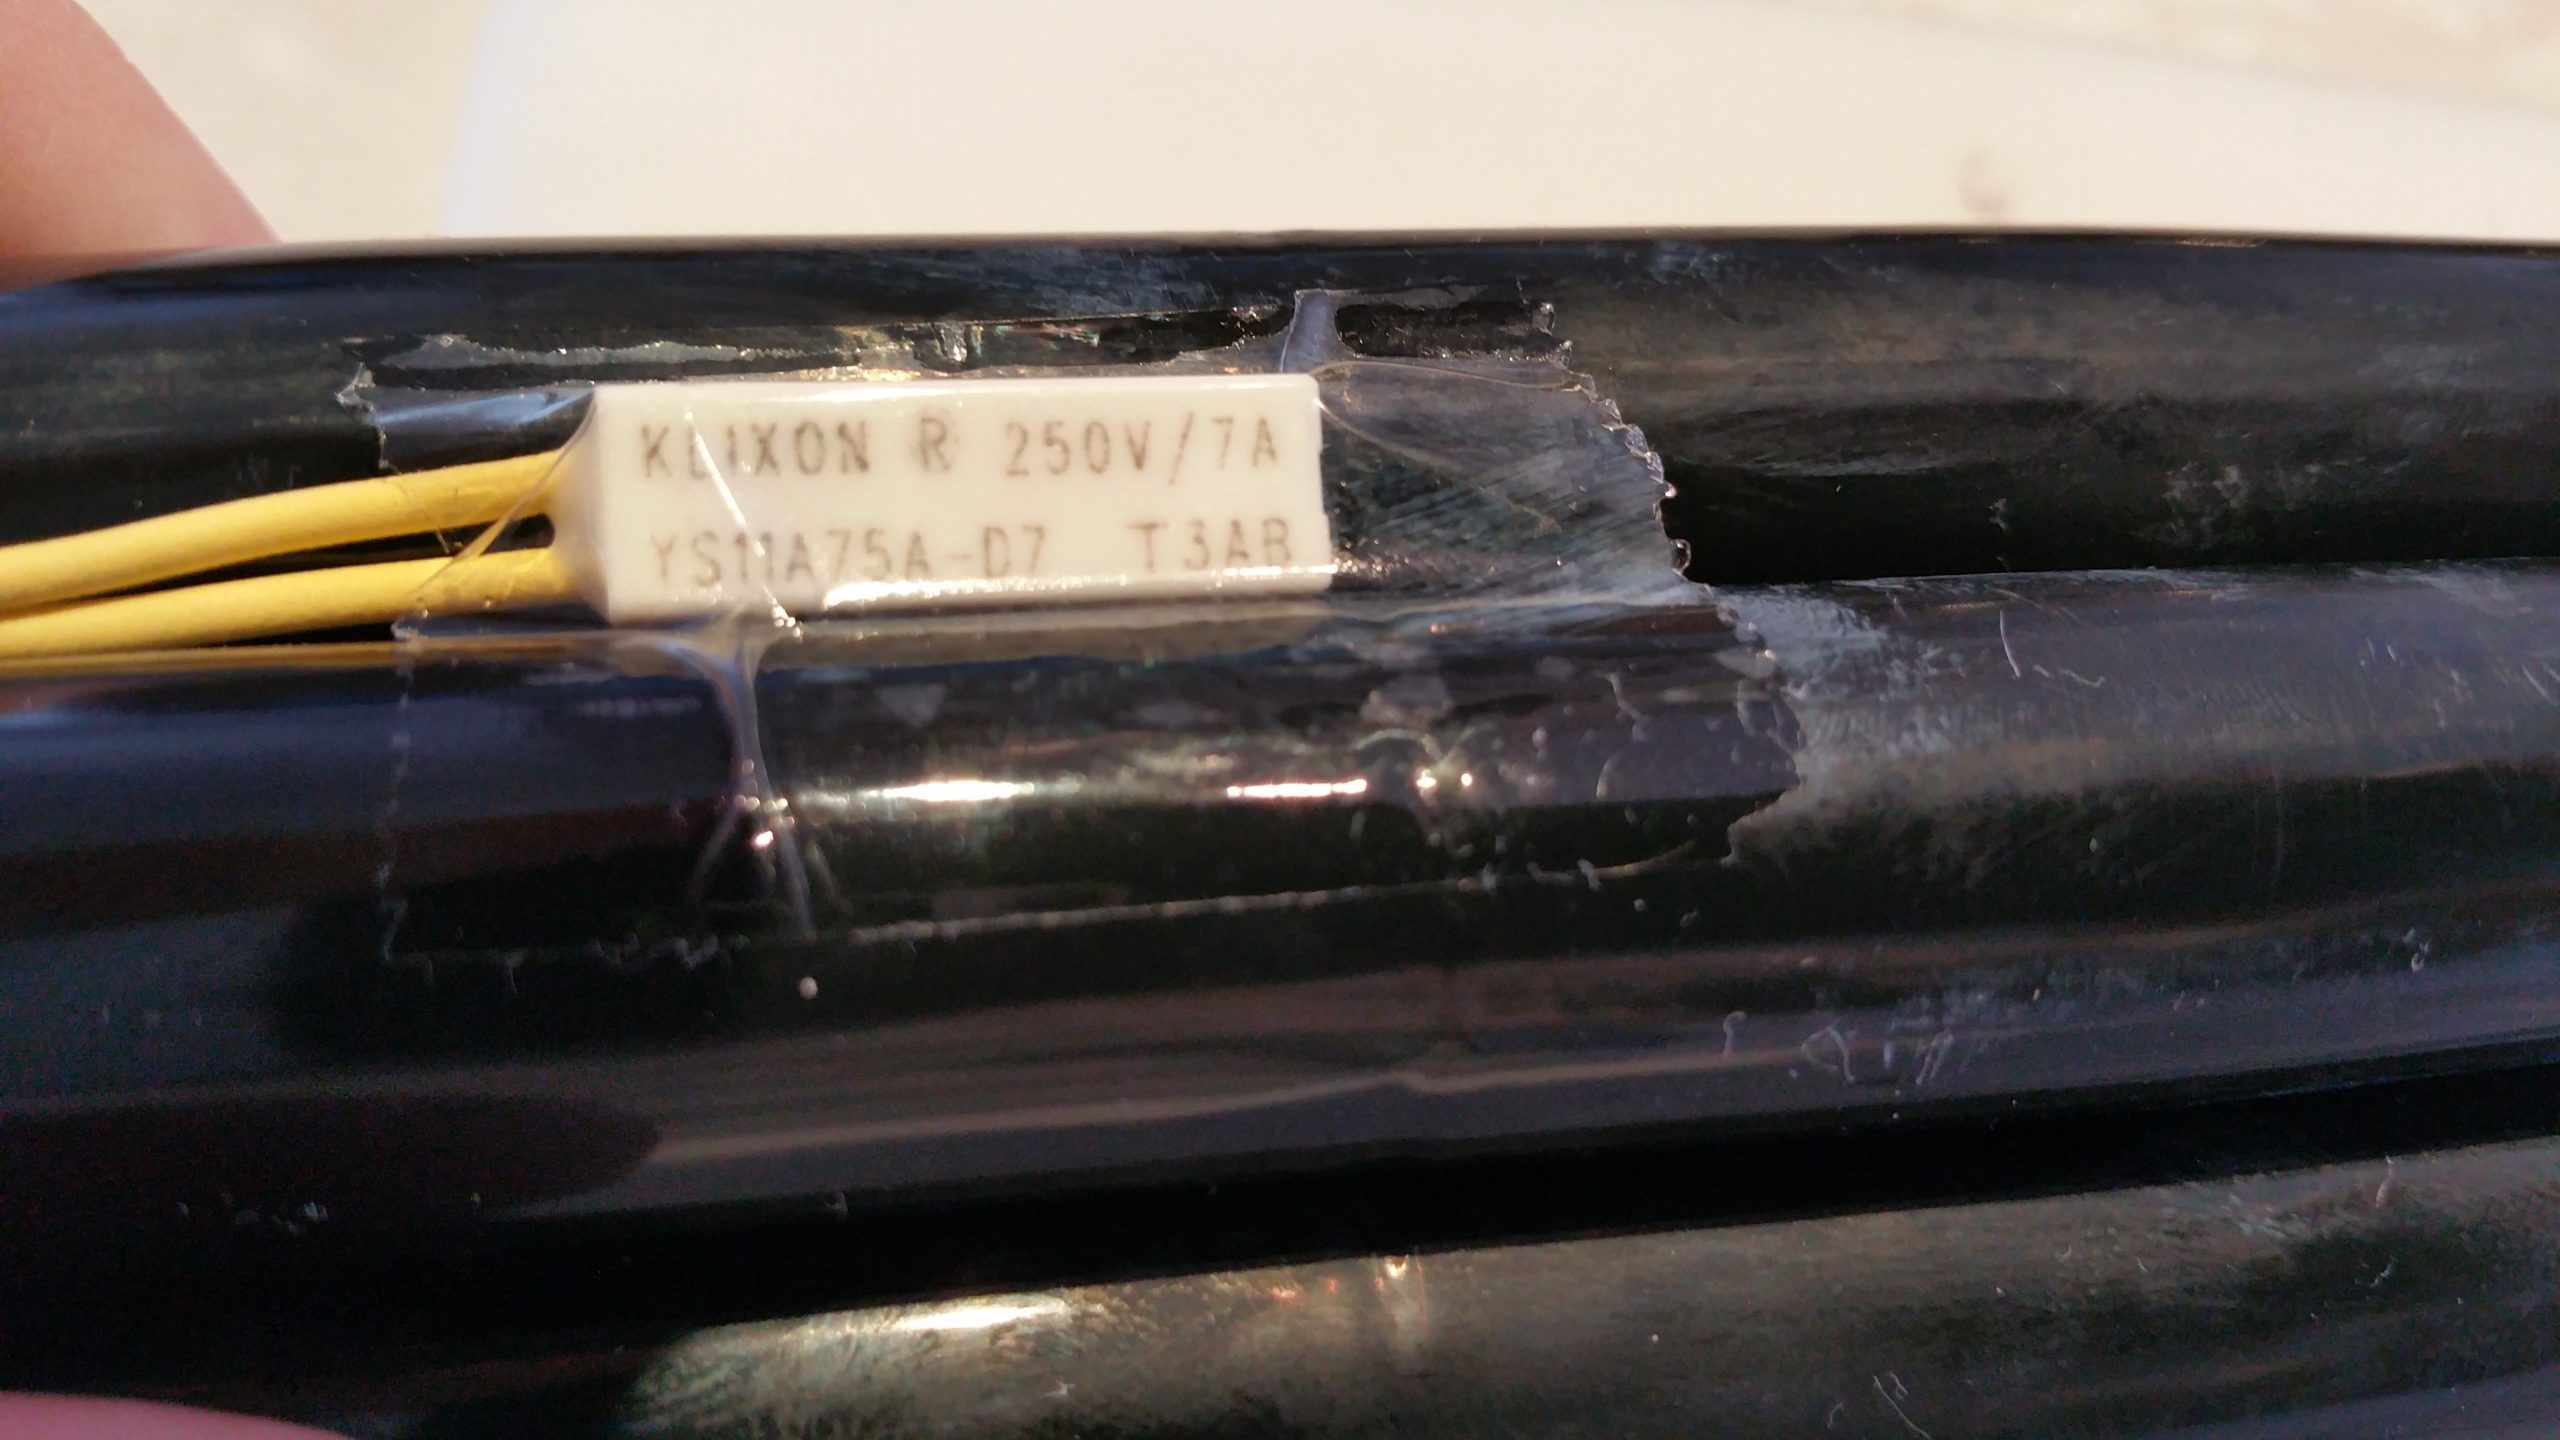
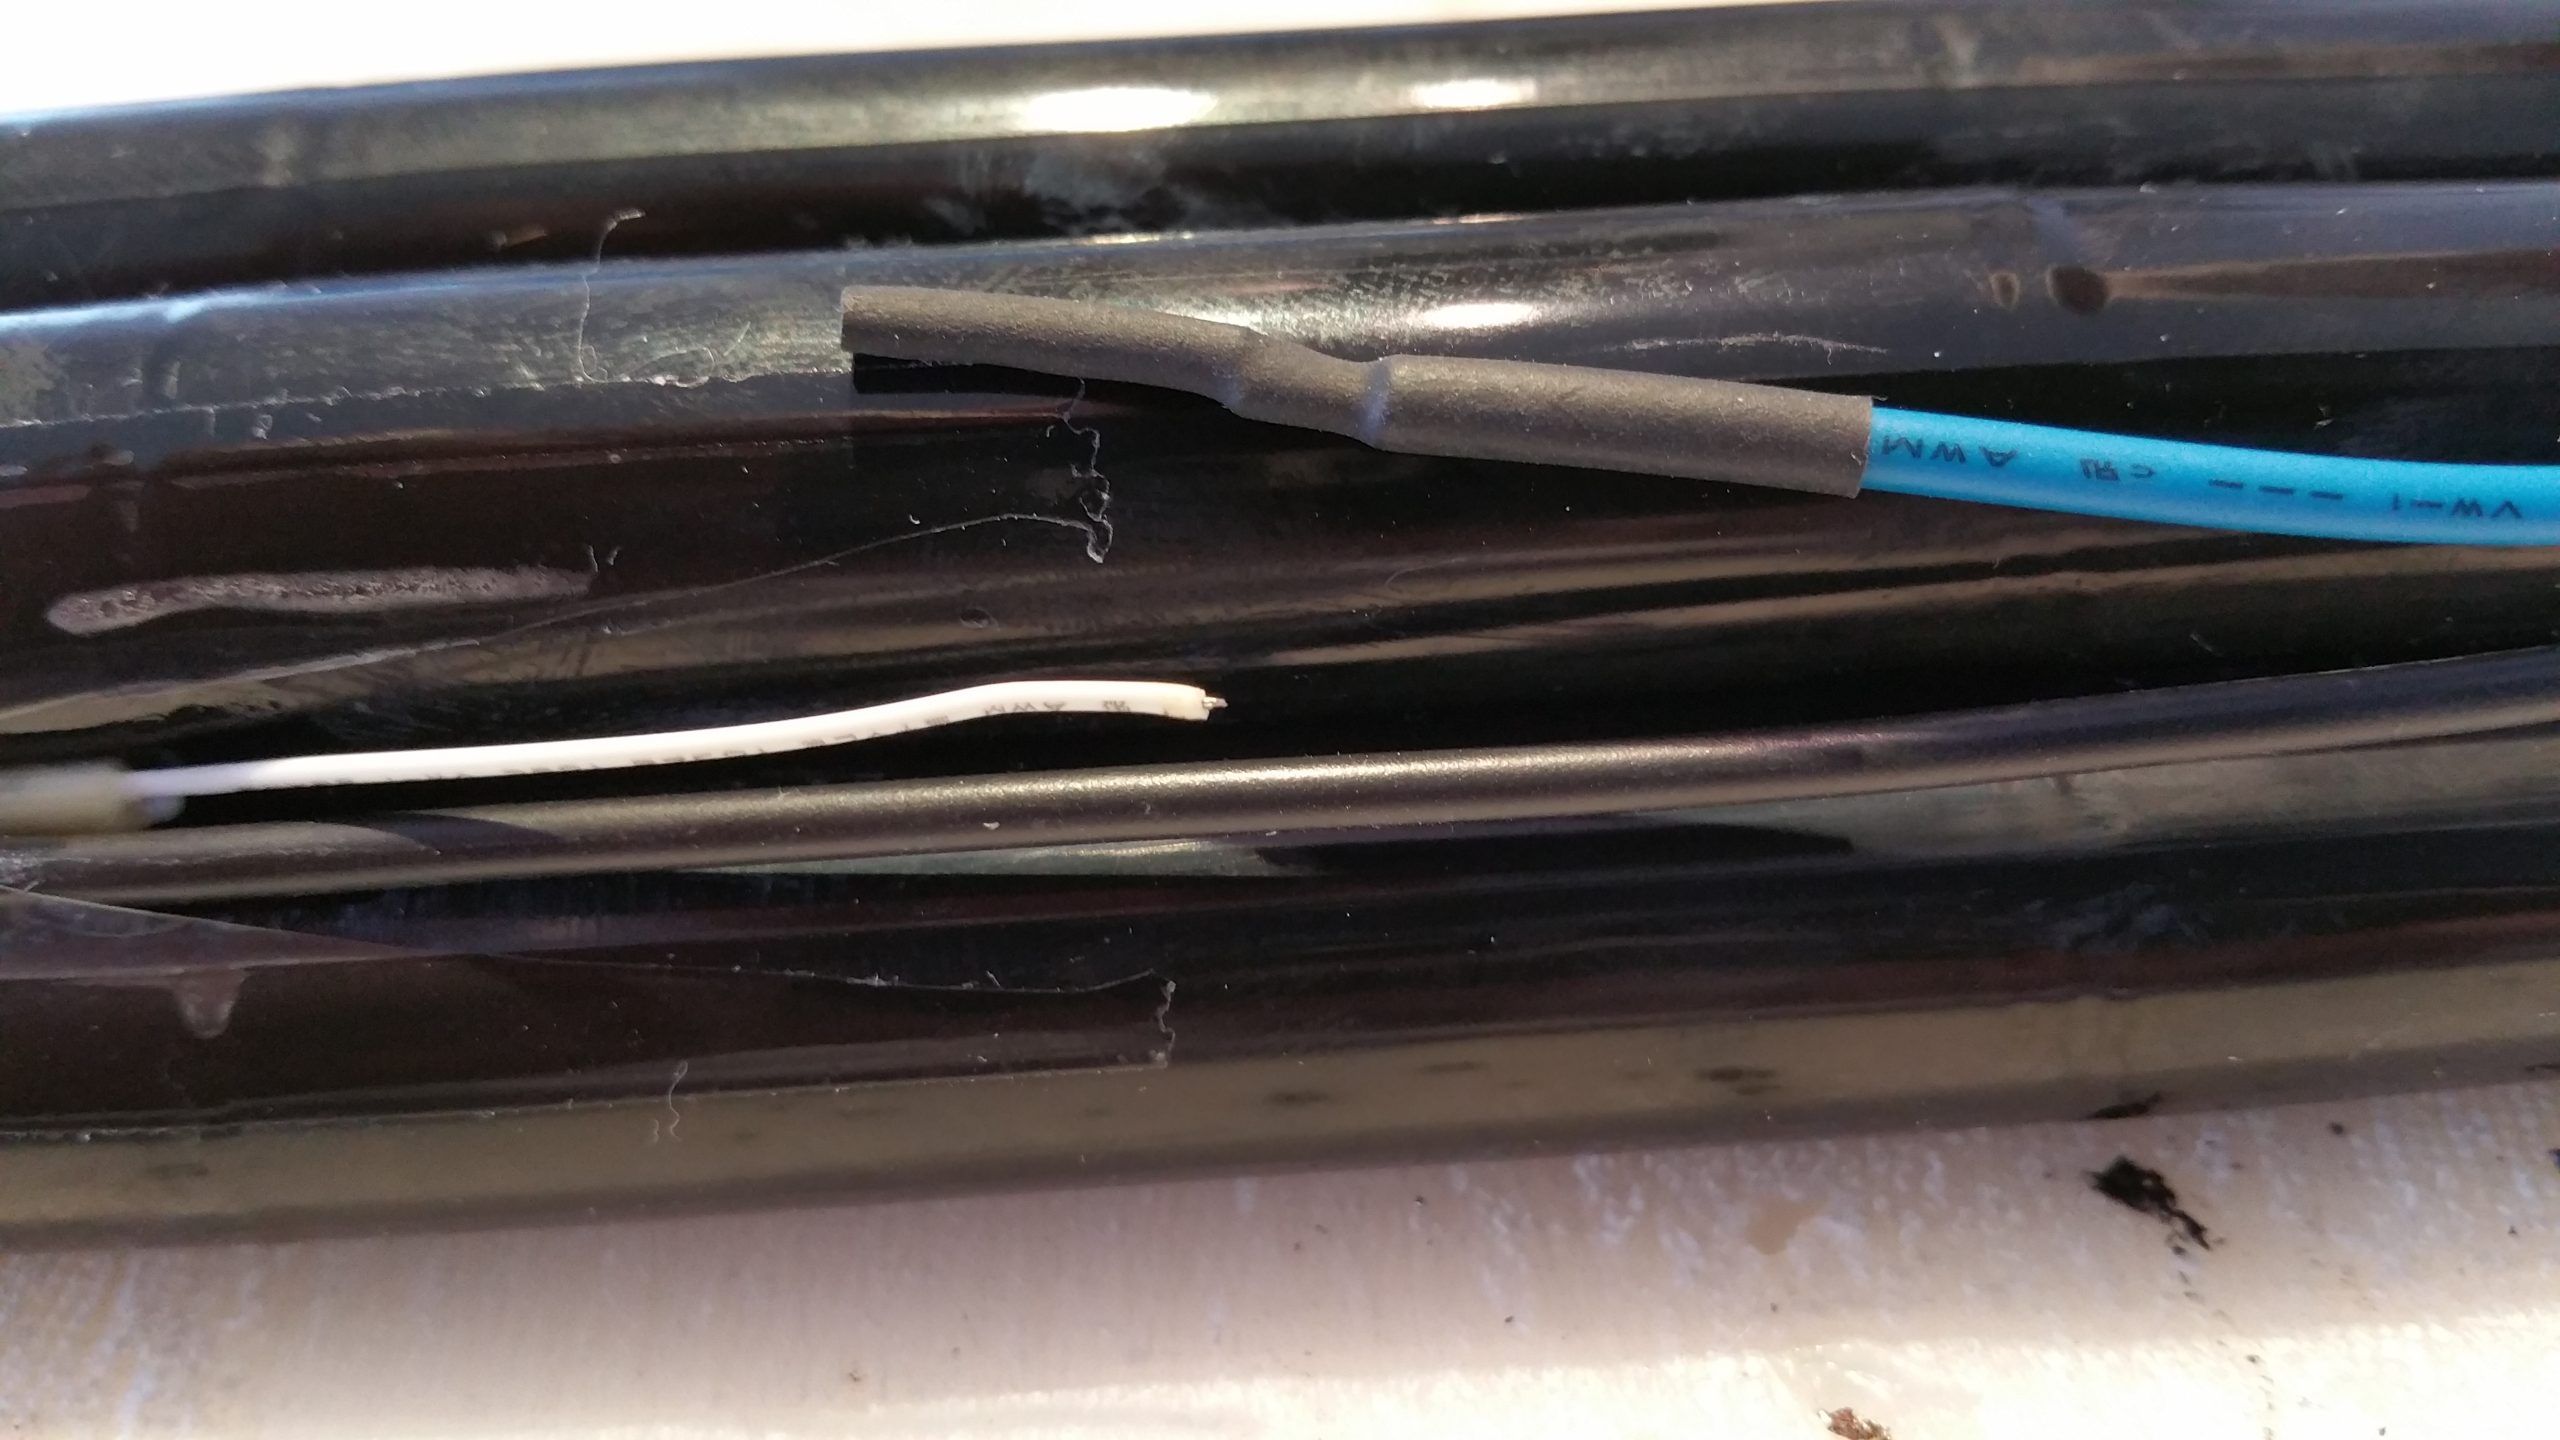
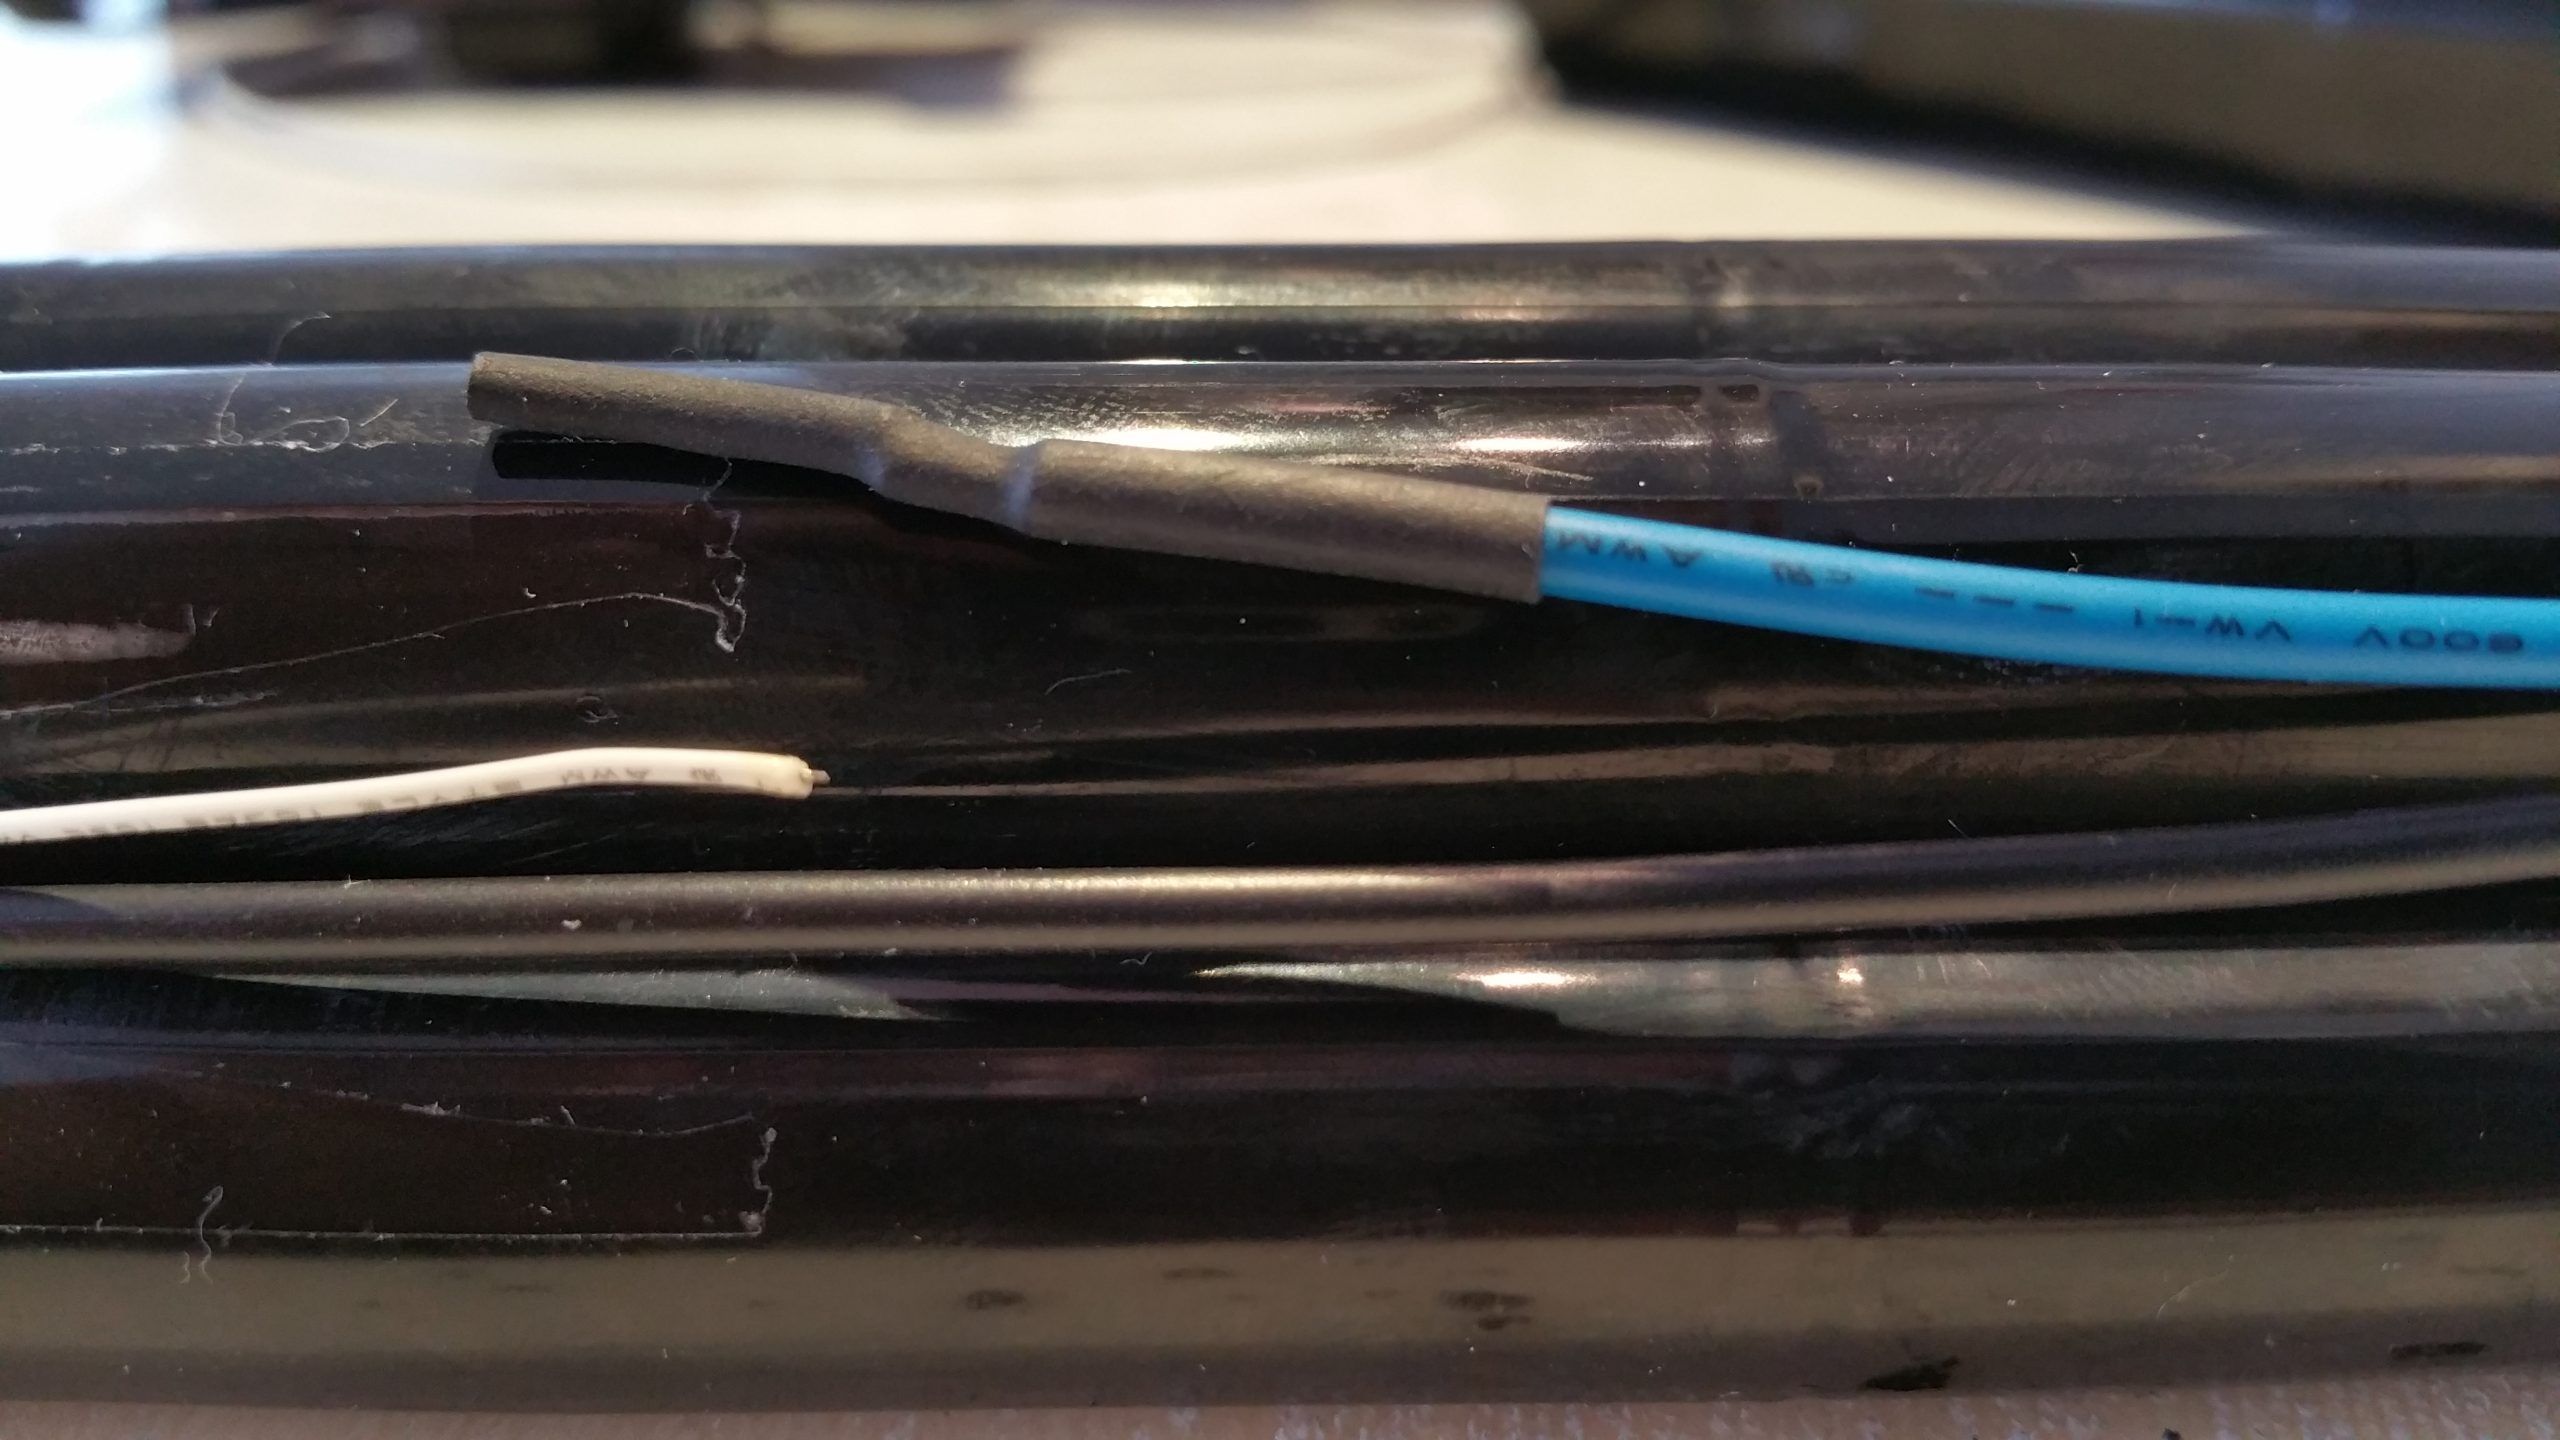
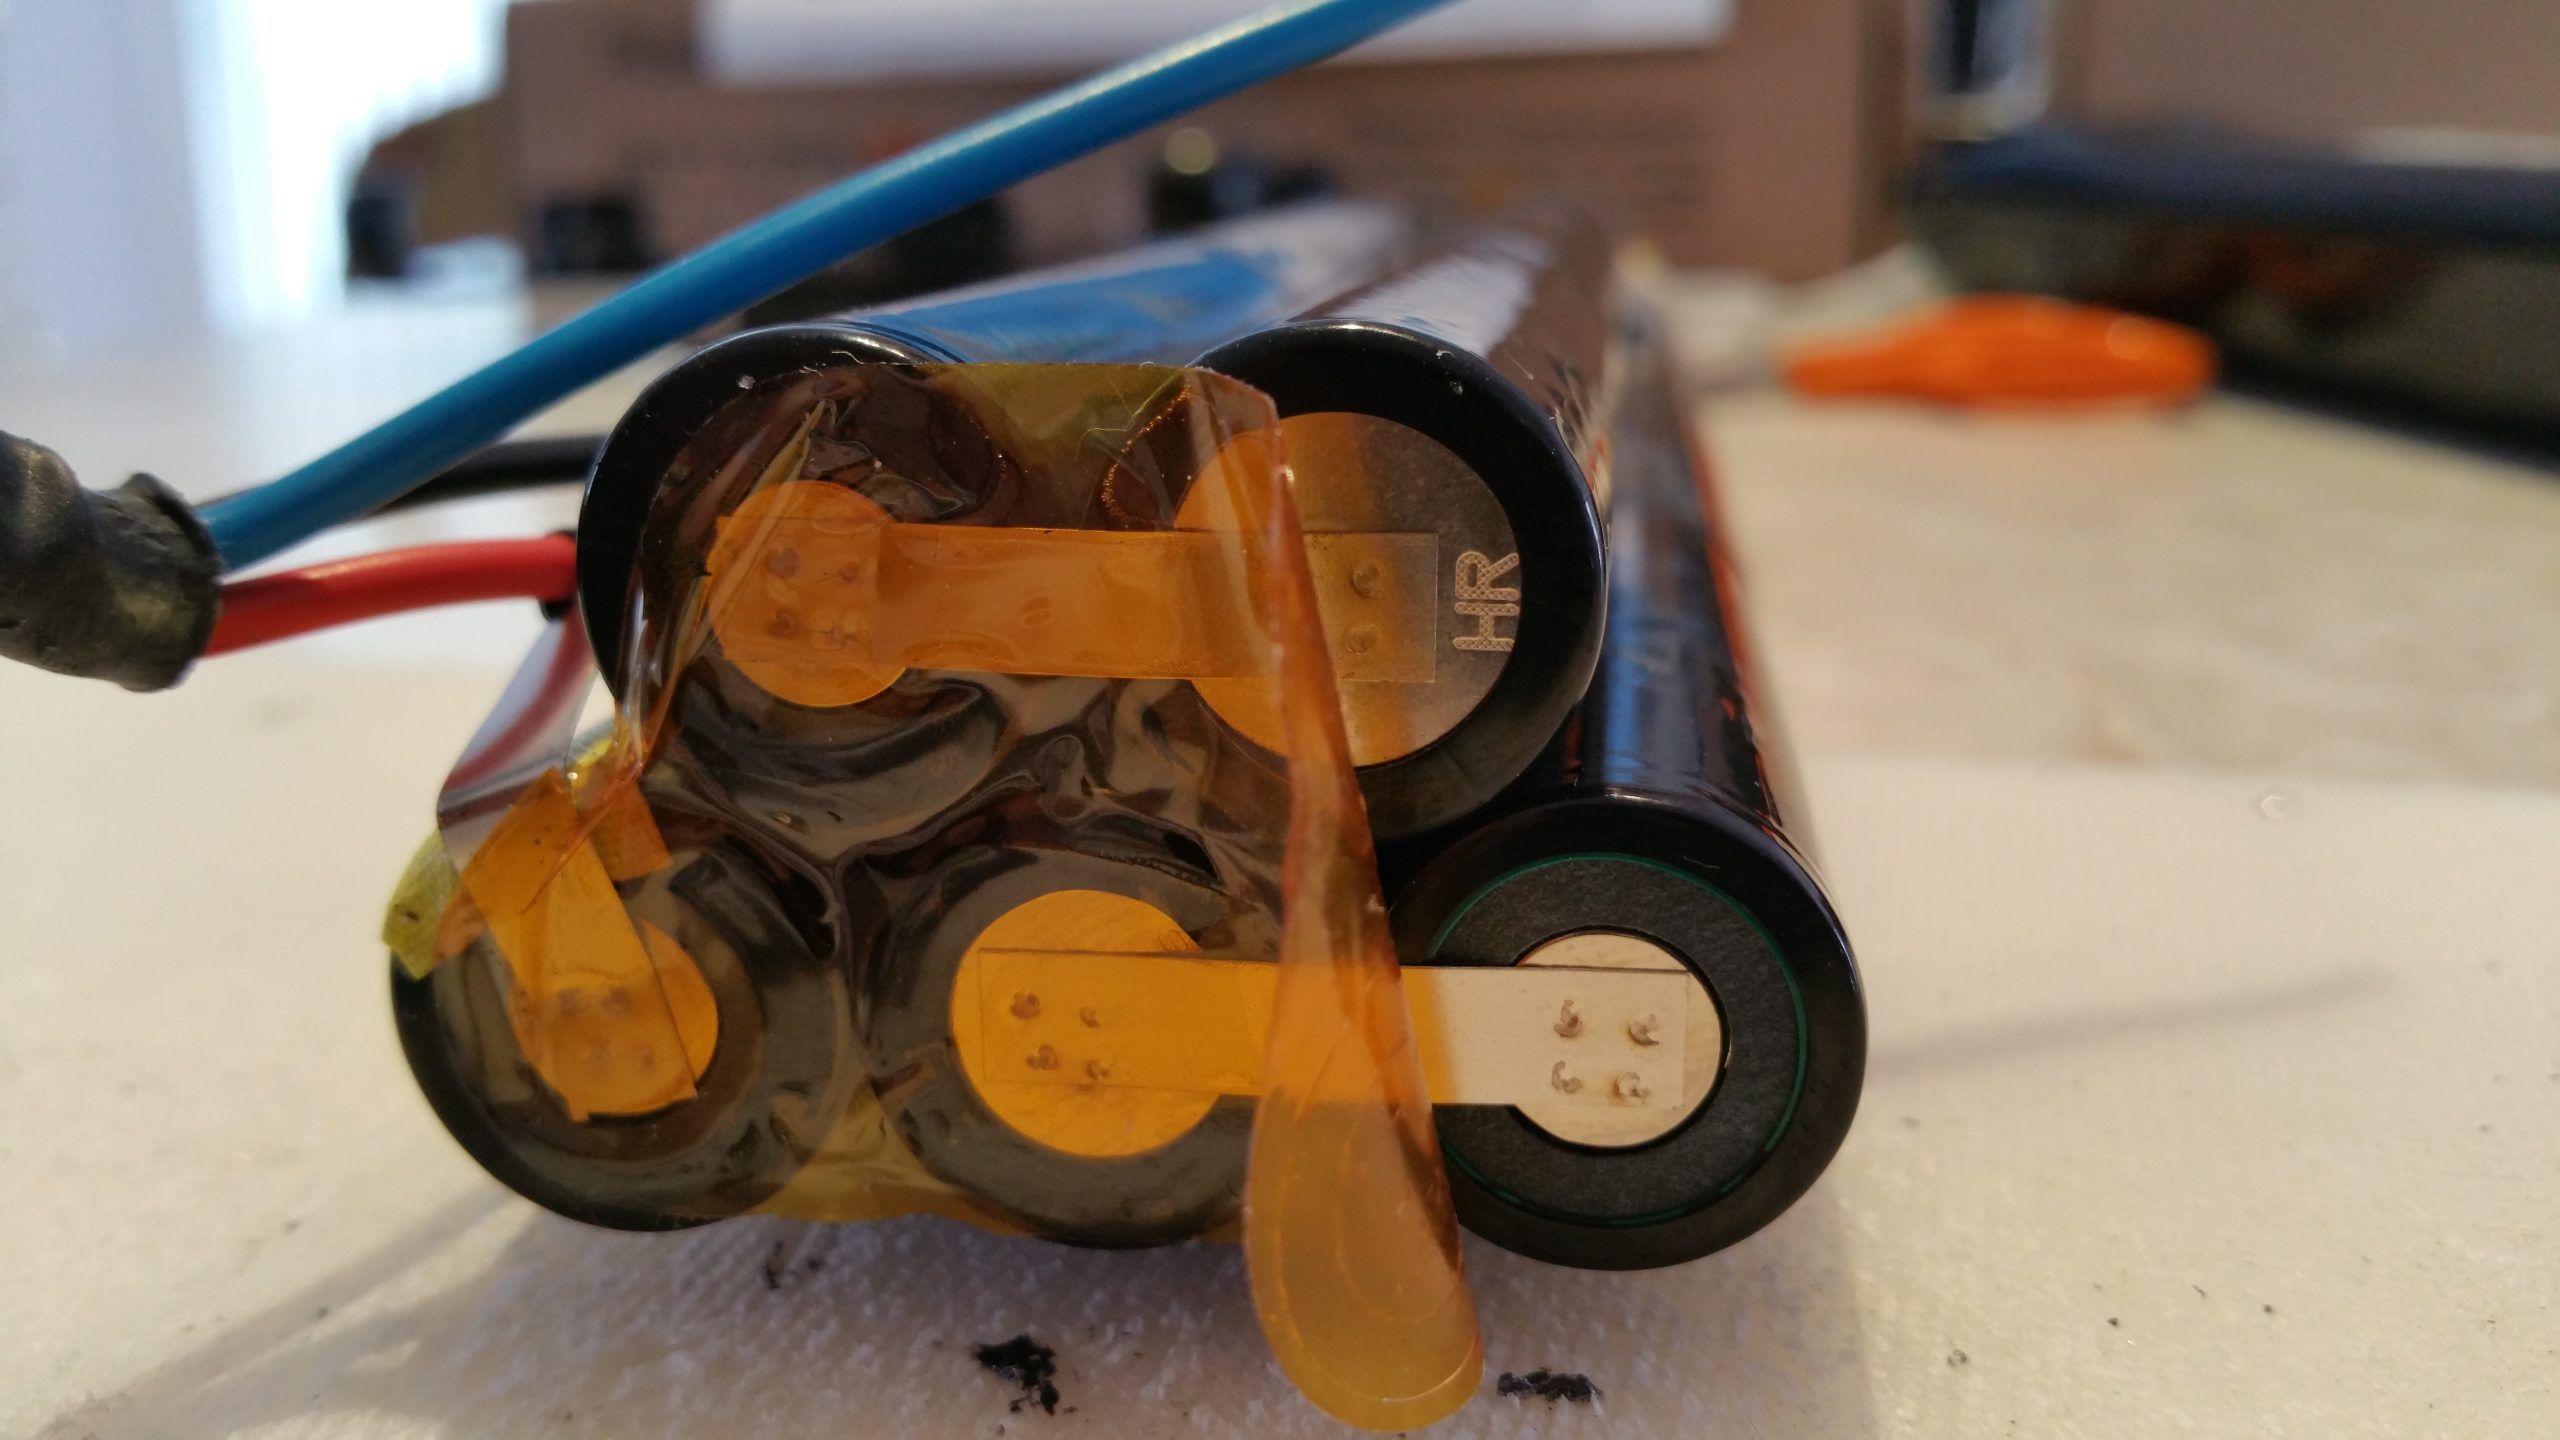
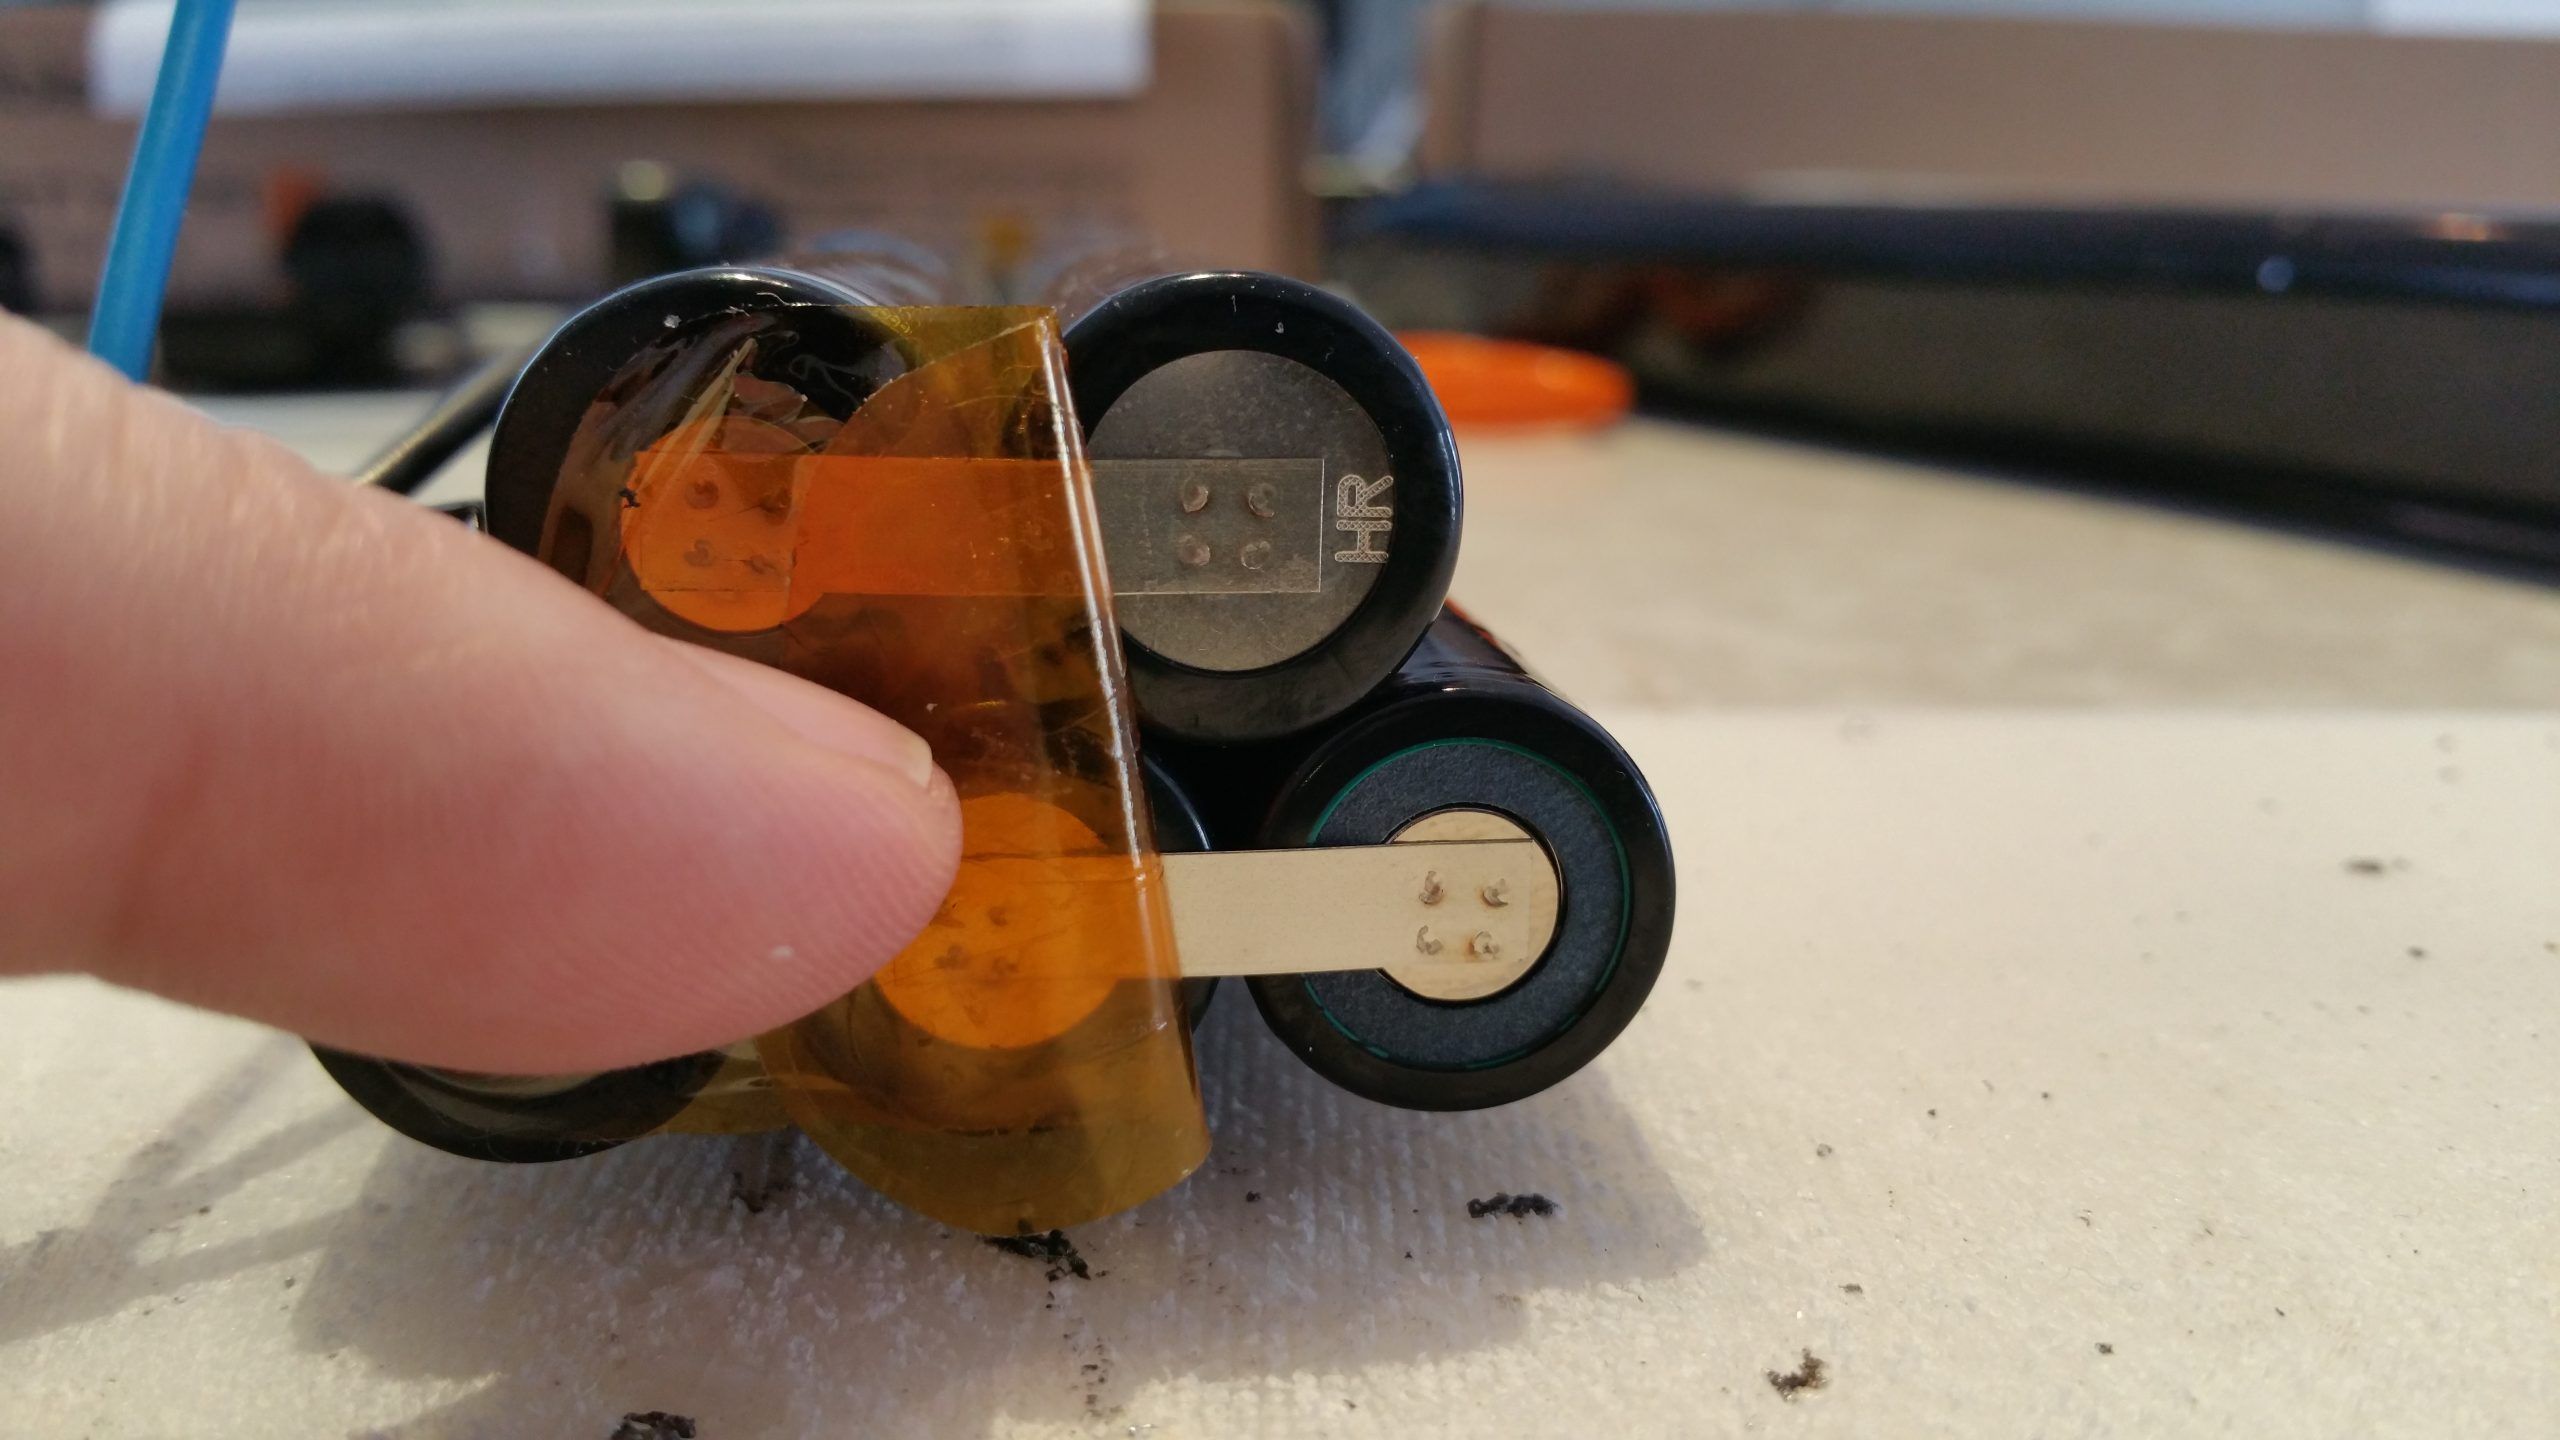
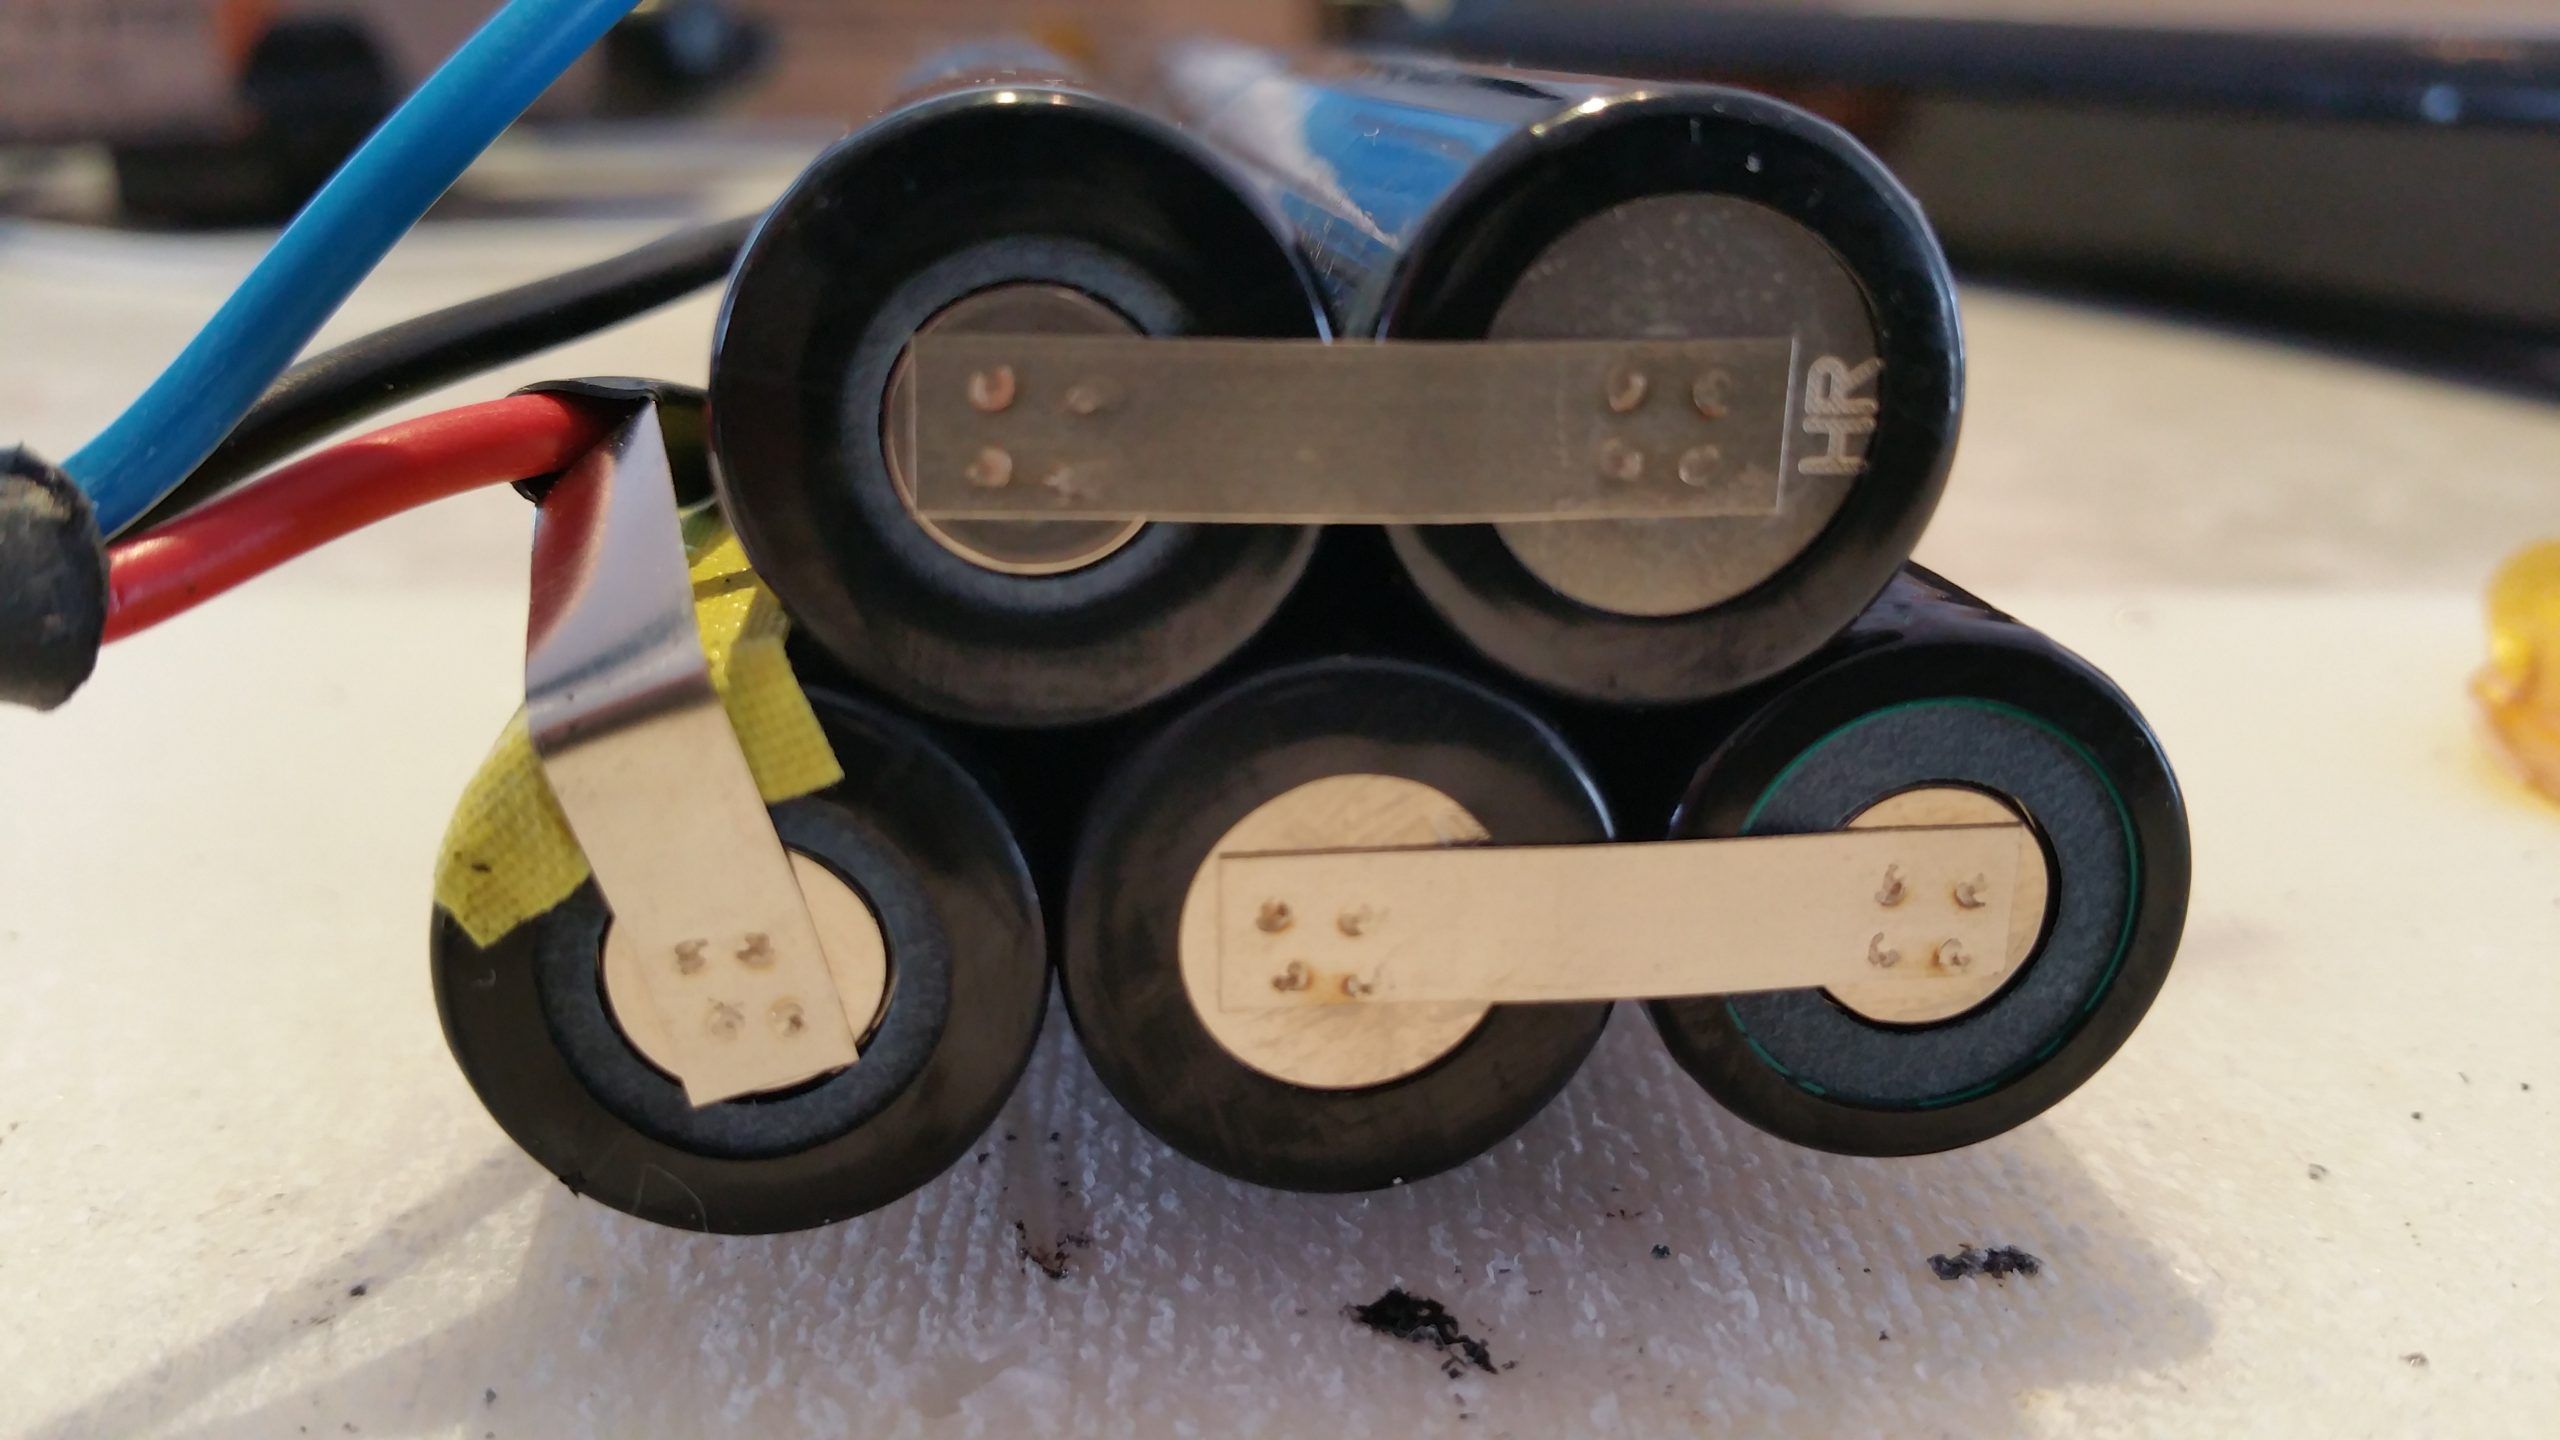
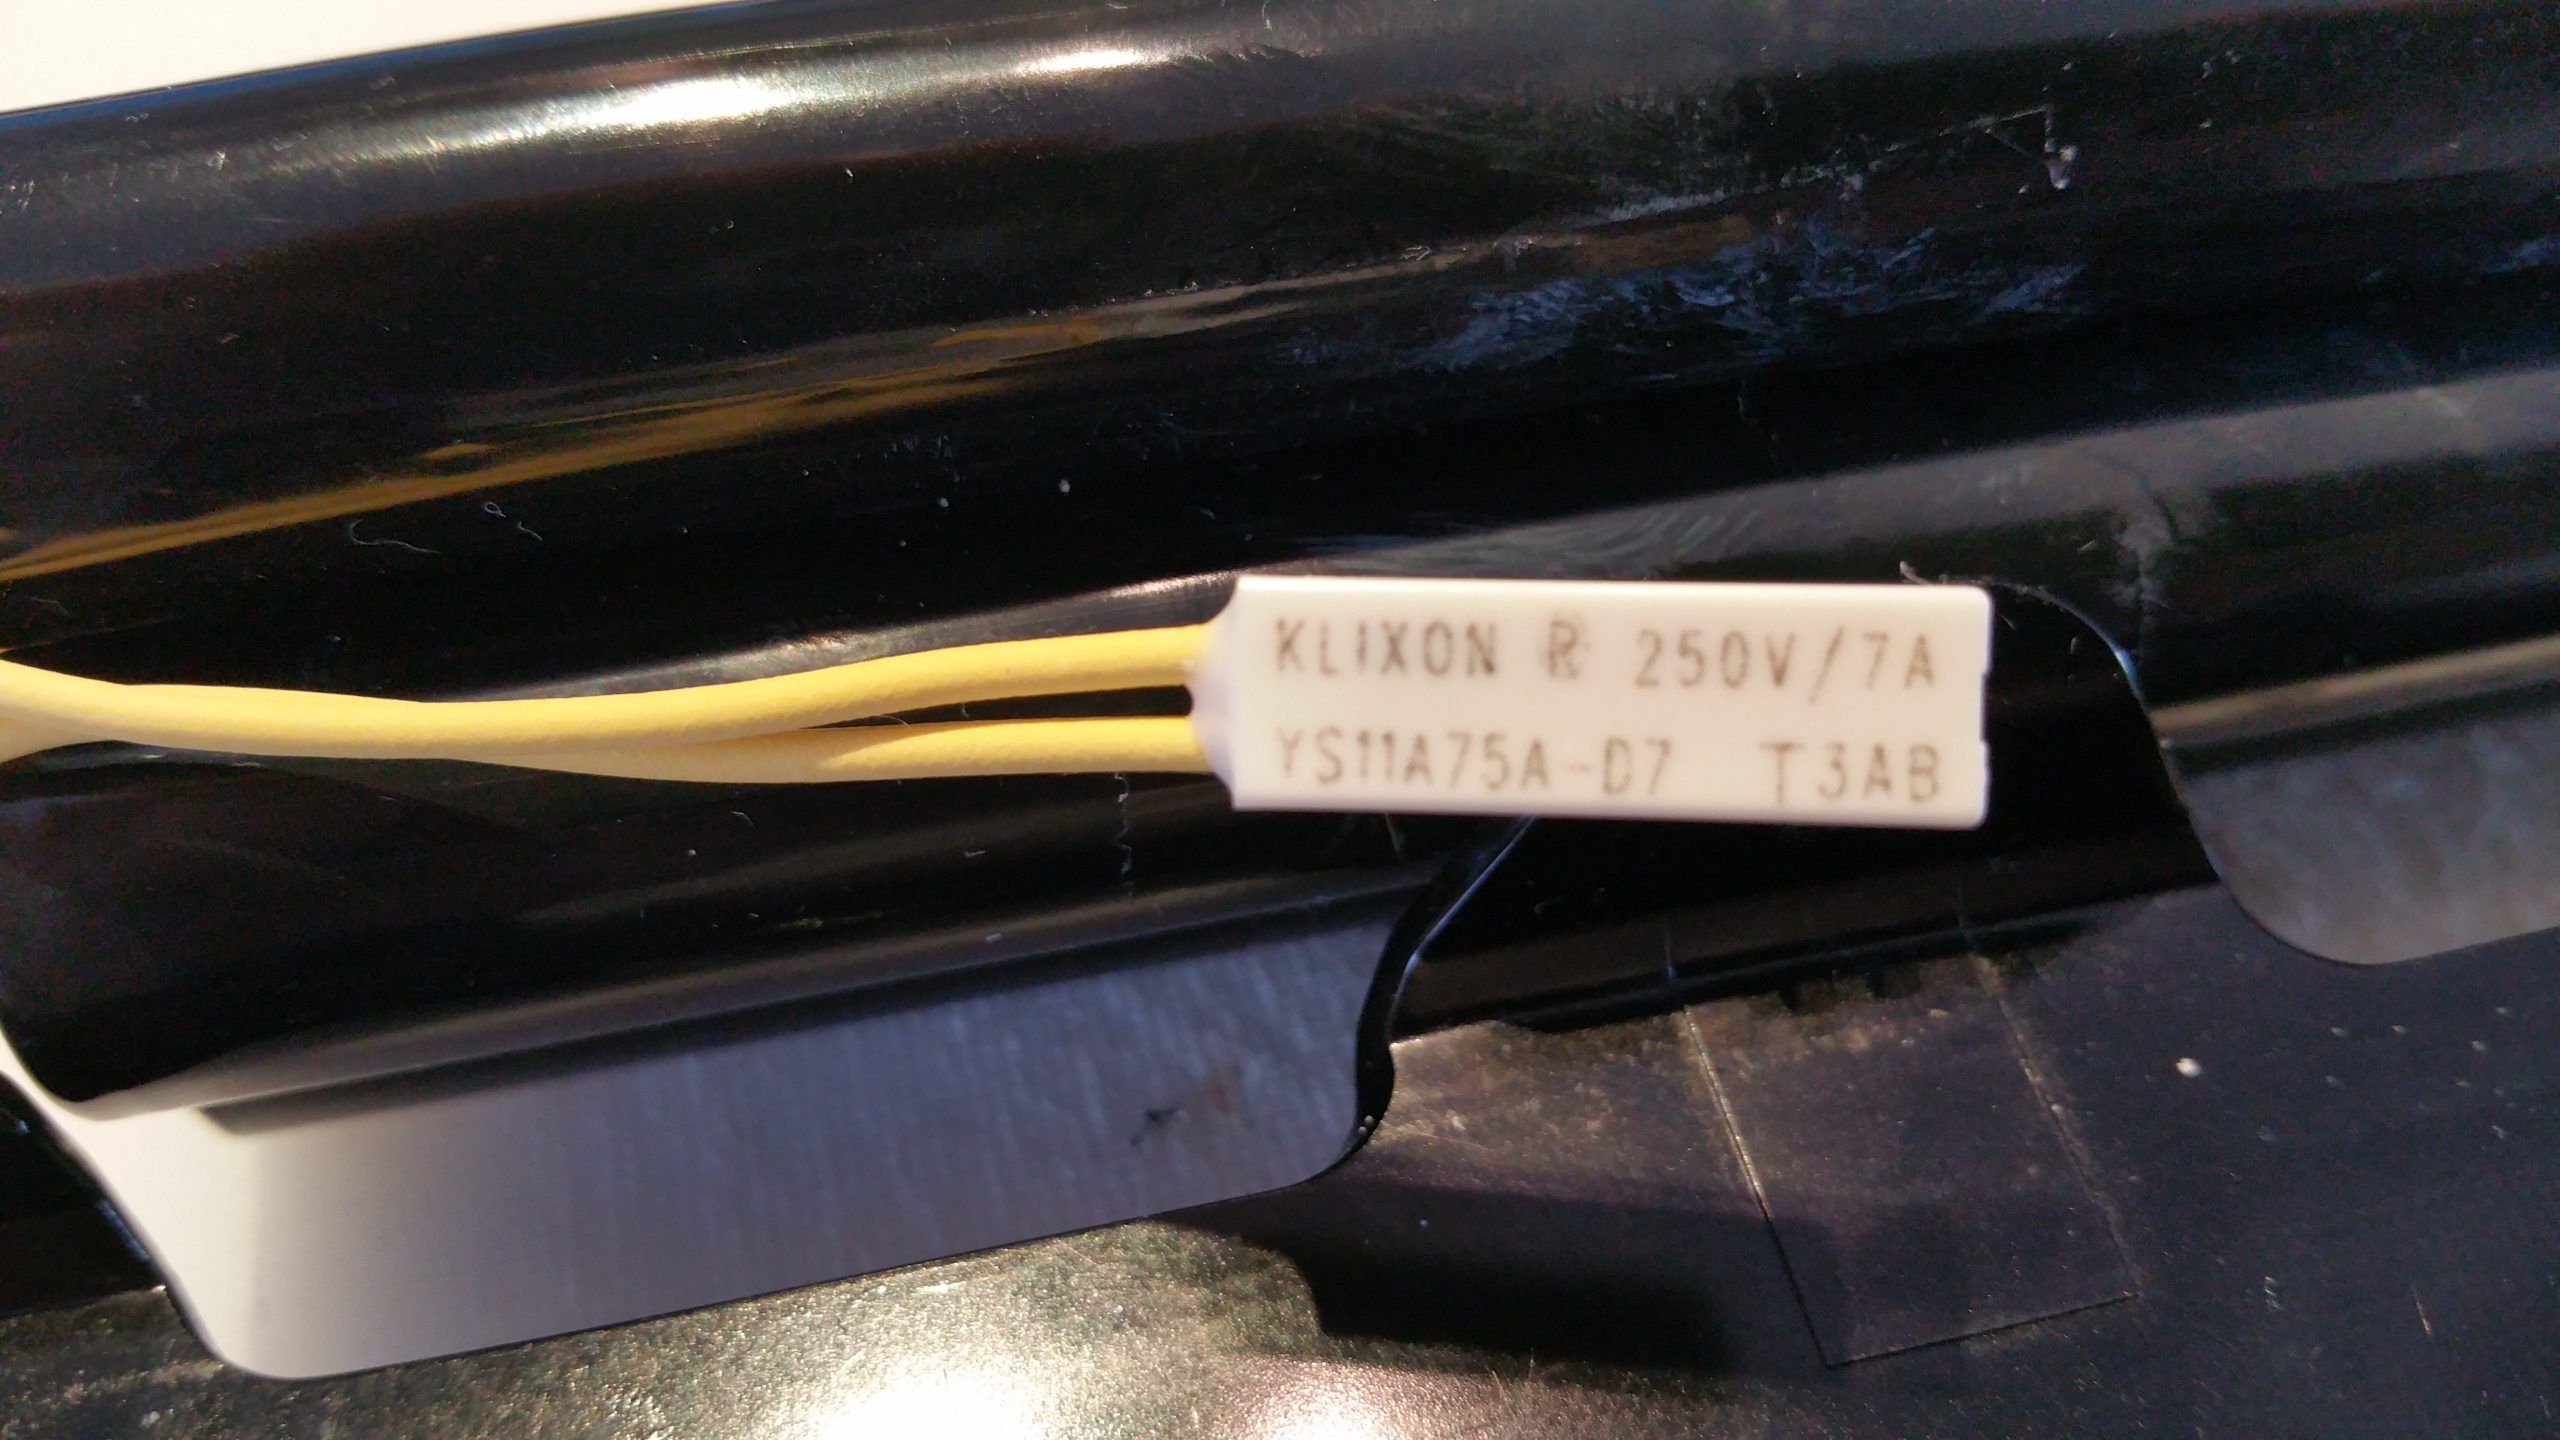
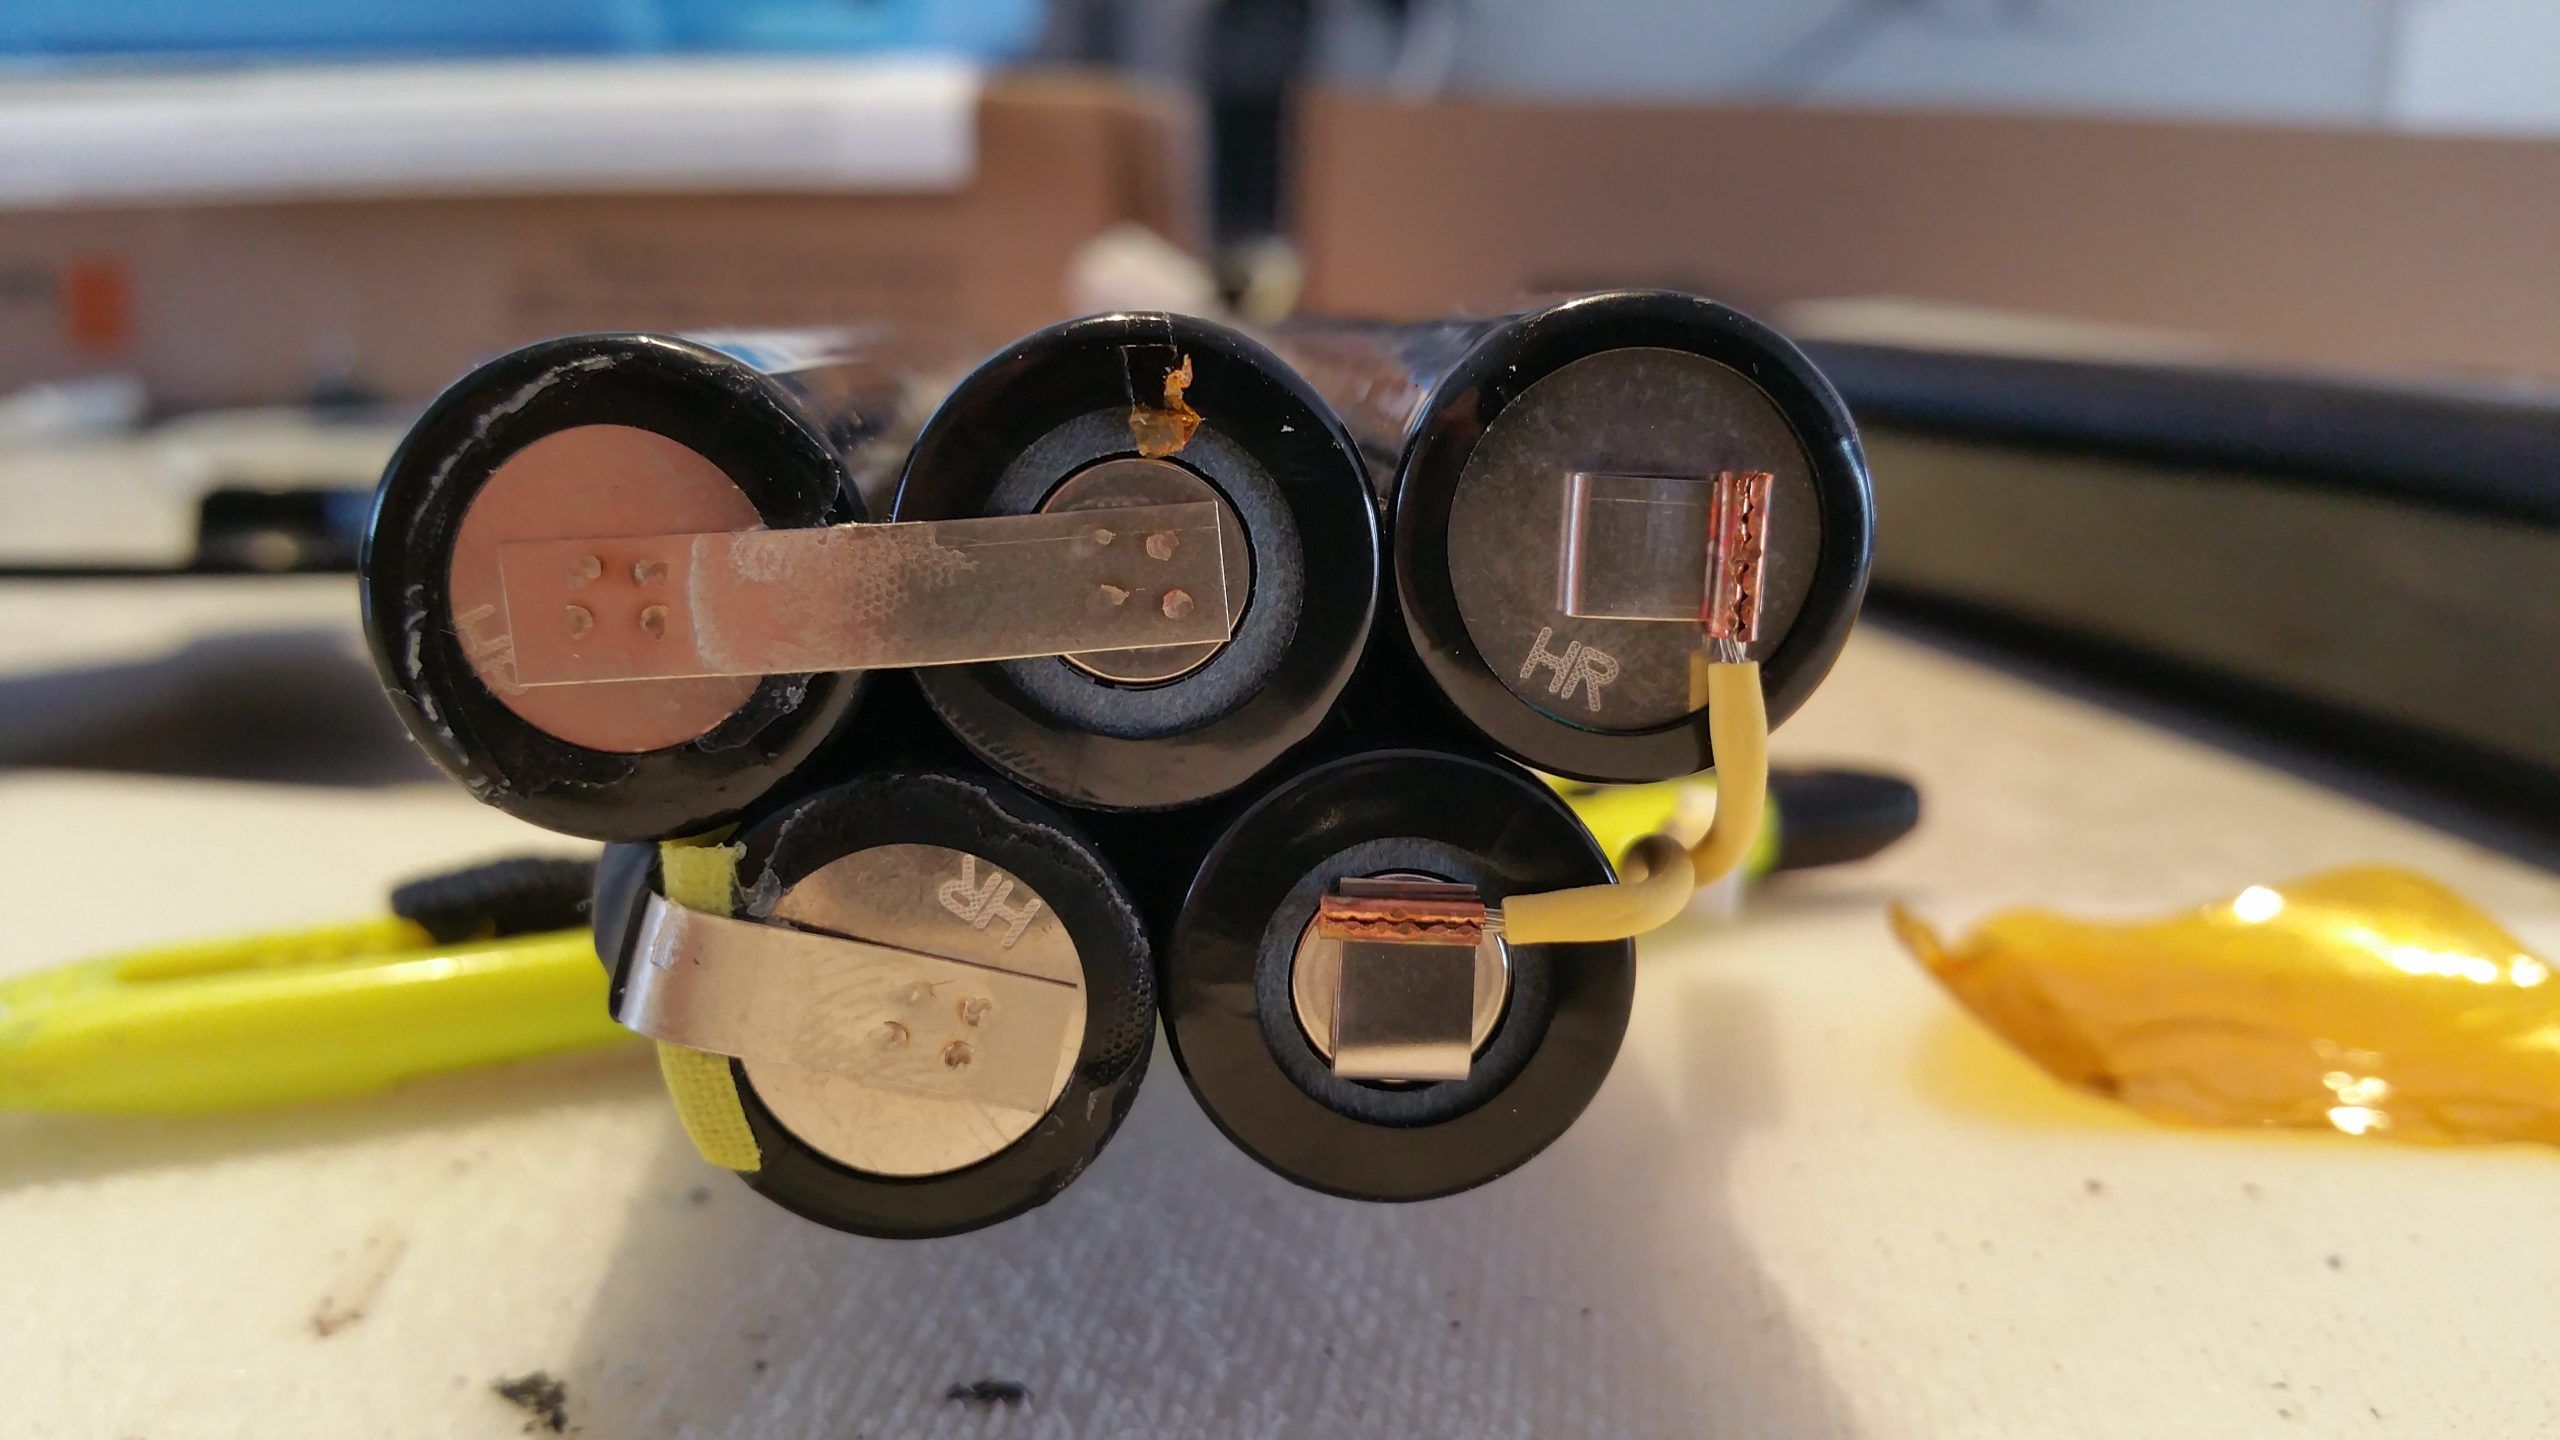
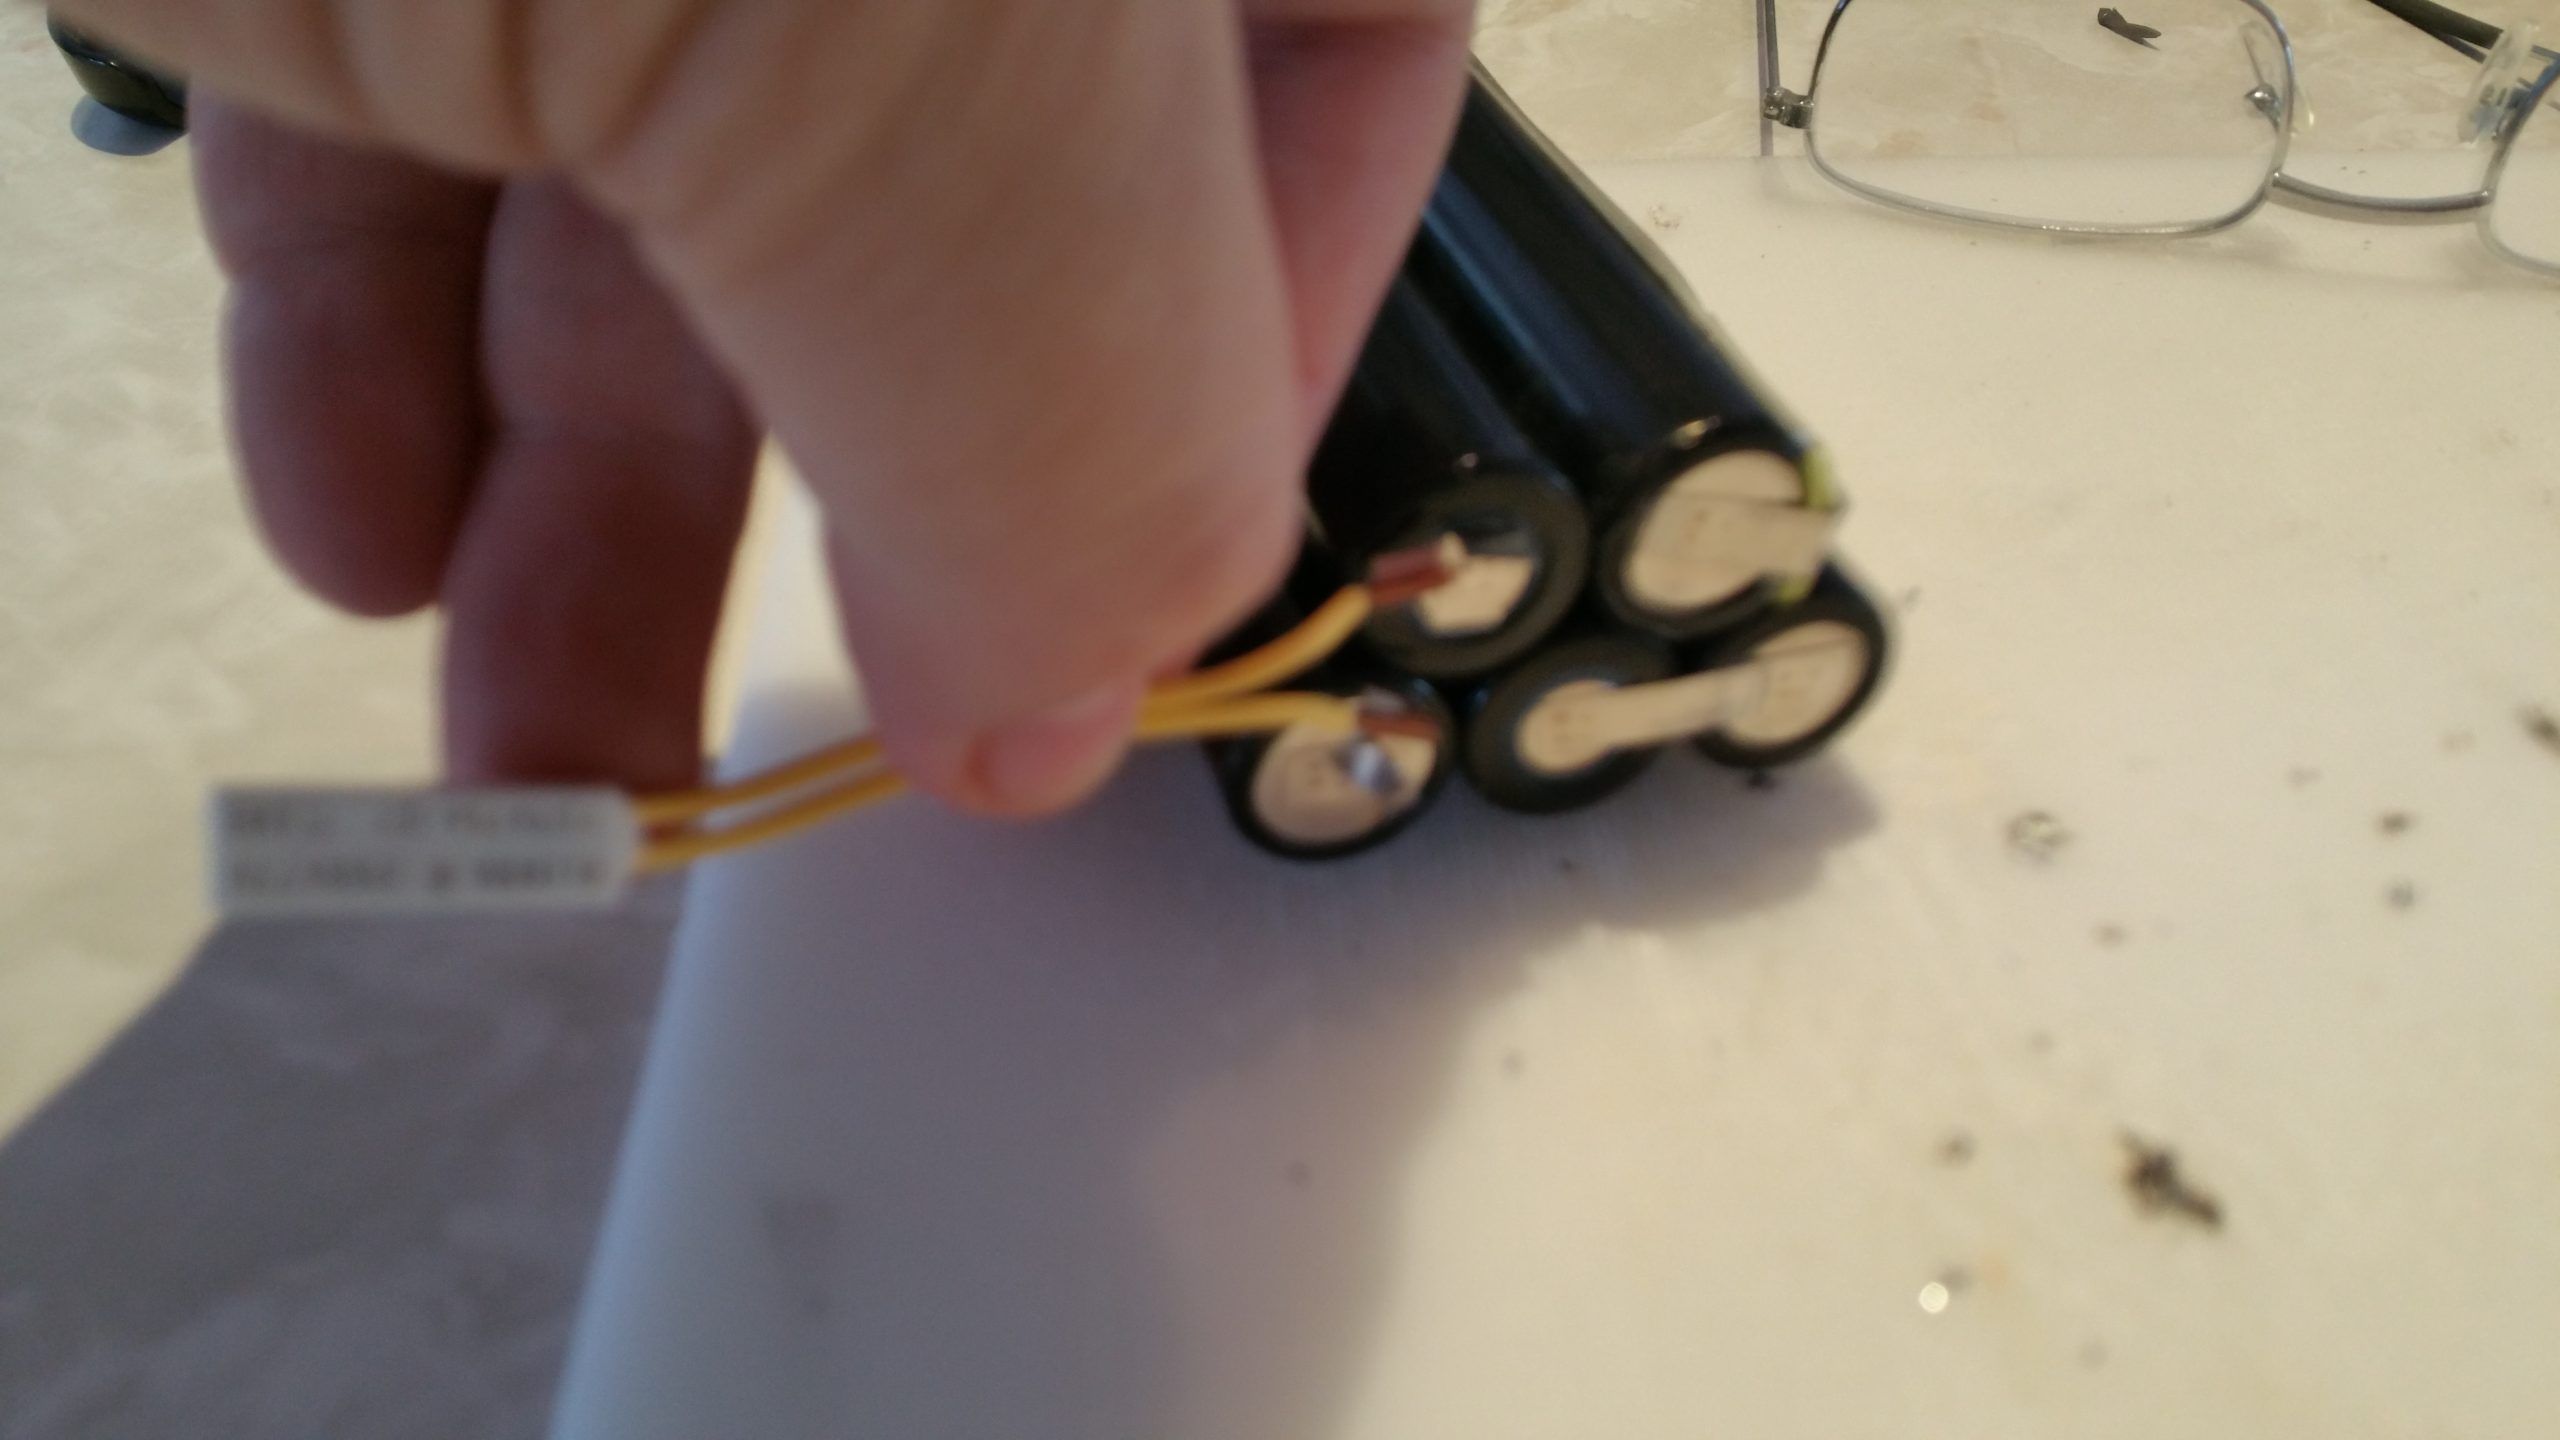
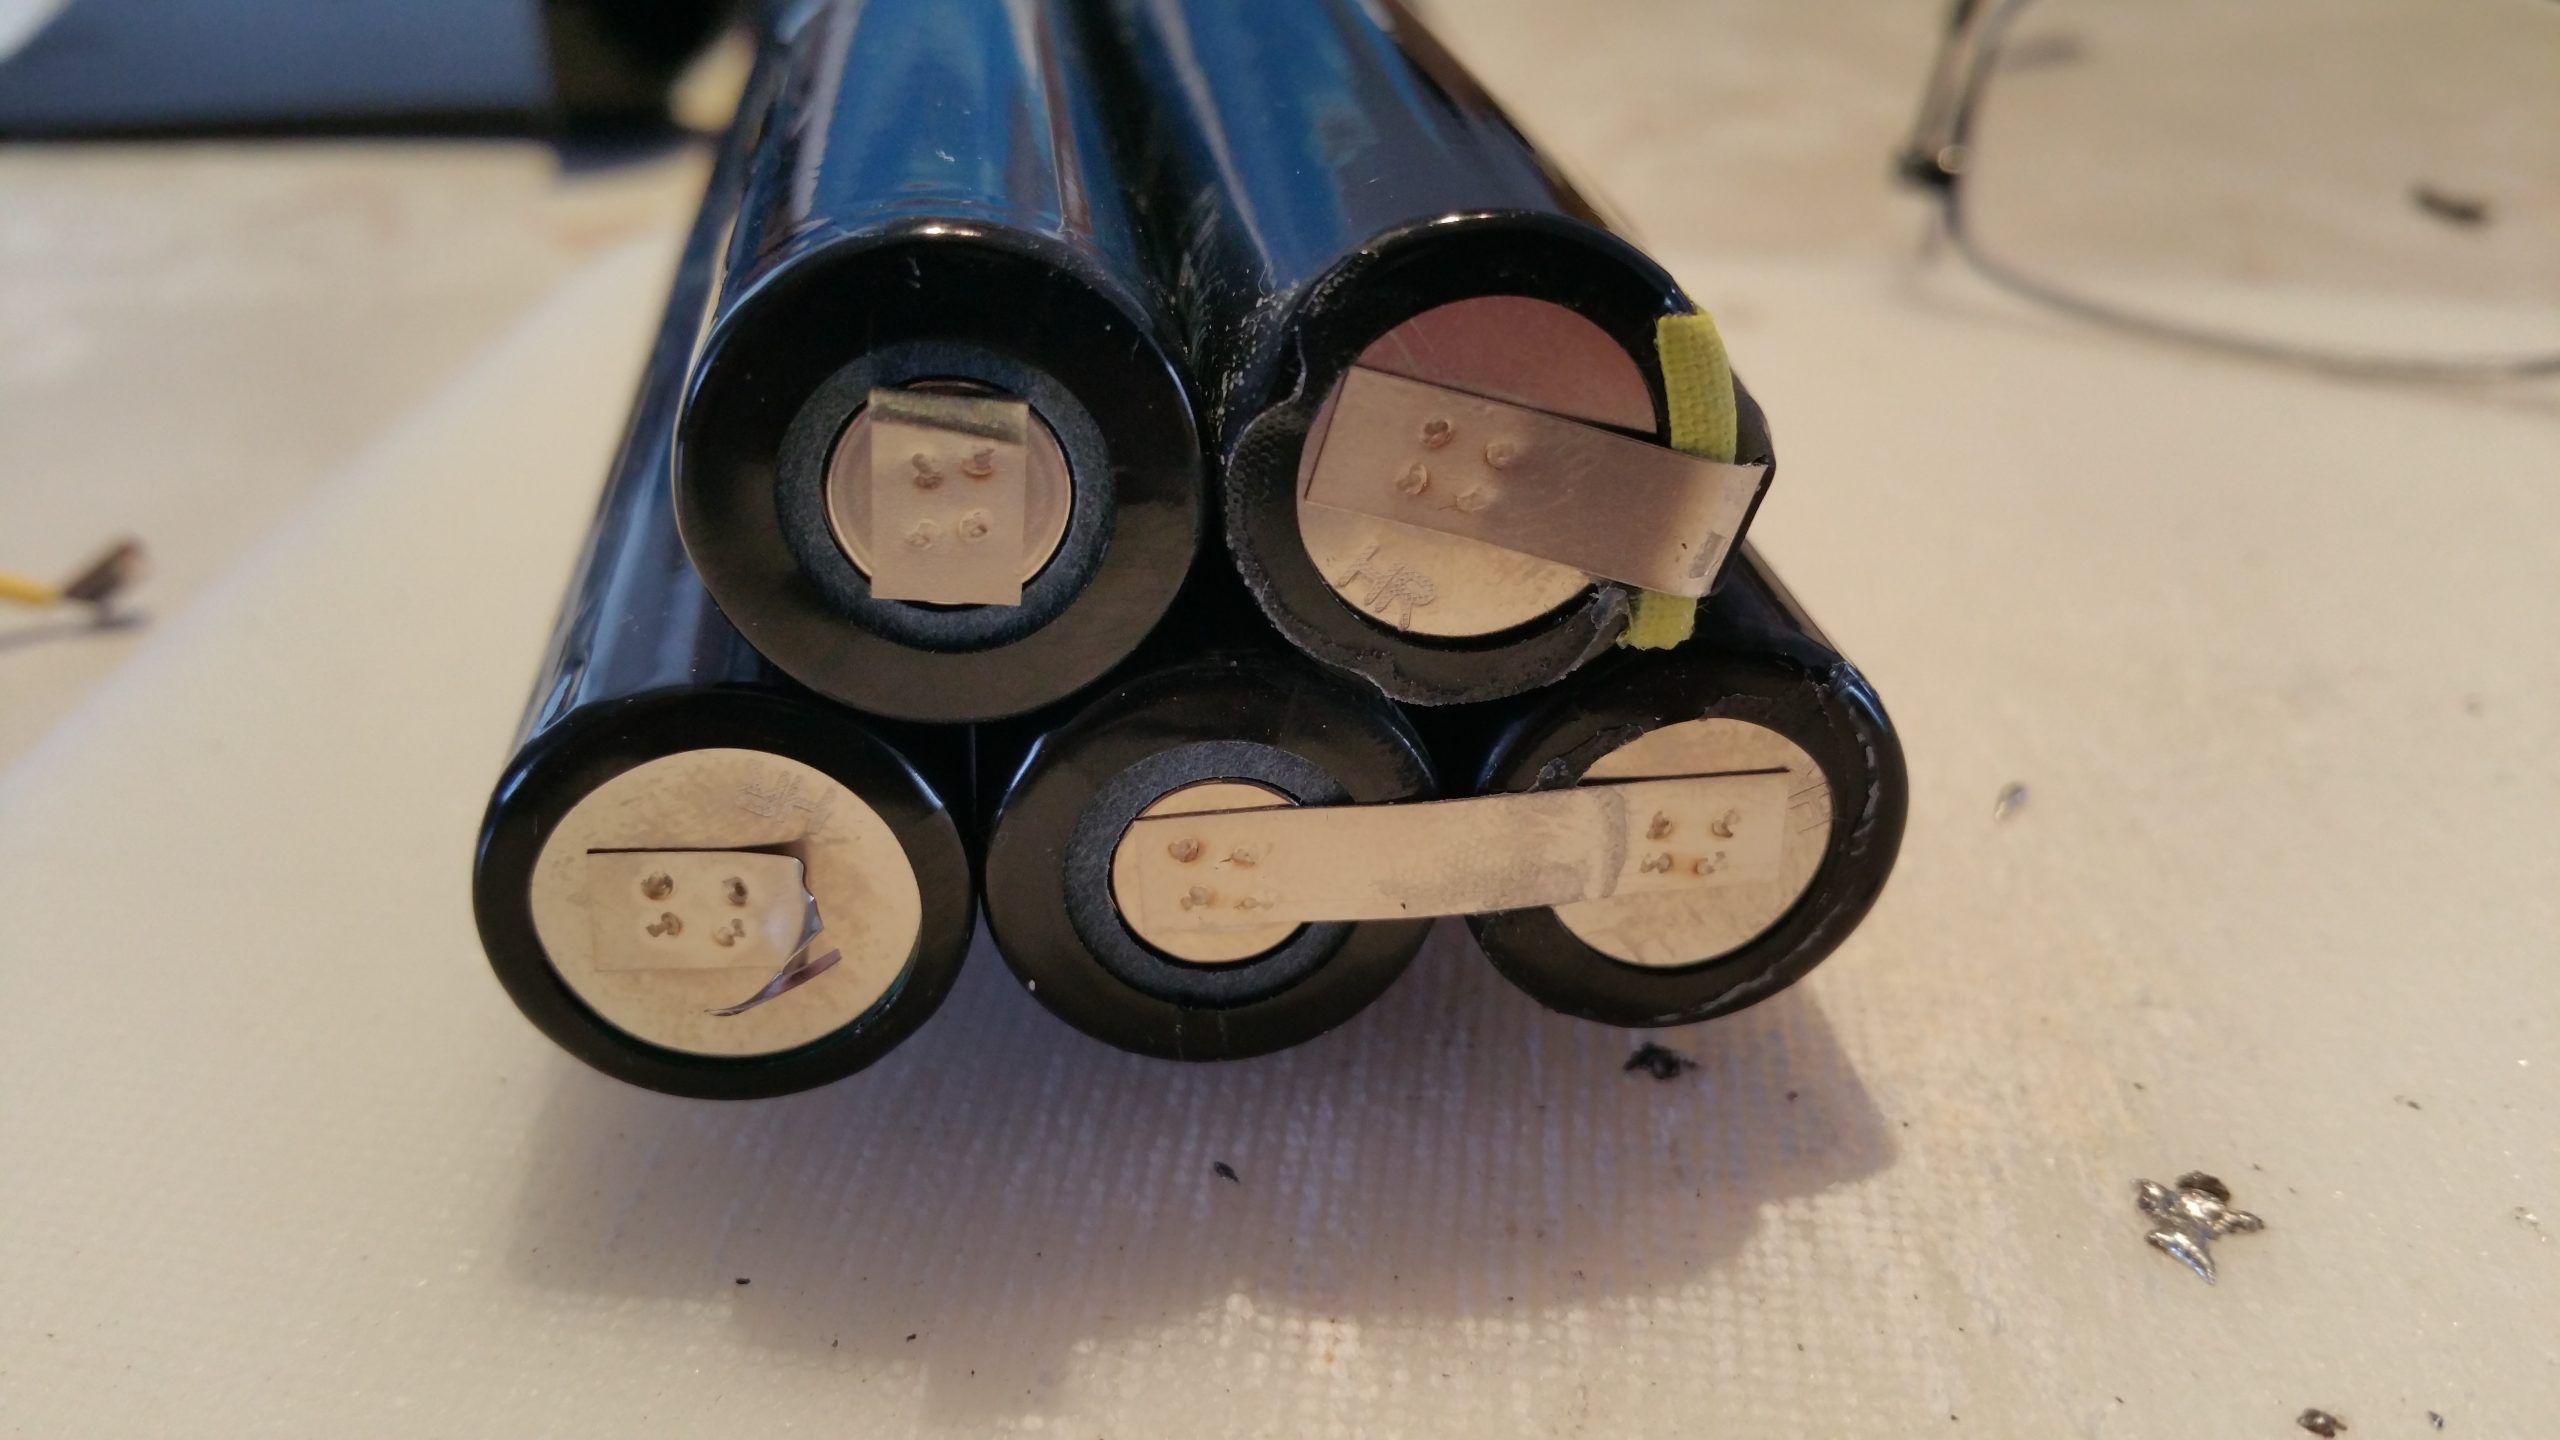
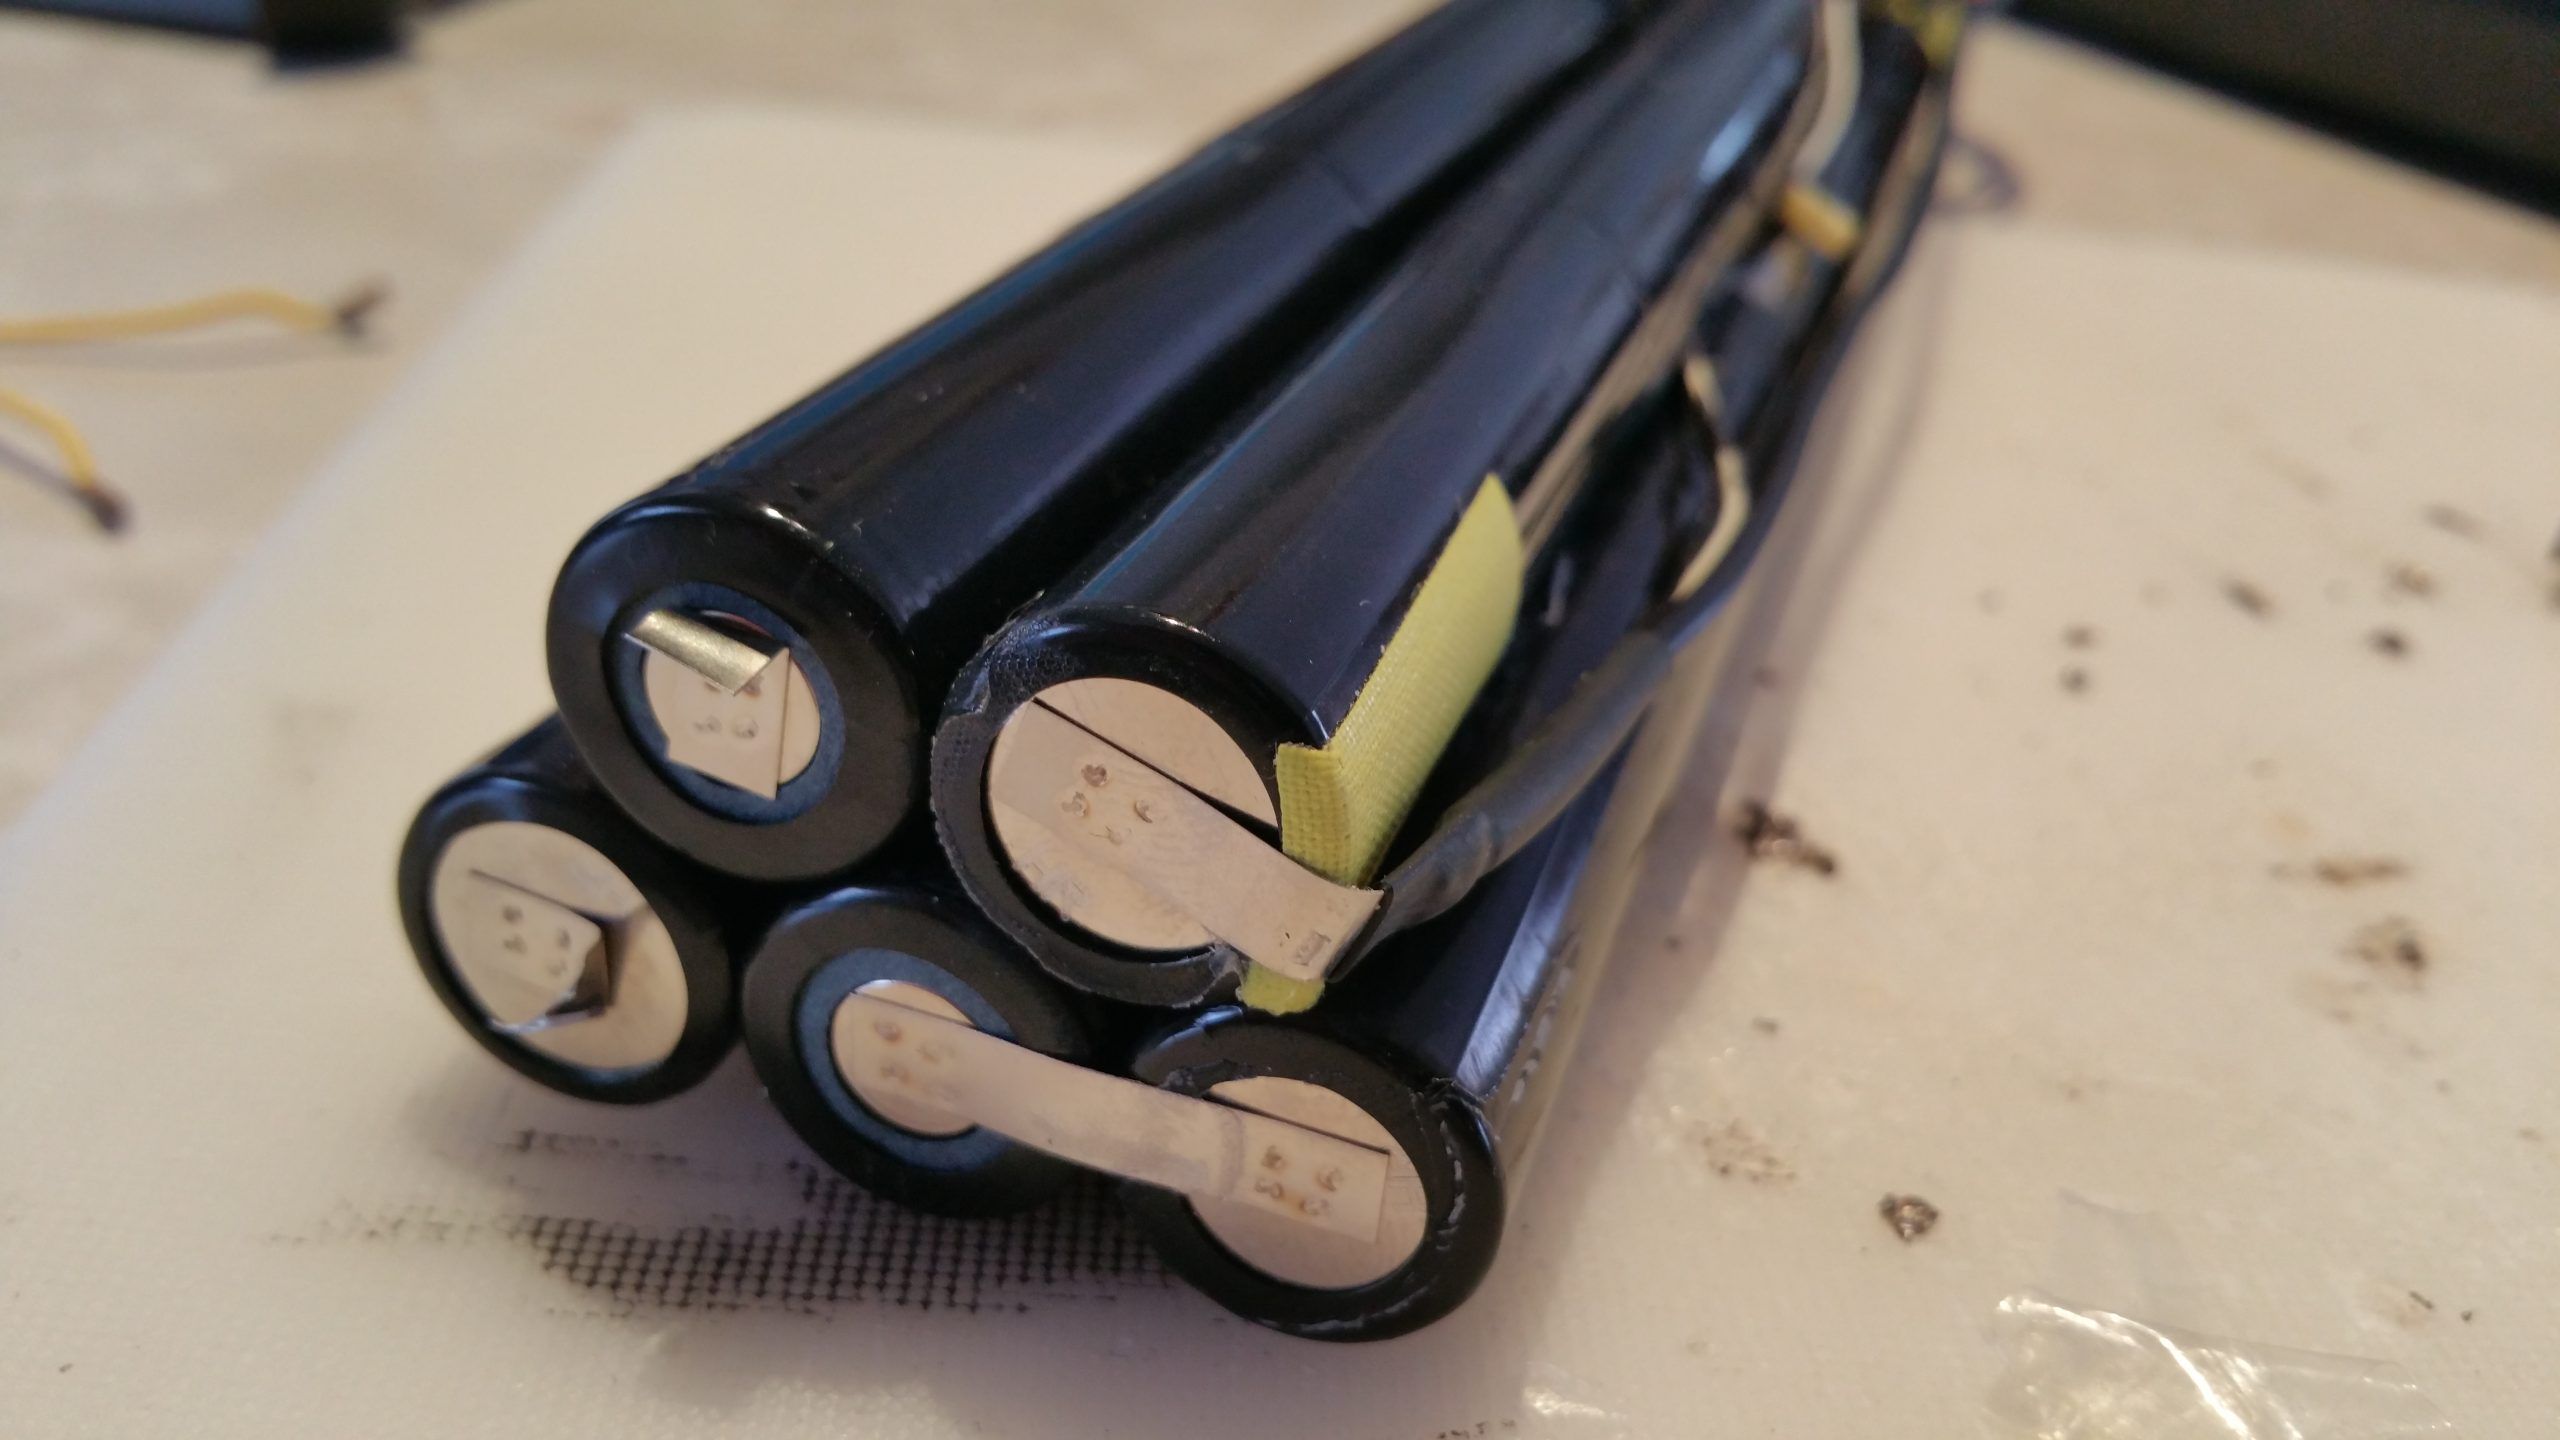
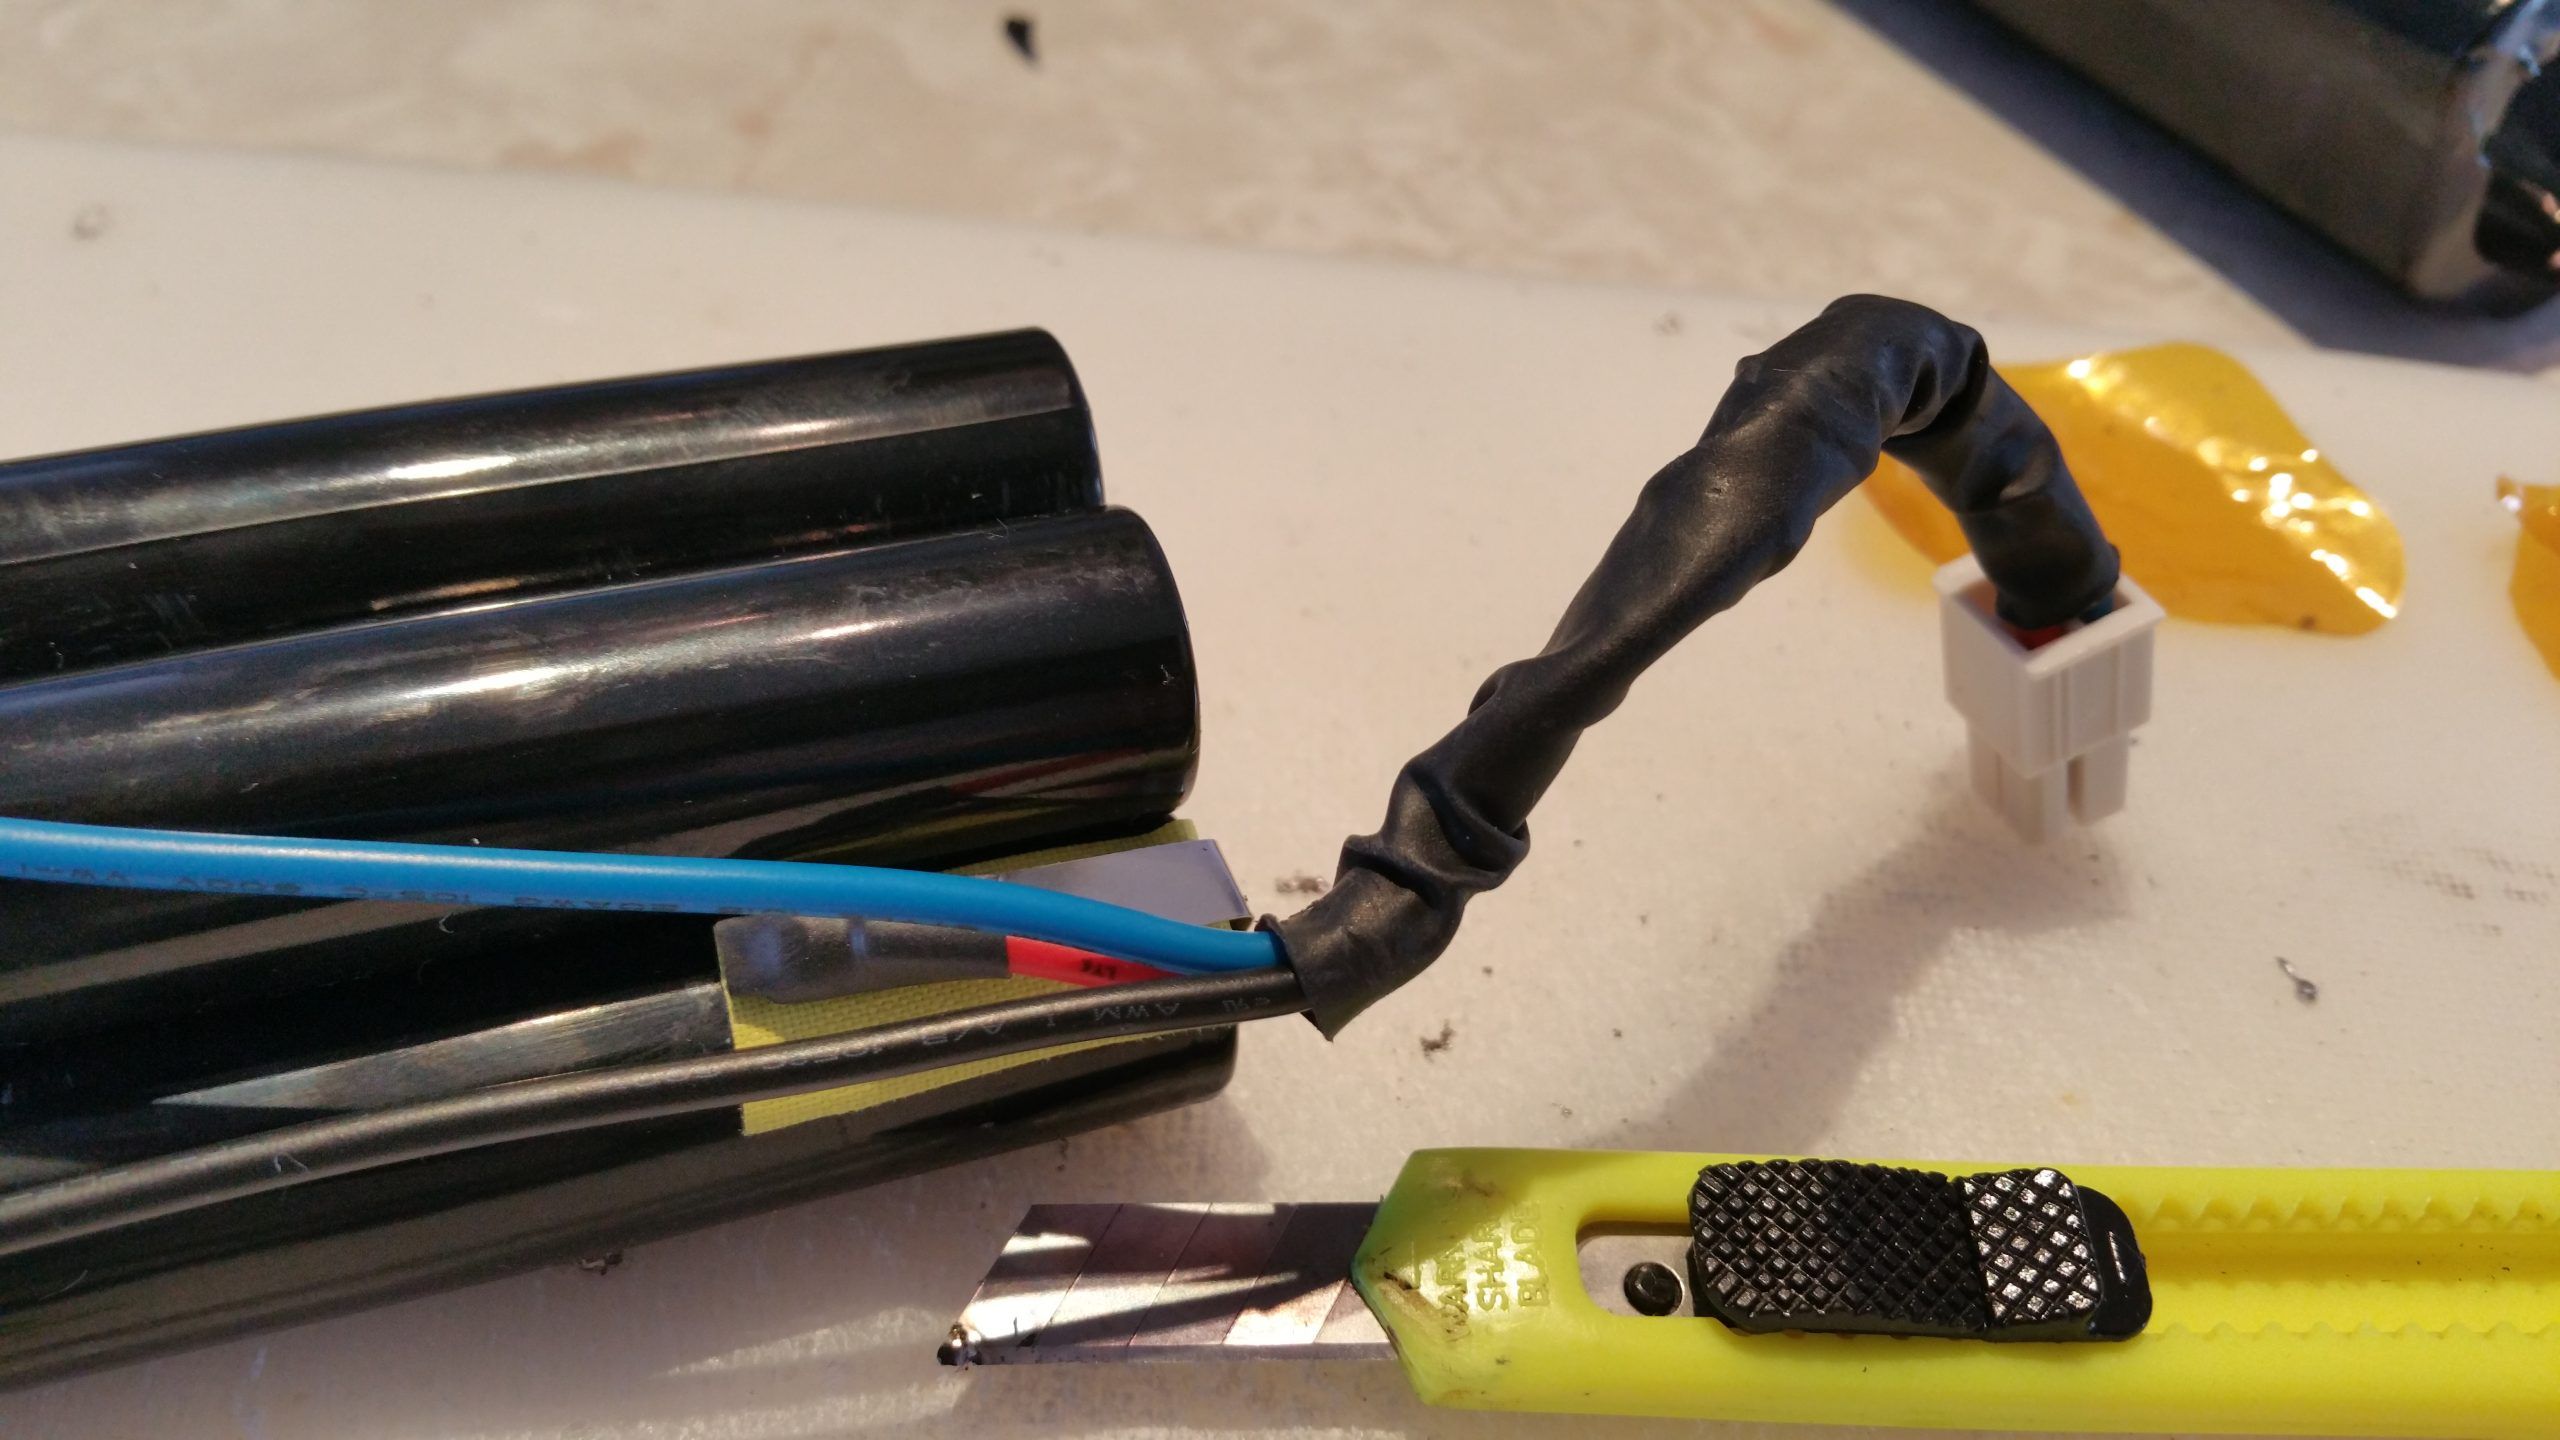
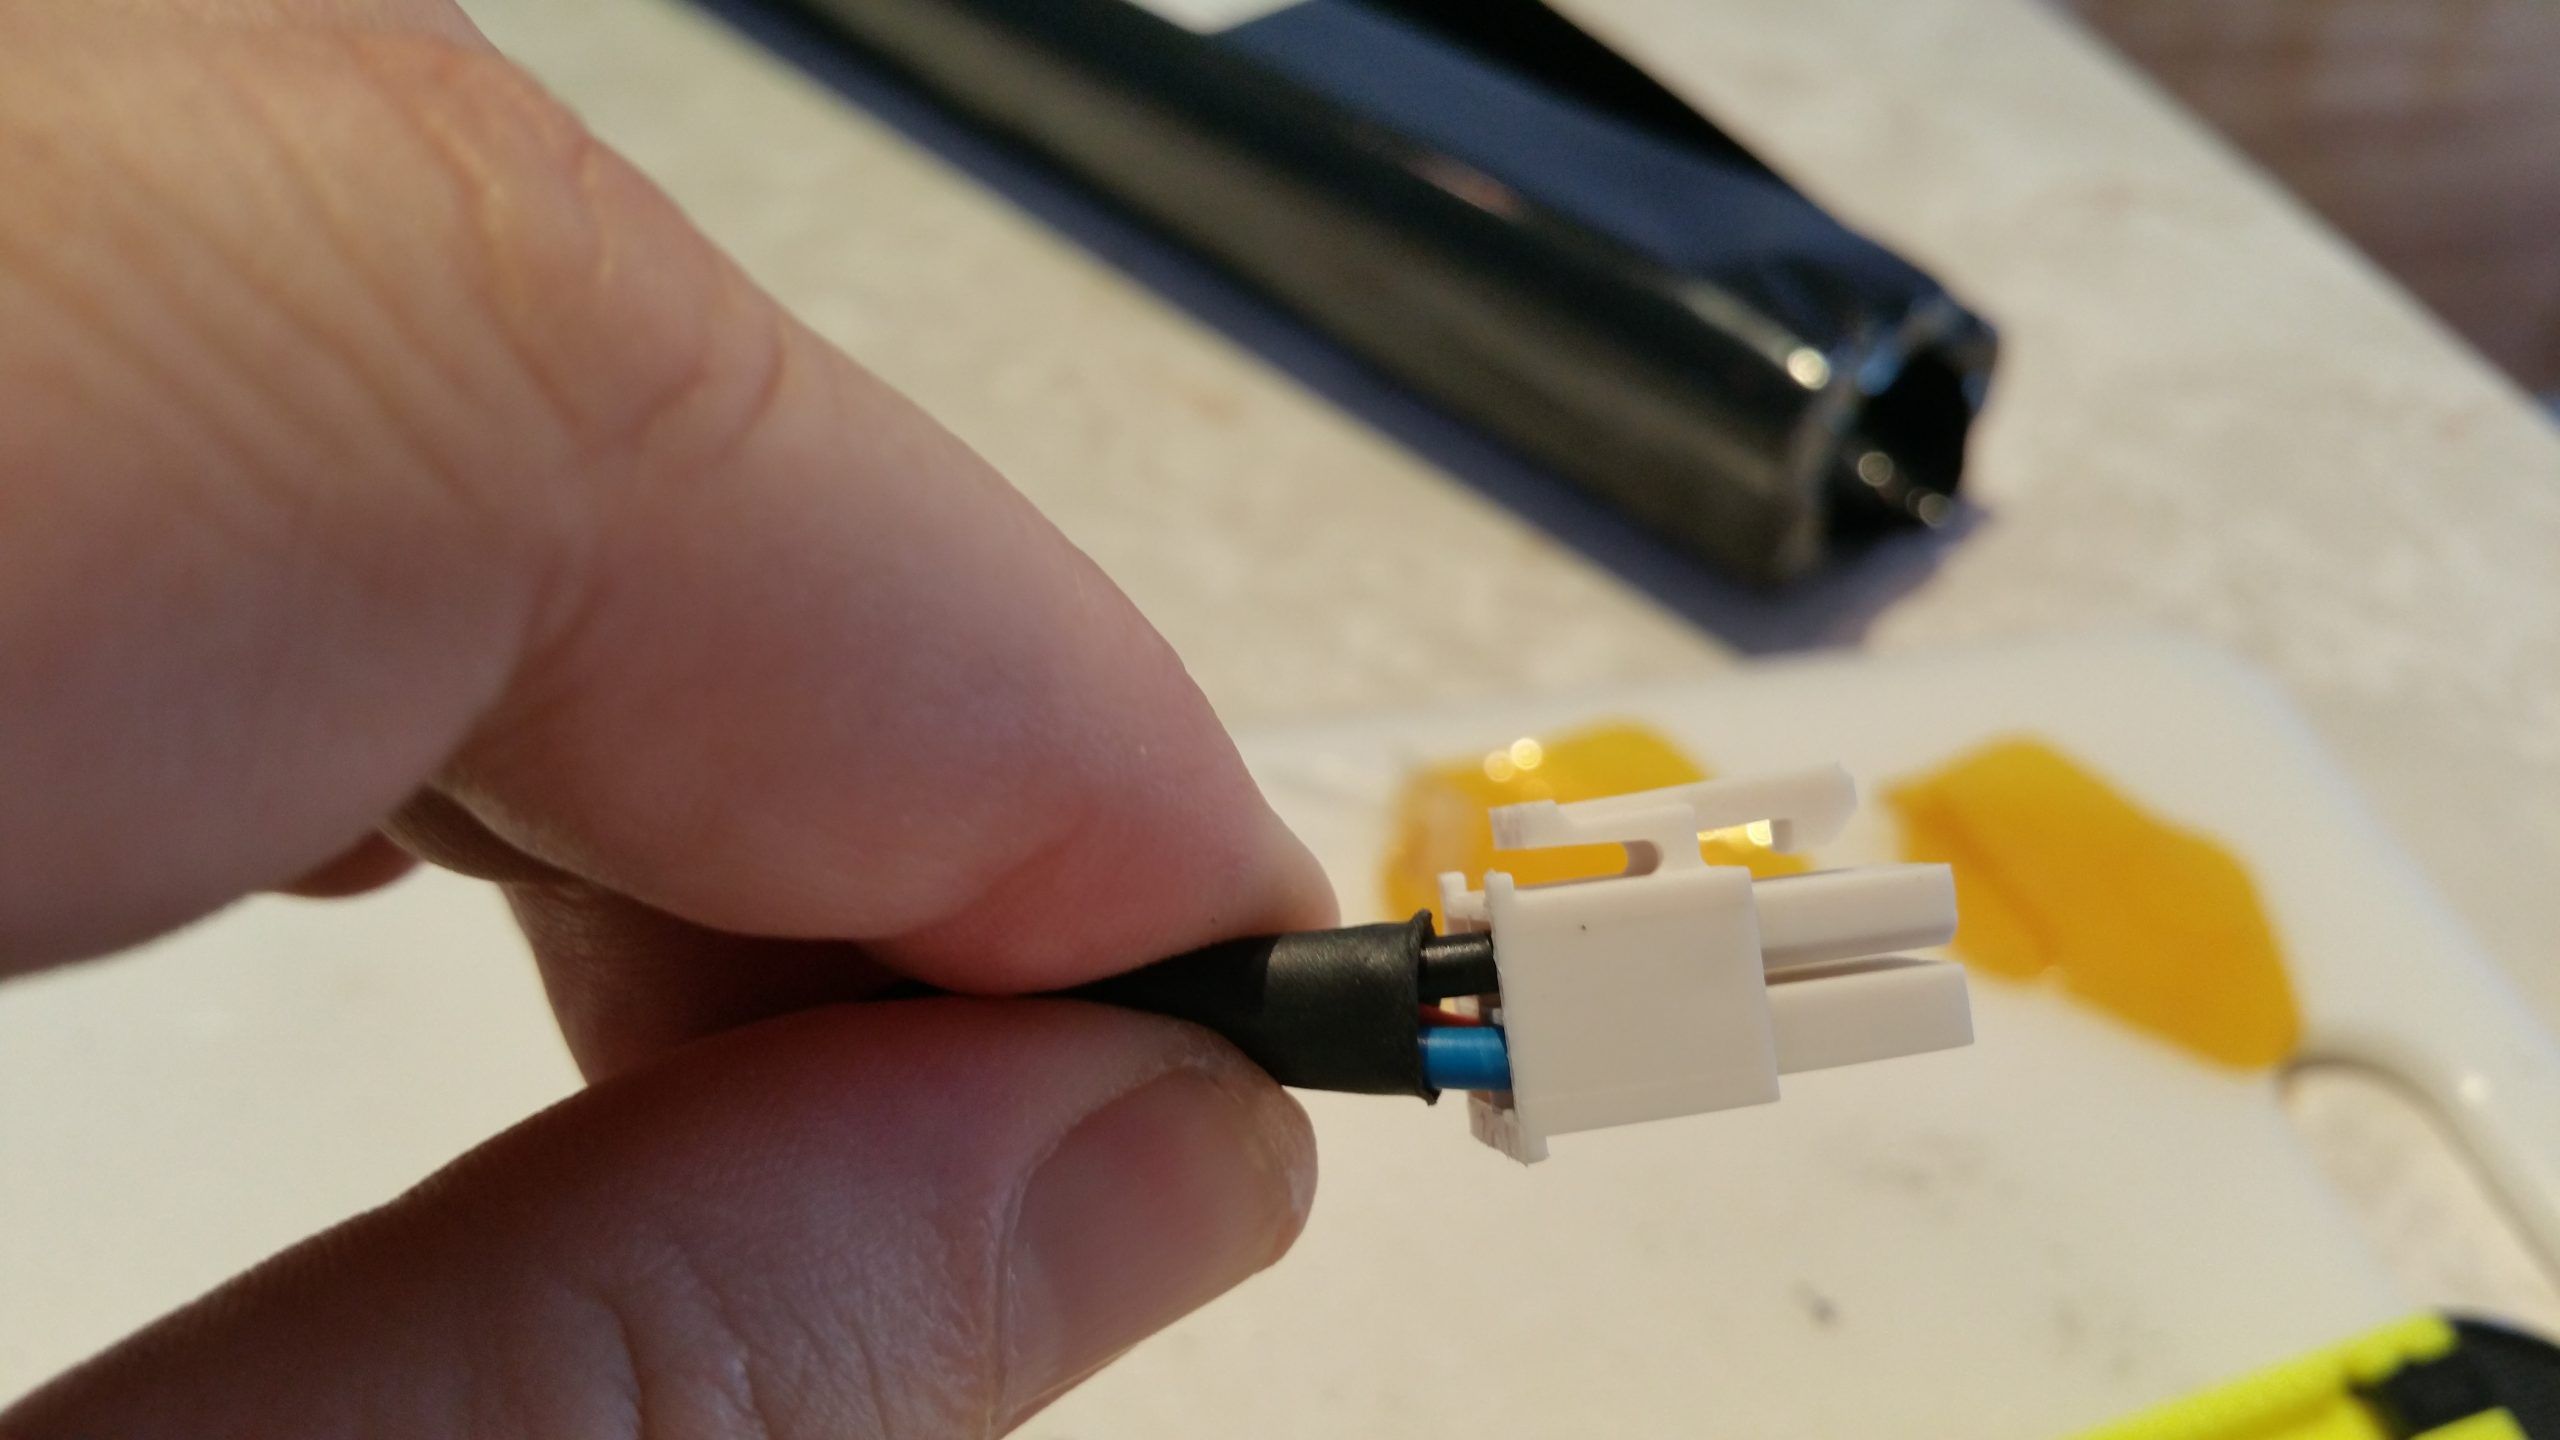
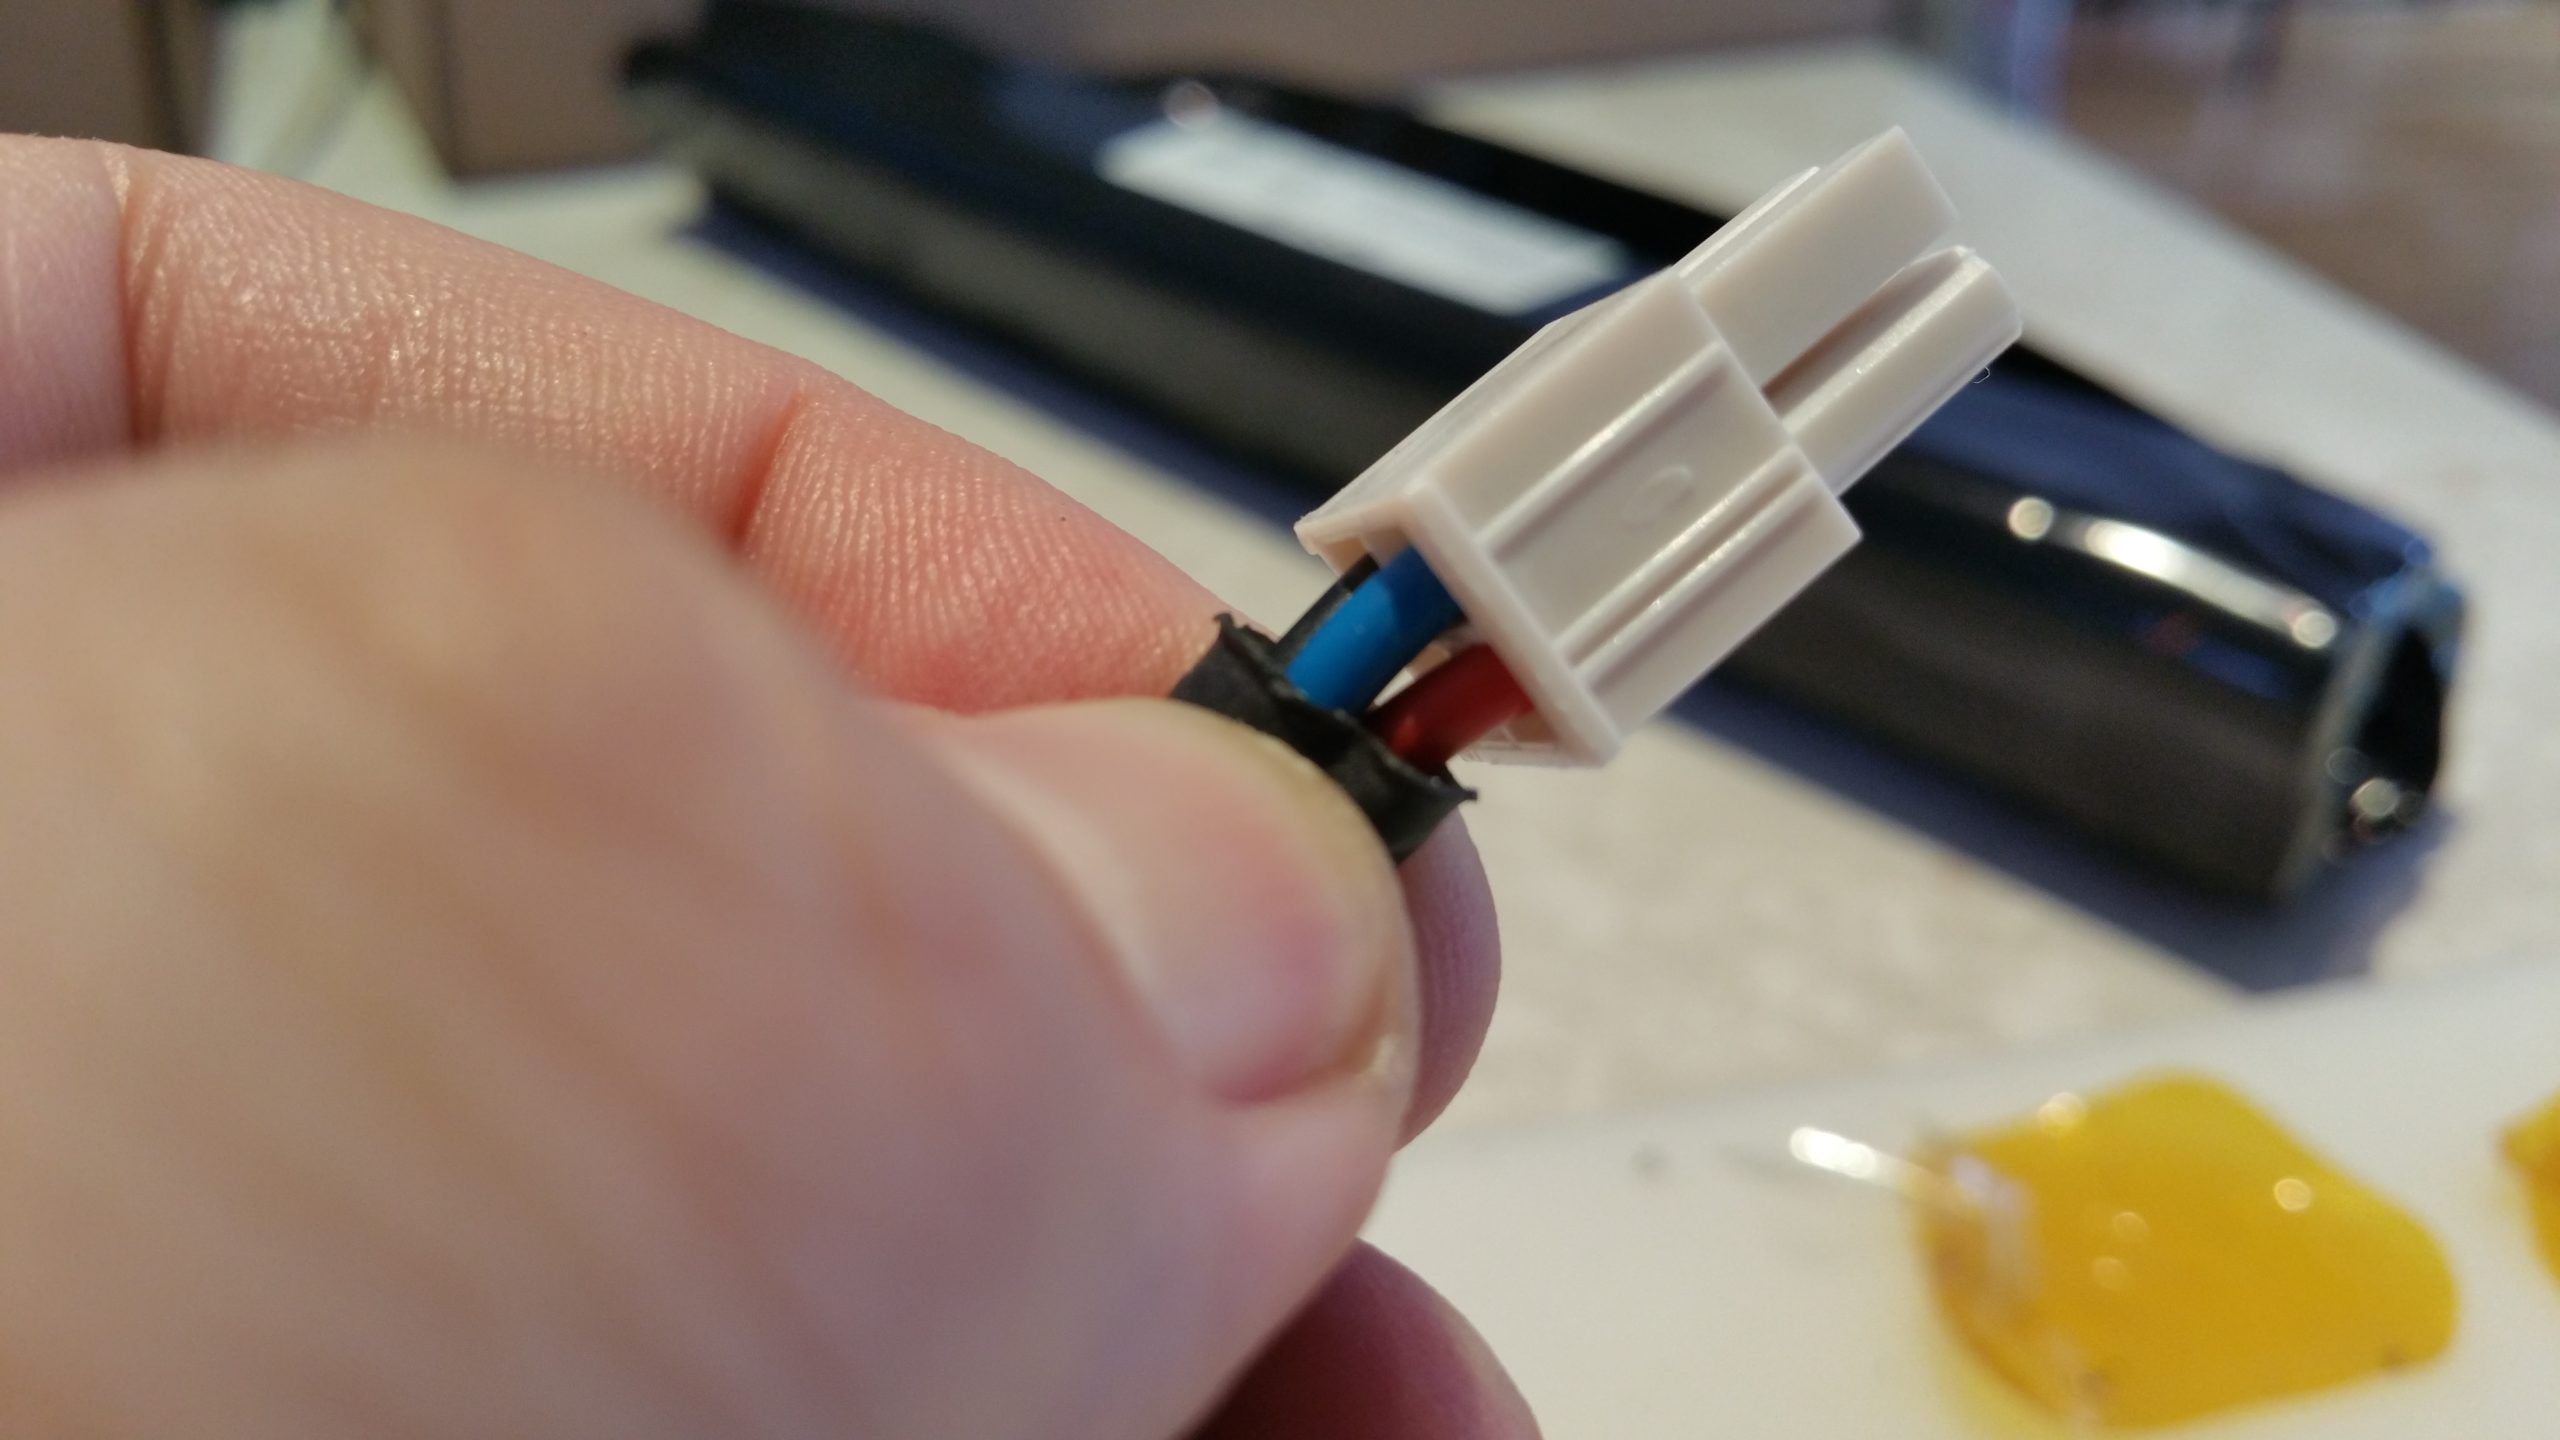
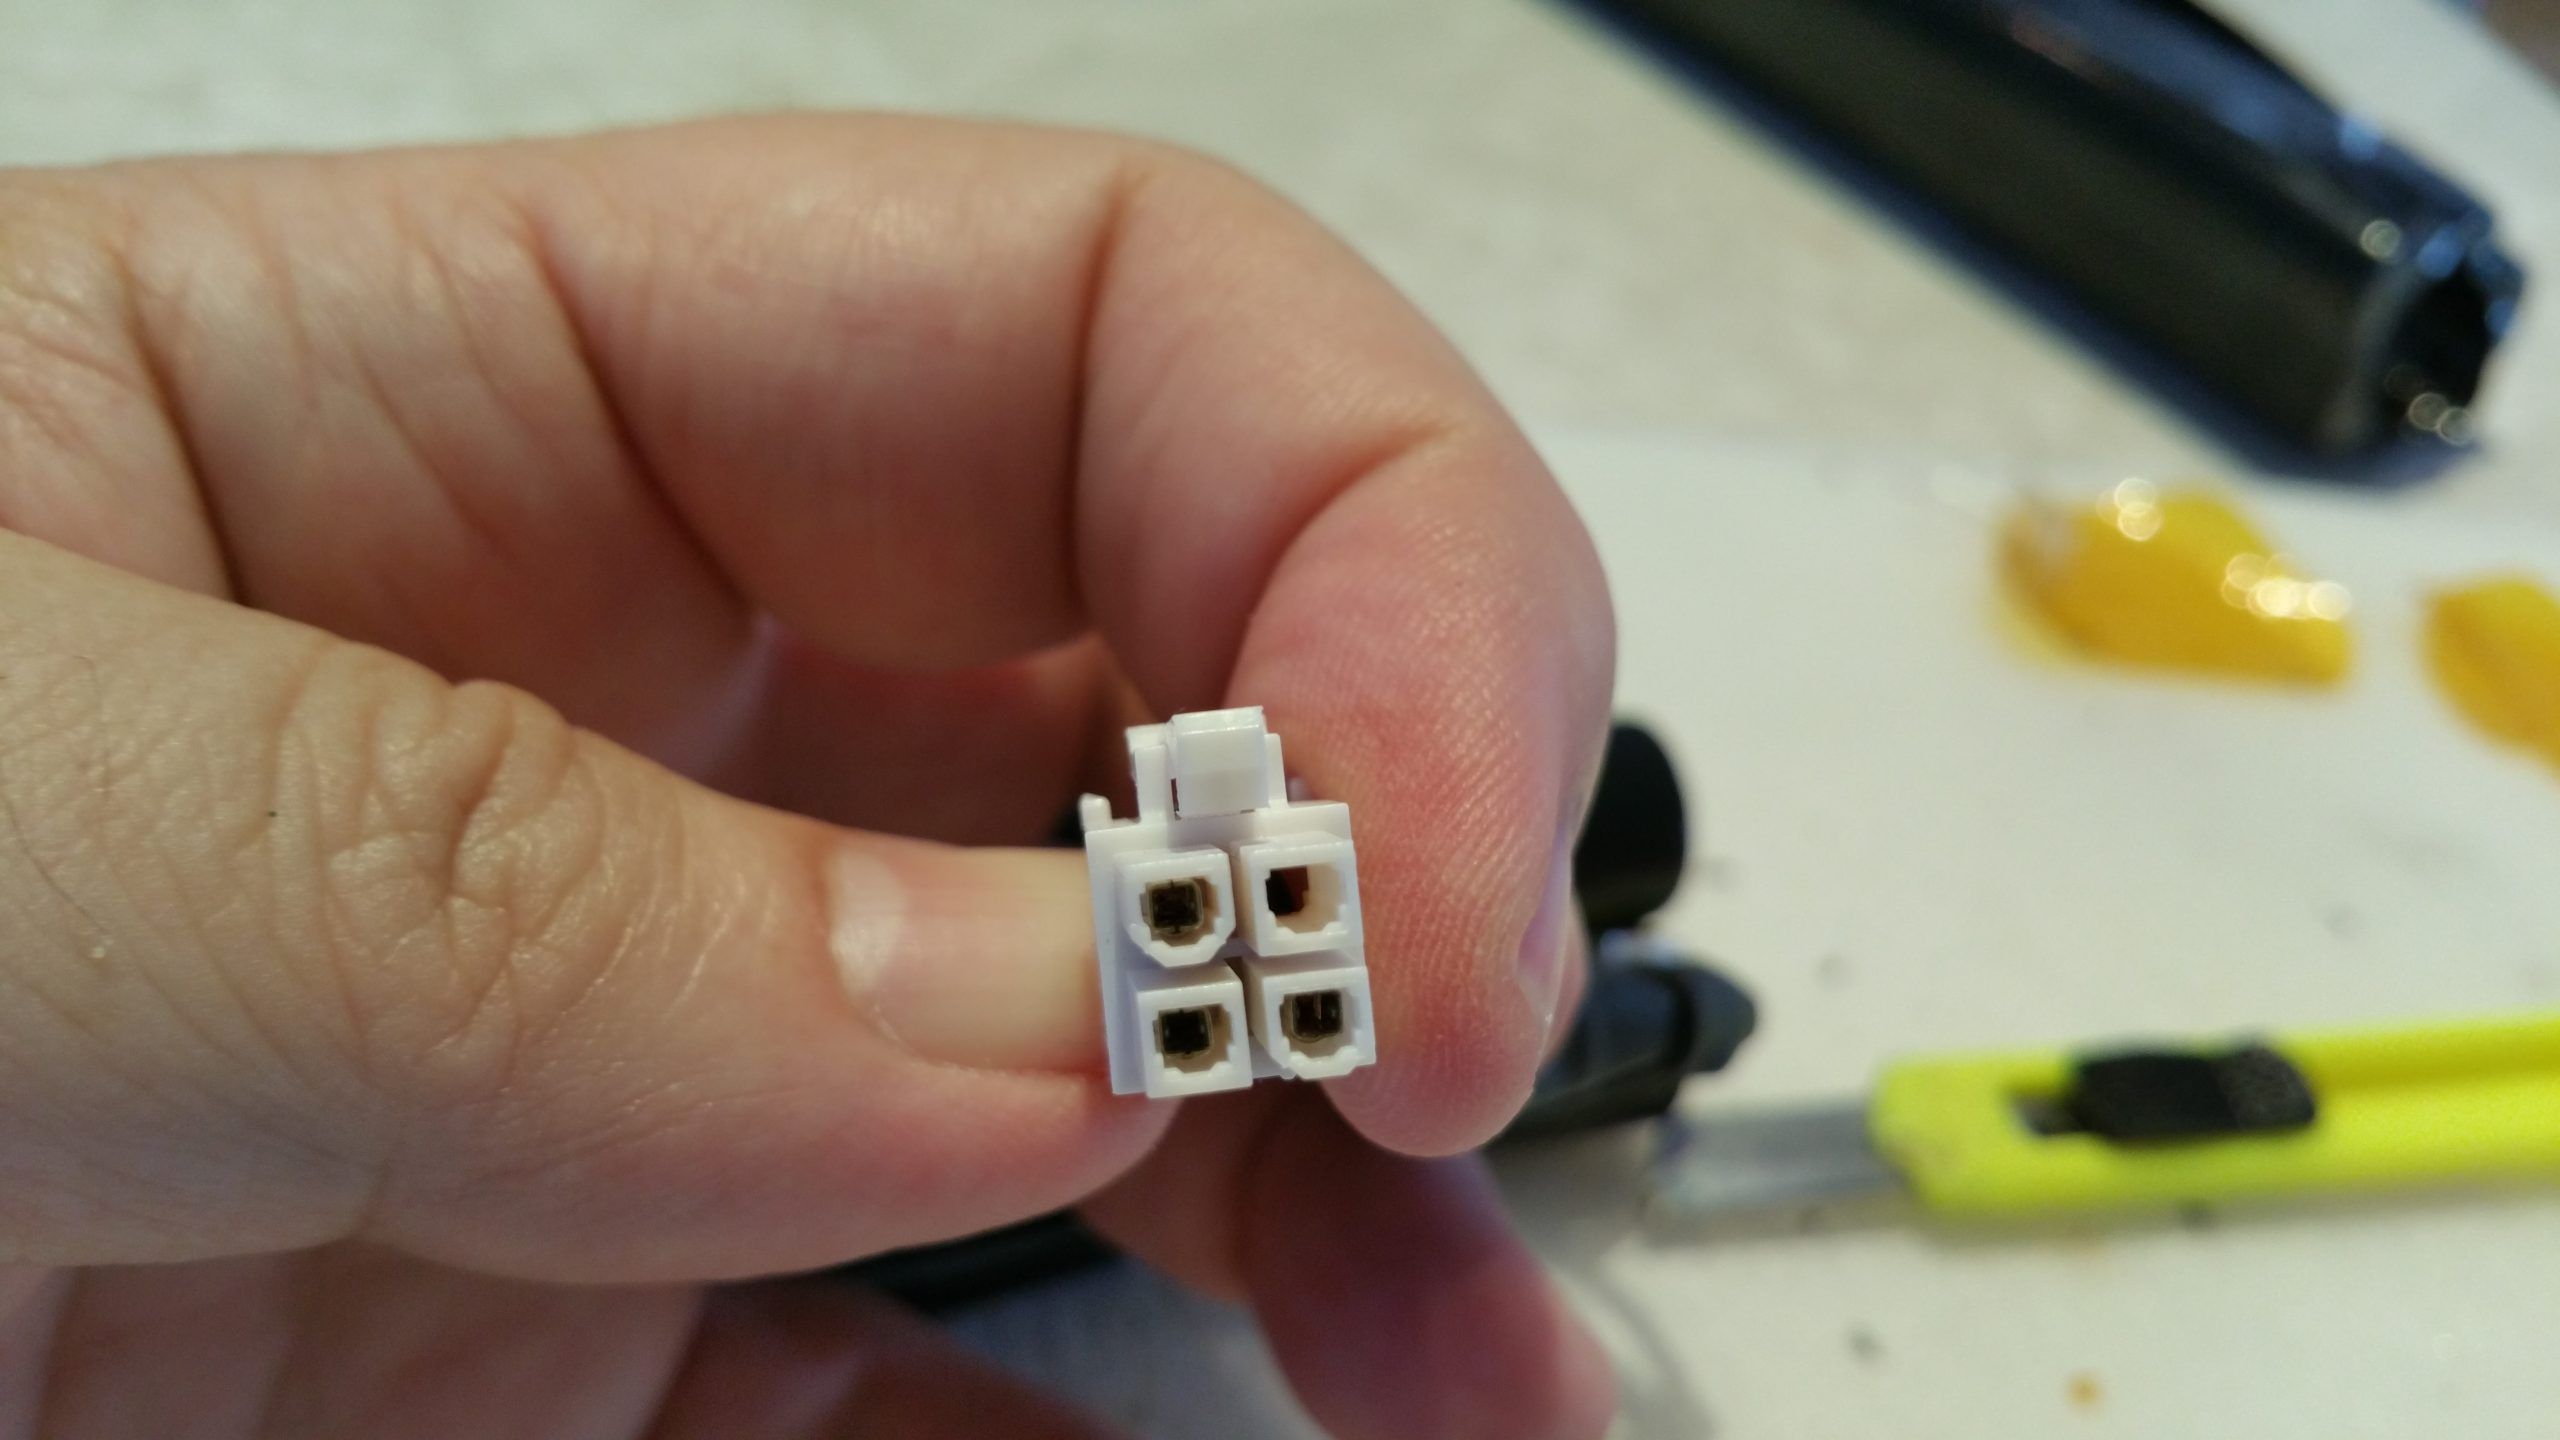
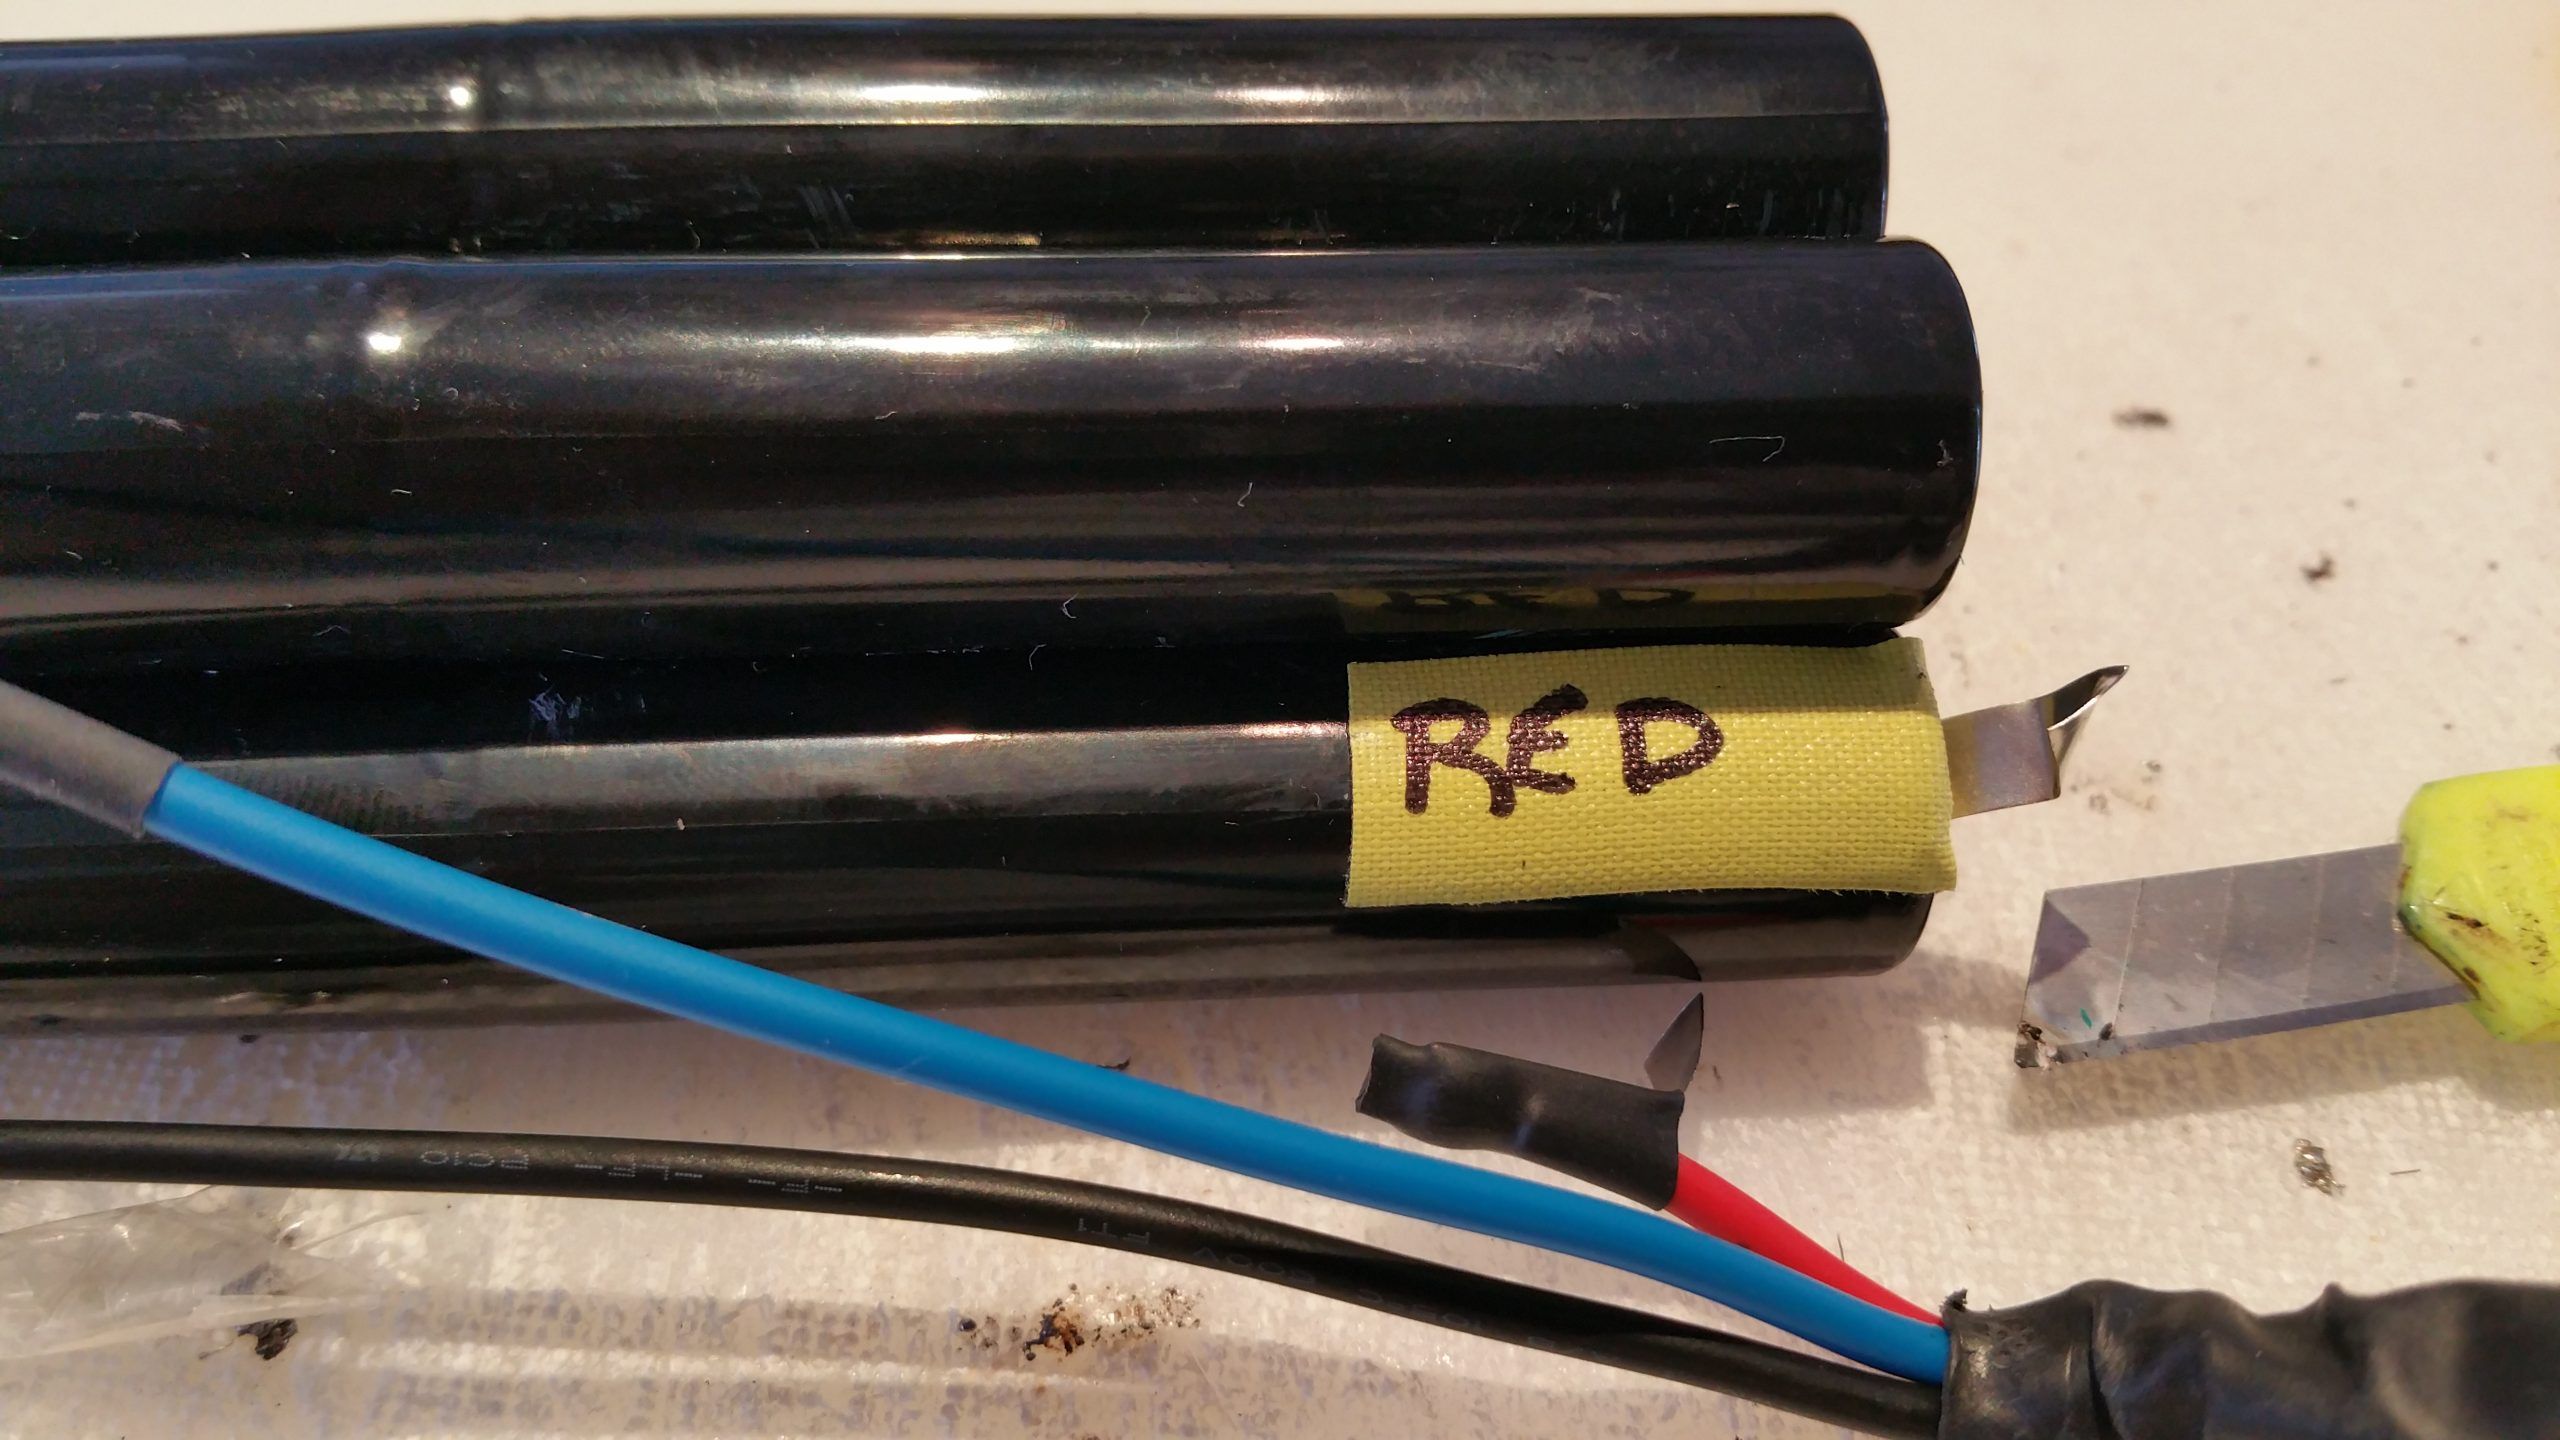
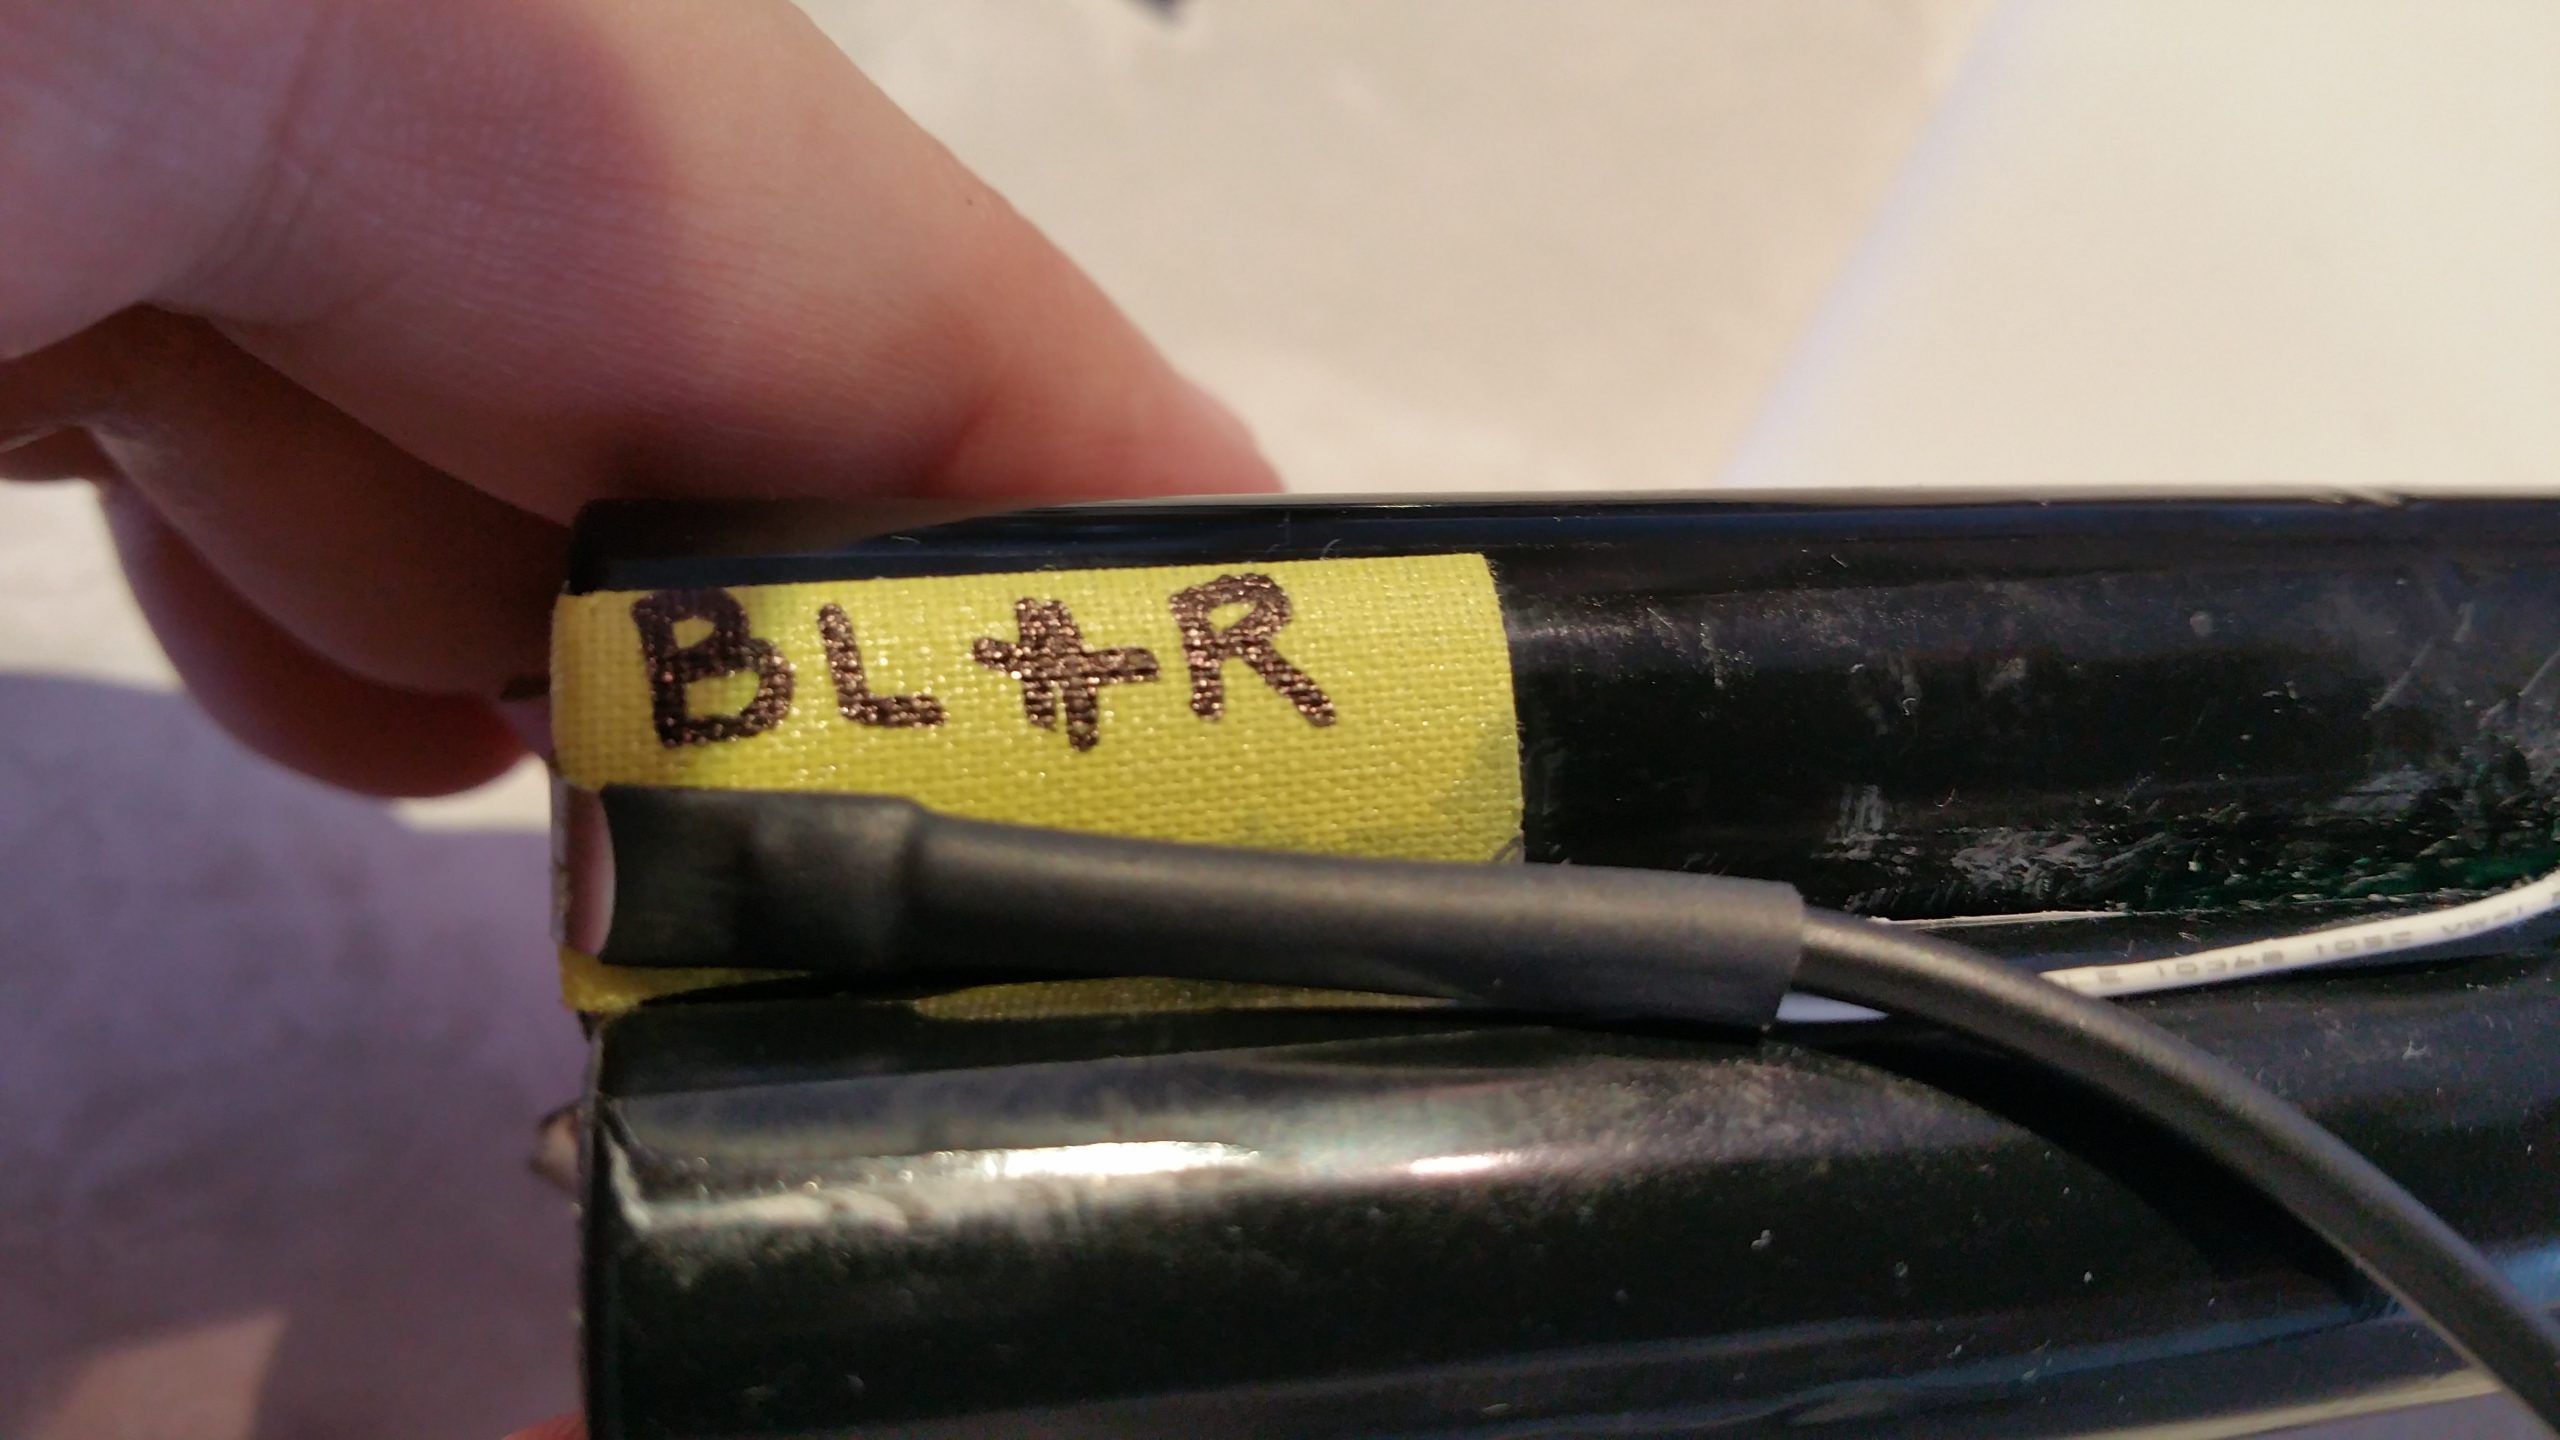
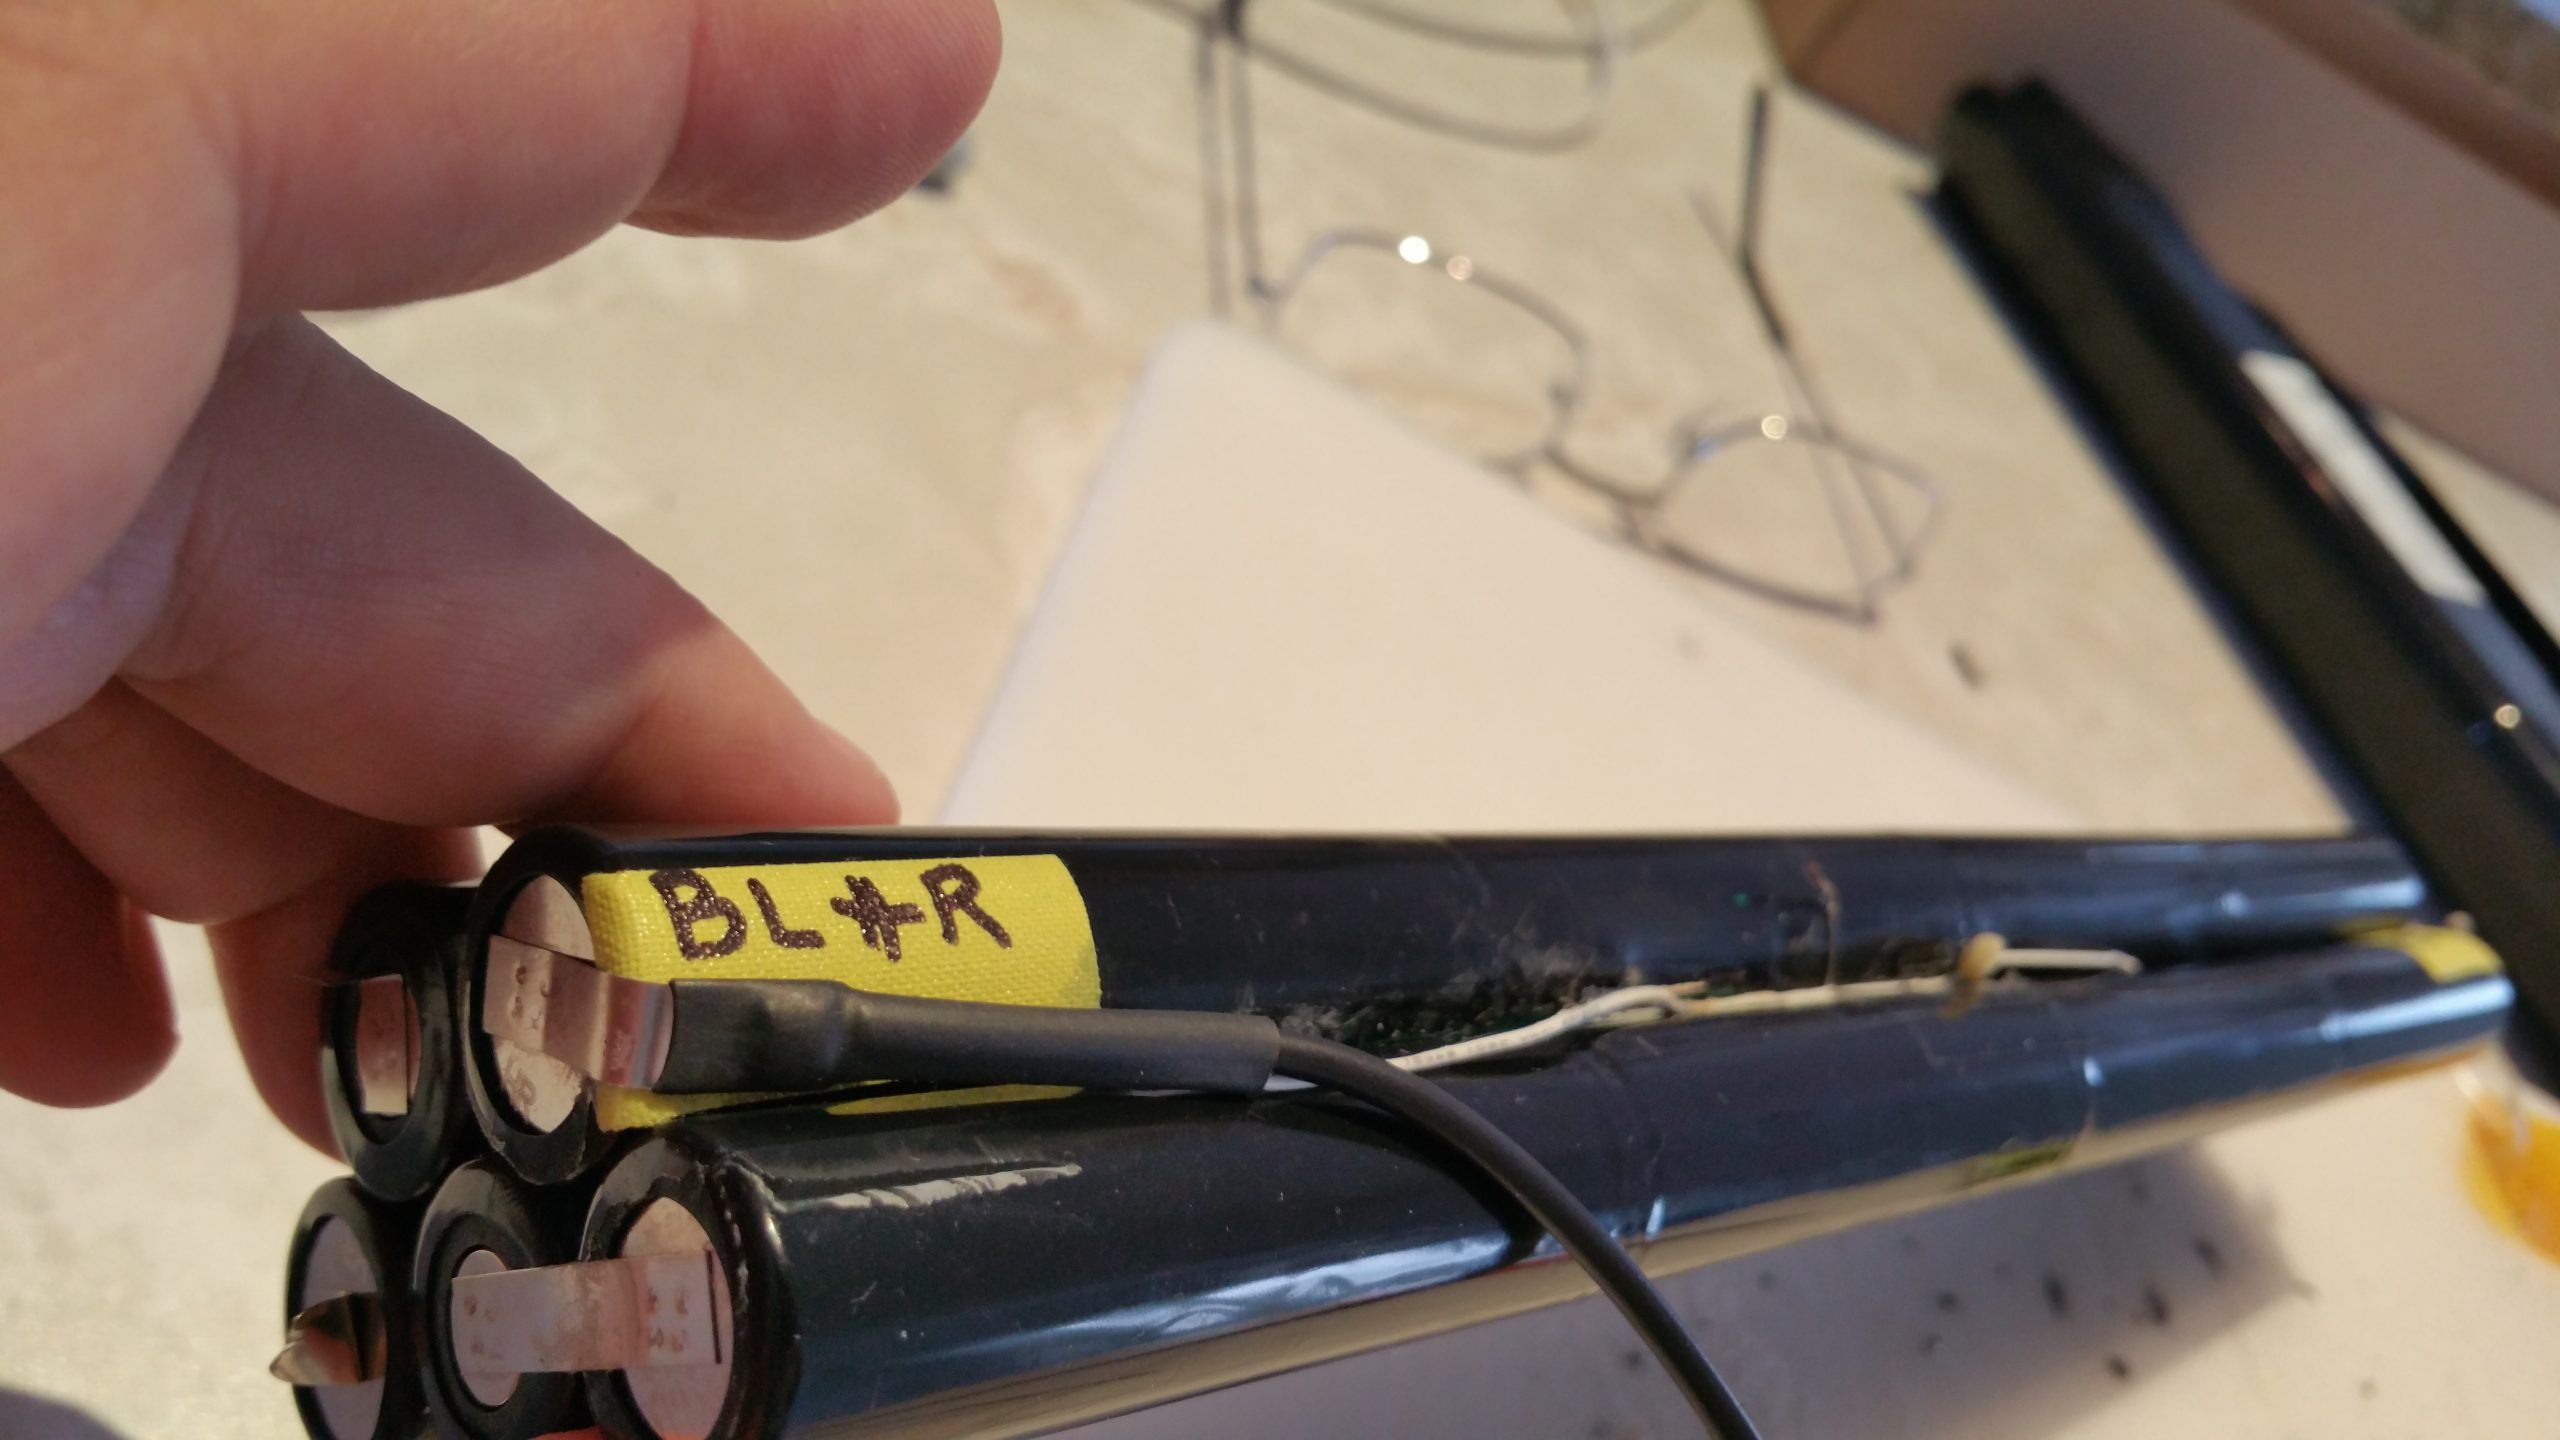
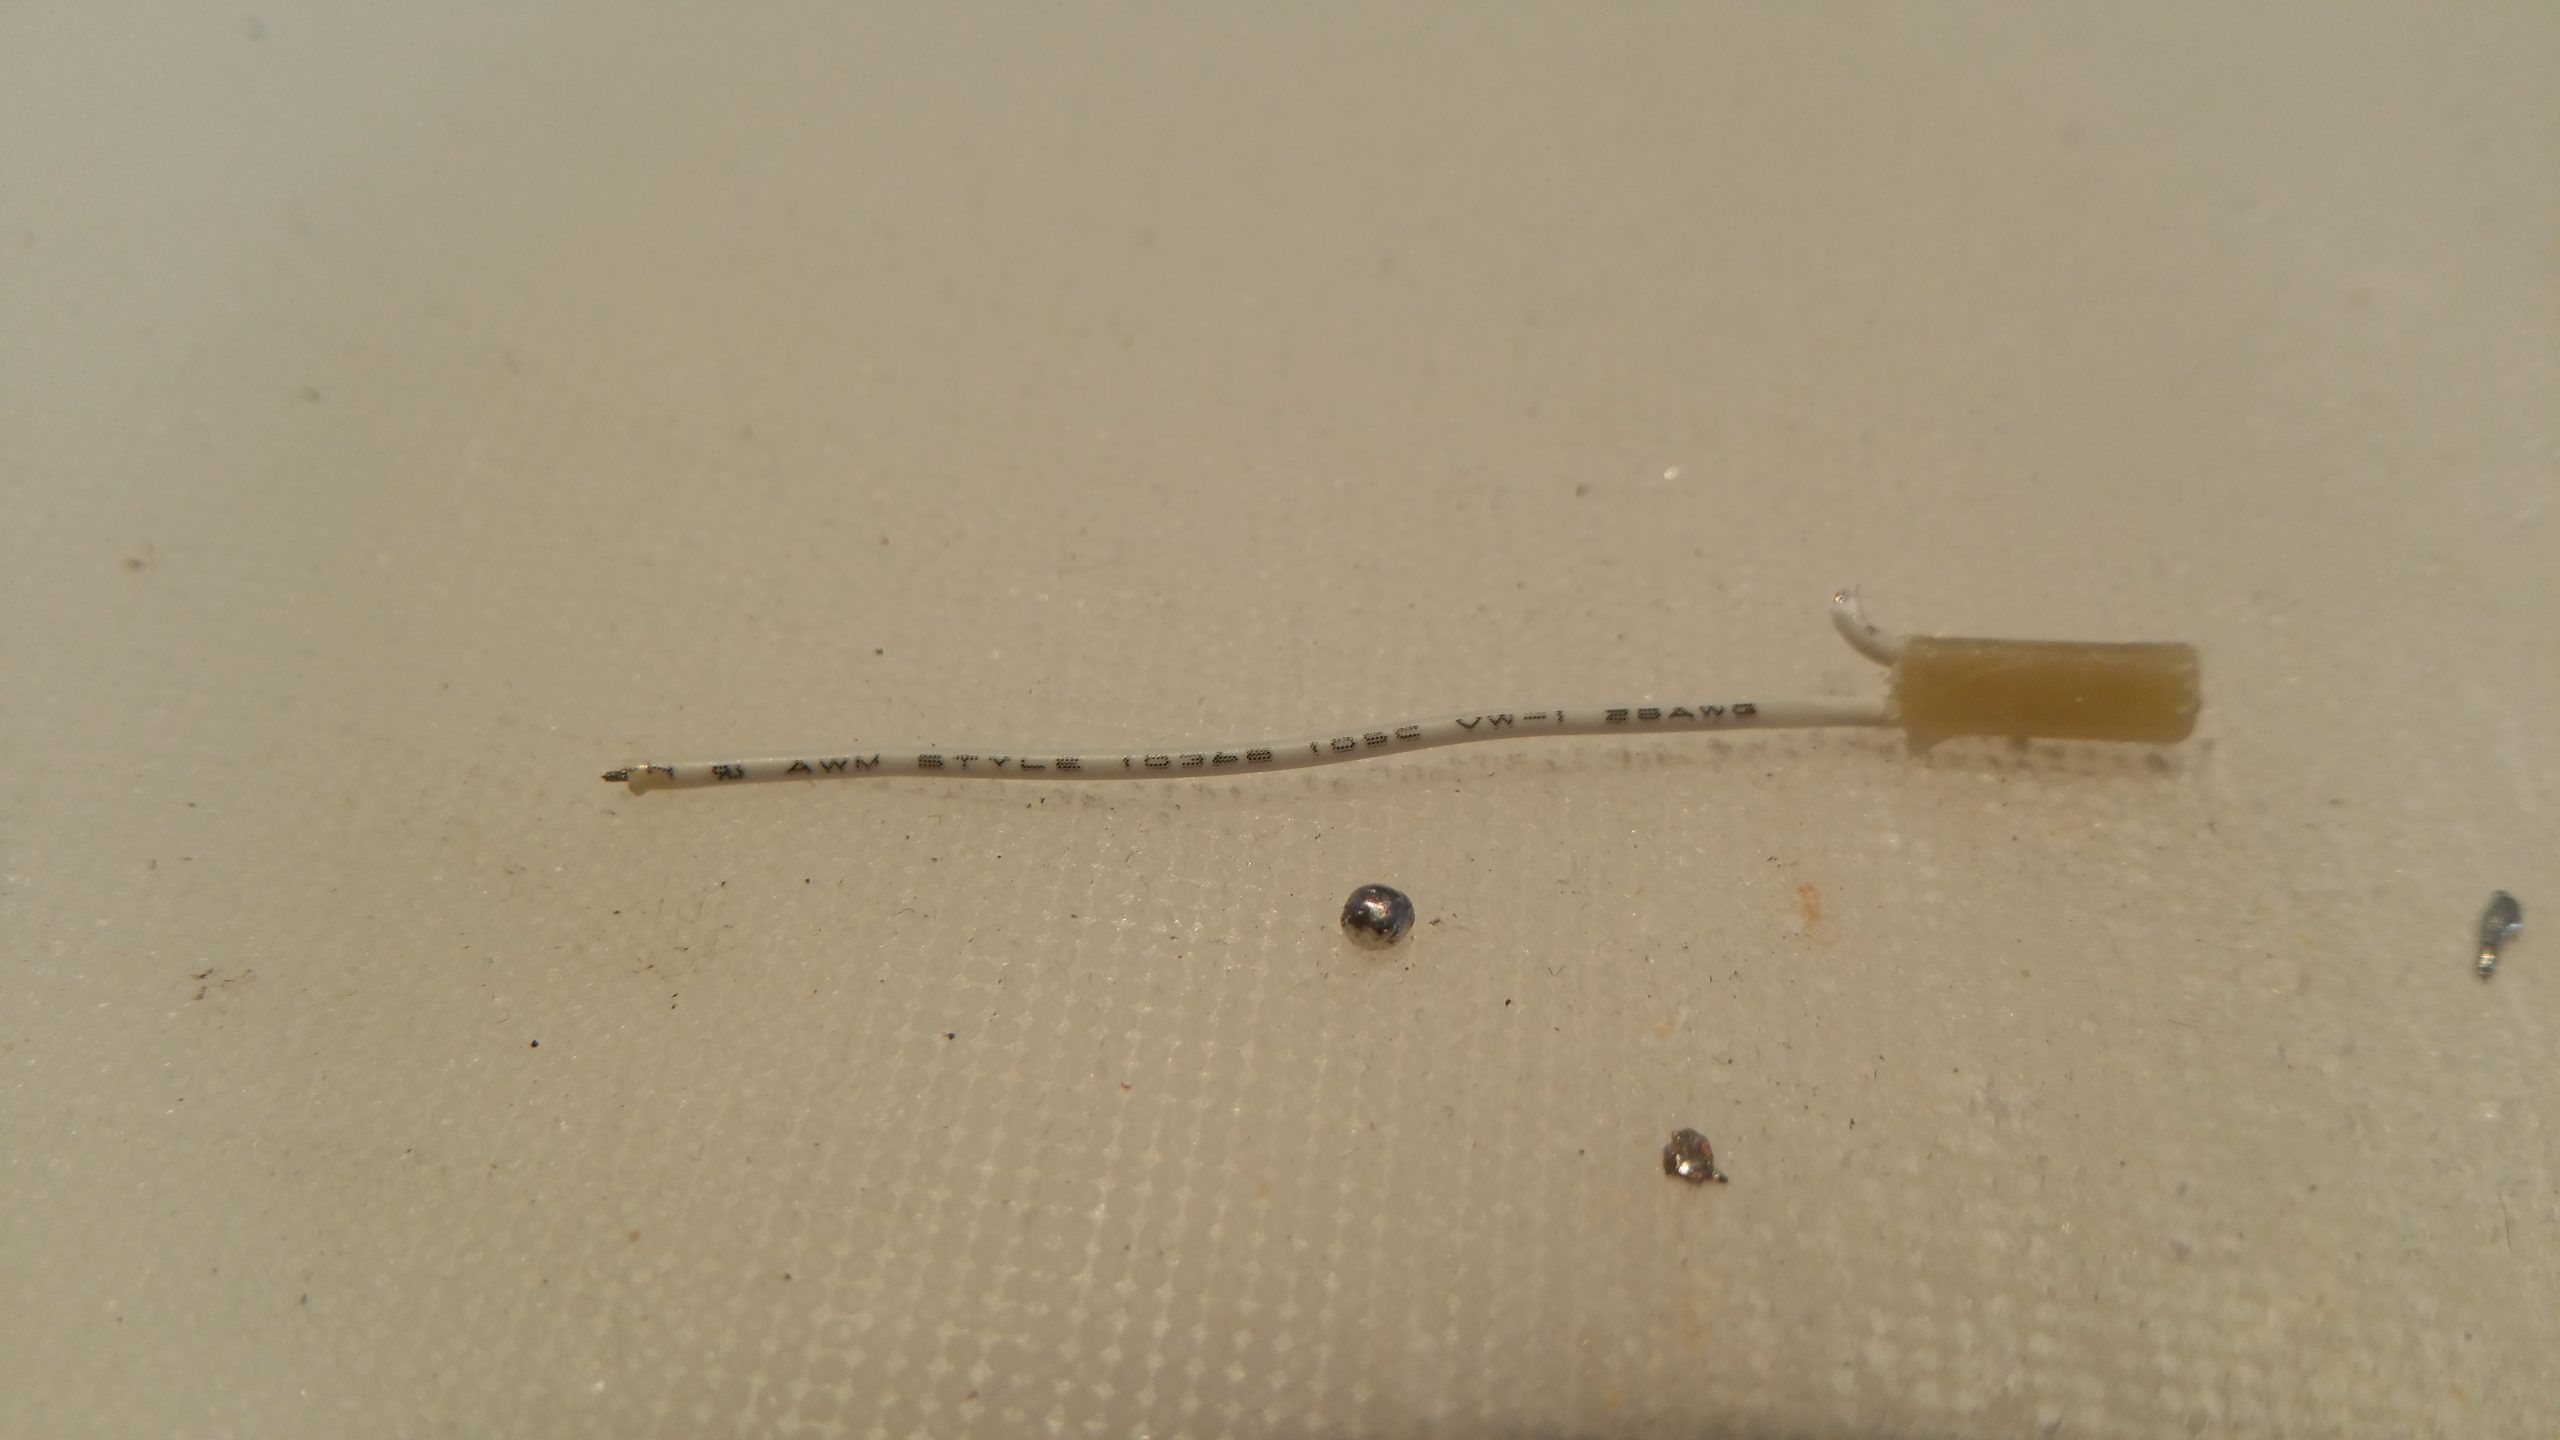
I ripped open the old battery to see what I could learn, and indeed, there are several things. First, lets look at a few pictures that I took:
A few thoughts:
The batteries are actually double shrink wrapped, first by cylinder then the complete pack together.
My thermistor wire was broken from the factory and disconnected!
The way that the batteries are attached at the factory is genius. 🙂
16550 batteries are a lot smaller than the 26650 batteries!
I am considering re-using the T-fuse, but getting a new thermistor… just in case.
All of these battery packs are super overpriced!
There is no rocket science in the making of these battery packs.
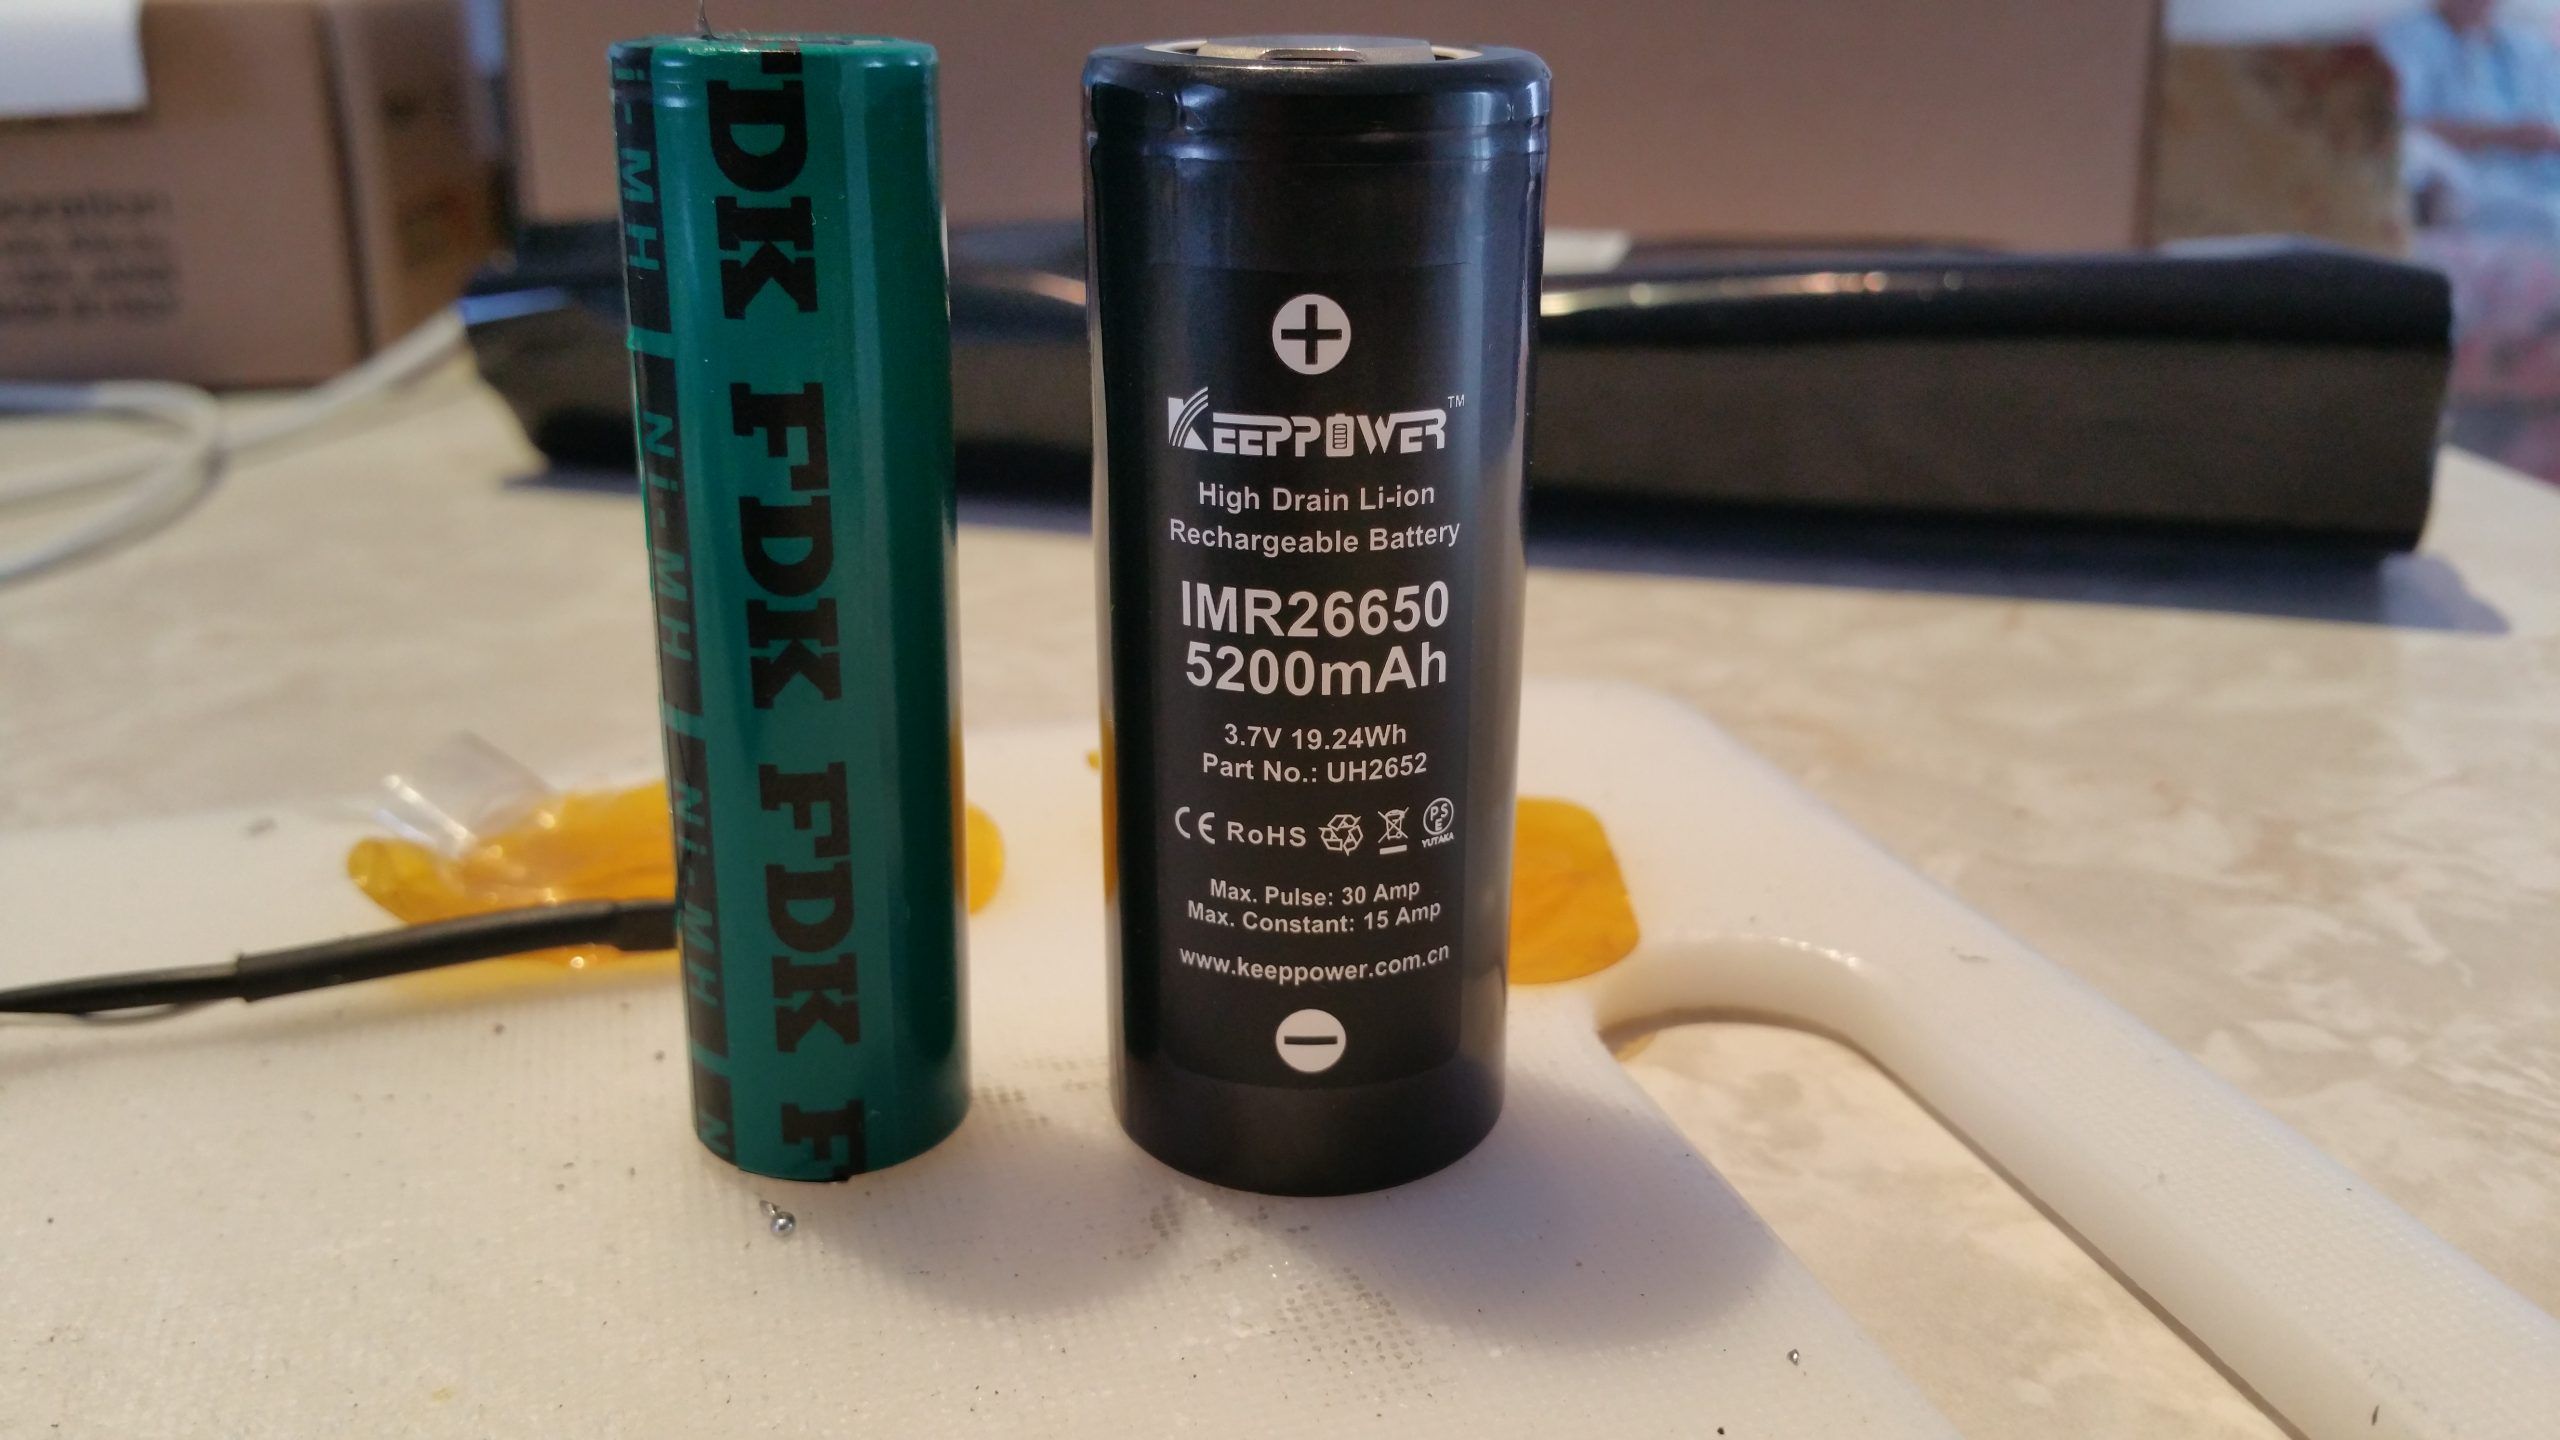
There is a big size difference between the factory ones and the ones that I bought, not height, but the width is much greater:
Addendum September 17
Yesterday I dropped in to my local electronics store to pick up a few things for a couple of projects (the the battery project outlined on this page and my improved 8X cable), and picked up 2 more items that I needed to make this project come closer to fruition:
T-Fuse
Thermistor
…and with that, I have the basis to move forward. I know that I had no movement on this project for a while, but I do have a new OEM battery and that one is working well, plus I had several things happening in my life, not the least of which was a very serious cancer-removing operation. There is no rush to complete this project, and I am enjoying the process.
So, what is missing? Some shrink-wrap and wiring and a nice afternoon to complete and test the project with. At the time of this posting, my time is both limited and aimed at other projects. As I said… I feel no rush to complete this project immediately!
